I’m excited to share about the Cricut EasyPress Mini today! It’s the newest member of the EasyPress family, and I hope you’ll be inspired by all the ways it can help you in your crafting.
This is a sponsored conversation written by me on behalf of Cricut. The opinions and text are all mine.
UPDATE 2021: The EasyPress Mini was released on September 6, 2019. Meaning that since I wrote this post, I have been using, and loving the EasyPress mini for over 2 years.
I have used it to press face masks – I made hundreds of them in 2020. I have decorated wine bags, hats, yoga blocks, socks, baby bandanas and more!

EasyPress Mini Description
Here’s what you should know about the Cricut EasyPress Mini.
Cricut EasyPress Mini Features
The EasyPress Mini comes with a safety base for storage and protects your work surface when the EasyPress is on.

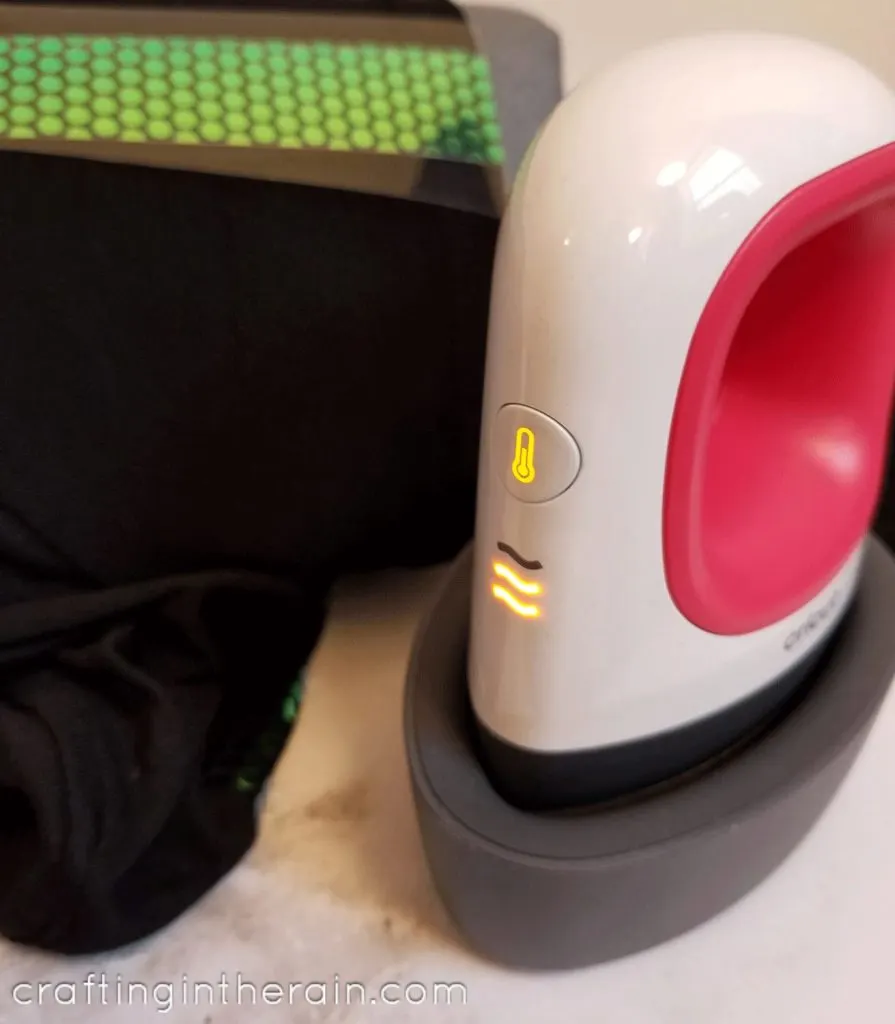
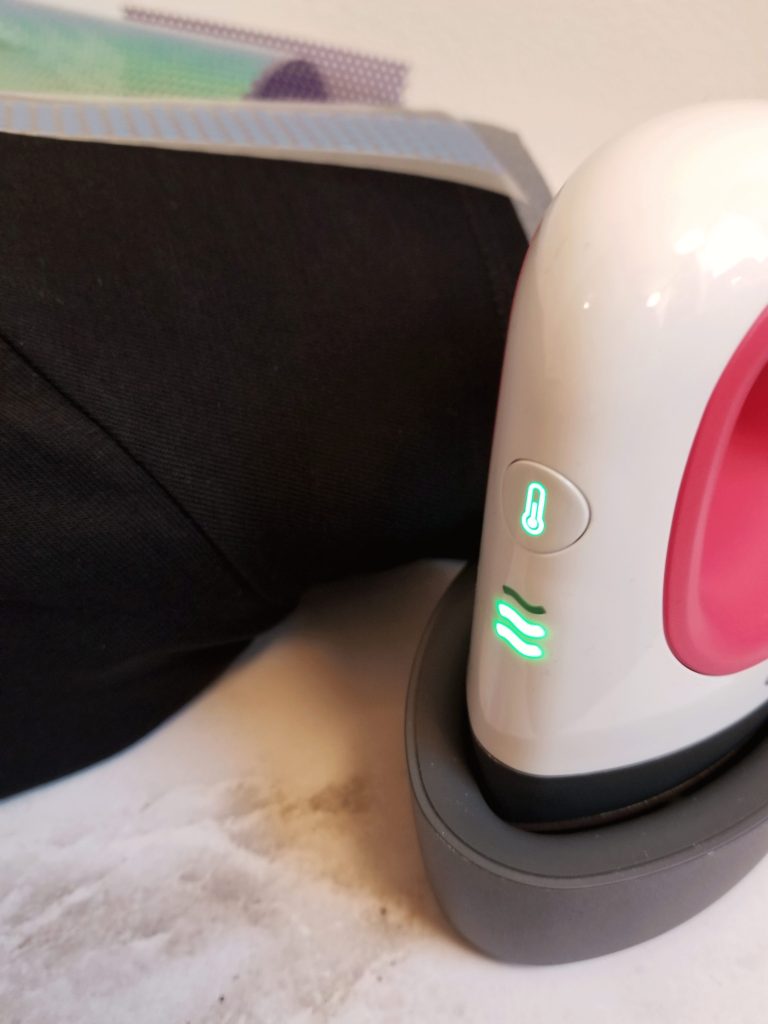
A single button controls the power and heat level. Display lights are orange while the machine is on and heating up, and turn green when it has reached the temperature it’s set for.

The EasyPress Mini also has an auto-shutoff feature after 13 minutes with no use.
Cricut EasyPress Mini Dimensions
The heat plate measures 3.25 inches long by 1.9 inches wide. The recommended maximum design size for using the Cricut EasyPress Mini with iron-on vinyl is 4 x 3.5 inches, or 1.7 x 5.25 inches. Think of it as being able to have a workspace that’s about double the size of the heat plate.
From the plate to the top of the handle is 4 inches, and it’s very comfortable to hold and use.
How to use the EasyPress Mini
Heating the EasyPress Mini
Plug the machine into a wall outlet. Press once to power on the machine, then cycle through the levels. Press a fourth time to turn the power off.
Leave the EasyPress in the base while it is heating up. Remember that even though it’s small, it gets really hot.
Due to its small size, it heats up really quickly. From room temperature to the high setting only takes about a minute.
Settings on the EasyPress Mini
Use the Heat Transfer Guide to determine if you will need the low, medium or high setting. Note that when using the guide on mobile, you have to tap the arrow to scroll to the EasyPress you’re using, then you have the tap the picture of the EasyPress to get the guide to give you the correct settings.
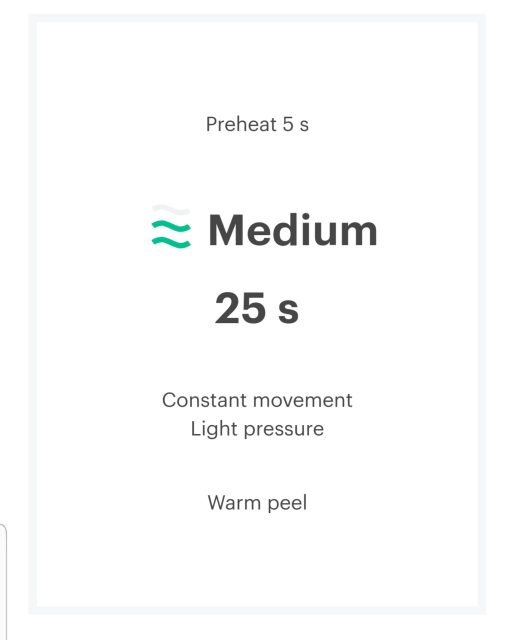
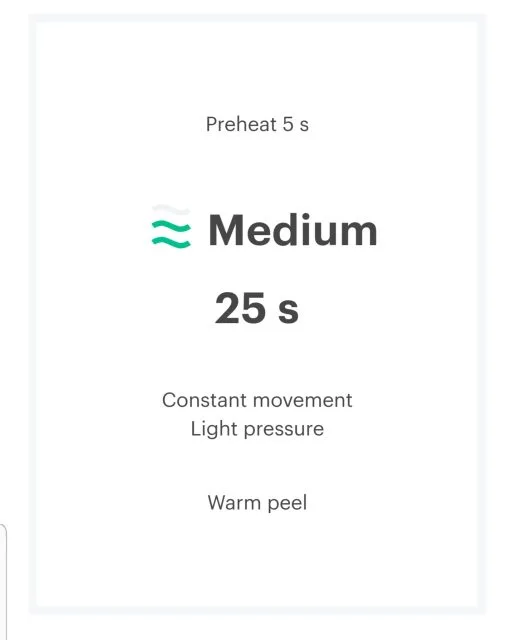
As usual, select the iron-on material and the base material and click apply. For the EasyPress Mini, you should get a result that looks like this. It will show how long to preheat, the setting of low, medium, or high, how long to heat, and remind you to use light pressure and constant movement.
EasyPress Mini Timer
You may have noticed by now that the EasyPress Mini has no timer. You will have to use a separate time – the clock on your phone, or something else, to keep track of the heating time.
Moving the Cricut EasyPress Mini
The EasyPress Mini has been designed with some movement in mind. The base plate has an additional layer of ceramic coating to ensure smooth gliding over your project.
As you move the EasyPress around, it helps keep the pressure lighter than if you were to simply press down in a stationary location. This could also cause marks or lines in the iron-on where the edge of the press is hitting. On their help page, Cricut suggests the speed of how you might move a household iron or a computer mouse.
Use Cricut EasyPress Mini to Decorate Sleeves
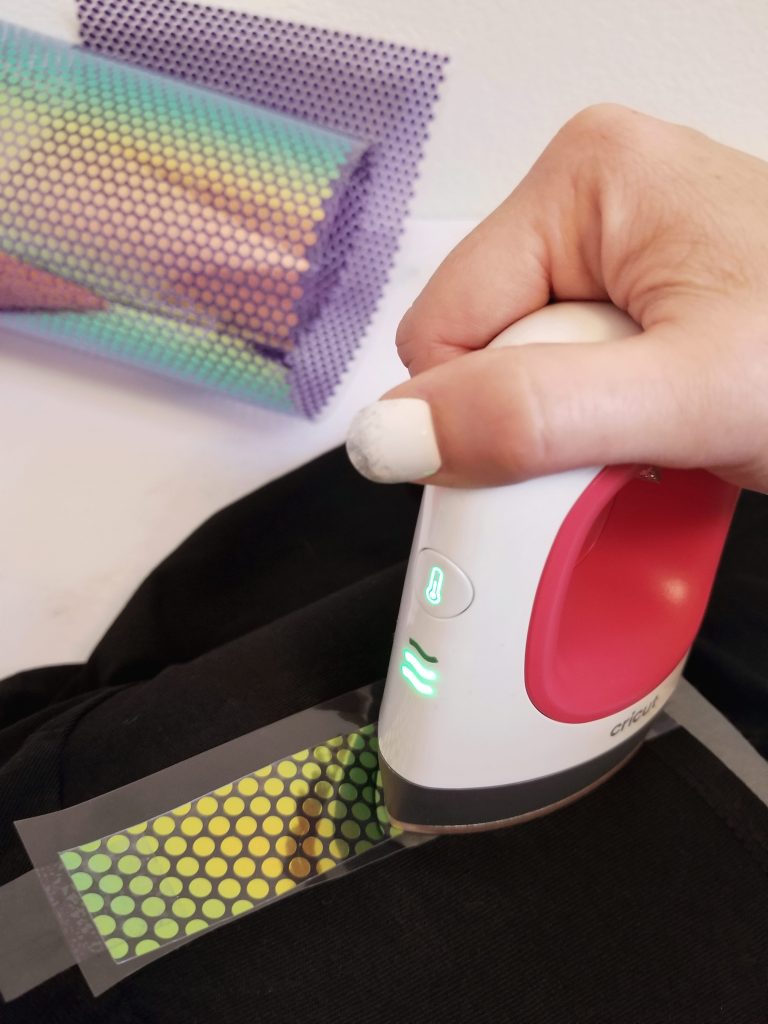
Now that you’ve got all that useful information, watch how I was able to dress up a plain black t-shirt with mosaic iron-on and my EasyPress Mini.
Open up this Design Space project if you want to use exactly what I did, or customize your own design.
To make the stripe down the top of the t-shirt sleeve, measure from the seam down to the edge of the sleeve and add about an inch.
Then in Design Space, create a rectangle that tall 1 inch wide. Cut 2.
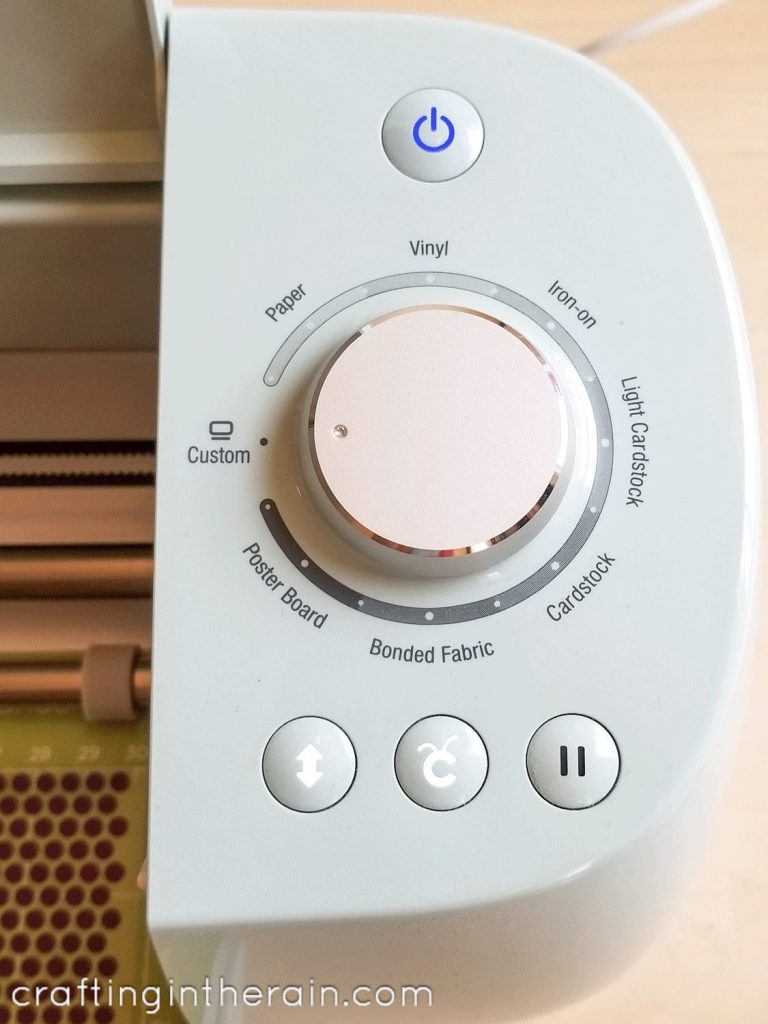
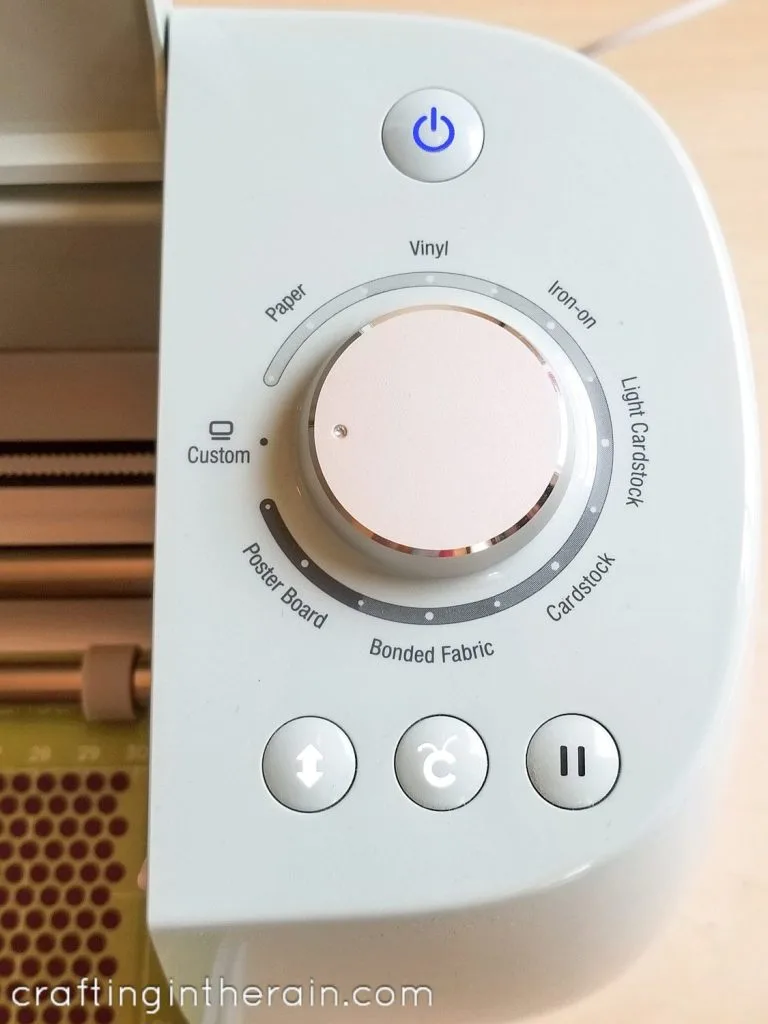
I used my Cricut Explore Air 2 to cut the mosaic iron-on. Set the materials dial to custom and then search for “mosaic” in Design Space to find the mosaic iron-on.
Stick the iron-on vinyl to a green mat with the shiny plastic side down – you’ll be cutting a mirrored image, just like with other iron-on.
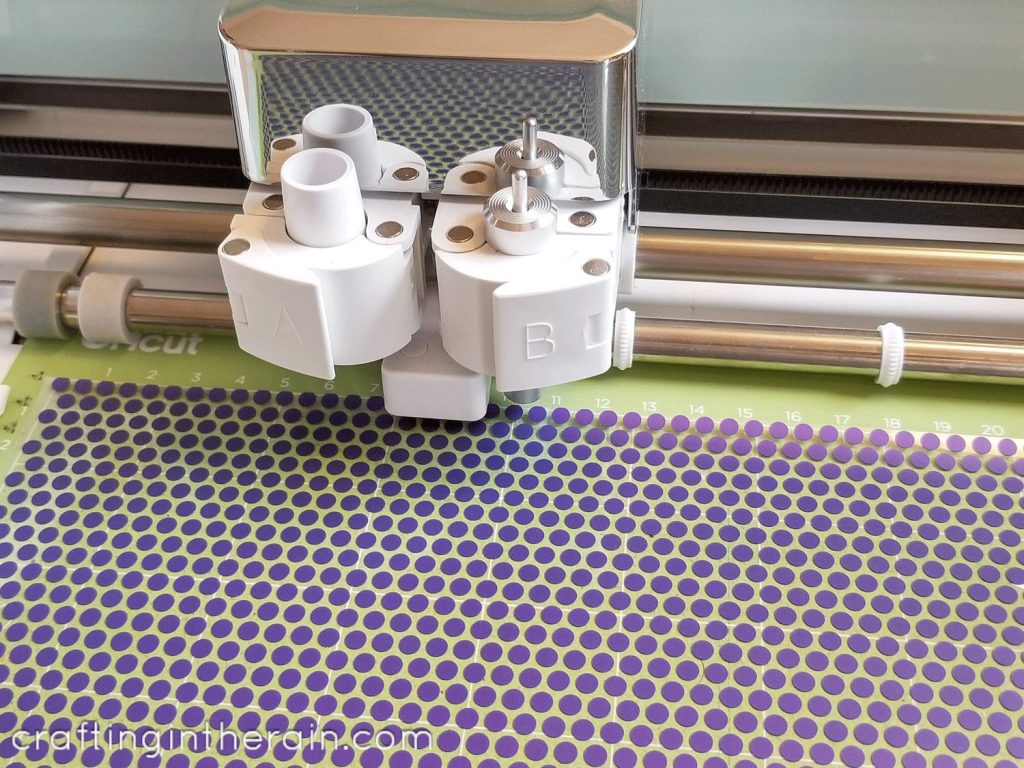
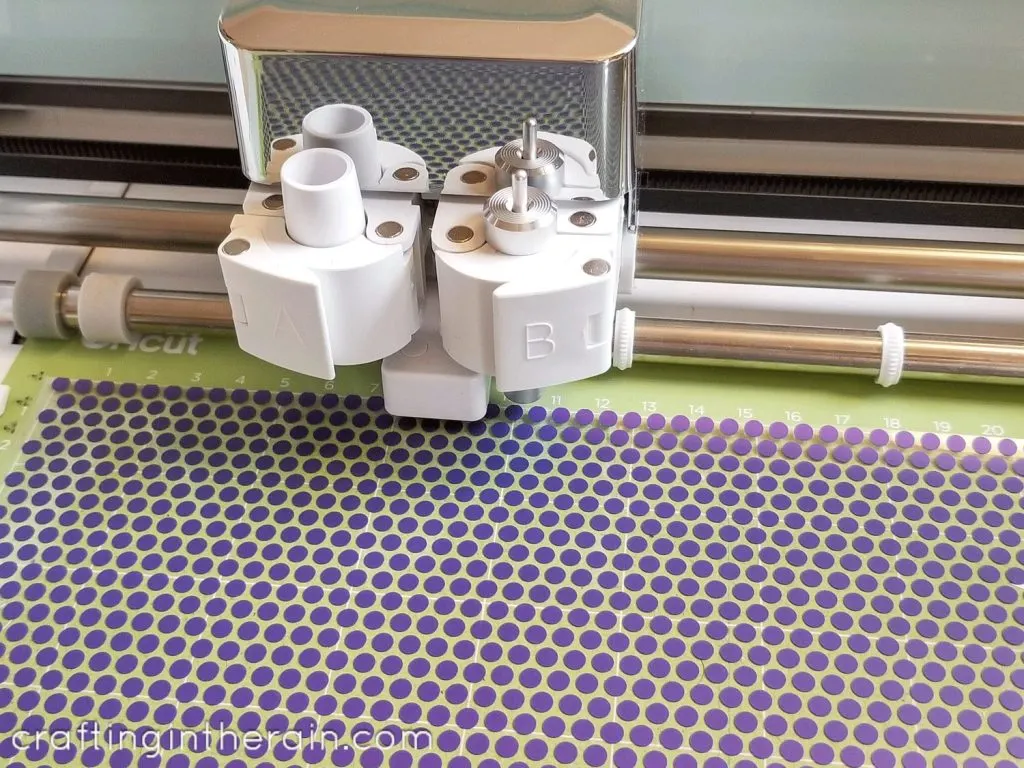
Cut the design and remove from the machine.
Read this post to learn more about the Cricut Explore Air 2
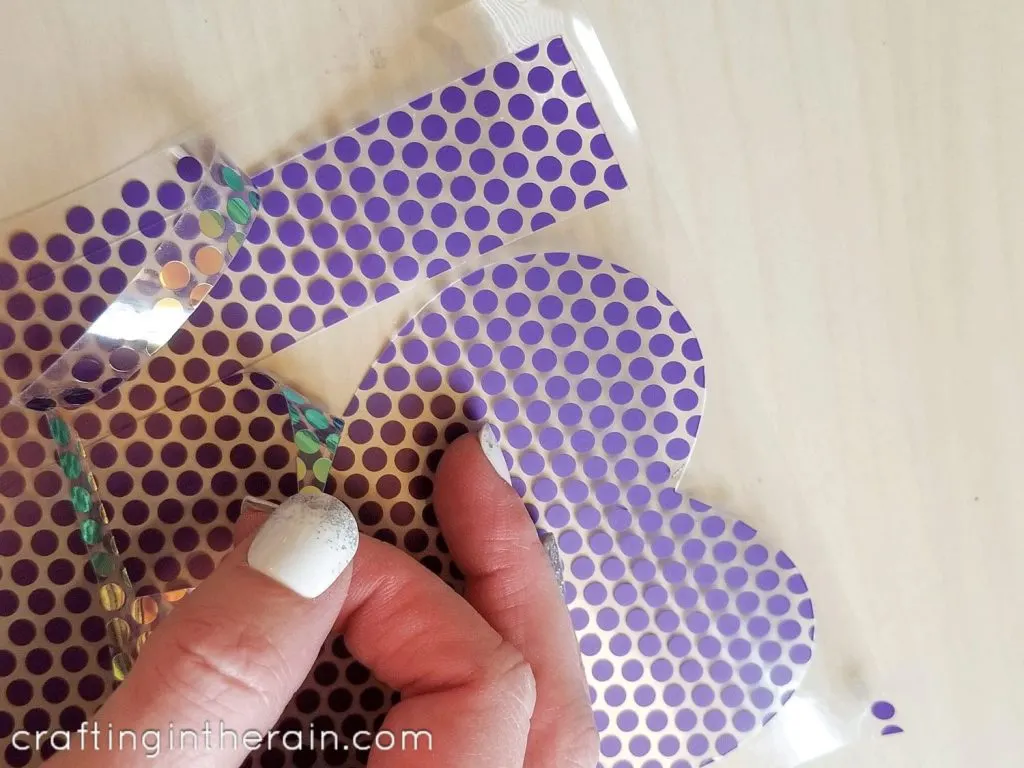
Mosaic iron-on has two layers of plastic on it. To weed the mosaic iron on, use a weeding hook to grab the first layer of plastic – the Cricut machine has cut through this layer.
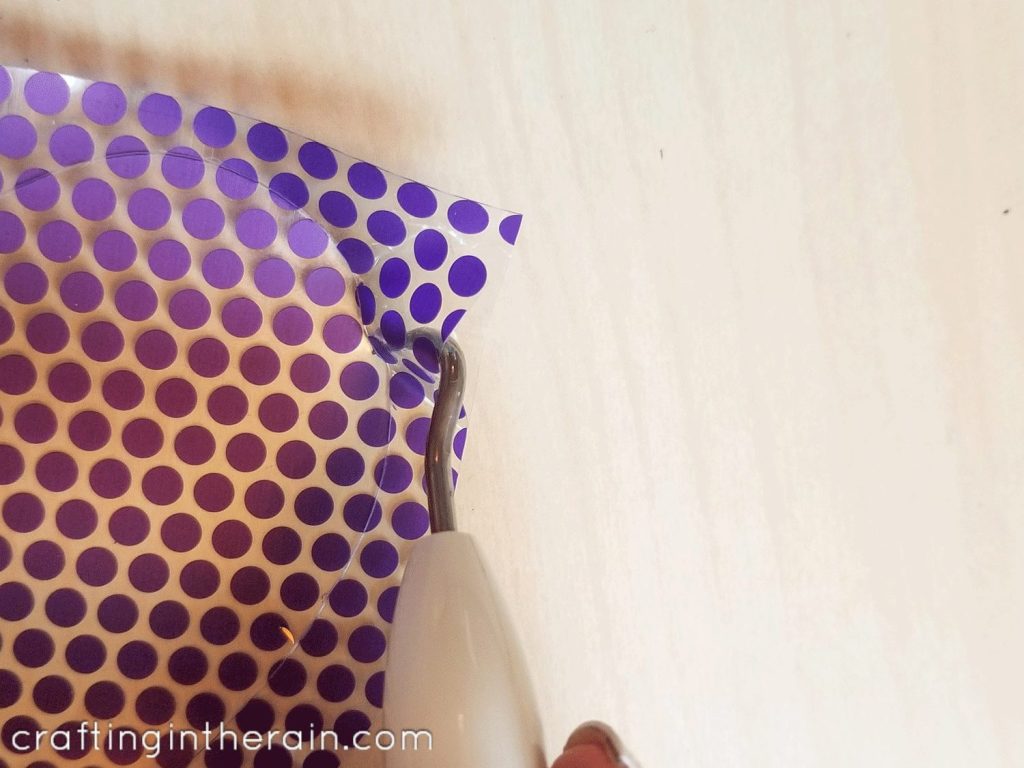
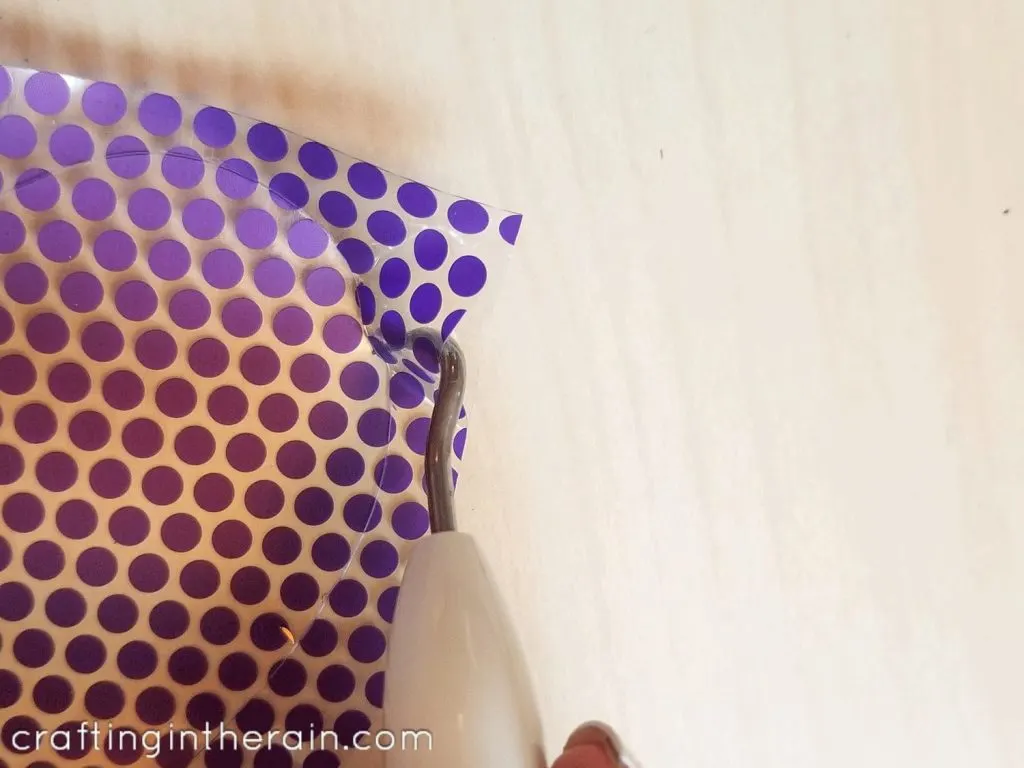
That plastic layer is removed along with the iron-on circles, leaving you with just the shape you wanted.

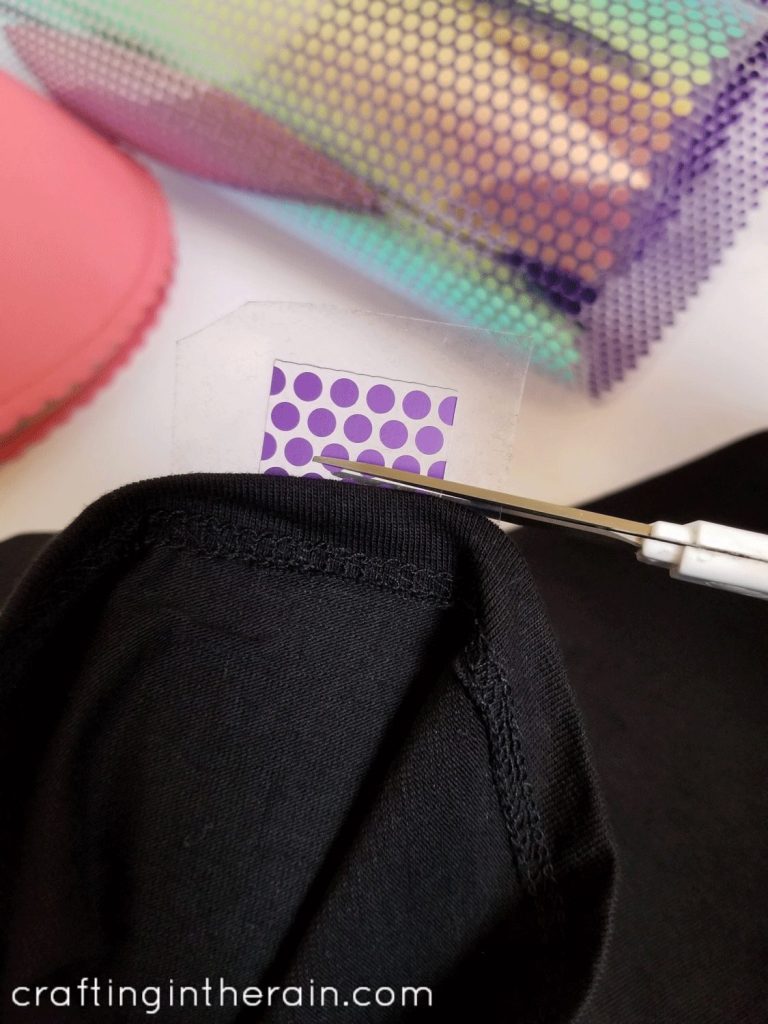
Position the strip on the sleeve and secure with a piece of heat resistant tape if needed.


Trim where it overhangs the end of the sleeve.

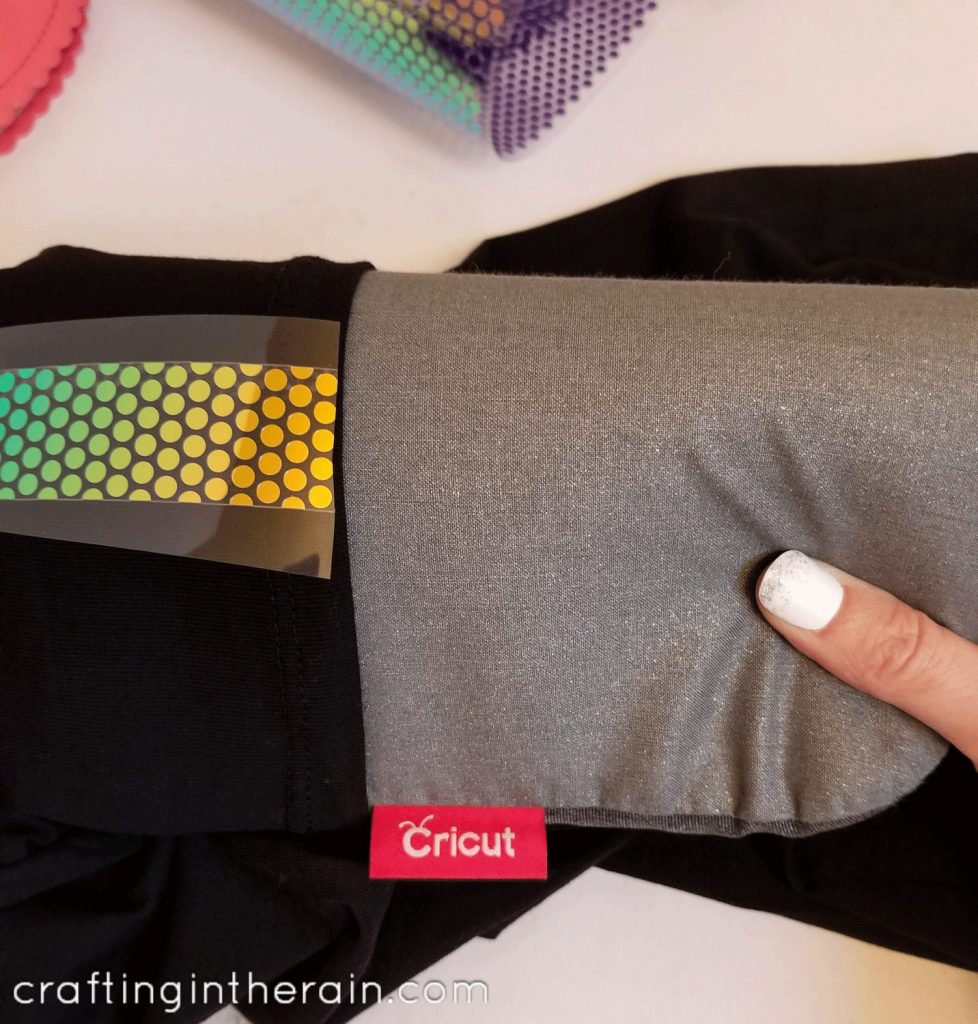
Roll up the small EasyPress mat and stuff the sleeve. Add a towel for more support if needed.

Heat the EasyPress Mini to medium (2 bars) and check the heat guide for time.

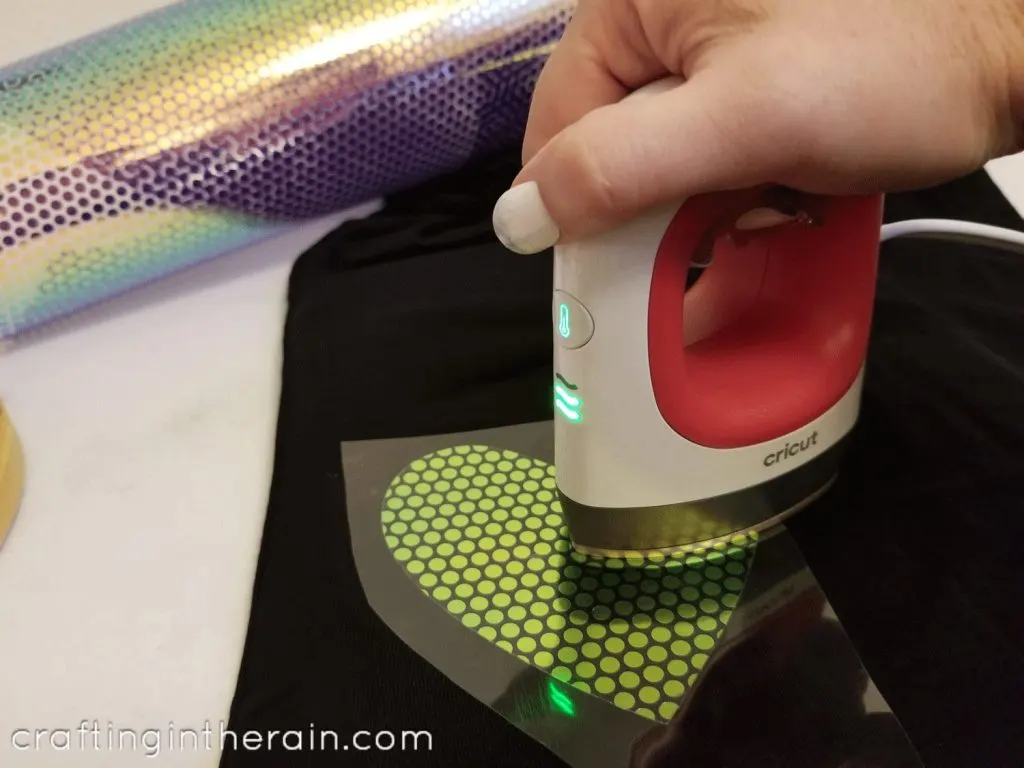
I needed to press (with movement) for 25 seconds.
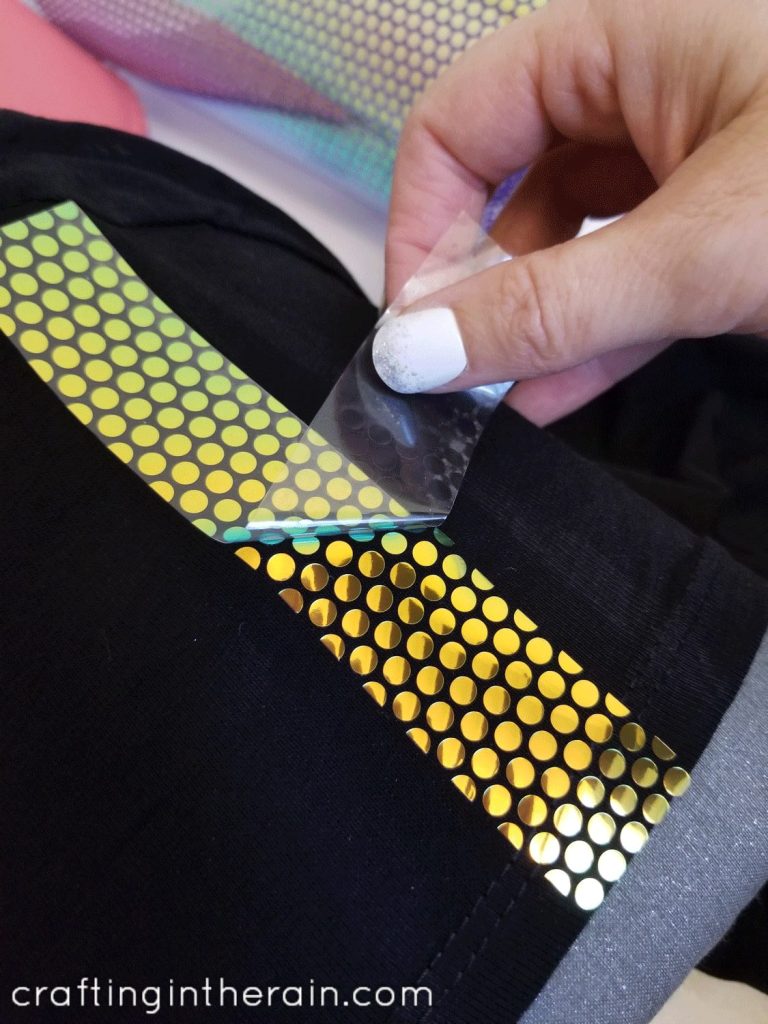
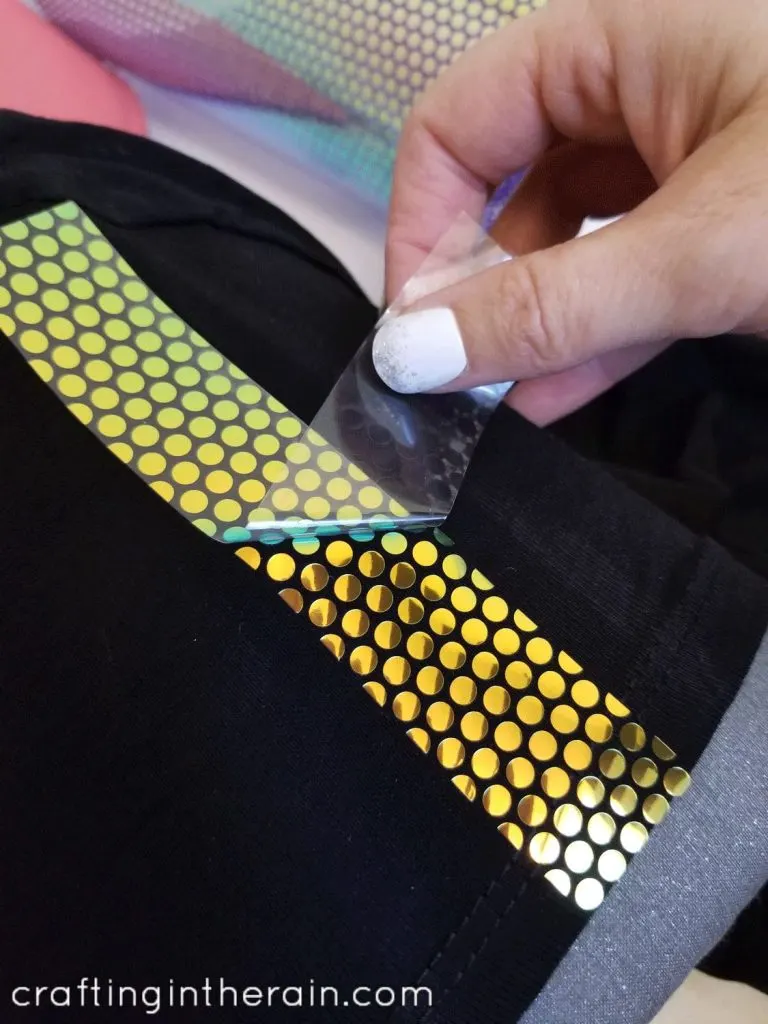
The guide also told me to use a warm peel HOWEVER – I feel like Cricut’s definition of warm peel is different than mine. I had to wait until it was nearly cooled off altogether, or the dots were starting to lift up.
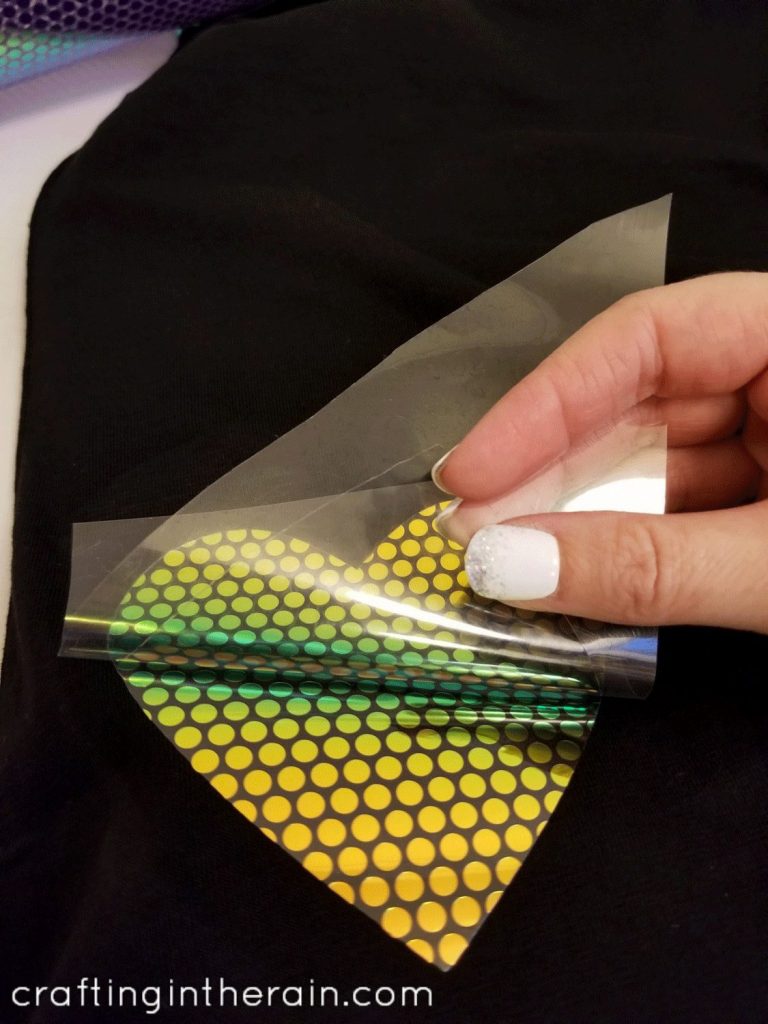

So you may want to start to peel very carefully – if the iron-on is lifting up, press it again for a few seconds, then wait for it to cool much more before trying again.
Since I have only used the mosaic iron-on once, I’m not sure if this is always the case, but I had to do two peels. Meaning: the first peel was the large carrier sheet portion.
Then the second peel was the other layer of plastic that was the exact shape of my cut design. They did not lift up together. But if they do for you, that’s fine.
After decorating the sleeve, I also added a small heart to the bottom side of the shirt – just another unique place to add iron-on that isn’t front and center.

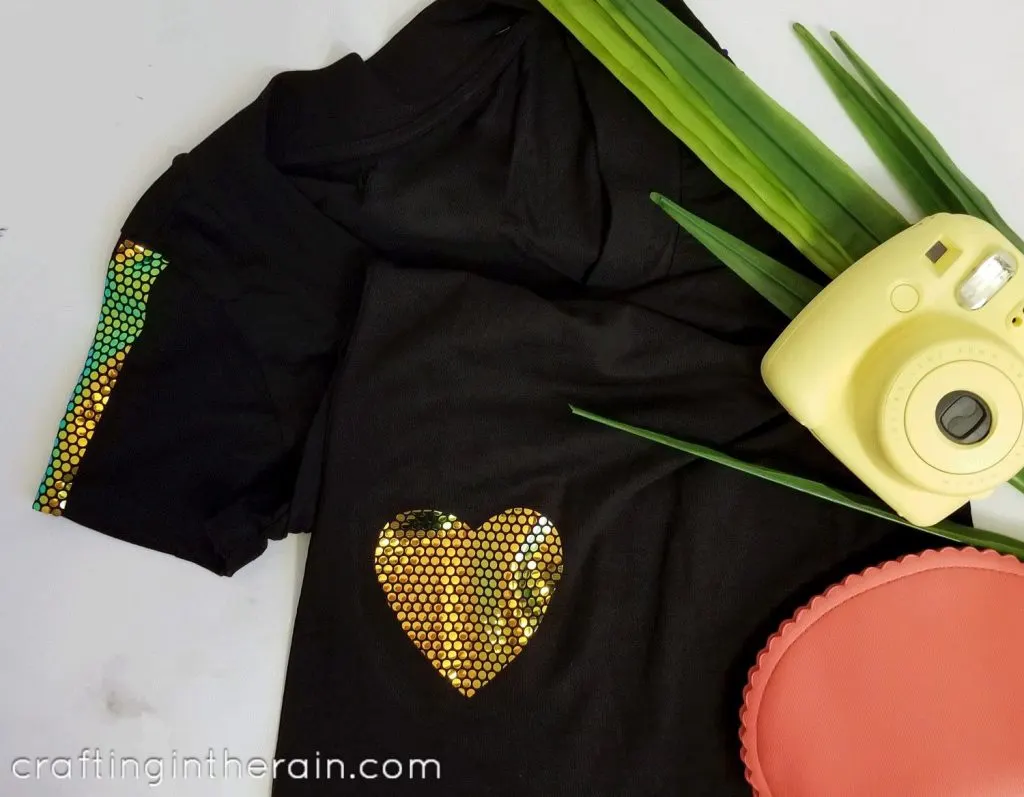
I hope you’ve been inspired to try a new project with the Cricut EasyPress Mini, and put some iron-on vinyl on those projects and places that have just seemed too awkward to use with a larger EasyPress. If you have questions, let me know!
Shop this post: (affiliate links)
Cricut Explore Air 2
Cricut EasyPress Mini
Cricut EasyPress mat – small
Mosaic iron-on (Dahlia)
More posts using the EasyPress Mini:
Decorated felt pumpkin
Vinyl on backpack
Sweet 16 party
How to Use Cricut Mosaic Iron-On - Angie Holden The Country Chic Cottage
Thursday 18th of December 2025
[…] Mosaic Striped Sleeves Shirt […]
Julie
Thursday 30th of April 2020
I'd absolutely love to have this!
Brittany Chadwick
Thursday 30th of April 2020
I’ve seen these everywhere, I have to get one! I’ve been getting back into crafting and this looks so cool!
Sara
Thursday 30th of April 2020
Perfect size! Have been wanting the little guy for awhile!
Donna corley
Thursday 30th of April 2020
I would love to win one of these. I have 9 grands and 2!on the way! I'm also making masks for construction workers and would love to add some special touches to them. Oh the possibilities are endless. Lol. Best of luck to everyone.