Design Space has a ton of images for creating backpacks with iron on vinyl and I’ve saved the ones I used in two separate projects.
This post was written when I partnered with Cricut and The Blue Ribbon project – you can still use these ideas to make donations, or to decorate backpacks for back to school.
There are approximately 440,000 children in Foster Care nationwide. As you can imagine, in those emergency situations, children can be taken from their homes with nearly nothing. Maybe even just the clothes on their back!

If they have a chance to bring any personal belongings it’s likely going to be tossed into a trash bag to carry. It doesn’t seem like that would be comforting at all.
What if there was a little something we could do to help? There is! The Blue Ribbon Project collects and distributes backpacks stocked with a few necessities to children entering foster care, especially in that first 24-48 hours.


They’ll get a few things they need like a toothbrush and socks, plus a way to travel with other things they can take with them. If you go to The Blue Ribbon Project page, you can locate a list for the items they request for each backpack age and gender.
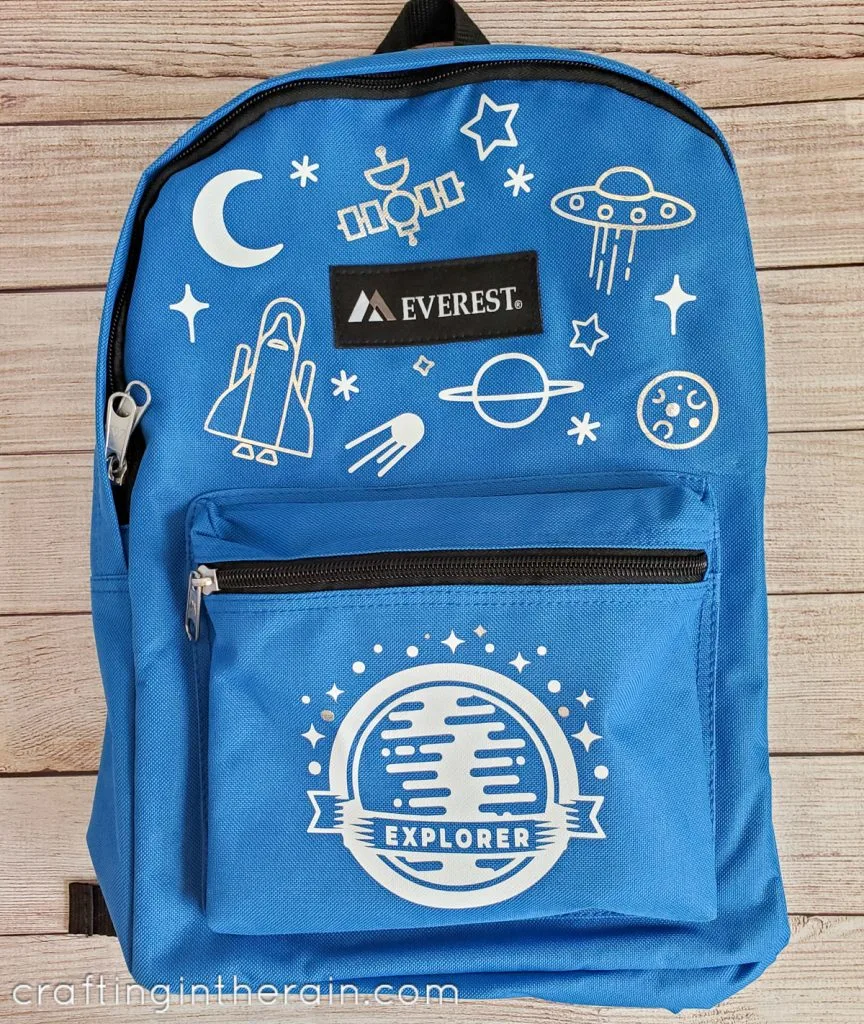
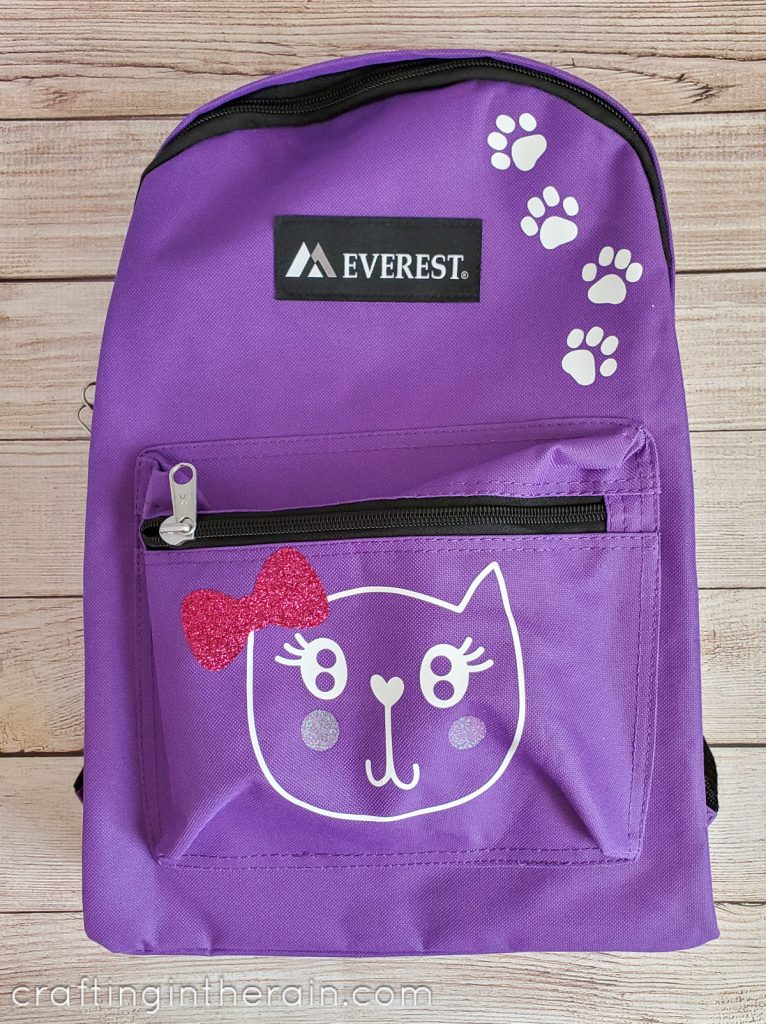
I’m creating a backpack for a boy age 7-8 and a girl age 3-4.
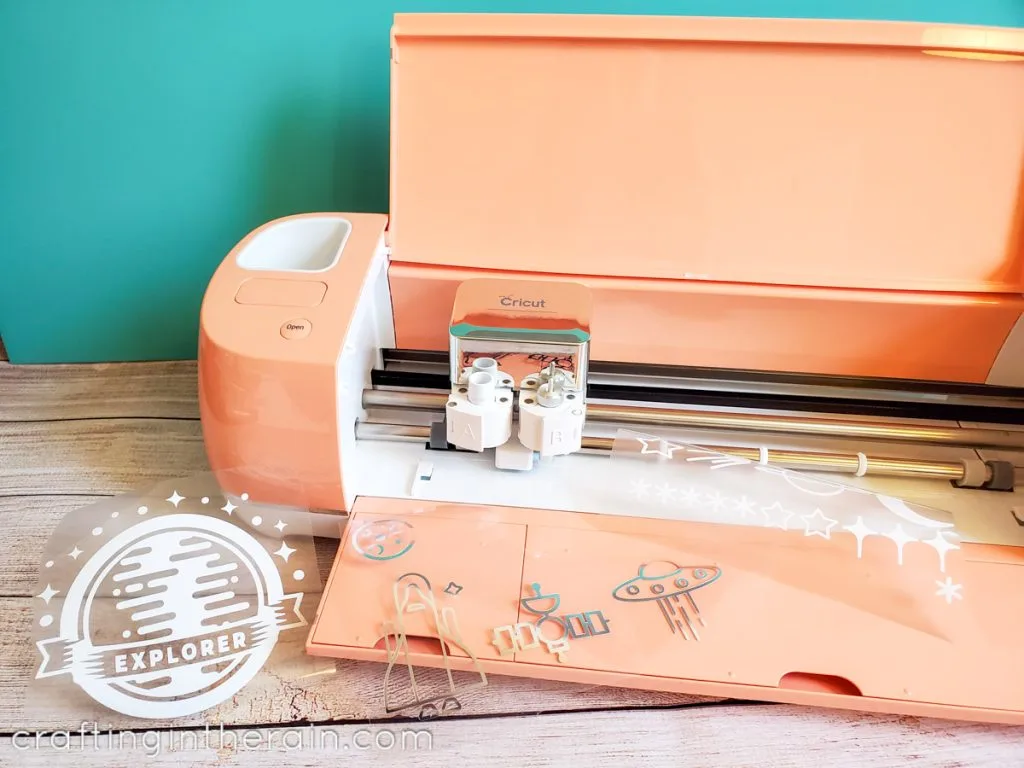
I decided on a space theme and a cat theme for my two backpacks.

Open Cat Backpack Project

The instructions for putting iron-on vinyl on a backpack are the same for either one.
- Measure the backpack area so you know your design will fit
- Cut the iron-on vinyl with a Cricut Explore, Maker or Joy (the Joy can cut up to 4.25 inches wide, so keep that in mind – will your designs fit?)

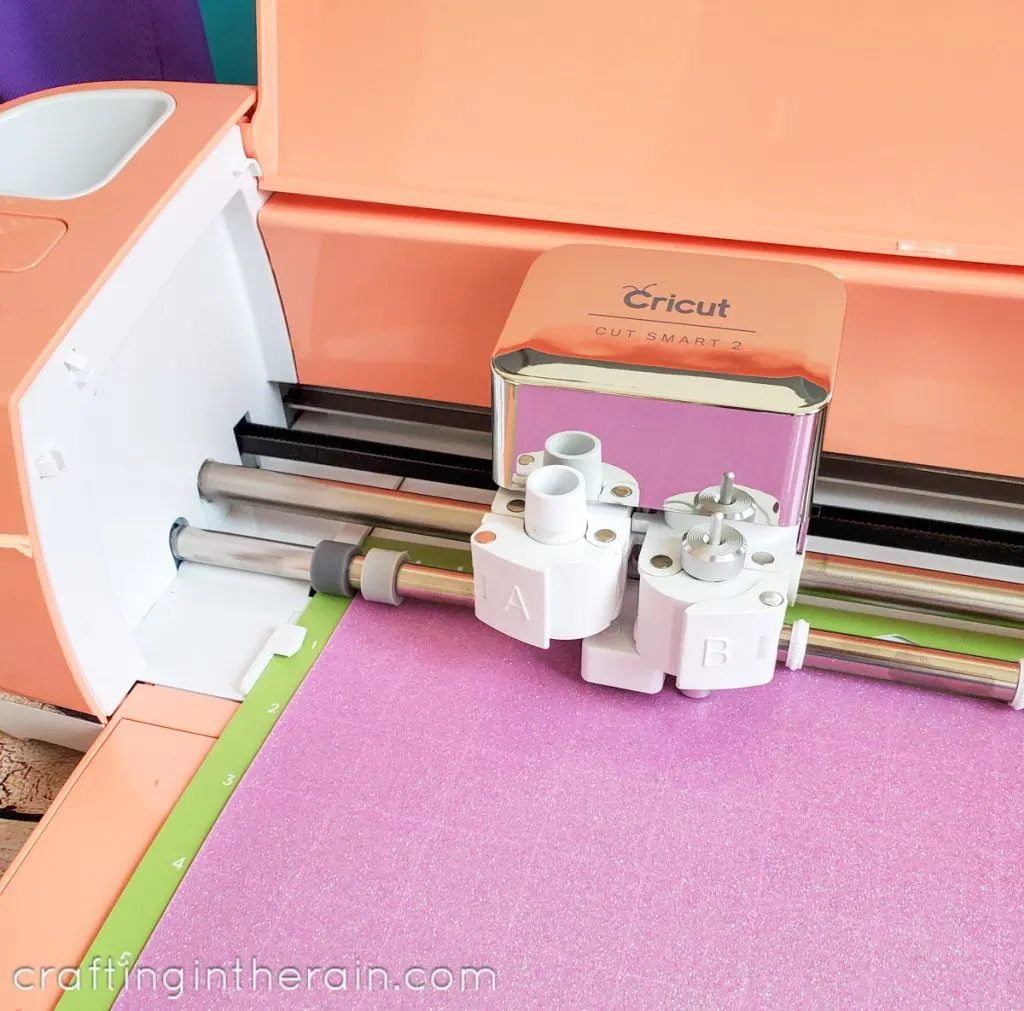
- Remember to MIRROR!
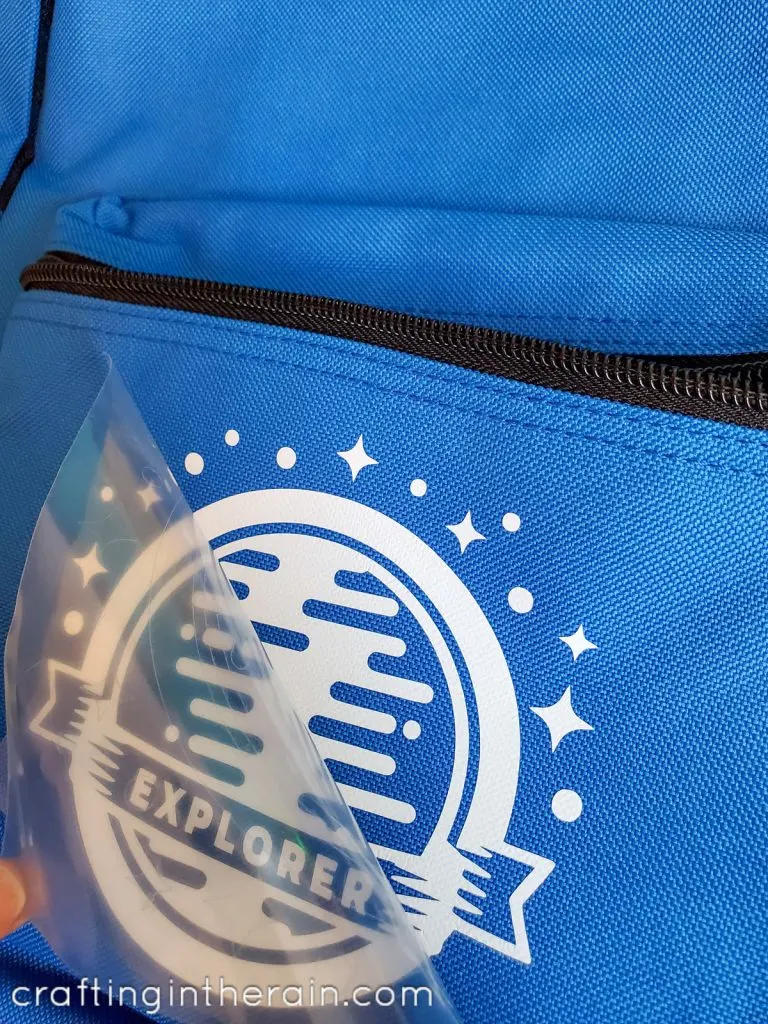
- Weed the extra vinyl
- Heat EasyPress Mini to medium

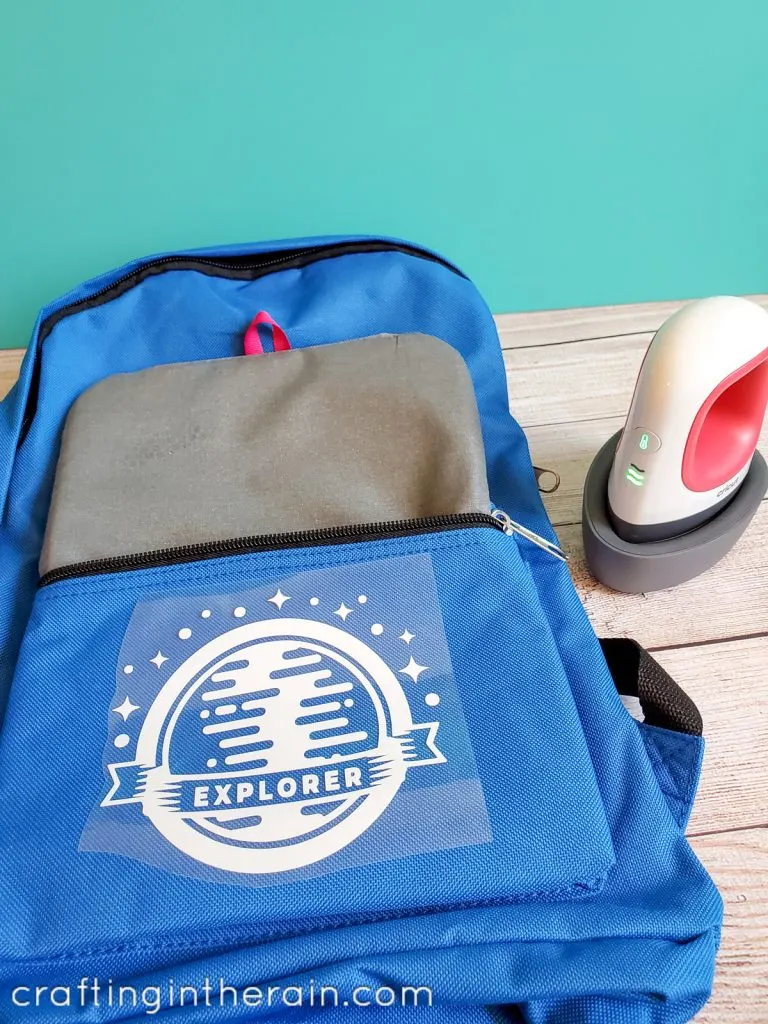
- Fold a towel and layer the small EasyPress Mat inside the backpack (or just the mat inside of the backpack small pocket)
- Press for 25 seconds
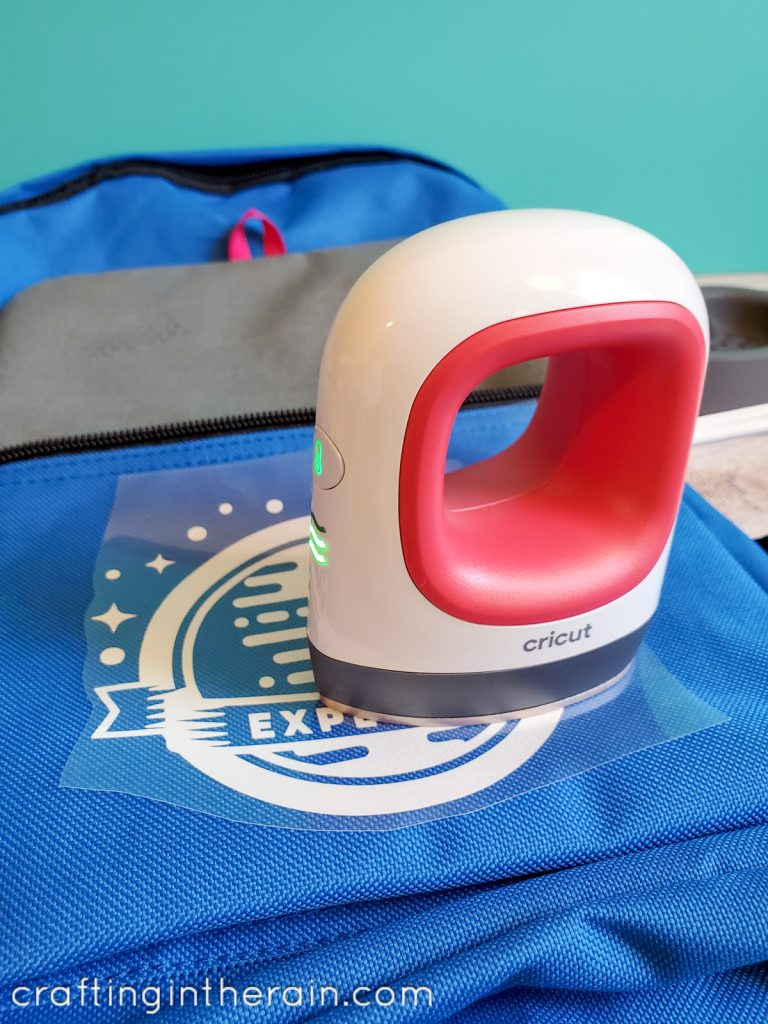
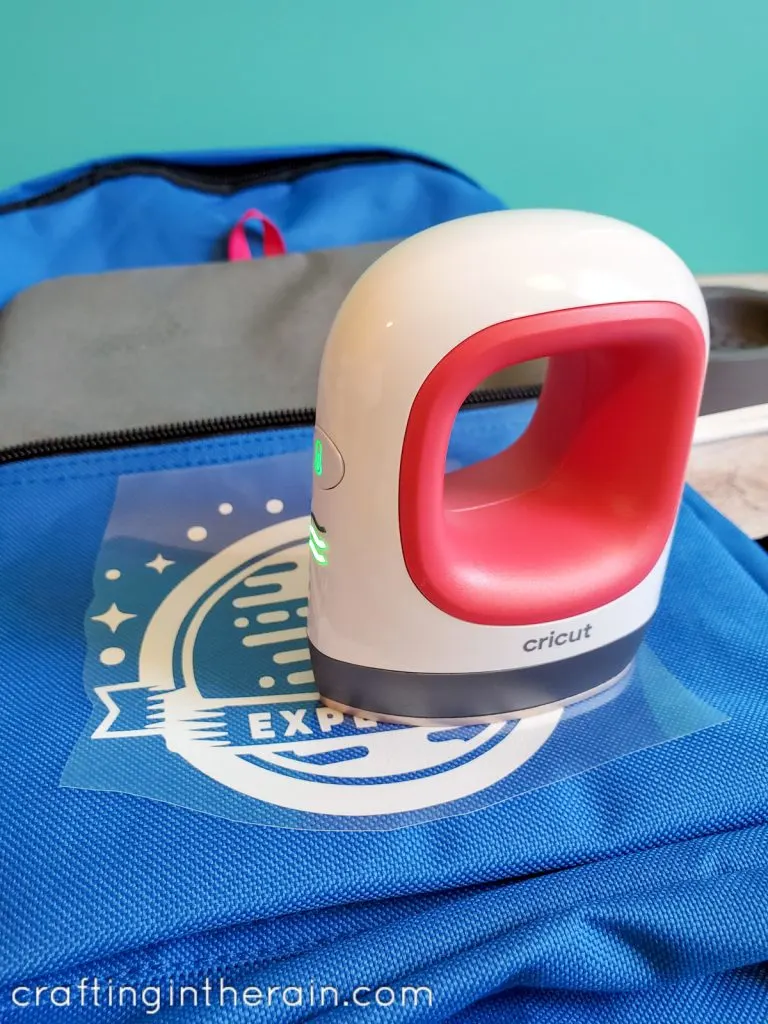
- Peel when COOL

Read an in depth post with iron-on vinyl instructions here
With the two different backpacks, you can see how you can either fill the blank space with lots of small designs, or add something larger.
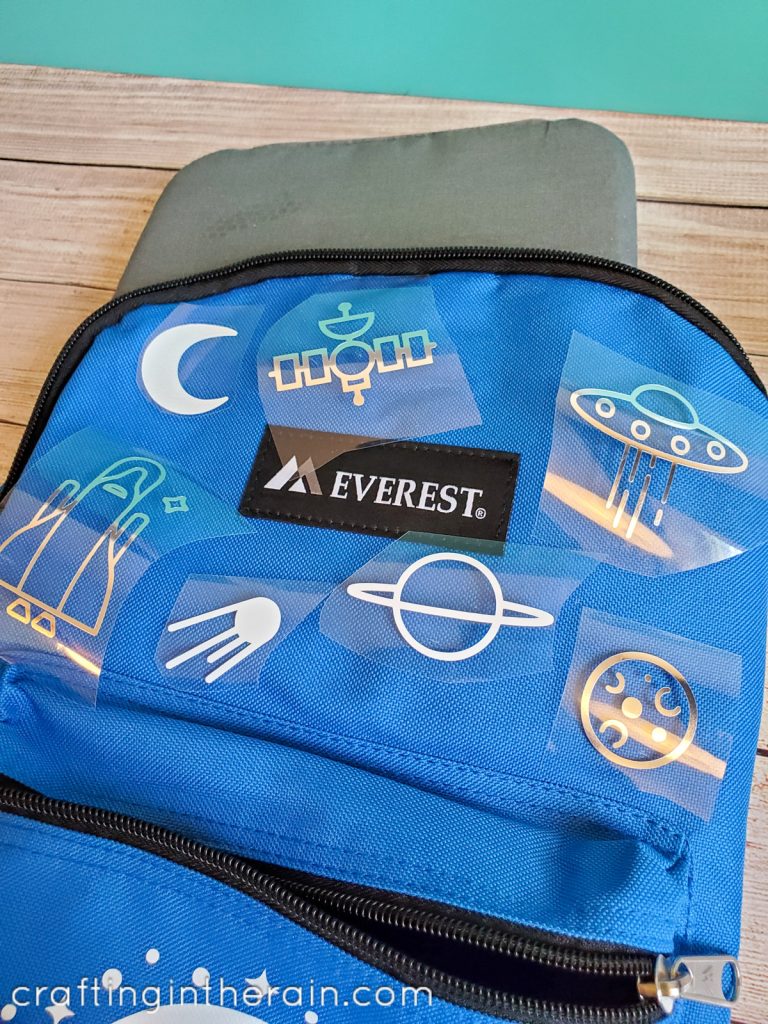
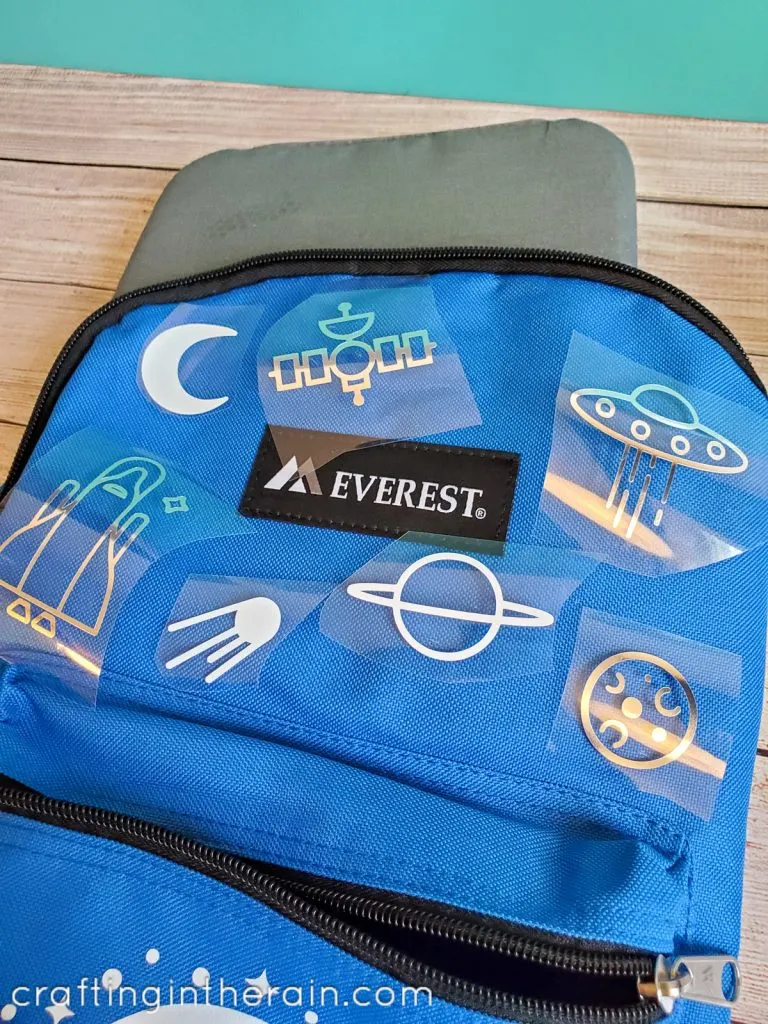
My one suggestion about large designs on a backpack is that large pieces of iron-on may be a little more difficult to apply without wrinkles. So just keep that in mind.
Once the backpacks are all decorated, you can send them off to The Blue Ribbon Project. You can even add in a few of the item requests as a head start to being filled.
Decorated Backpack Supplies:
Have you decorated a backpack with vinyl before? Do you think you’ll try it after seeing this tutorial?
Angie
Sunday 26th of April 2020
I love their iron on product!!! Love this
Jean Heming
Sunday 26th of April 2020
would love to win the easy press do not own any of the presses!!