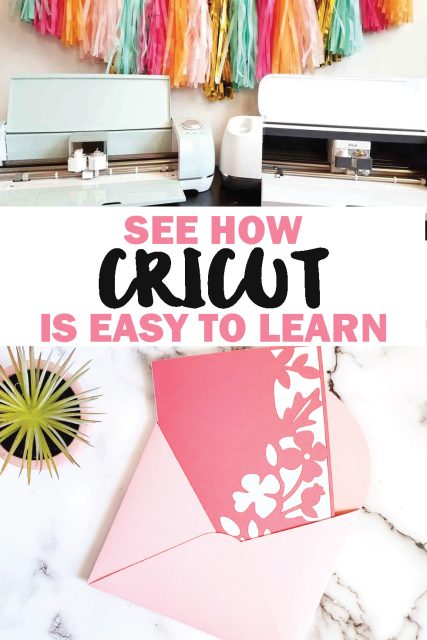
Are you thinking about getting a Cricut Explore or Cricut Maker? Do you have one on your wish list, or are you getting one for Christmas? Learn how it’s easy to use a Cricut machine, and what you need to know to get started with your first project.
This is a sponsored conversation written by me on behalf of Cricut. The opinions and text are all mine.

Whether you’re looking for a paper cutting machine or vinyl cutting machine, Cricut wins because it does that and so much more.
Read this post for a comparison between Explore Air 2 vs Maker.
Is Cricut Easy to Use?
Short answer: YES! But you probably want a little more information than that. So let’s talk about how you can easily set up and start using this best tool for crafters.
Download Cricut software
Visit design.cricut.com to open Cricut Design Space. You will have to sign in or create an ID if you haven’t done that yet.
You will need to download a plug-in to your computer. Follow the prompts on your computer to run the plug-in.
Then you can go ahead and bookmark the Design Space link on your internet toolbar so you can easily get there anytime you’re ready to design.
Cricut machine set up
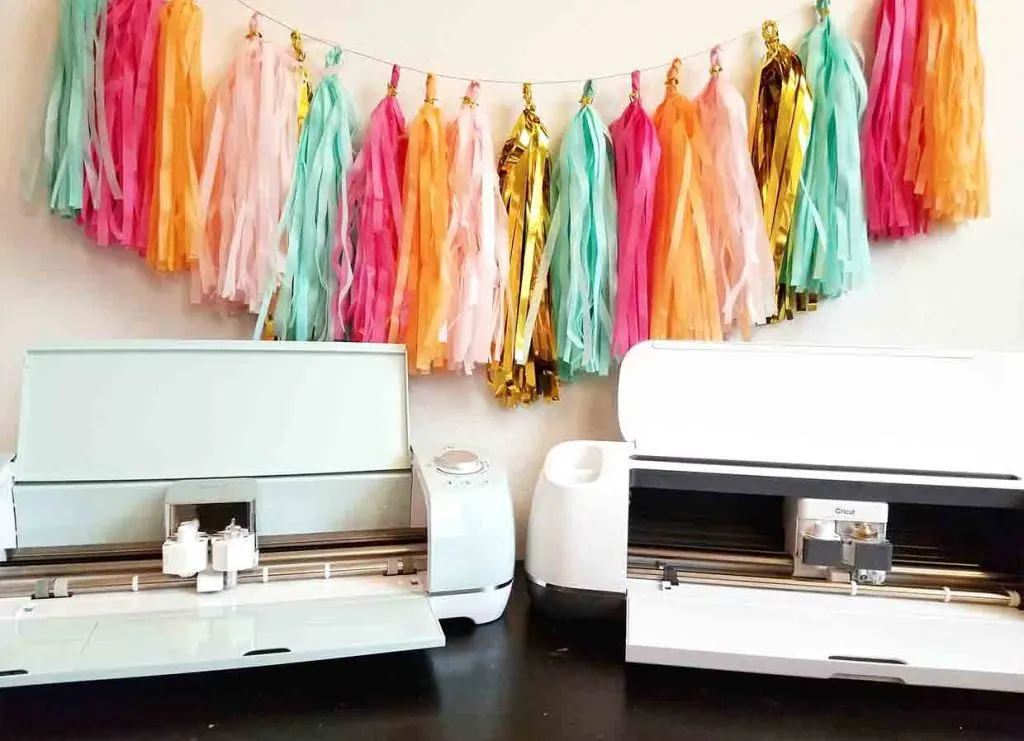
Take the machine out of the box and locate the power cord. Plug into the wall and into the machine. Remove any protective packaging around the blade.
Turn on the machine and connect to your computer with the USB cord or pair it via Bluetooth. Open the Bluetooth settings on your computer and pair it with a new device.
The power button will light up blue when the Bluetooth is connected.

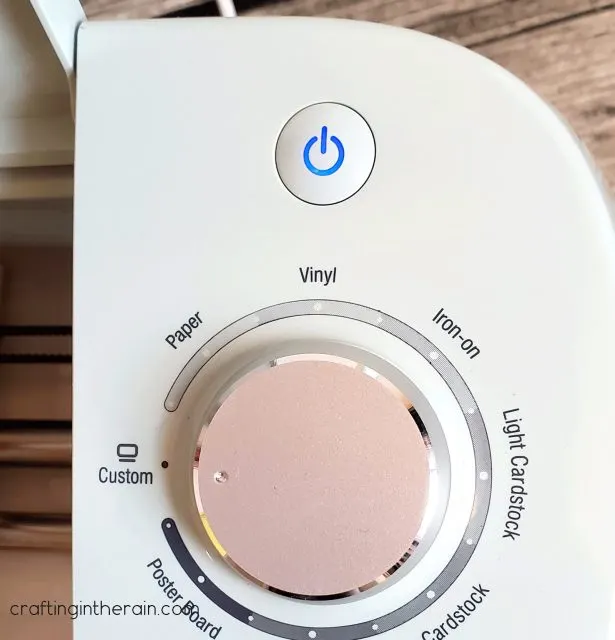
Power button on Explore Air 2
Look for the MAKER or AIR listing and click on it. The passcode is 0000.
Then the machine will connect and you will be able to cut your first project.
Do I need internet to use Cricut?
There is an offline version of Design Space! You will need the internet first to set it up. But then after than you can use Design Space offline with no internet.
Open Design Space and start a new project. A bar will pop up at the top that looks like this.


Hit the “Download Now” button and follow all the instructions. You’ll connect your machine using the USB cord to set it up.
Find a project in Design Space
Design Space is free to use and you can design in Design Space even before you have a Cricut machine!
There are over 100,000 images in Design Space, and over 400 fonts.
Some of these are free, and many are available to purchase or to use with a Cricut Access subscription.
Do I need Cricut Access to use Cricut?
A Cricut Access subscription is not required to use your Cricut. You can use the free fonts and images and you can upload your own fonts and images.
However, it’s so convenient to find images and projects in Design Space that I love having that as an option. Do a quick search through Design Space and I’m sure you’ll find so much content you love that it will be worth it. Plus you get discounts and stuff!
Read this post all about the benefits of Cricut Access.
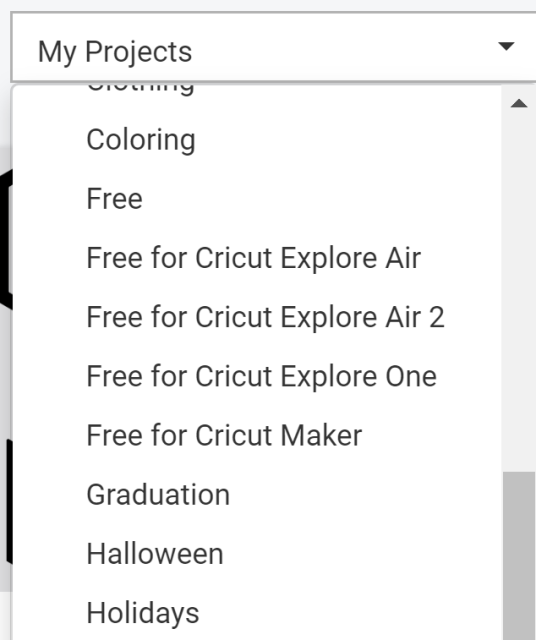
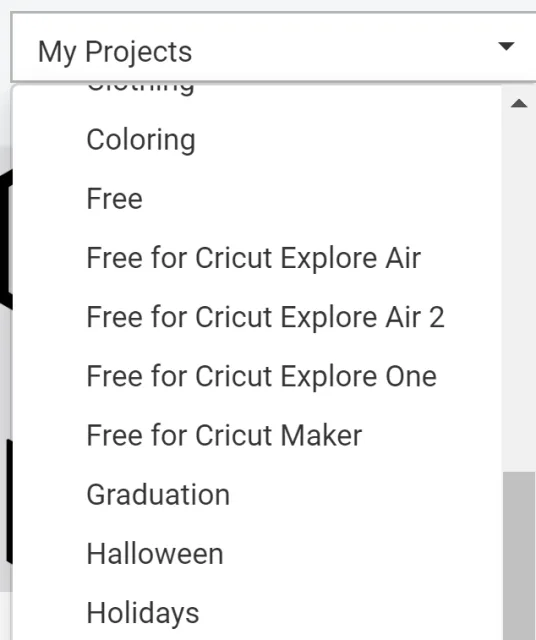
Your machine also comes with access to projects specific to your machine. Find them in the drop down menu for projects.
Cut first Cricut project
Your very first Cricut project should be a simple one. One option is to use the materials that come in your box and follow the prompts on your computer to make the sample project card.
You can also choose another project to start with. I like simple, because you’ll be learning how to use Design Space and your machine along the way.
If you’ve never used a Cricut before, a card is a great project to start with because you don’t need many supplies.
Supplies needed
- Cricut Maker or Cricut Explore Air 2
- This Design Space project
- Blue or Green mat
- Cardstock
- Adhesive
Find a card file in Design Space
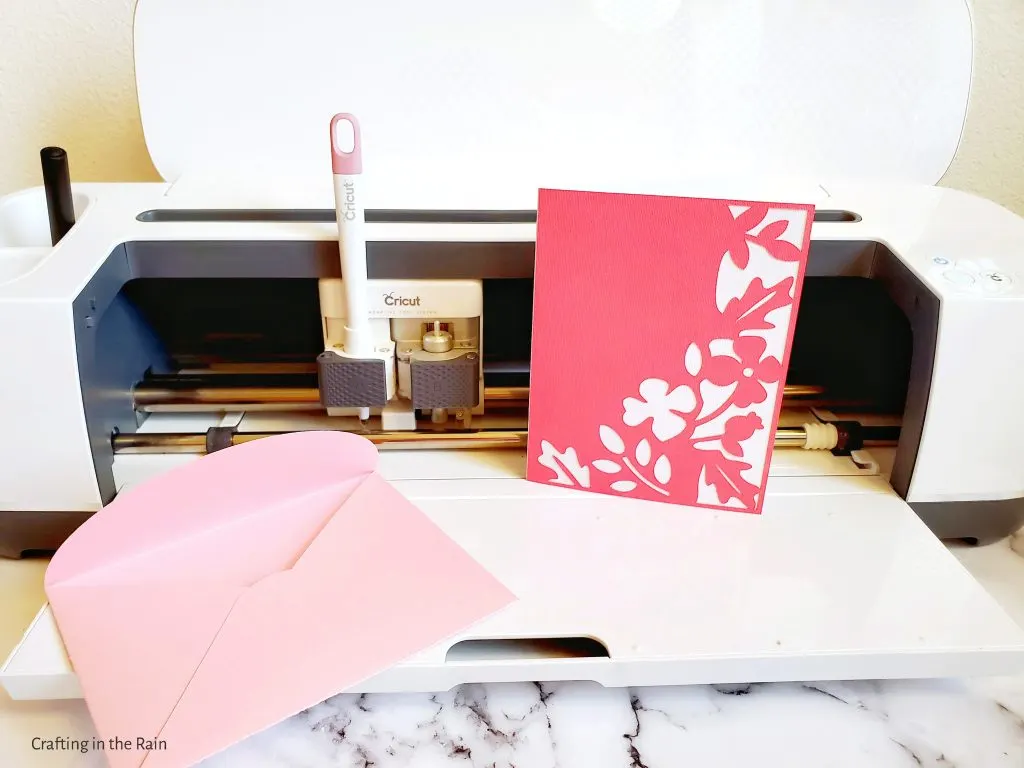
Click the Images on the left, then click cartridges, then search for “cards.” Different card collections will show up and you can choose the one you want. I’m using Floral Card #M8D9226 you can also search that image code directly.
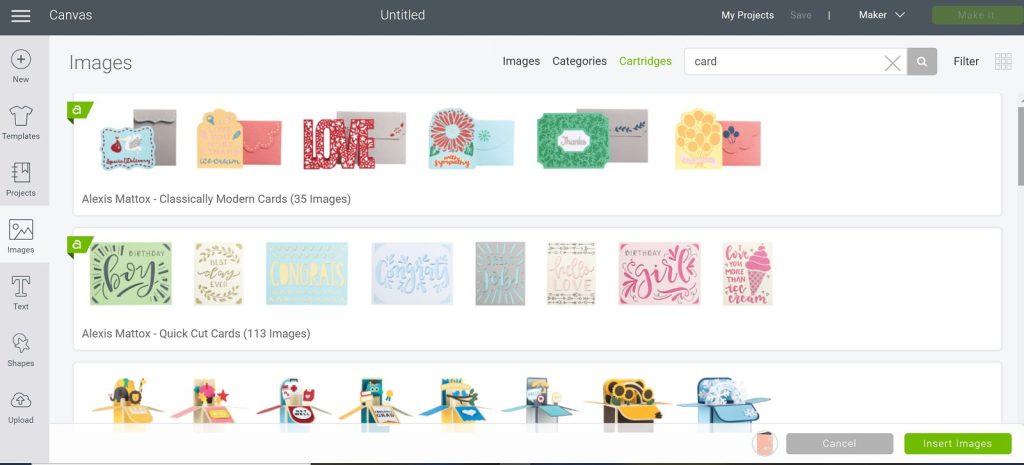

Click on the card you want to make, then “insert images” on the bottom right.
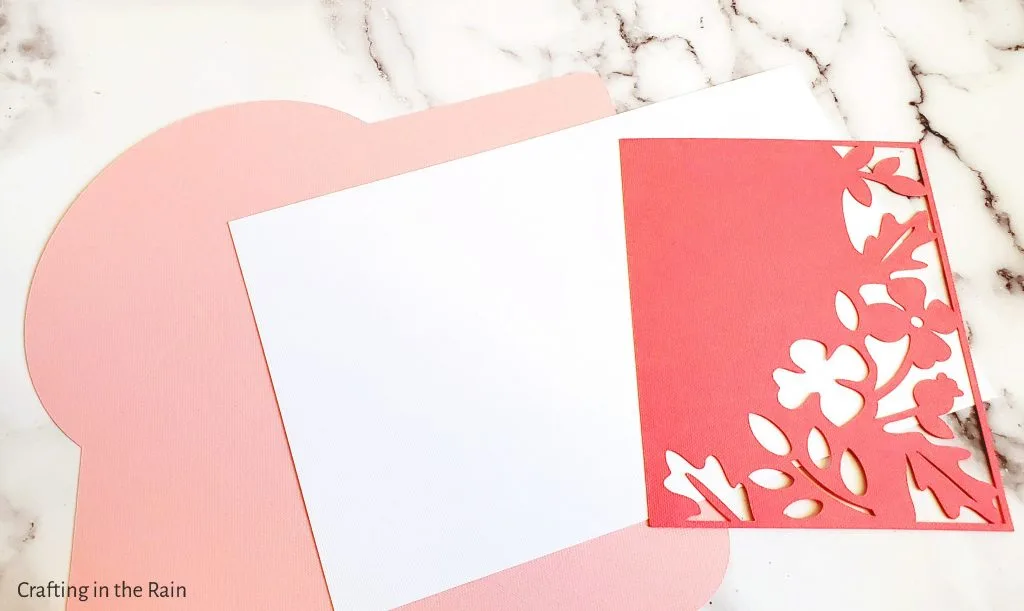
Now the card pieces are on your Design Space canvas. It is already the correct size.
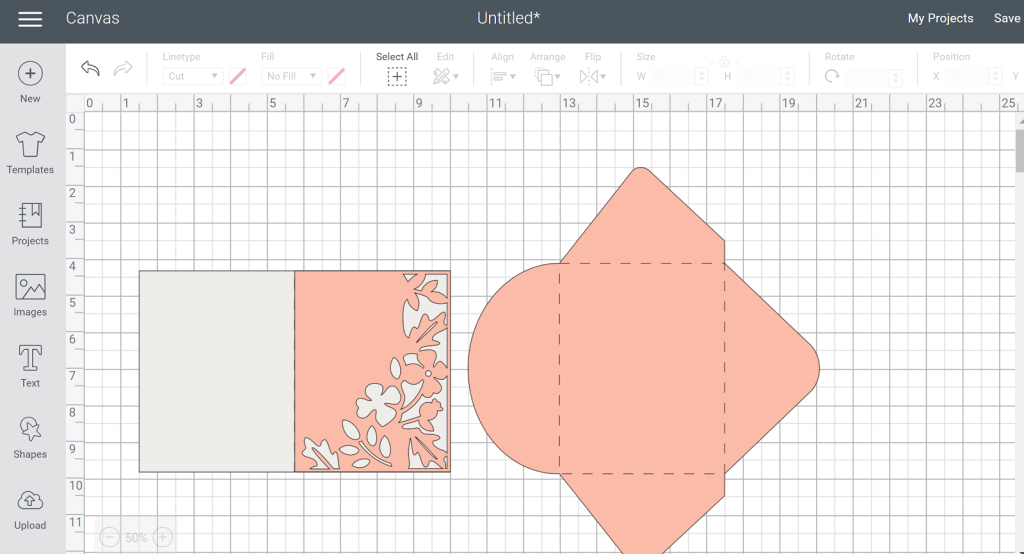

Then click “Make It.” Design Space will show you 3 different mats on the left of the screen. One mat will cut the white card base. One mat will cut the piece for the envelope. And one mat will cut the colored top layer.
Click “Continue.” If using a Cricut Maker, click the “Medium Cardstock” tile for the material. If using Cricut Explore Air 2, set the dial to “Cardstock.”
Load mat into Cricut
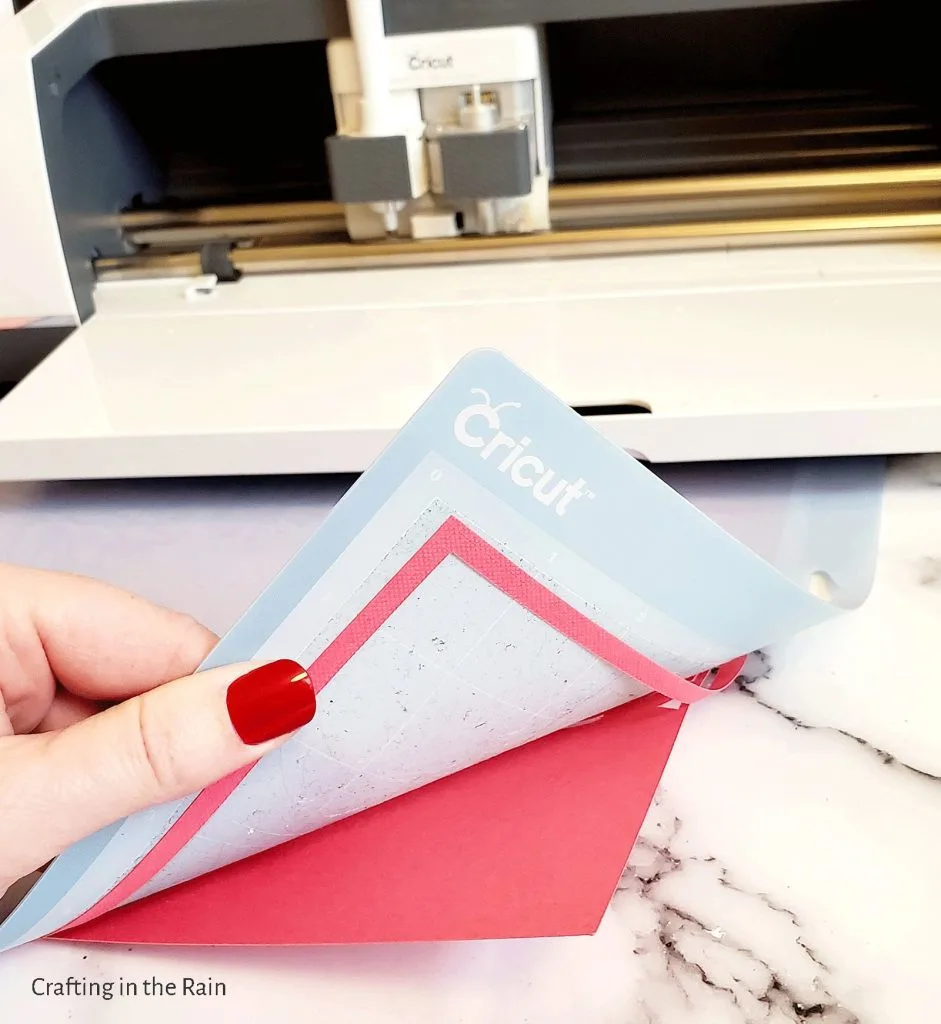
Remove the protective plastic sheet from one of the Cricut mats, revealing the sticky surface. Press a piece of white cardstock down onto a green or blue mat.

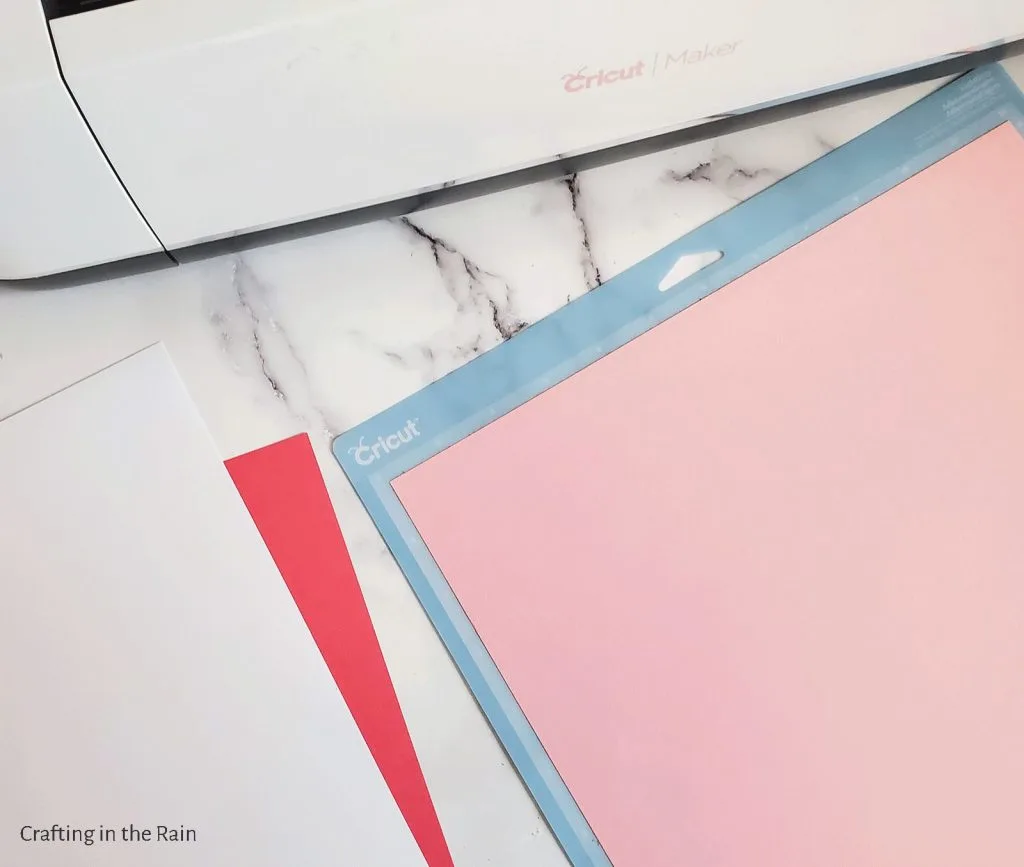
Position the mat up against the rollers of the Cricut. You don’t need to push hard, but make sure the mat is touching the rollers.
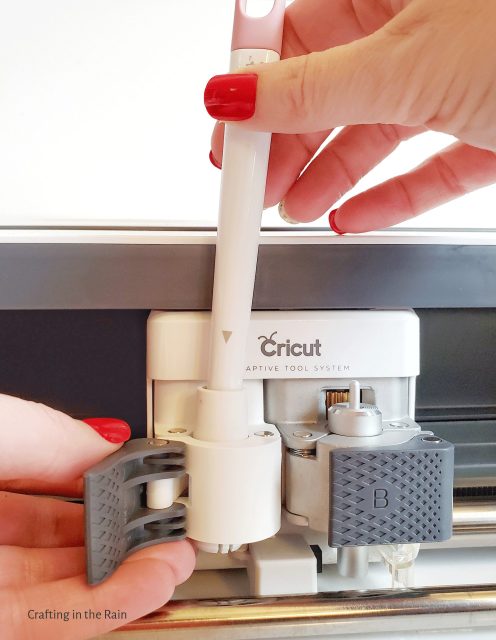
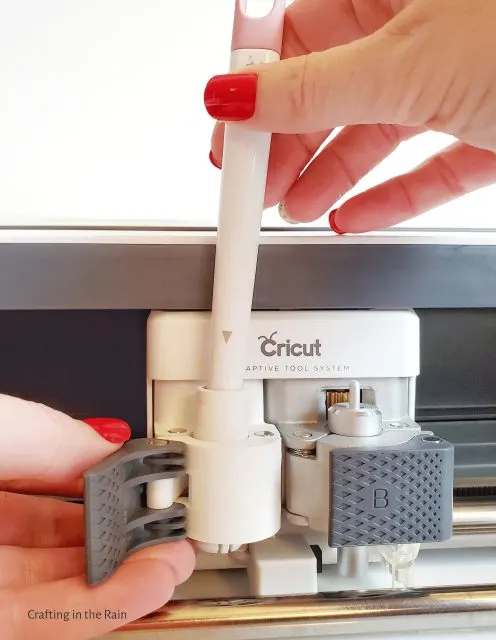
Install Cricut scoring stylus
Press the flashing arrow button and the Cricut will load the mat. Follow additional instructions on the screen – you will need to insert the scoring stylus into clamp A.
I find it helpful to hold the clamp up with my left hand while I push the stylus down with my right. You will hear a small clicking sound when the stylus is installed correctly.
Start cutting
Press the flashing “C” button. The blade will move before starting the actual cut. Then sit back and wait while the fold lines are scored and the shape is cut.

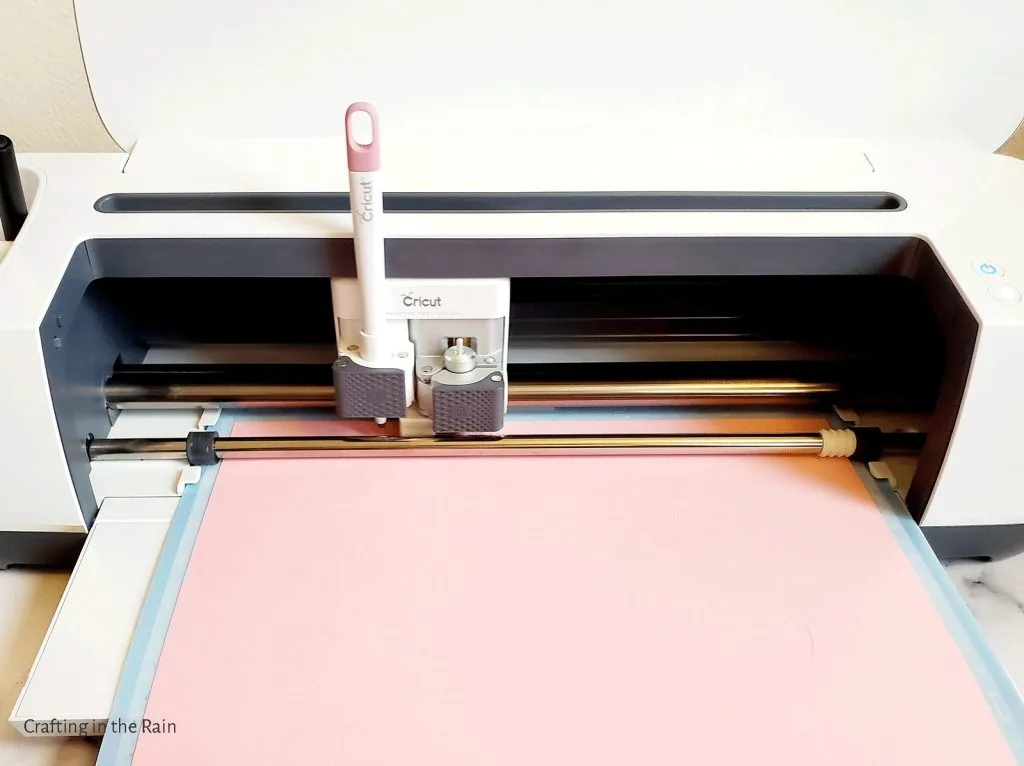
When the cut finished, the arrow button will flash again. Press it to unload the mat.
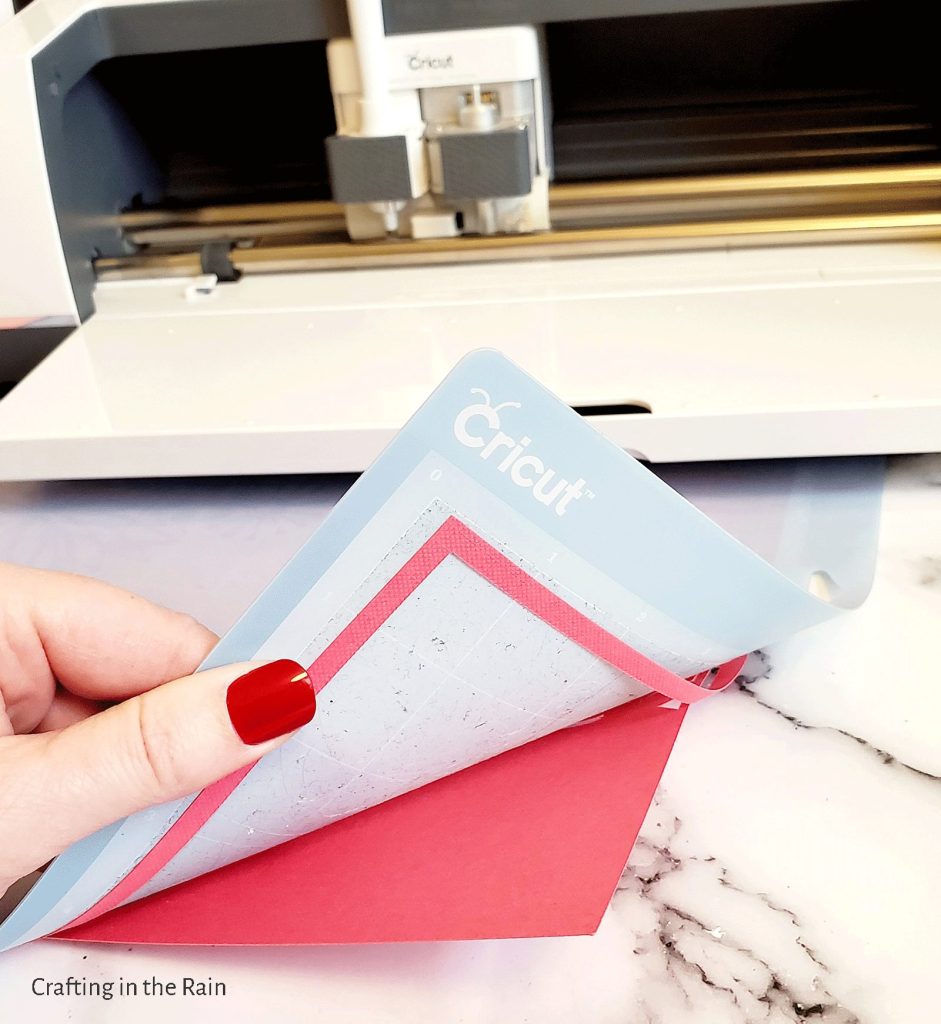
Remove cardstock from mat without curling
To easily remove the cardstock from the mat, gently bend the mat away from the cardstock. This will keep the cardstock from curling or rolling up.
Press down the next color cardstock you need and repeat the process of loading the mat and hitting the cut button.
Assemble Cricut card
When all the pieces of cardstock are cut, fold the card and envelope score lines.

Glue the edges of the envelope together. Glue the top layer on the front of the card. And you’ve done it! With your first Cricut project under your belt, you are ready to keep learning and keep making.

Here are some of my most helpful posts about learning to use the Cricut:
- How to use text in Design Space
- How to upload an image in Design Space
- How to print then cut with Cricut
- How to upload SVGs to Design Space
- Gift Guide: Cricut items you’ll be surprised to love
Do you have any questions that I can help answer? Let me know! I hope you’ll see that you machine can be easy to use – and just remember, all new things take a little practice! You will get better and faster and designing and cutting and making projects as you go along.
And then you’ll also still have some mess-ups here and there even 6 years later 🙂 It helps us laugh at ourselves and remember we’re all still human, right?!