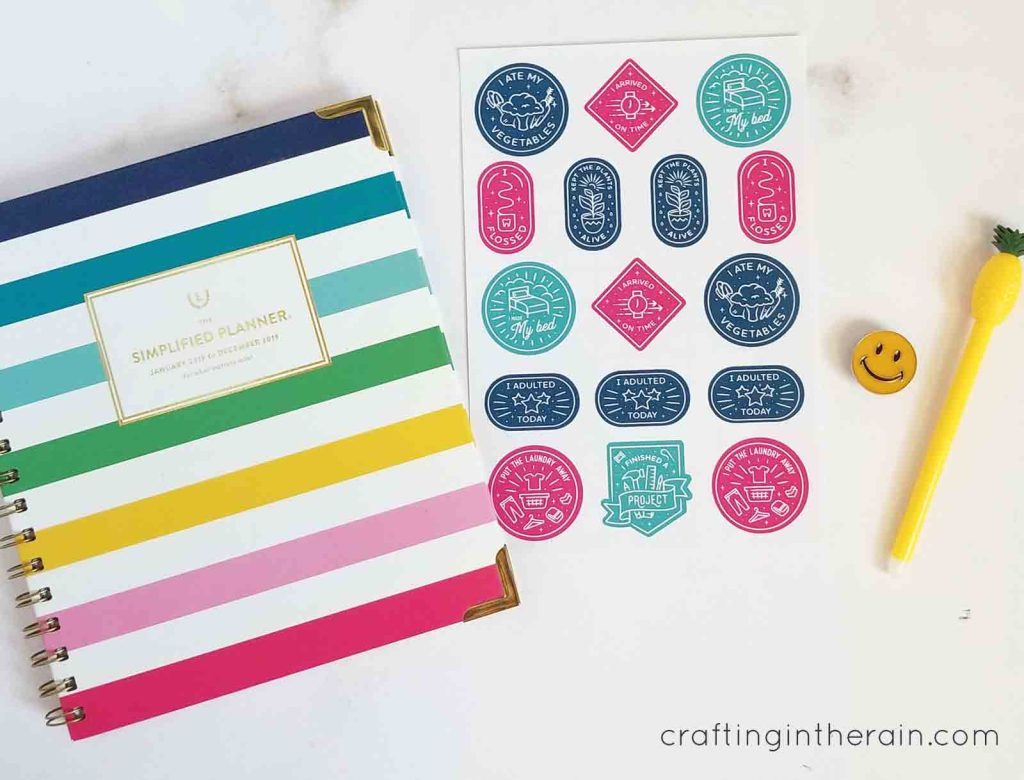
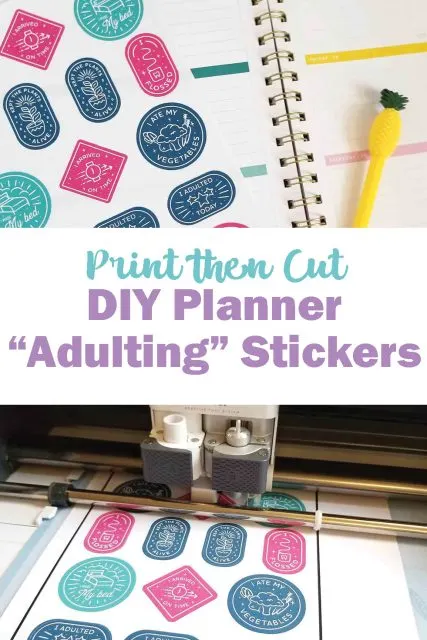
Anybody love funny stickers? I found these funny “adulting affirmations” in Cricut images and I turned them into stickers! Access these ready-made print then cut Cricut stickers in this Design Space project.
Read this post here for uploading your own stickers into Design Space

Watch this video for how I turned the Cricut images into these printable stickers.
I always recommend using the printable vinyl to make stickers. Cricut also makes a printable sticker paper but, sorry Cricut, it stinks. 🙂 It always jams in my printer so I can never get it to work. It’s also thicker paper, and I just kind of prefer the thinner vinyl. So there’s my advice!Full matte label sheets also work great!
TIP: If you are trying to load Sticker Paper or something else that is having a hard time in your printer, trim a little of the long sides. Then tape it down to a regular piece of paper with washi tape. Usually the printer can then usually grab onto the regular paper and still print on the Sticker Paper or whatever you have on top.
So now that you’ve got the correct material, load it in your printer and click Make project.
Send to the printer and click bleed and use printer settings. This way we can change the print quality and get nice solid colors.
On Windows, The print box pops up – choose best quality. For a Mac, you’ll have to check how to change that setting.
Wait a couple of minutes to make sure the ink is dry. Then stick to a blue or green mat.
UPDATE: The Printable Vinyl setting USED to work great for me, but now it cuts all the way through! So I have switched to the Washi setting – works great!
Select material as “printable vinyl” and choose more pressure (it’s what works best for my machine anyway). Load into the machine and press cut.

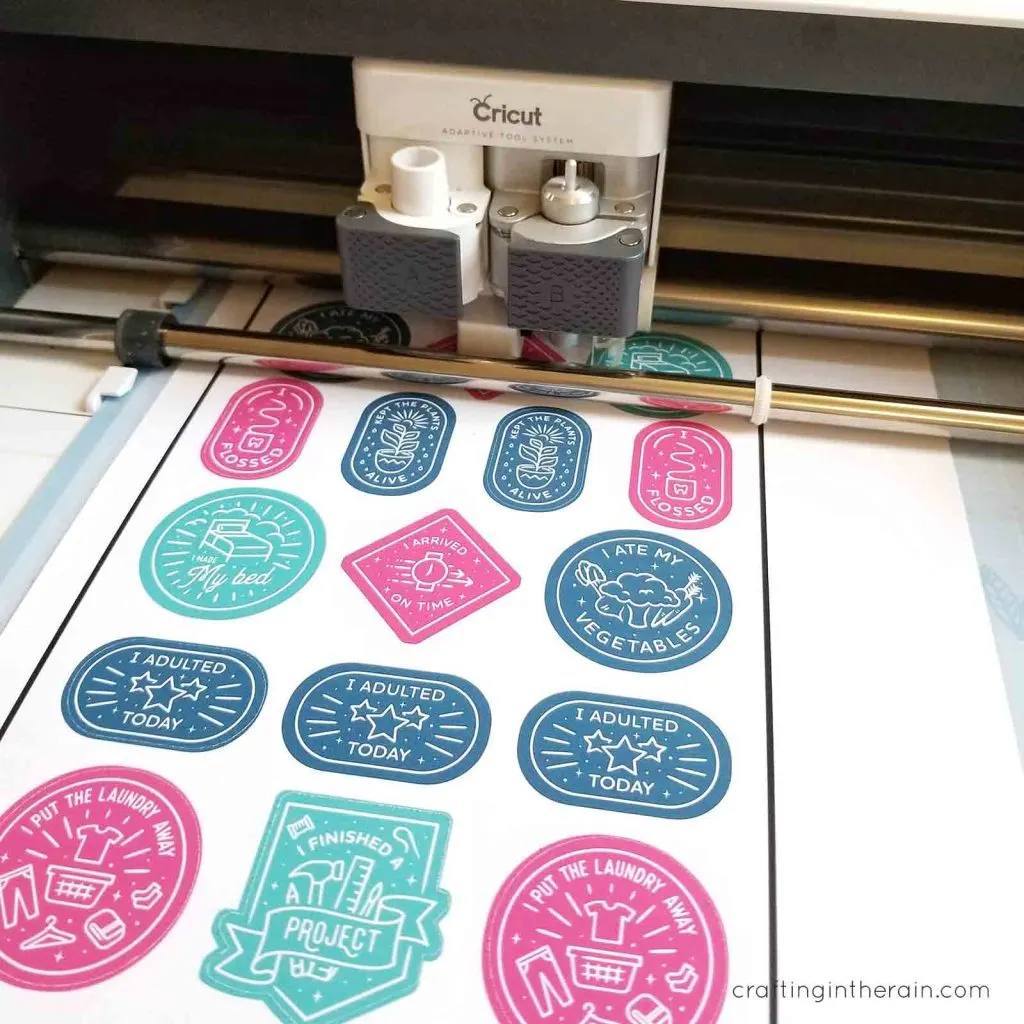
The machine will light read the box around the design and then start cutting.
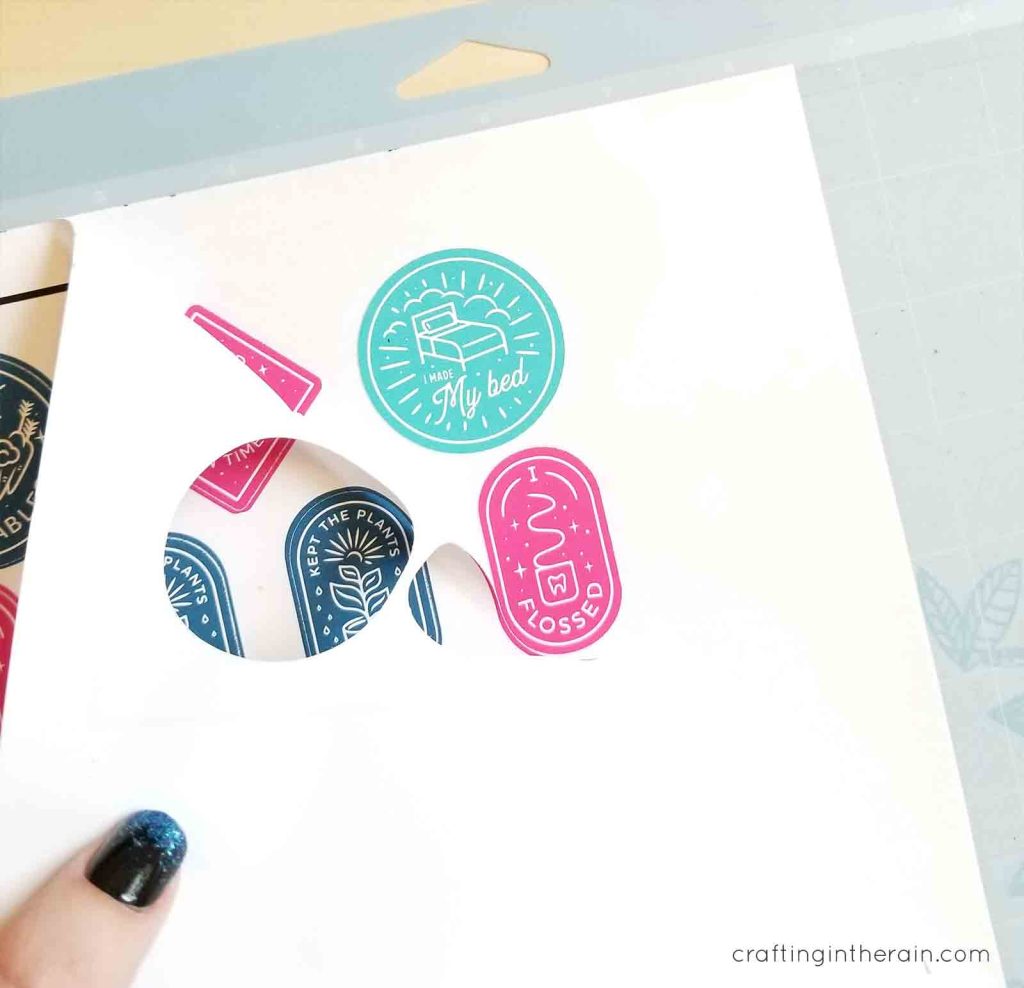

When it’s done cutting, peel away the outside vinyl and trim the remaining backer sheet around the stickers.
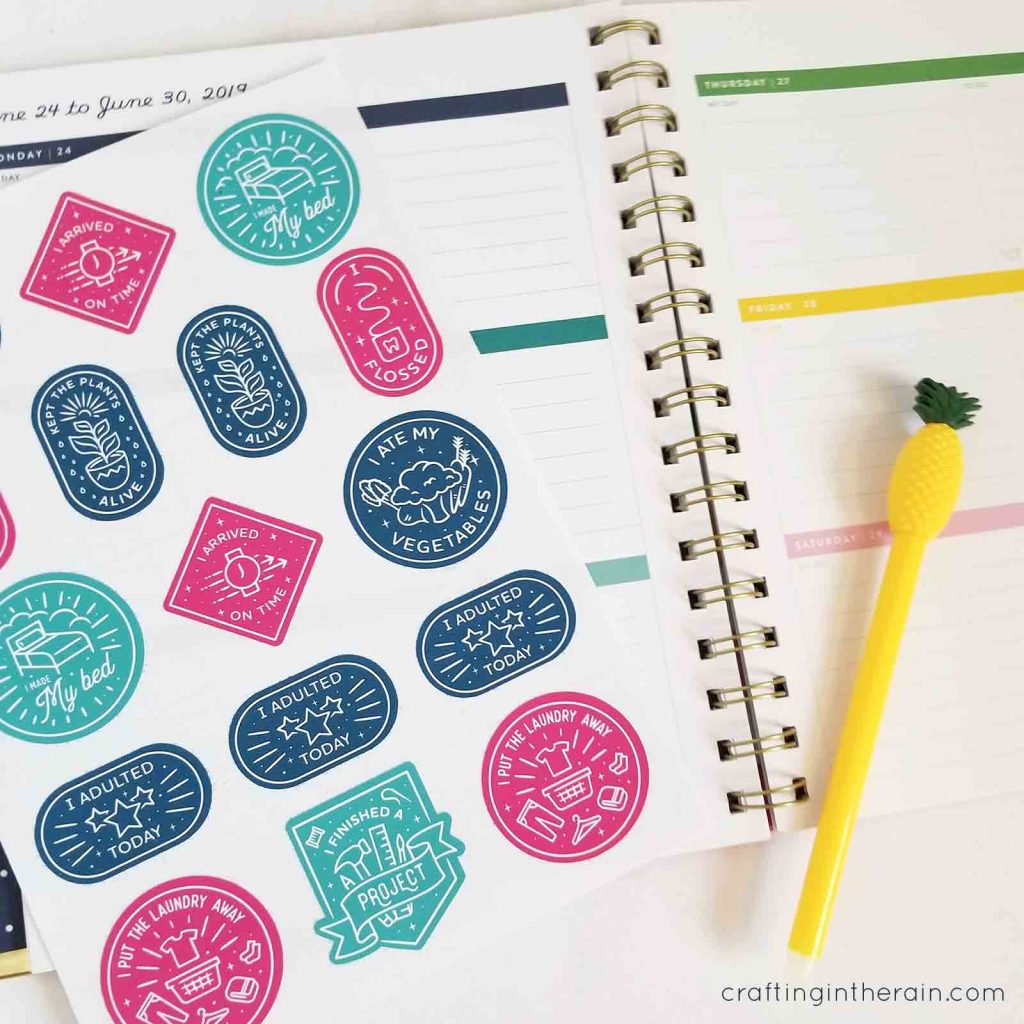
Don’t you think these would make a funny addition to a graduation card too? If you make some, be sure to share a picture – I’d love to see how they turn out, especially if you change any of the colors! Happy adulting – you’ve earned a sticker!

Read this post if you want to make stickers with your own images.

Supplies used:
Printable vinyl
HP printer
Cricut Maker
Want more Sticker Making tutorials? Check out my whole Cricut Stickers Course!

How to Make Stickers with a Cricut - Angie Holden The Country Chic Cottage
Thursday 18th of December 2025
[…] Print Then Cut Stickers with a Cricut […]
Kelly Wyant
Wednesday 26th of August 2020
When I try to do this, the print version is always prints blurred, not crisp as it shows on the screen. Any suggestions??
Sue
Monday 11th of November 2019
Thank you. This is what I’ve been looking for. I have tried to do this without luck. I’m going to try again!