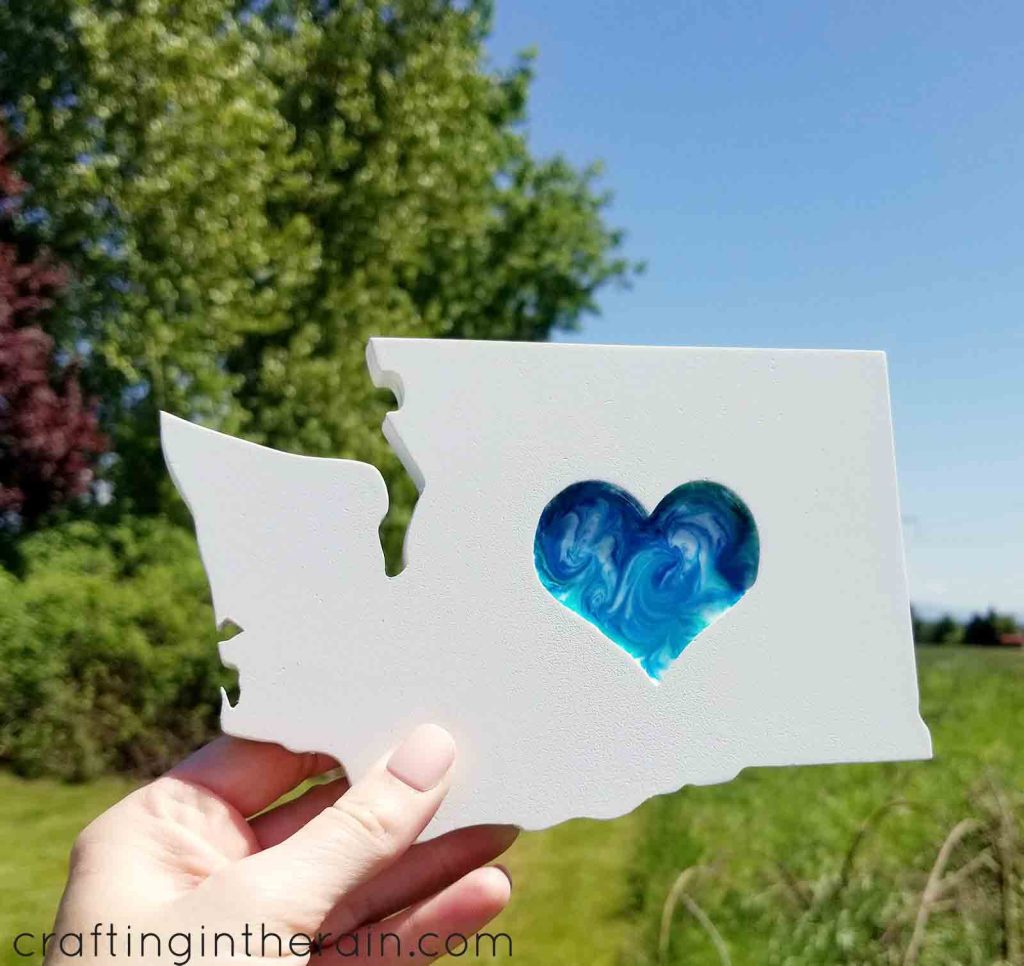
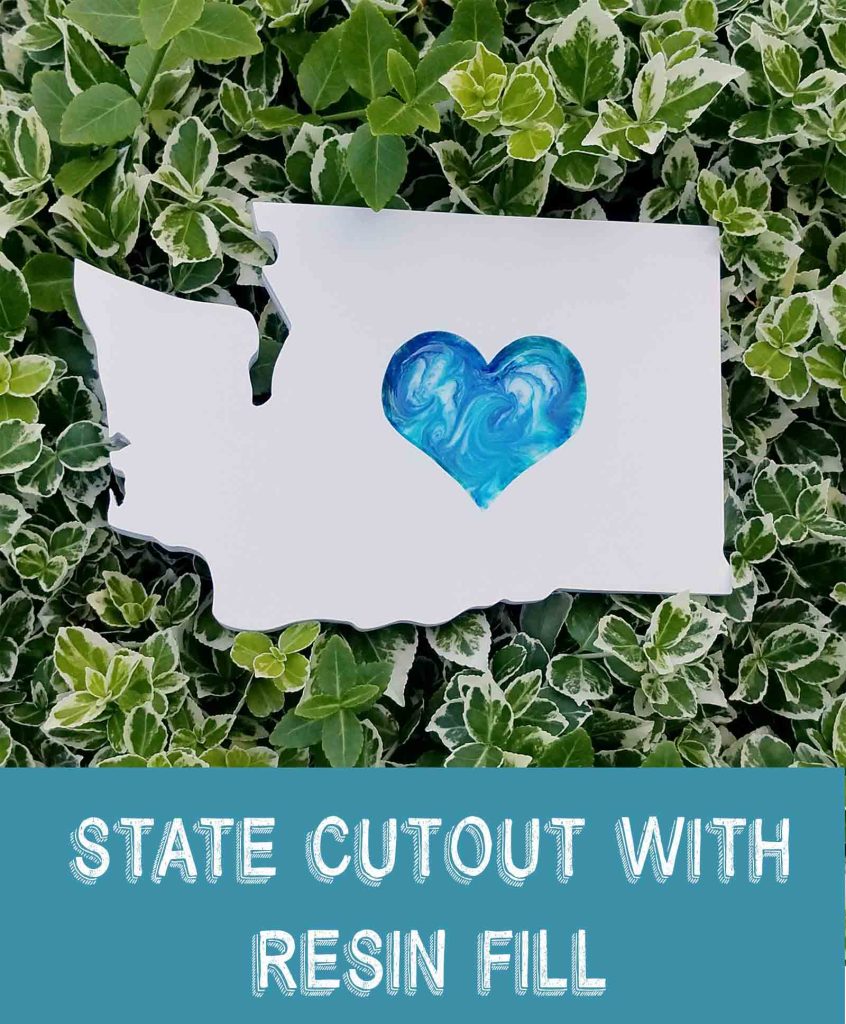
I’ve had this idea mulling around for a while of filling a wood cutout with resin. There’s a lot of state wood art out there and some have hearts cut out, or hearts layered on, and I wanted to try my hand at resin. This post is sponsored by ETI Resin. All thoughts and opinions are my own.

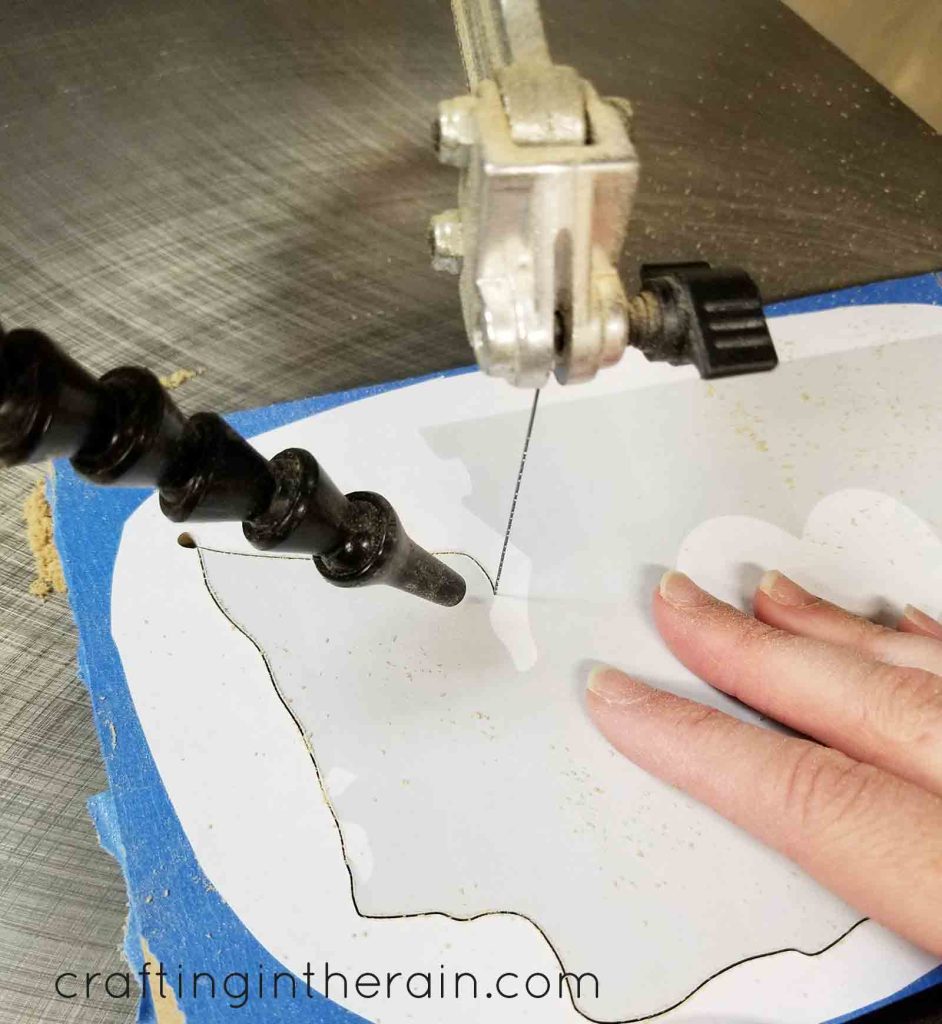
Cutting state shape with scroll saw
I printed my Washington state and heart design out on paper and prepped the MDF for cutting. I wanted to cut the outline stacked, so I put down a layer of blue painters tape on the top of one piece and bottom of the other and used spray adhesive to attach them.
Read more about scroll sawing here

On the top, I put more painters tape and spray adhesive to attach the printout.
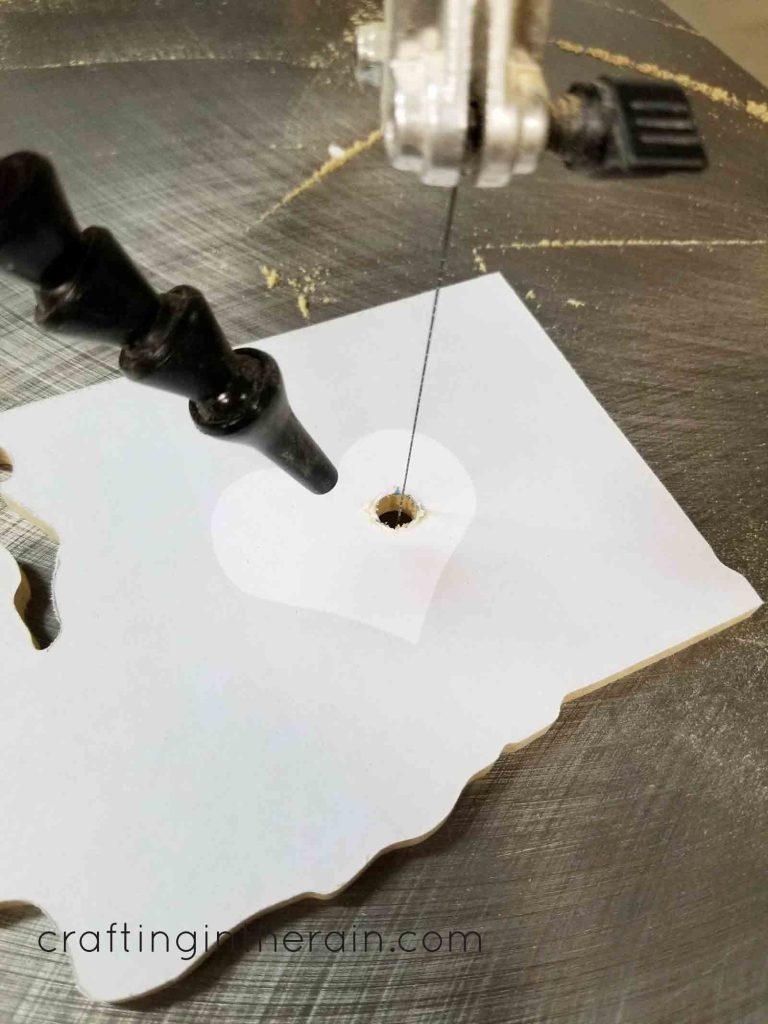
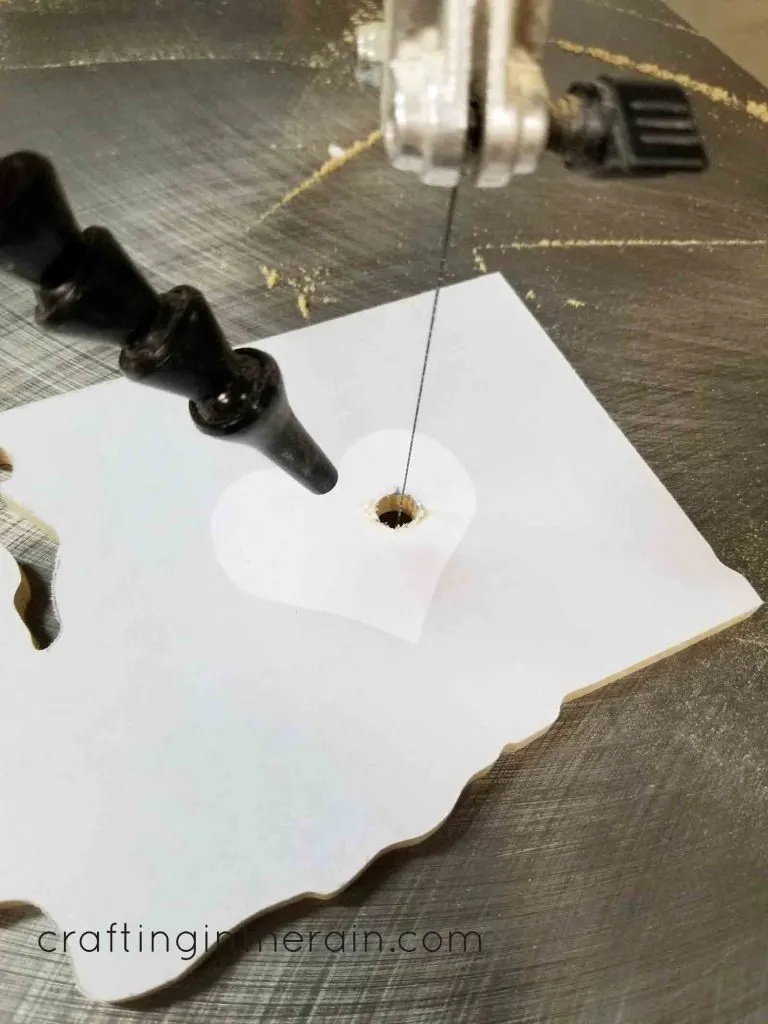
After cutting the outline I peeled apart the two MDF layers drilled a hole in the heart, and cut the heart shape out. This is the scroll saw I’m using.
Next time I’d like to try cutting the heart first and then layering the second MDF with wood glue and cutting the outline after the glue dries. That way I wouldn’t have to try to align all the edges while gluing.
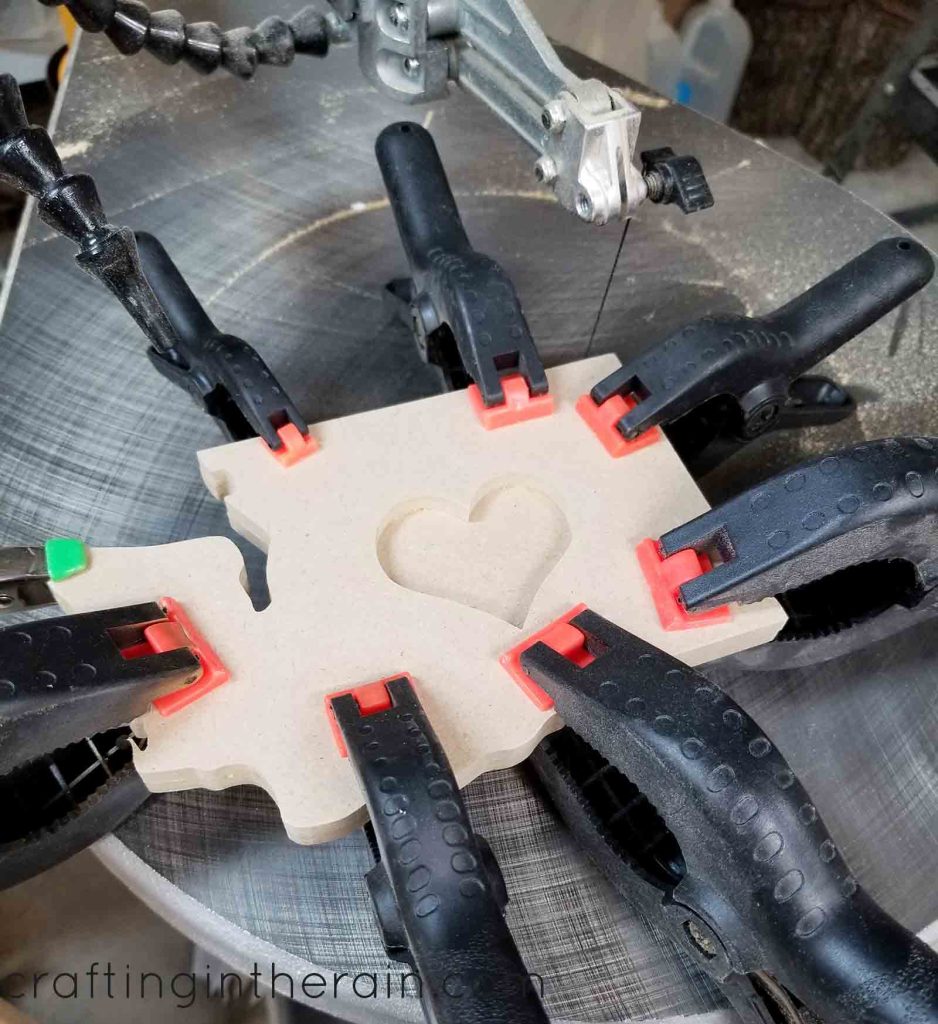
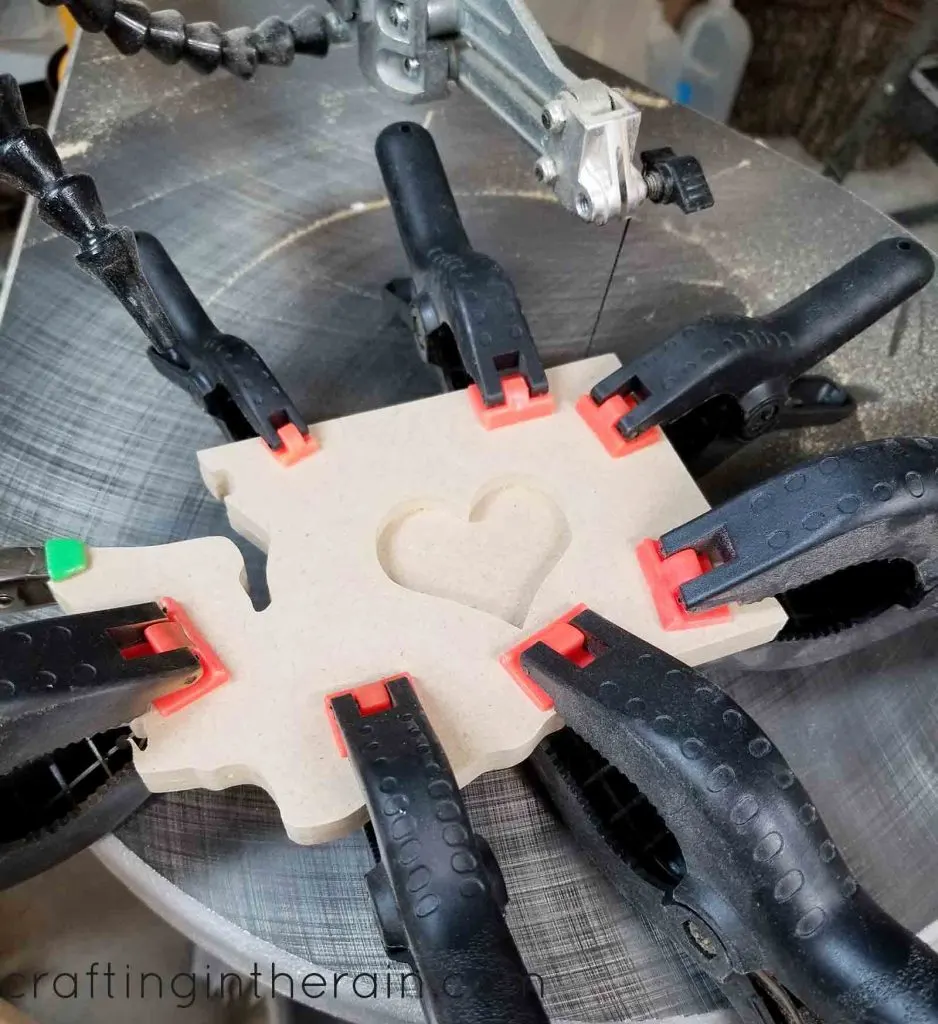
To finish out the state shape I sprayed with primer and then white paint. Then it was ready for the resin.
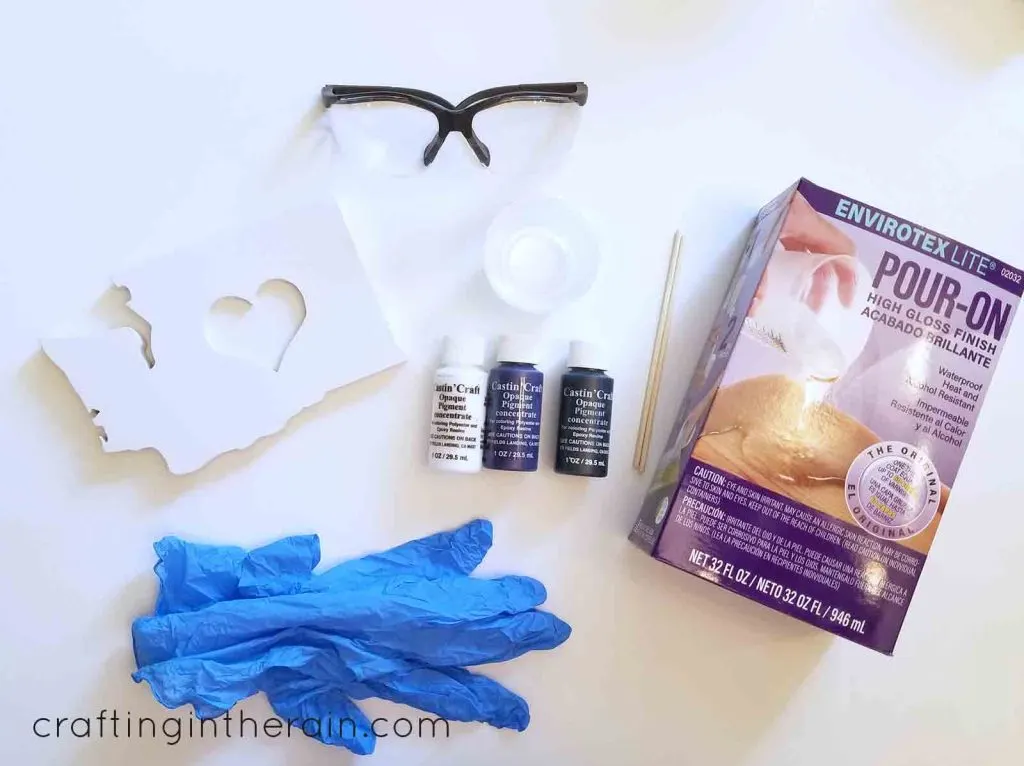
Resin Supplies
- casting resin
- dye
- cups and stir sticks
- gloves and glasses
Use the code CRAFTINGRAIN10 to get 10% off your first order from eti-usa.com
Filling cutout with resin
I used this EnviroTex Lite Pour on to make my filled inlay. In actuallity, EasyCast is the correct product to use for this type of resin fill, but the Lite was what I had on hand.

Be sure to follow package instructions precisely. Use gloves and eye protection.
Pour equal amounts of resin and hardener into a small cup. Disposable cups with measuring marks are ideal, but I didn’t have those, so I used small plastic condiment cups. I poured 1 Tablespoon each of resin and hardener.
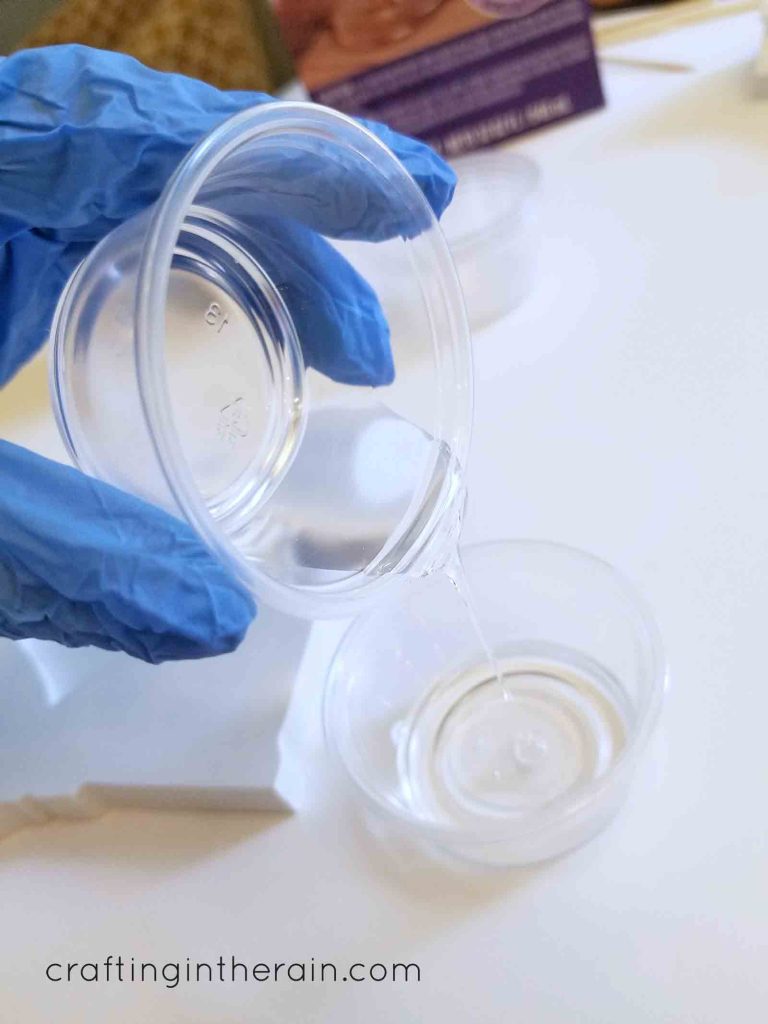

Stir for 2 minutes.
Pour into a new cup and stir for 1 minute. Don’t skip this step – it makes sure that everything really is mixed well.
Pour small amounts into two new cups.
Add one drop of opaque pigment (I used blue and green) to the small amounts and mix.

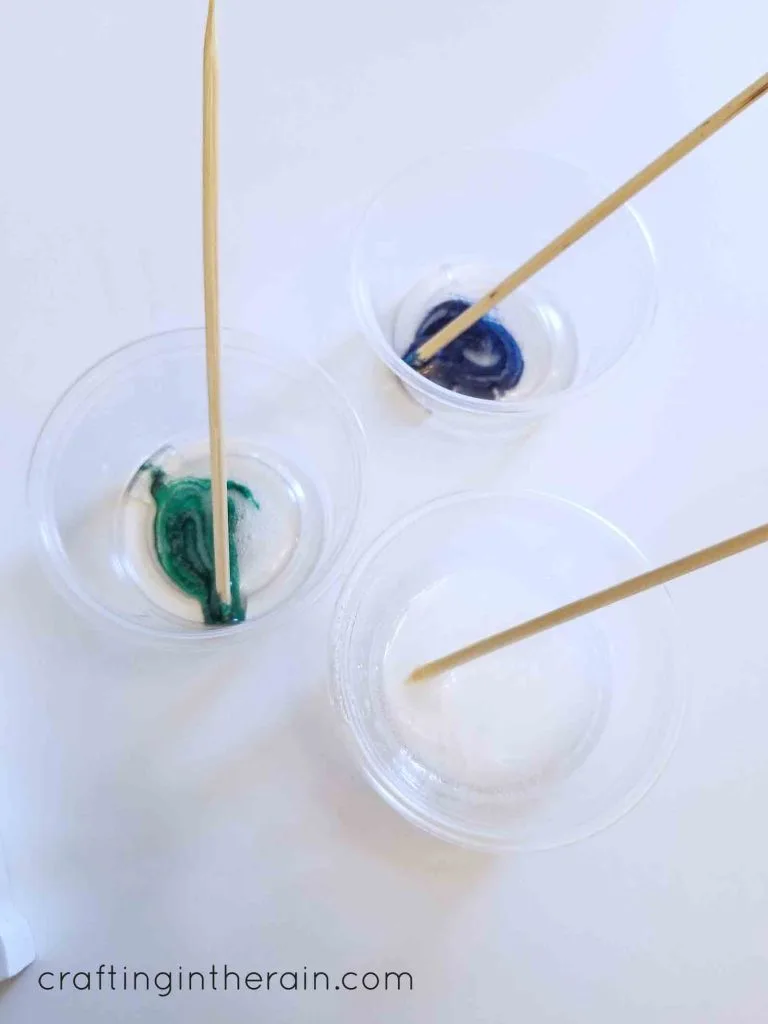
Add 2 drops white to the larger amount in the original cup.
Stir to combine.
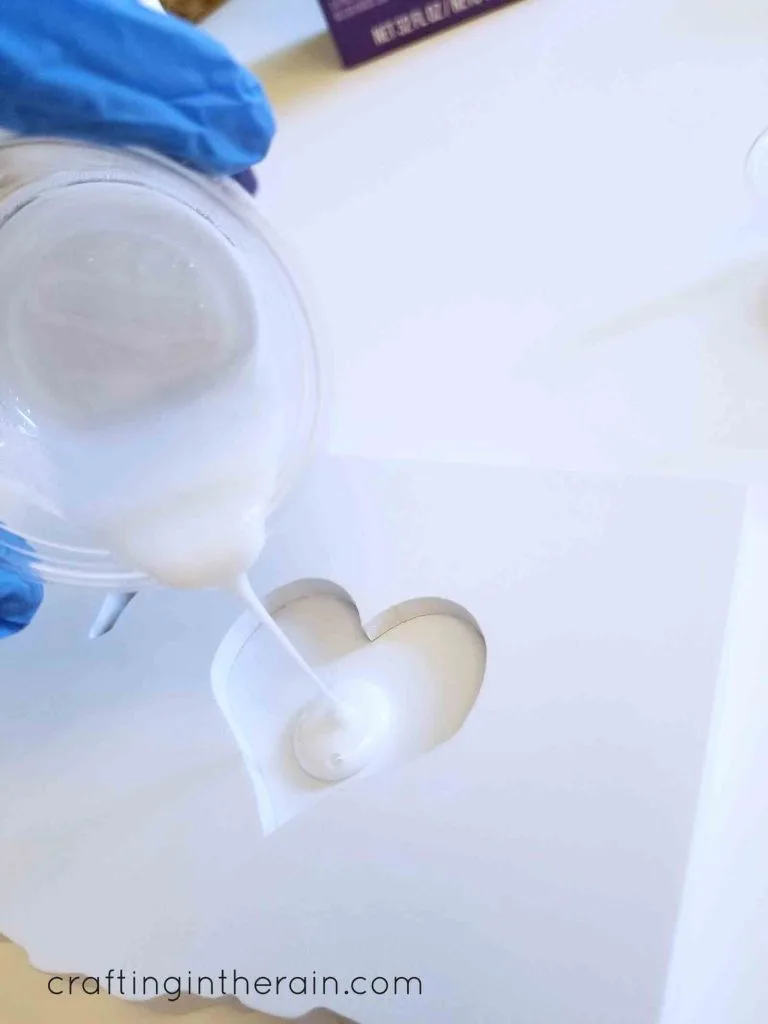
Pour the white resin into the heart shape first – do not fill.

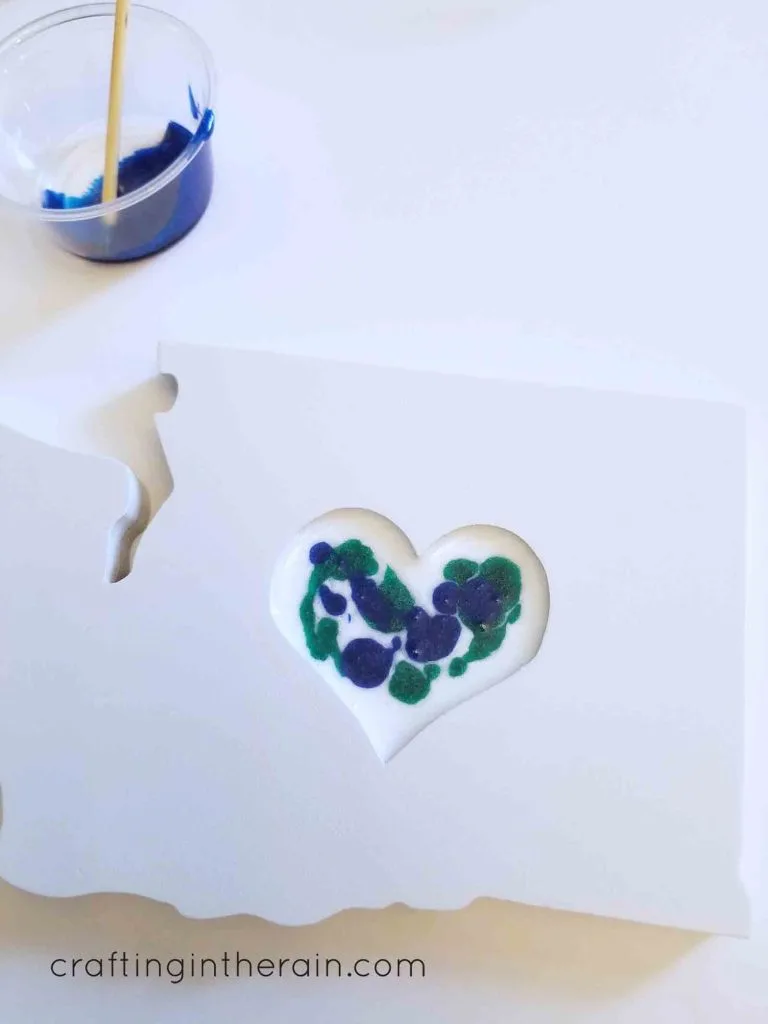
Pour drops of green and blue in and swirl with a toothpick.

Let rest for 10-15 minutes then exhale on the surface to pop any bubbles. The carbon dioxide makes them pop.

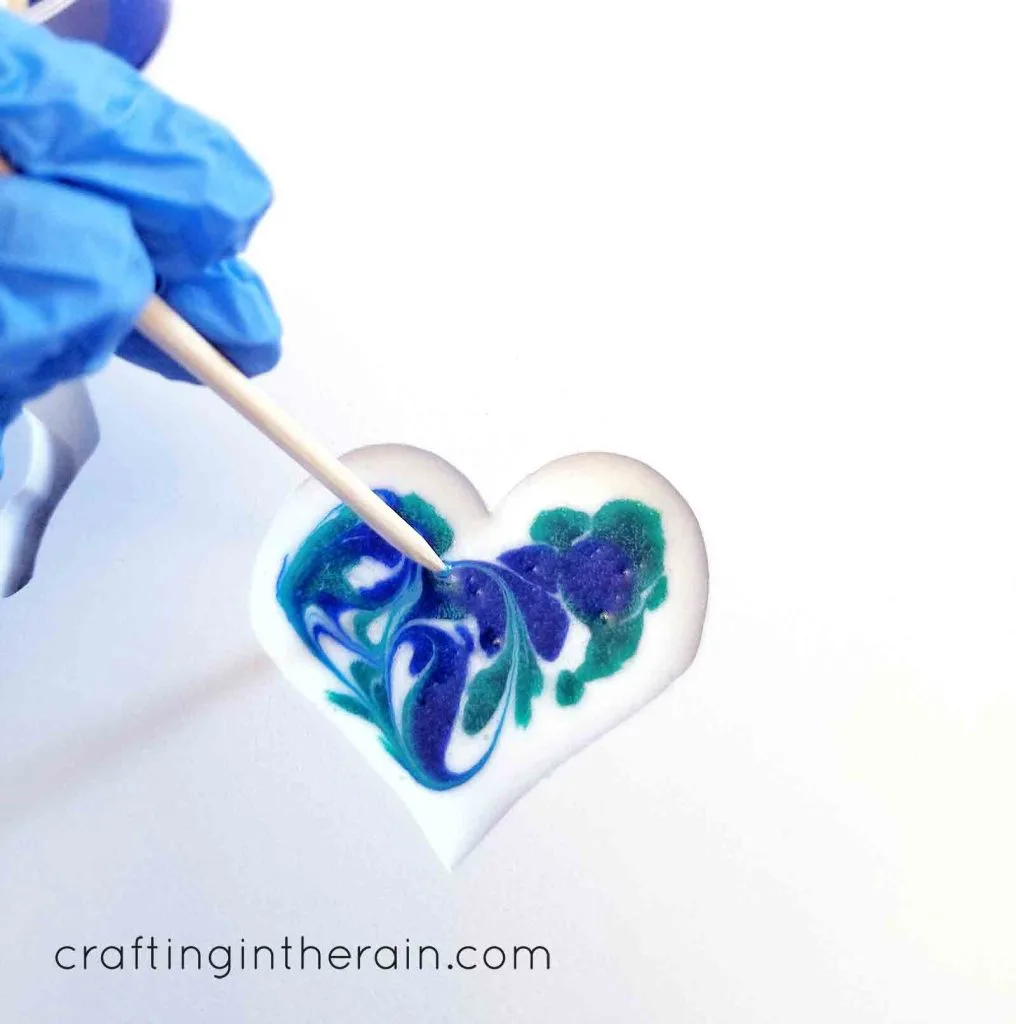
“Reswirl” after 15 more minutes then do not disturb for 48 hours.
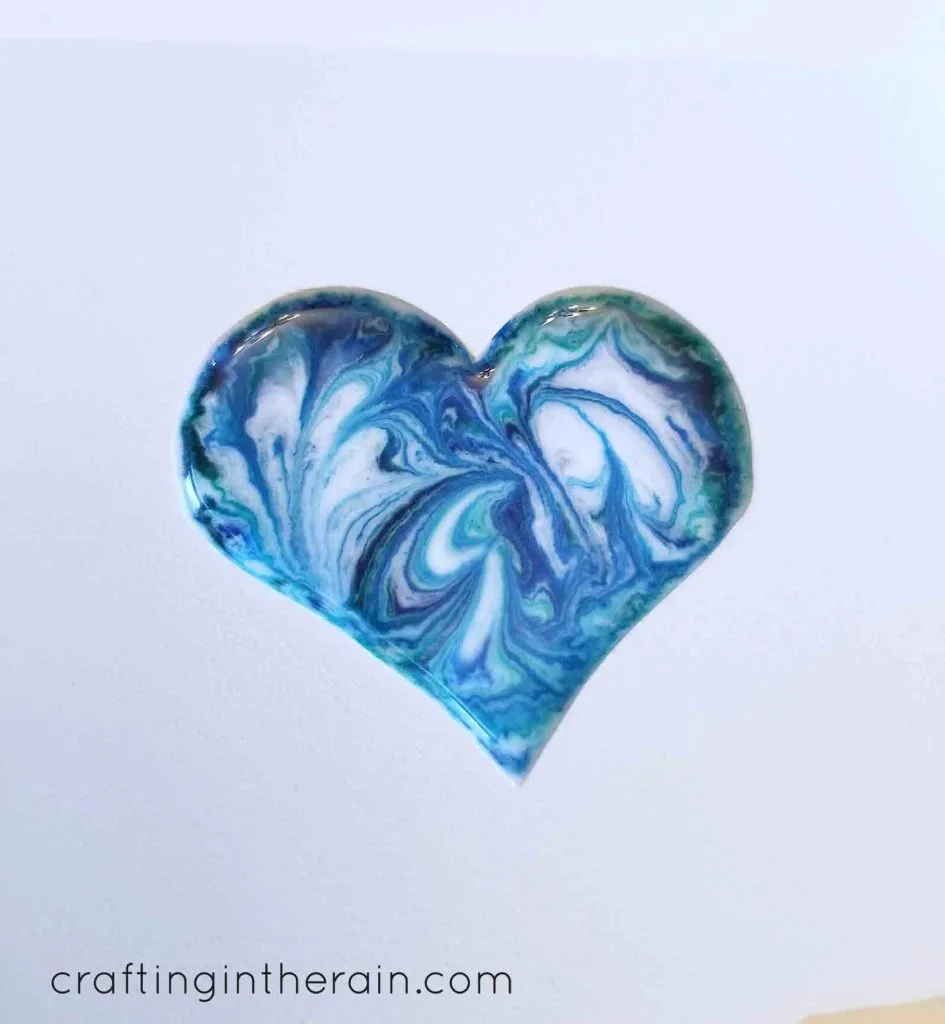
As it cures, the resin climbs up the edges of the cutout just a little bit, so the whole area will be filled in – it gives it a really cool look. The resin is just slightly indented from the rest of the state shape. The colors will also continue to blend a little, so be aware that the swirl look will vary a bit from what you start with.
The resin dries hard and shiny.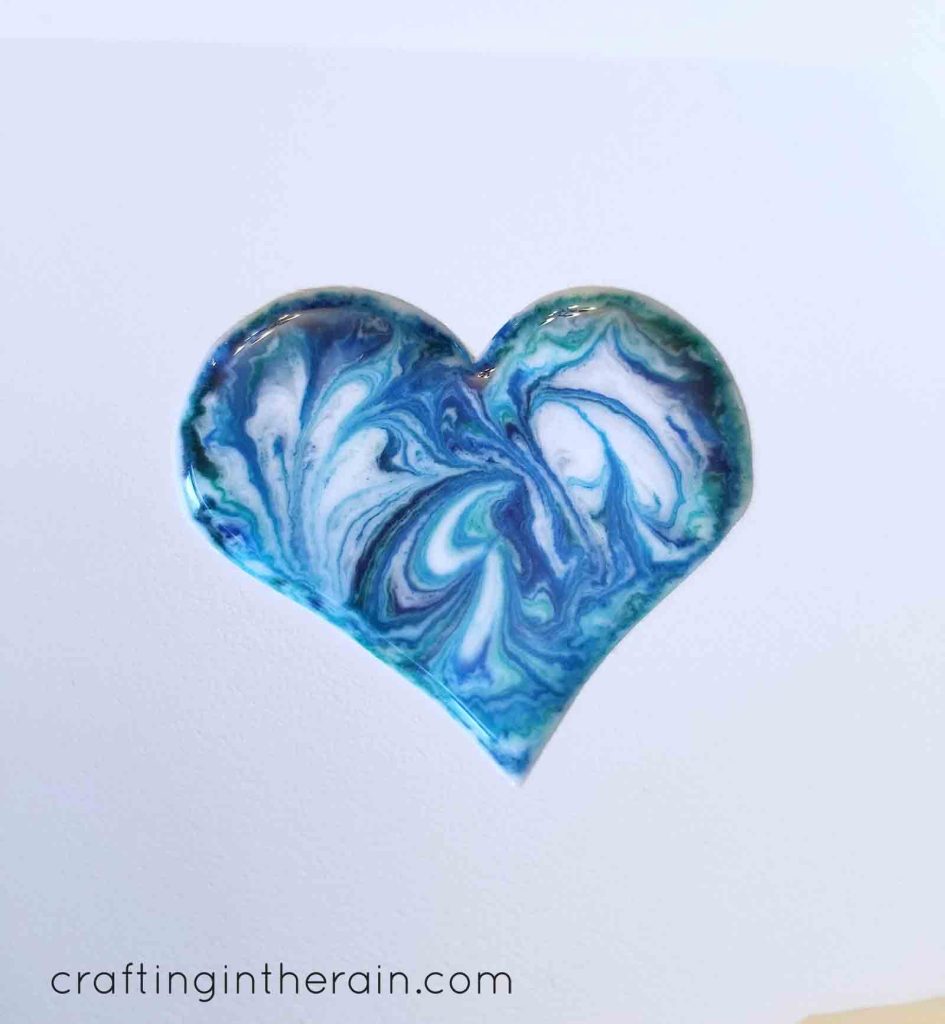

I can’t wait to make these in more state shapes too – I had a lot of fun filling this wood cutout with resin – plus there are other opaque colors I can experiment with. I was really pleased with how easy it was to make my first resin project. I think the most important thing is to make sure that you measure carefully and stir completely.
What color and state combination would you pick?
how to saw down resin - Saw Tool
Sunday 27th of February 2022
[…] Filling a Wood Cutout with Resin – Crafting in the Rain […]