This is a sponsored conversation written by me on behalf of Cricut. The opinions and text are all mine.
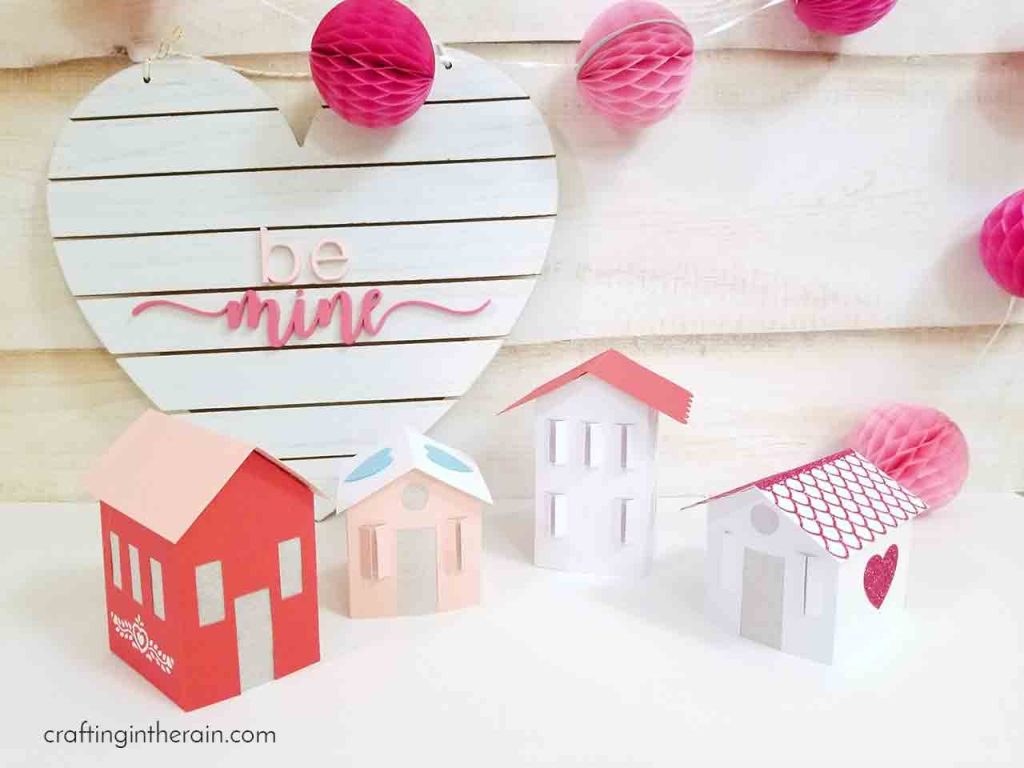
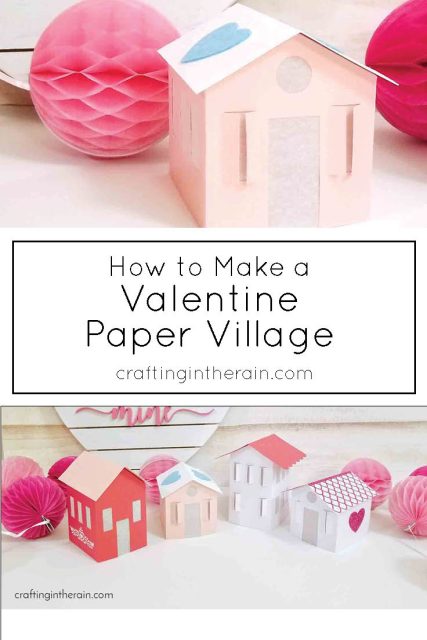
During this last Christmas season, I saw adorable paper house villages all over the place. They were so cute I wanted to make a little pink and red village for Valentine’s Day. This DIY Valentine paper village is easy to make with the Design Space templates and Cricut Maker machine plus scoring wheel. (some links affiliate)

You can also make this project using any Cricut Explore.

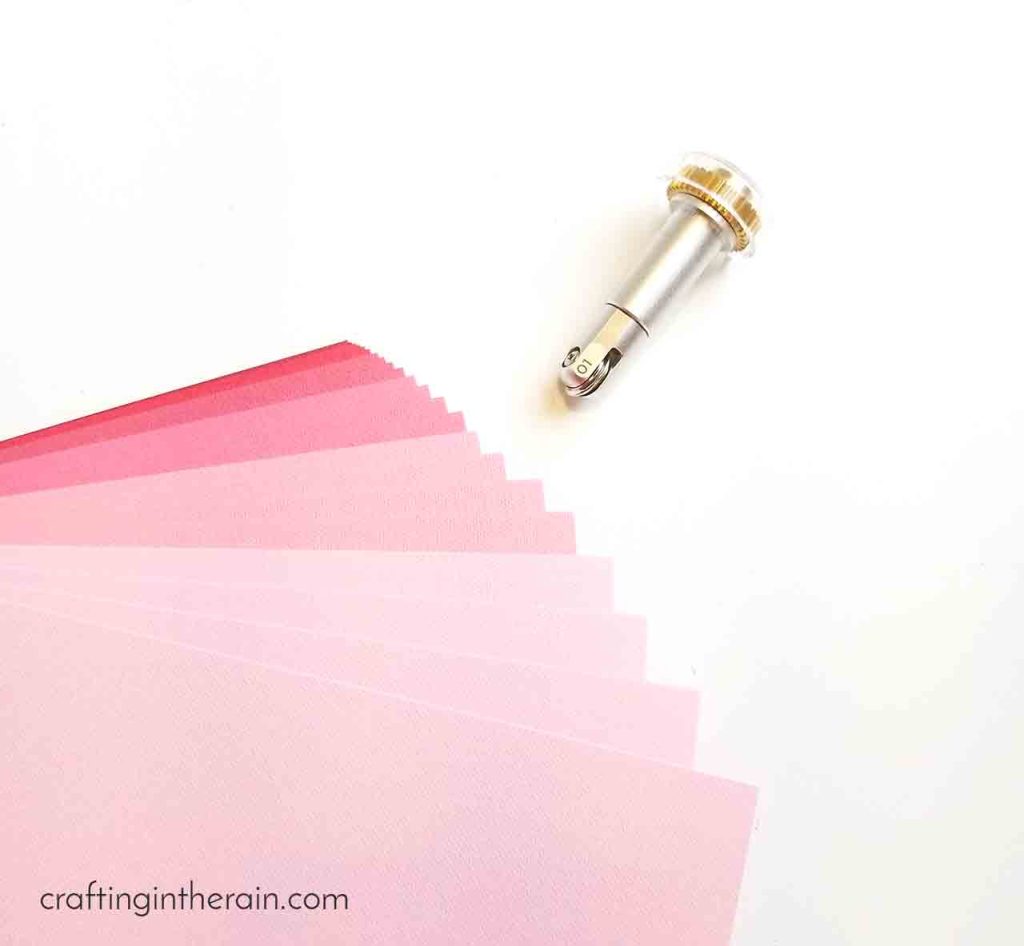
Here’s what you’ll need to make these Valentine Paper Houses. Change up the colors as you like.
Cardstock: White, red and pink
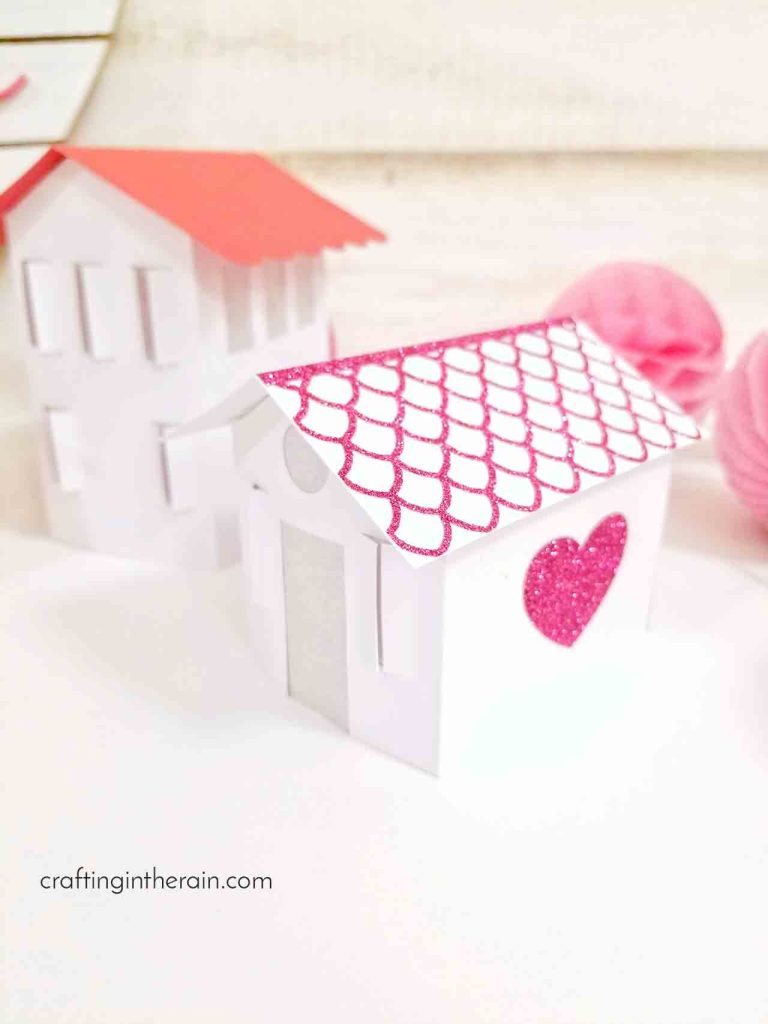
Iron-on vinyl: Pink glitter
Vinyl: White
Felt: Blue
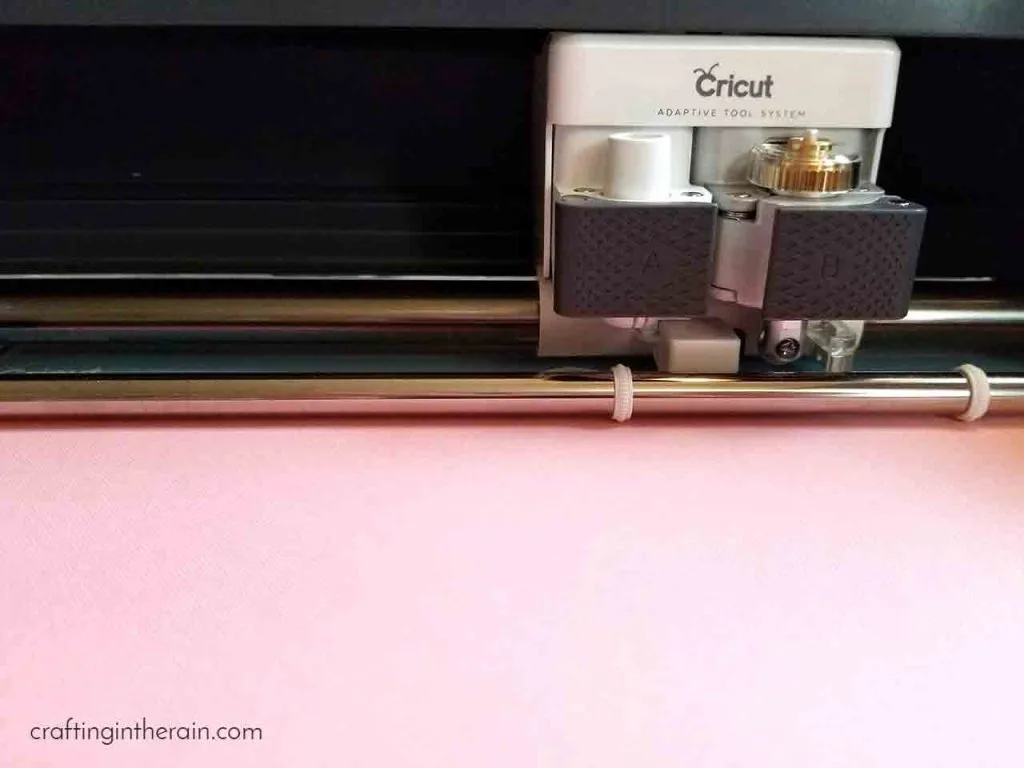
Cricut Maker or Explore machine
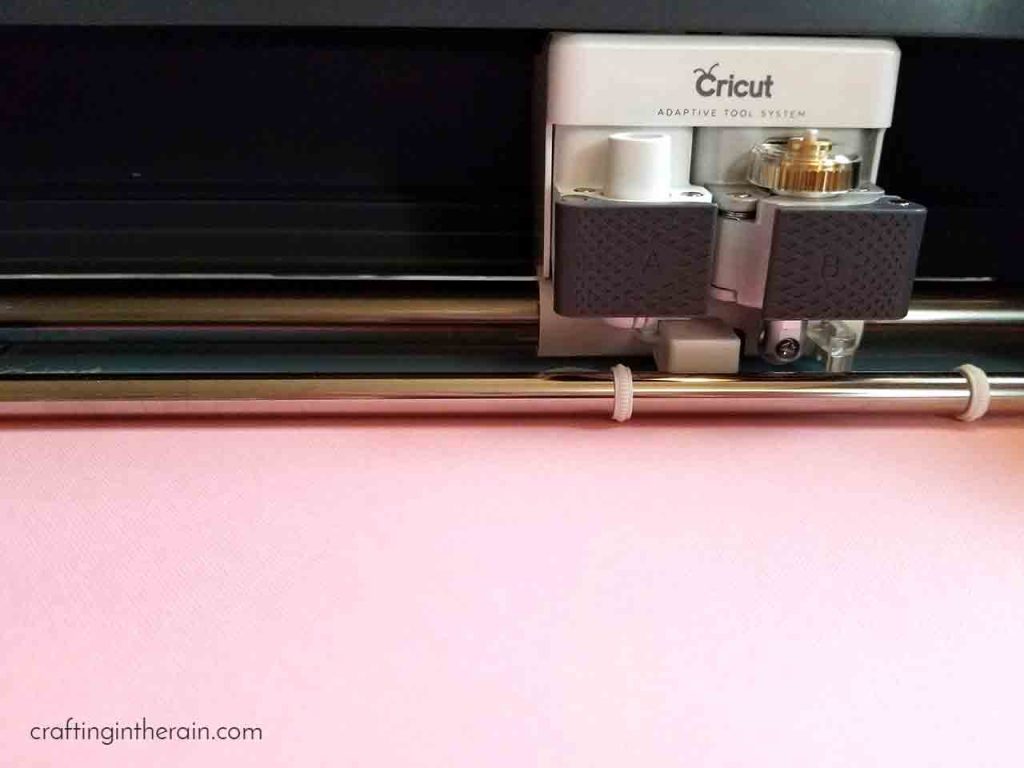
Scoring Wheel (if using a Maker – click here to learn about the scoring wheels)

Open this Design Space project. The current size will make houses that are about 3 inches tall for the short houses, and 4.5 inches for the tallest house. Resize if you like.
Cut paper houses
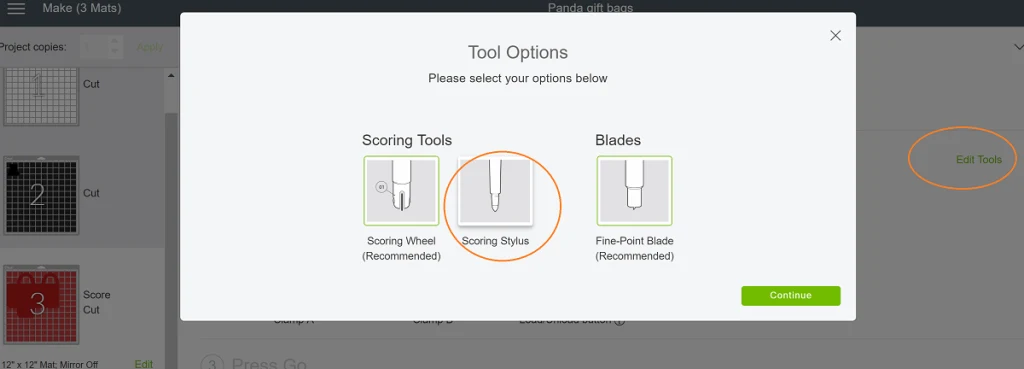
Use the single scoring wheel for the score lines. If you don’t have a scoring wheel yet (what are you waiting for?) you can edit the tools and switch it back to the scoring stylus.

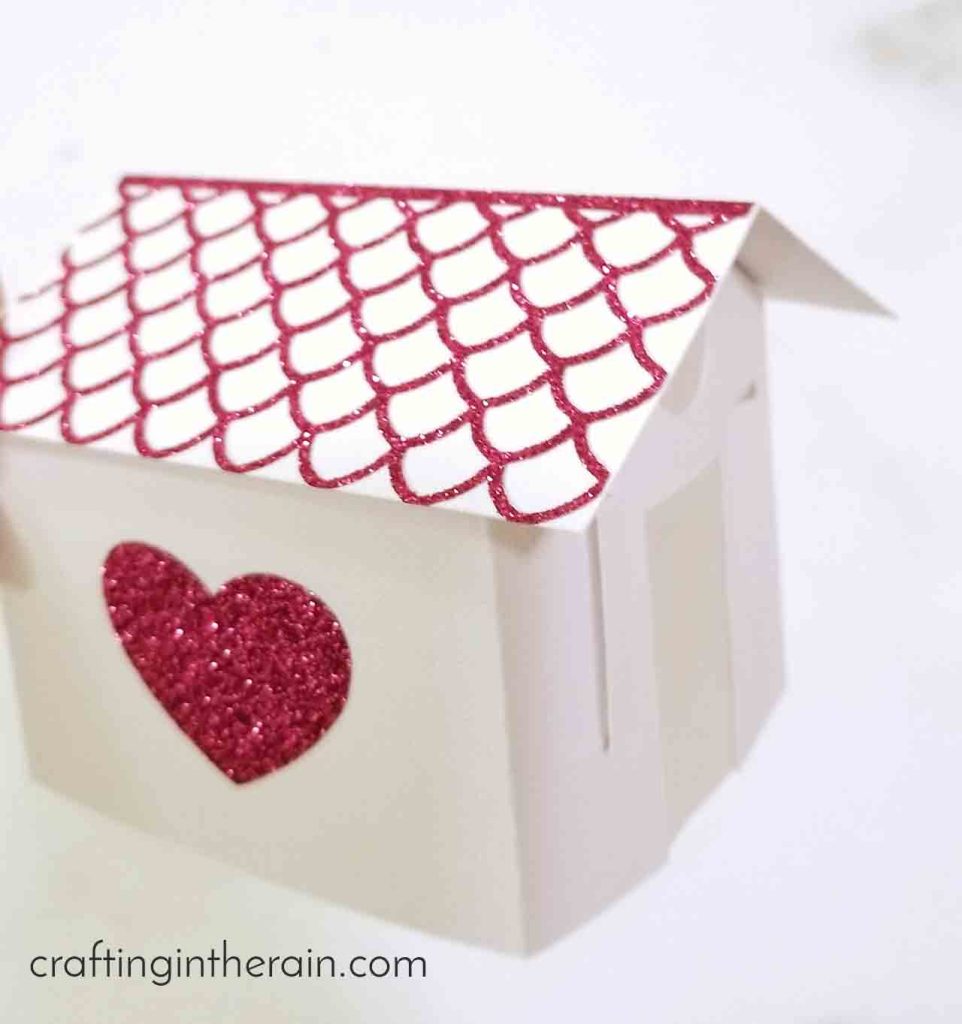
Cut roofs and houses from cardstock. Cut the scalloped roof pattern out of glitter iron-on vinyl. Cut one set of hearts from iron-on, and another set from felt. Use the Rotary Blade in the Maker to cut the felt!
Duplicate any of these combinations as desired for the number of houses you want.


Add iron-on glitter vinyl to cardstock
Add all embellishments before assembling the houses.

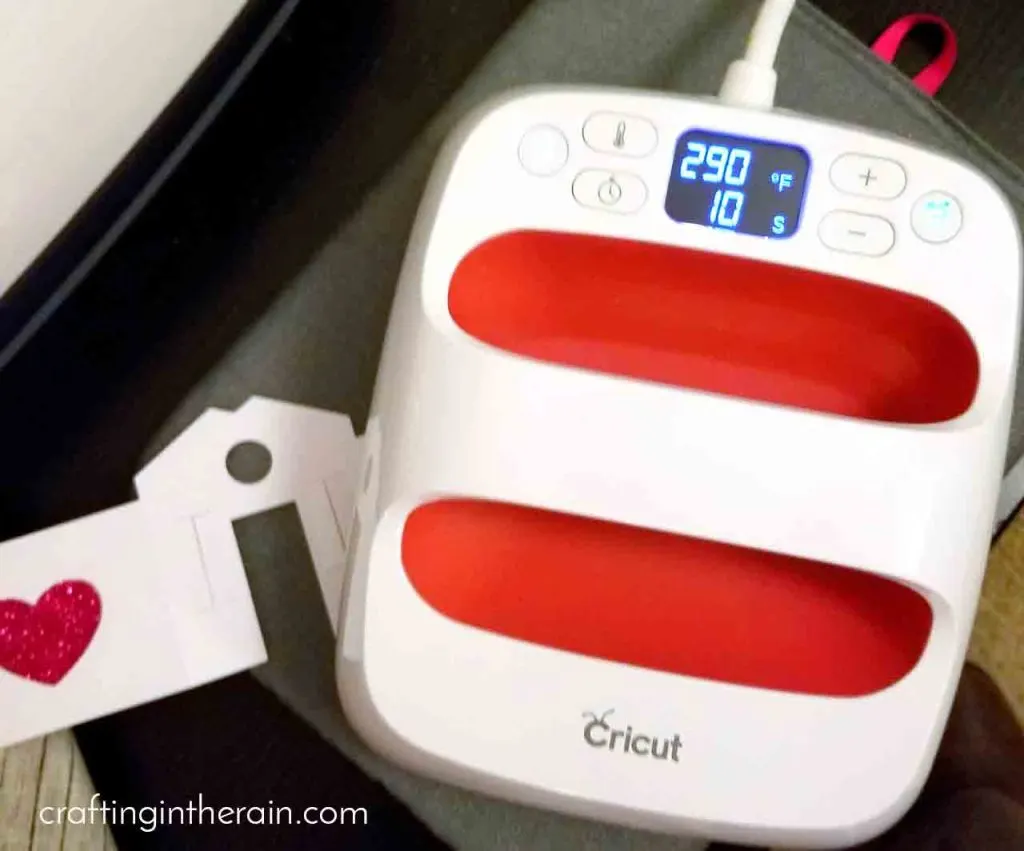
To add iron-on to cardstock, set EasyPress to 290 and press for 20 seconds. Use hot glue to attach felt hearts to the cardstock.

Assemble paper houses
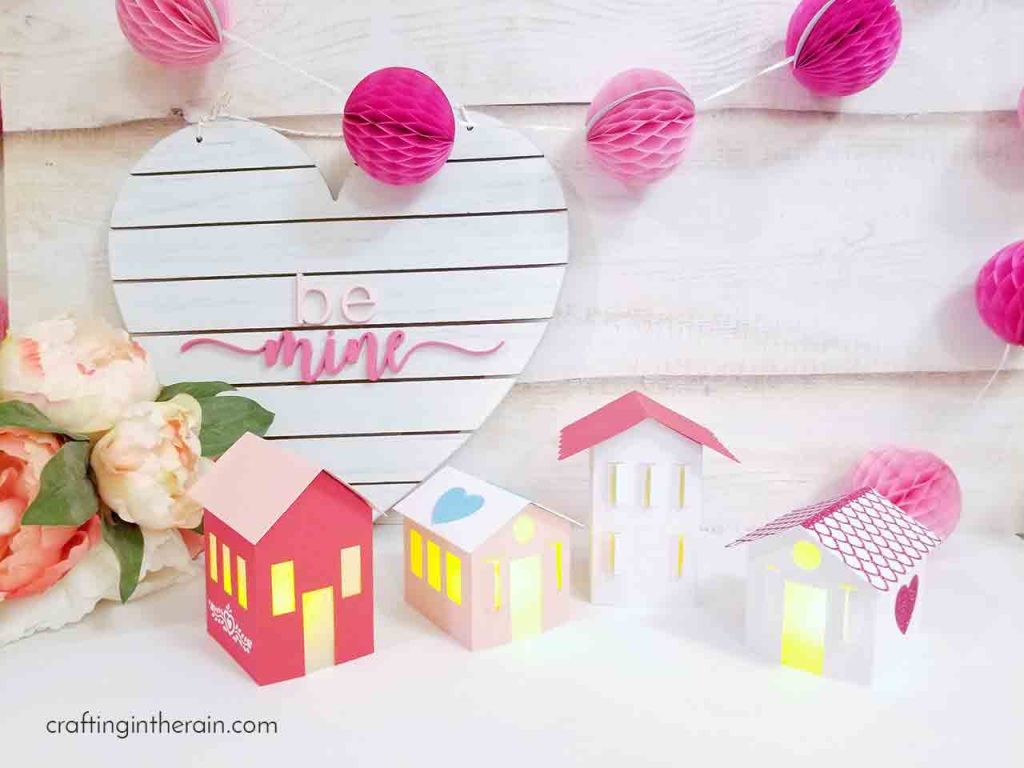
If you want, you can add pieces of tissue paper to cover the doors and windows and diffuse light from little tea lights.
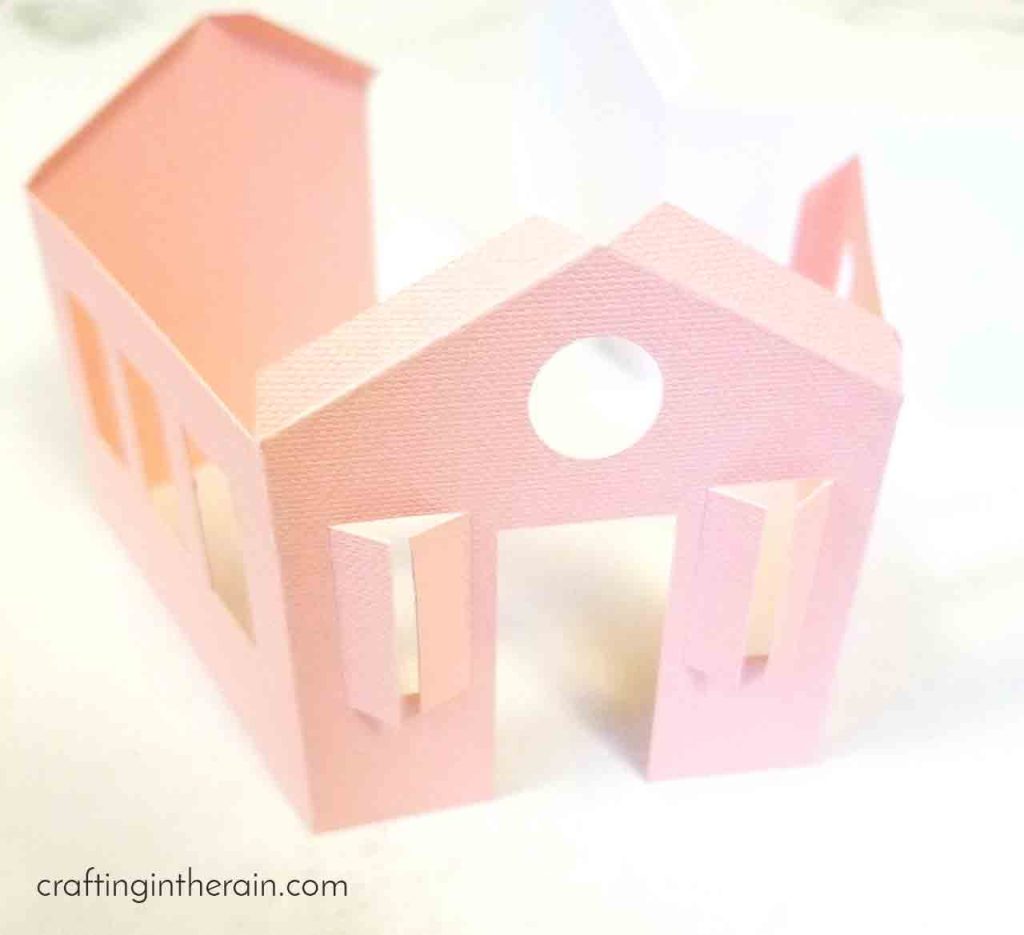

Then fold along all score lines – don’t forget to fold out the little windows – and assemble houses using hot glue.

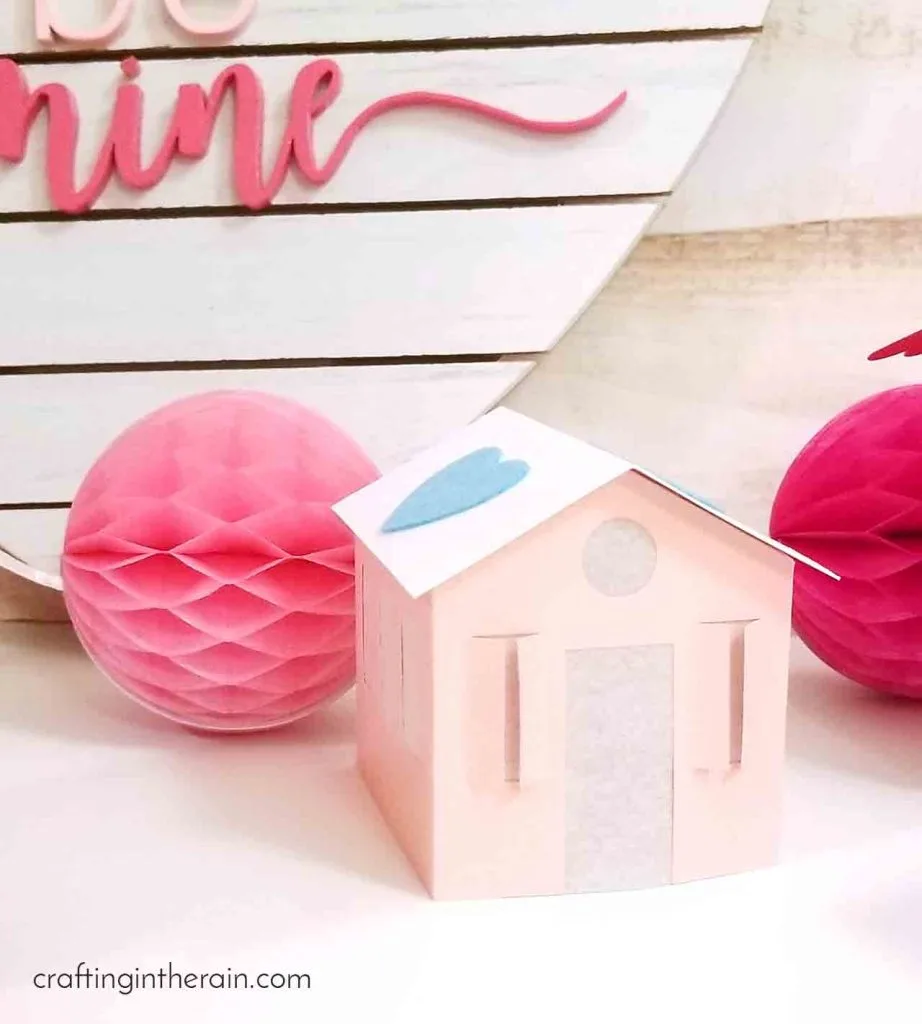
When the houses are complete, they are ready to go on a mantel, shelf, or other Valentine display.


What do you think? I hope you’ll try making your own Valentine paper village as part of your DIY Valentine’s decor and show me how they turn out!
Here are a couple more of my favorite Cricut Valentine’s Day projects:
Valentine Heart Banner
Owl Valentine Basket

Amber Ferguson
Monday 11th of February 2019
Hi Stephanie! I just love your adorable Valentine village. I featured this post at the last TFT link party: https://followtheyellowbrickhome.com/ten-inspiring-valentines-day-features-at-tft/
I hope you will join us again this week! Happy Valentine's Day!
Stephanie
Saturday 16th of February 2019
Awesome, thank you!
Babychaser
Friday 1st of February 2019
These are really cute! We just have the original Cricut, but maybe someday. :) For now the kids use ours to cut out letters they decoupage on crafts for their business. Way easier than having to hand letter something as an 8 year old. :) You can see some of them here: https://claystonefamilyfarm.wordpress.com/2019/01/31/kid-business-ideas-for-valentines-day/.
Blessings, Babychaser mamasbrush.wordpress.com