Hello friends, it’s Friday! I hope you’ve had a great week and have something to look forward to this weekend as well. Maybe it’s some crafting time! (some links affiliate) If you have a Cricut Explore or Maker (check current Amazon price) sitting in a box that you haven’t opened yet, this Valentine heart banner would be the perfect beginner project. And I’m going to show you that the machine and the software, Design Space, are easy to learn and use.
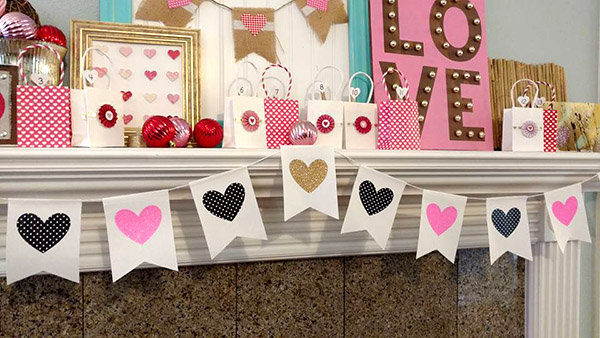
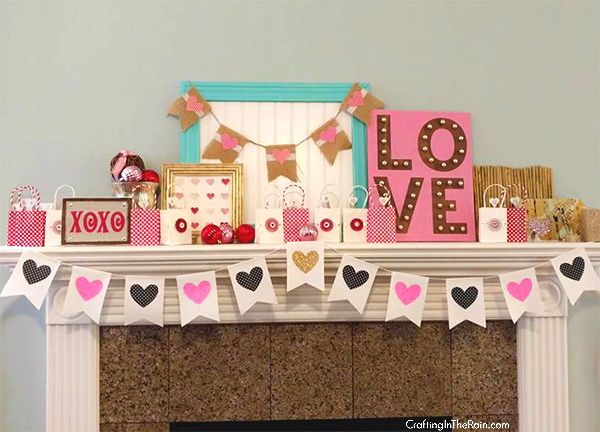
 In the process, I’ll be making an easy, last minute Valentine’s Day banner. I have my mantel all decorated, and this will make a perfect addition to my Valentine decor.
Fabric banner (purchase a blank one or make your own – this one’s by Heidi Swapp)
Polka dot vinyl
Glitter gold iron-on vinyl
Pink glitter iron-on vinyl
Cricut Explore Air
**Note, these screenshots have been updated to reflect Design Space changes as of January 2019**
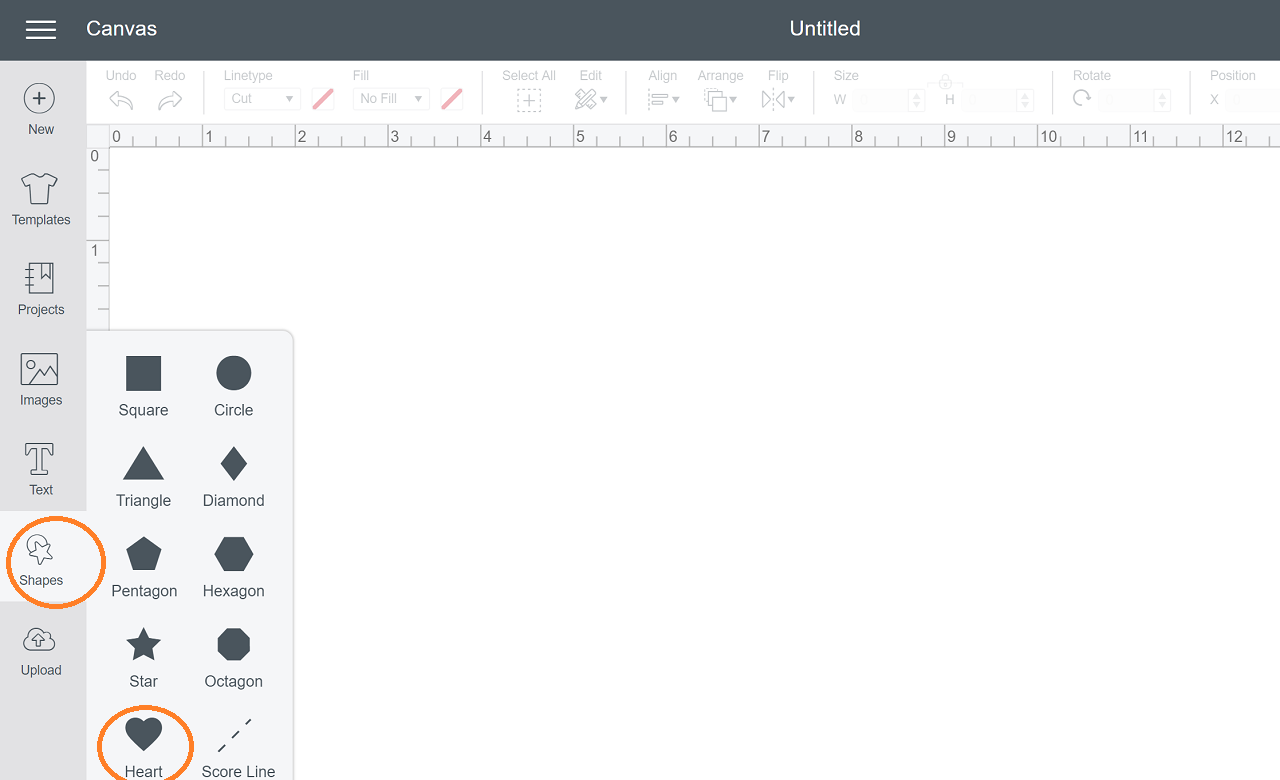
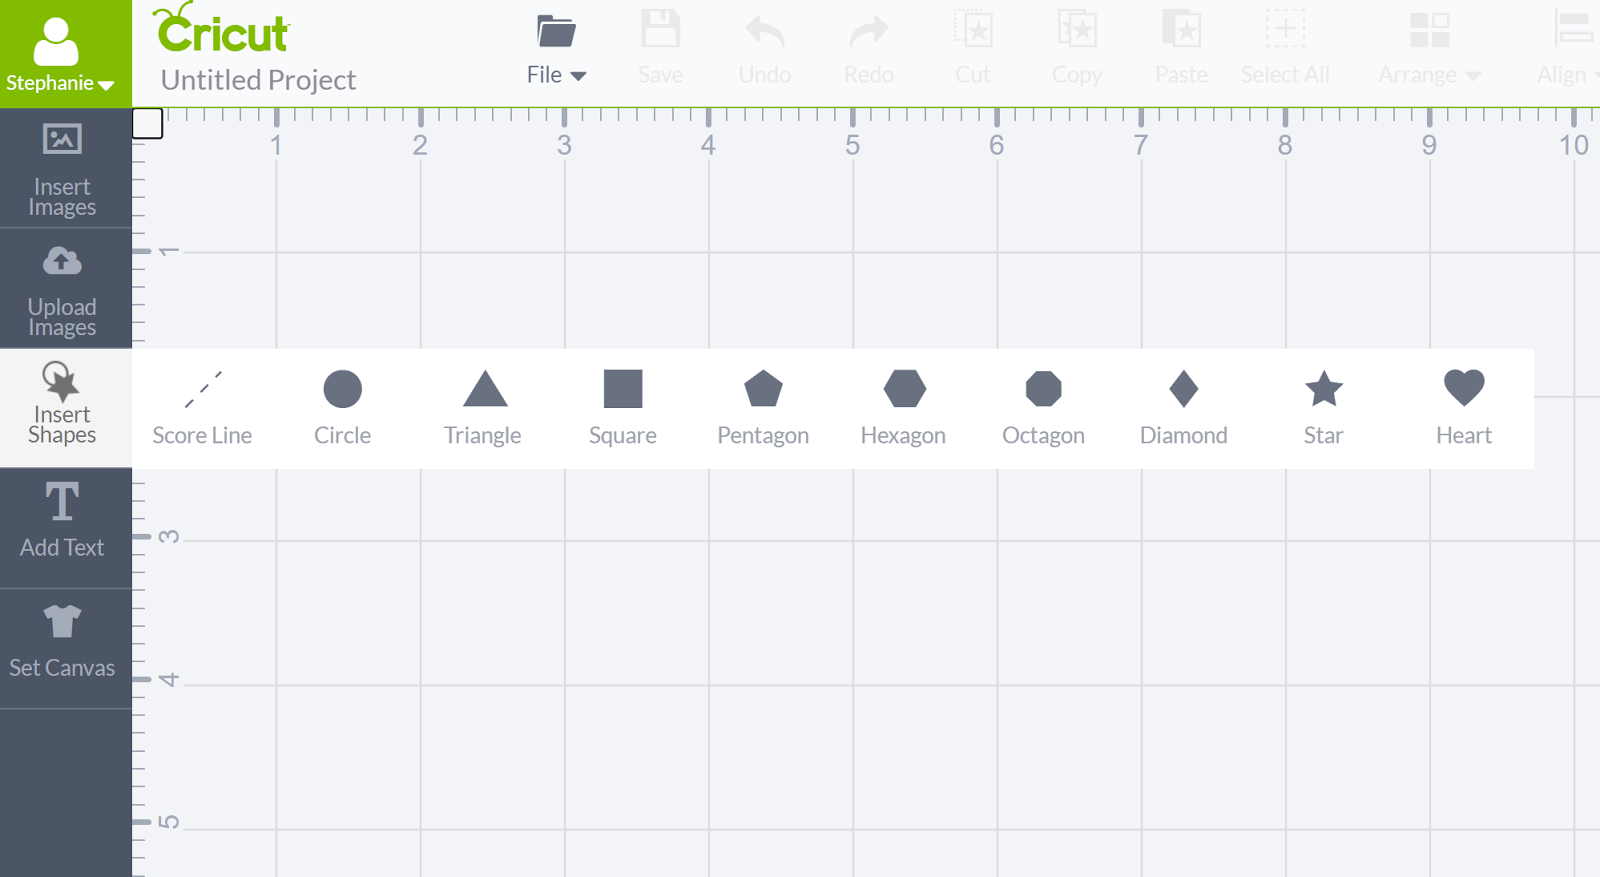
Add shape to Design Space
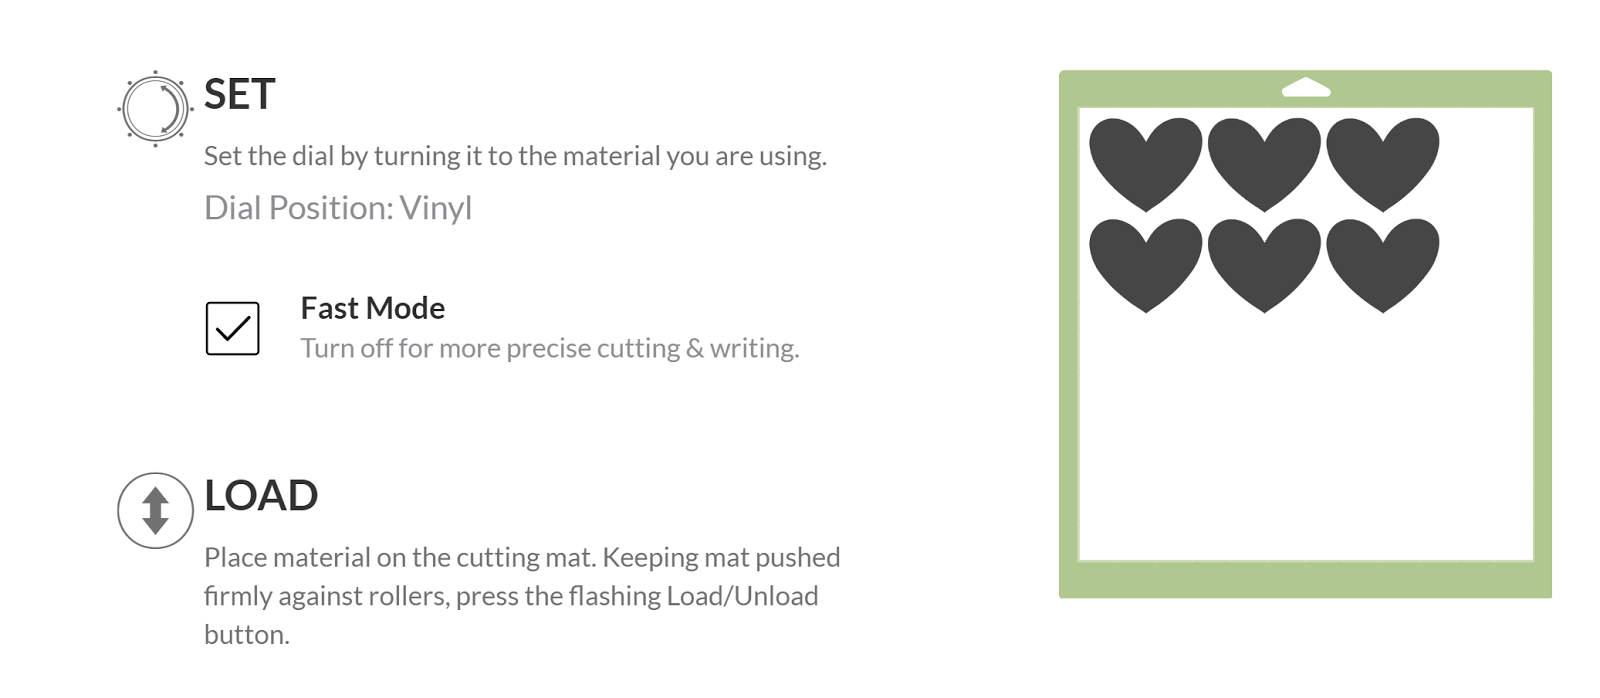
Measure the flag size of the banner so you’ll know how big to make the vinyl hearts. My hearts needed to be 3 inches wide. Open Cricut Design Space and click the “add shape” button and select the heart.

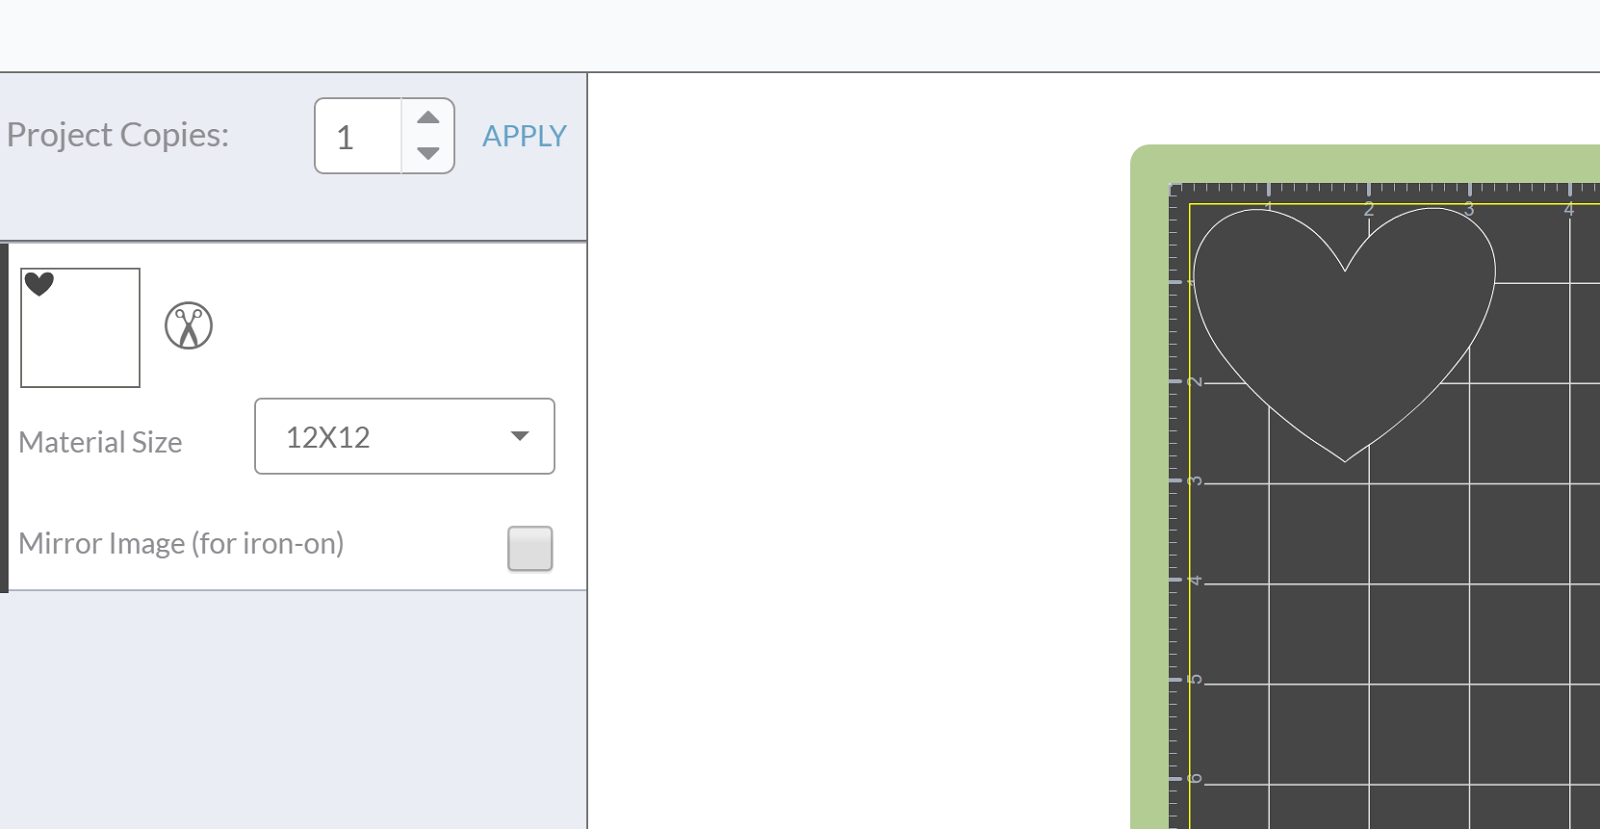
Edit size in Design Space
Click “Edit” to change the width of the heart to the right size for the banner.
Decide the pattern of vinyl colors you want on your banner. I decided to alternate pink and black with a single gold heart in the middle. So I need 4 pink hearts and 6 black. Then just 1 gold.
Click “Make It” to send the cuts to the machine. **Normally you would need to mirror any cuts out of iron-on vinyl, but since these hearts are symmetrical, I’m not going to worry about it. Put the gold vinyl on the mat and cut out 1 heart. Make sure to select the correct material you’re cutting.
Then send the pink iron-on through the machine and change the number of projects to 4 and click apply. Then cut.

For the black polka dots, change the number to 6, click apply.
Weed the vinyl. If you’re not familiar with the term, weeding just means removing the extra vinyl around the cutout, and any inside parts, like the insides of letters.
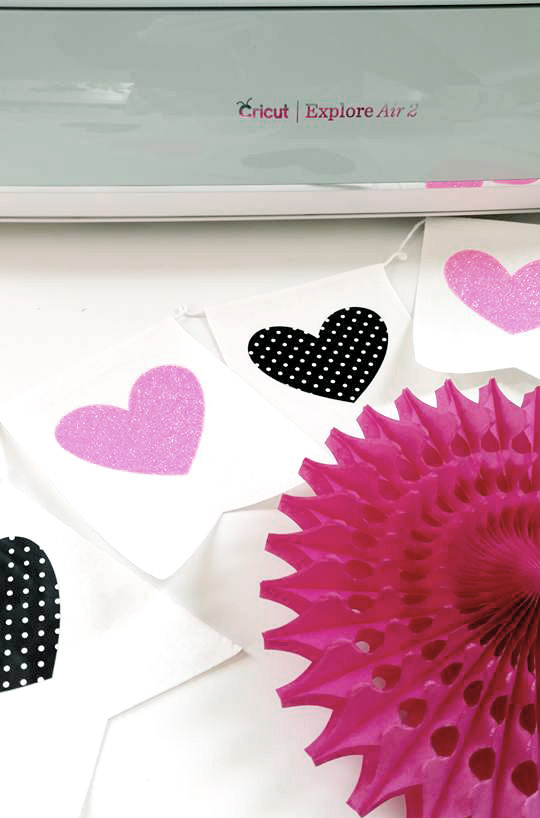
Apply the iron-on vinyl using a medium heat iron, or an EasyPress and pressing down on the heart for about 20 seconds.

And that’s it! It looks great over my fireplace with all my other Valentine’s decor.
This is a sponsored conversation written by me on behalf of Cricut. The opinions and text are all mine.
**Other Cricut projects featured in these images:
Love Marquee Sign

Donita
Thursday 14th of February 2019
Can a triangle from shapes be turned into a 90 degree triangle to be used for other projects?if so how is this done?
Stephanie
Saturday 16th of February 2019
You could get a 90 degree triangle a couple of ways search "triangle" in images and look for one there. Or, add from the shapes tool and also add a square. Overlap the triangle and the square so that you create a right angle triangle, select both and slice. Then delete the extra parts and you'll have a triangle with a 90 degree corner. Will either of those options work for you?
Sue J
Saturday 11th of February 2017
LOVEly! I've yet to try fabric or iron on vinyl in my Cricut, but I really want to. A banner would be a great place to start, thank you for the fab share!