Learn where to find and how to use printable scroll saw patterns.
While laser and CNC machines may be entering more woodshops and craft spaces, there will always be a place for scroll saw art! We’ve had a CNC before, and I now own a couple of lasers. But I love the process of cutting actual wood by my actual self. It’s very satisfying.
Check out my other beginner scroll saw tips here.

What is a printable scrollsaw pattern?
A pattern shows you the lines to follow with your blade when cutting on a scrollsaw. Some people draw right on the wood surface, but most people use printable patterns that are adhered to the wood.

By printing a scrollsaw pattern, you are able to get clean, crisp lines and corners to follow, resulting in a better-looking finished product.
A high-quality image or vector file will print better than a low-resolution image that has been enlarged. Those lines and shapes will become pixelated, making them a bit harder to follow
Where to find good quality scroll saw patterns?
Pre-Internet days, scrollsaw patterns were available in woodworking magazines and physical books. Artists would pull the pages out, or possibly copy them, and make things like puzzles, key holders, intricate crosses, and woodland scenes.
Now, free and paid patterns are numerous online – online magazines, Etsy, woodworking websites.
But did you know you don’t have to specifically search for a scrollsaw pattern? Especially if you are looking for more modern, or “not old-fashioned” looking designs.
Most SVGs can be used as printable scrollsaw patterns!
Take this gnome I have in my shop for example:

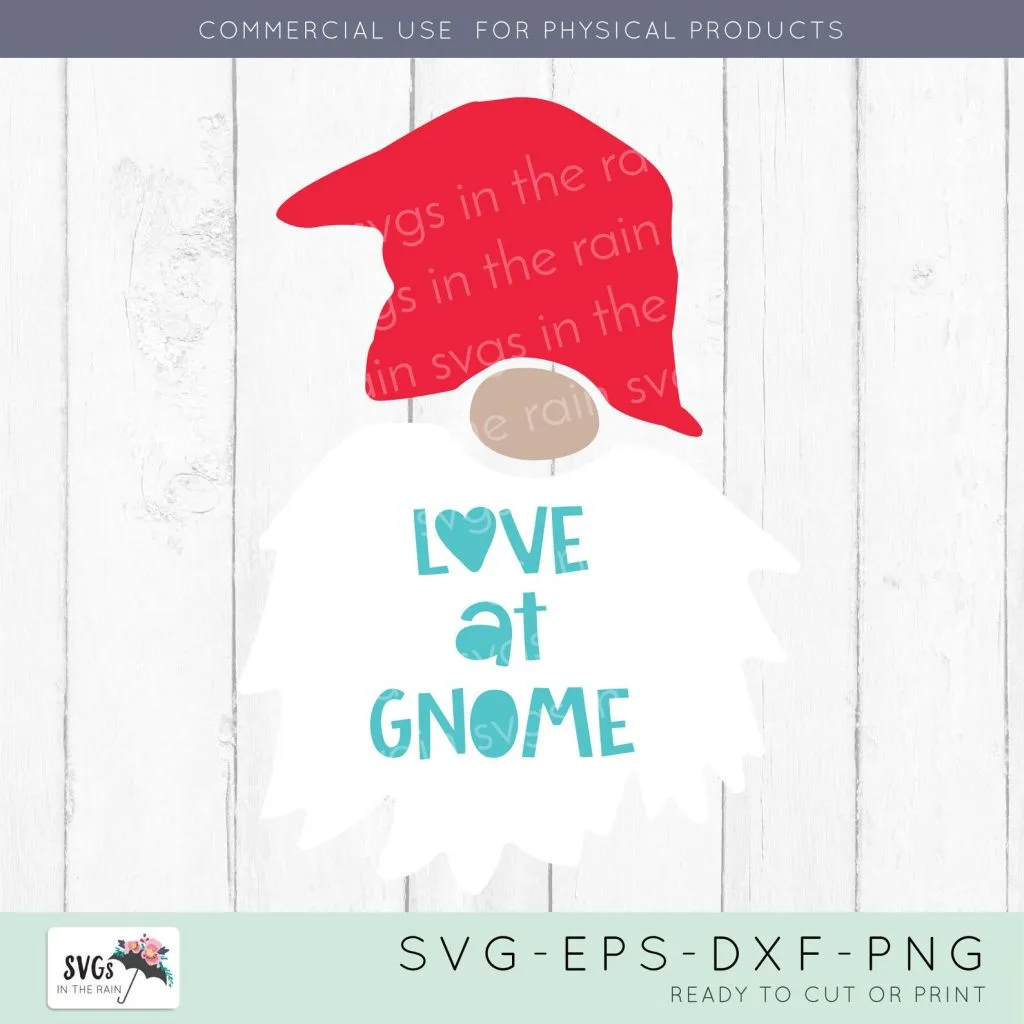
You could download the SVG, change the beard color to gray so it will be visible, then print it twice. Cut the hat, nose, and beard first, then cut the letters so they can be glued on top of the beard.
It would look something like this on a wood round.


What to look for when choosing a scroll saw design
First, you need to know how you want to display the final project.
If you want to cut the entire design to be a single piece of wood or MDF, using no glue, then you need to look for a design or SVG that is all connected – think Stencil Style.
There can be no separate elements. There can be no complete cuts for letter centers. Everything has to be connected somewhere.
Some single-piece scrollsaw patterns might look like this.

Creative Fabrica has a lot of stencil type patterns that you can search for, or again, images and SVGs that can also be used.


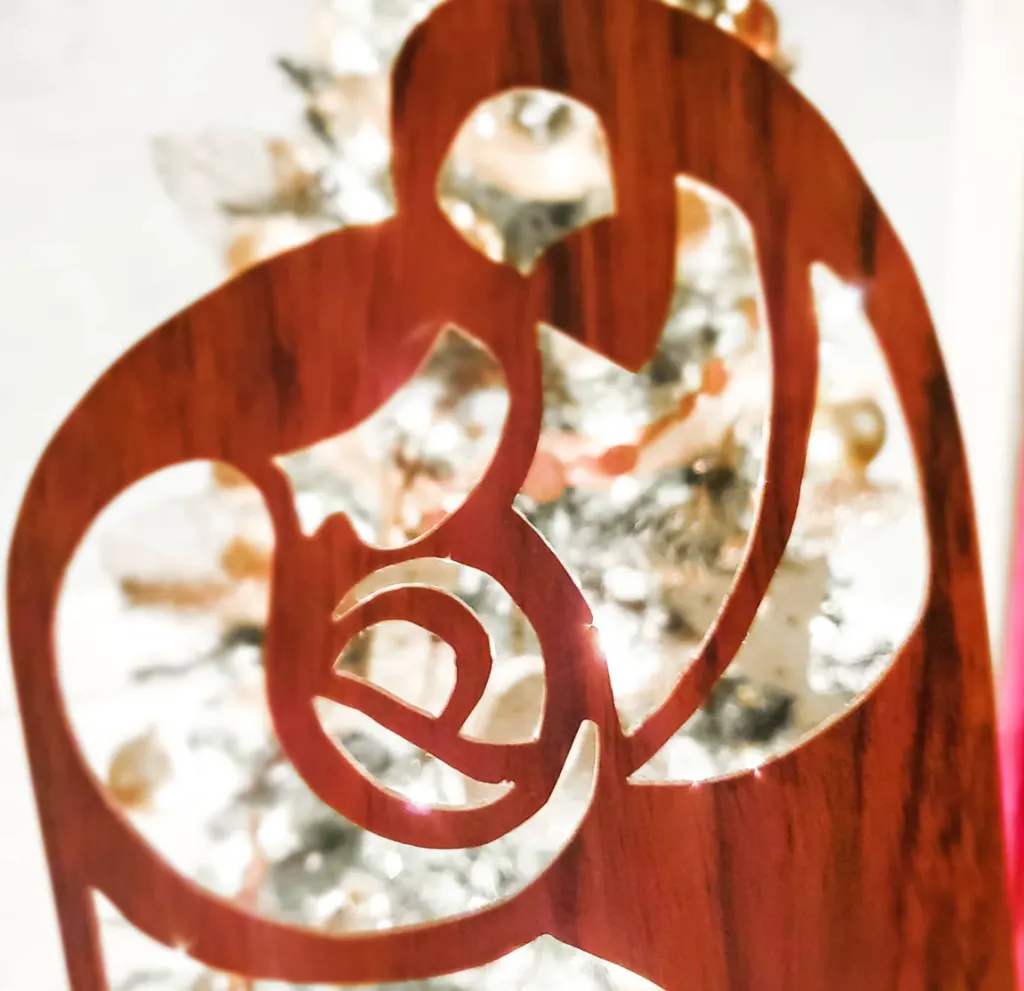
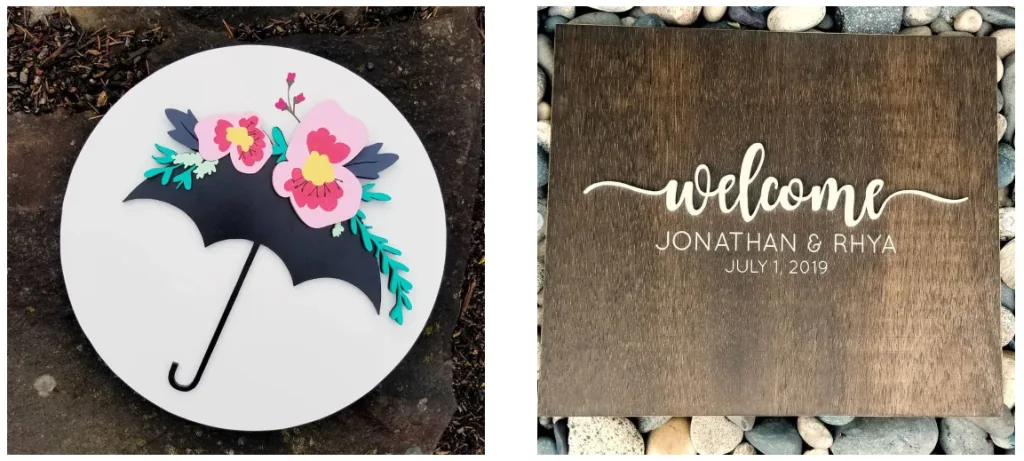
If you will be layering the cut wood pieces onto a sign backer of some kind then you are able to cut multiple separate pieces. Some examples include these popular name signs.
(Pictured: my logo, and a wedding gift.)

Printable scroll saw patterns for beginners
A beginner scroll saw pattern will let you create something fun while still helping you practice the basics.
Look for a pattern with only a few inside cuts. Threading the scroll saw blade isn’t particularly difficult, and you do want to practice it, but it will feel slow at first, which may make it feel like the whole project is taking too long if you have to do it many times.
This fox pattern has no inside cuts – you get to practice a lot of straight lines and corners.
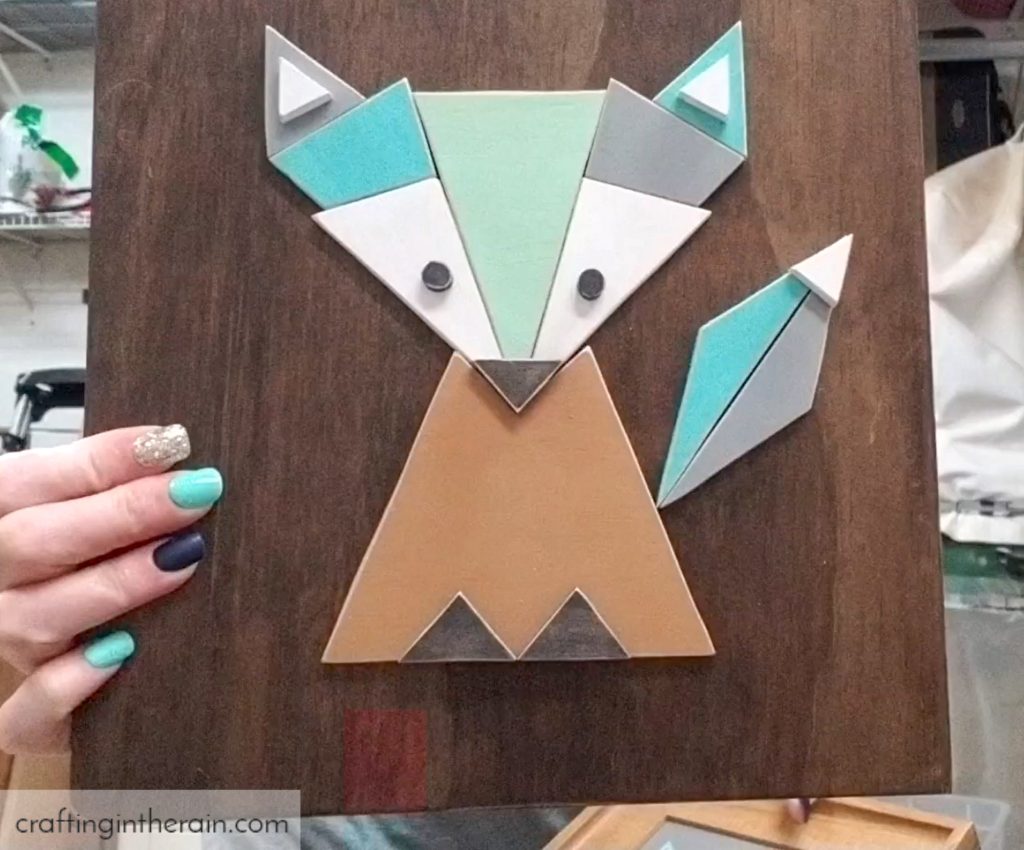

No tiny pieces yet. Each cut piece – inside cut, or outside shape, should be at least an inch or two. They will just be a little easier to manage.
And letters are more forgiving if they don’t have super thin connectors yet. A small detour from the pattern line can cut your word right in half.
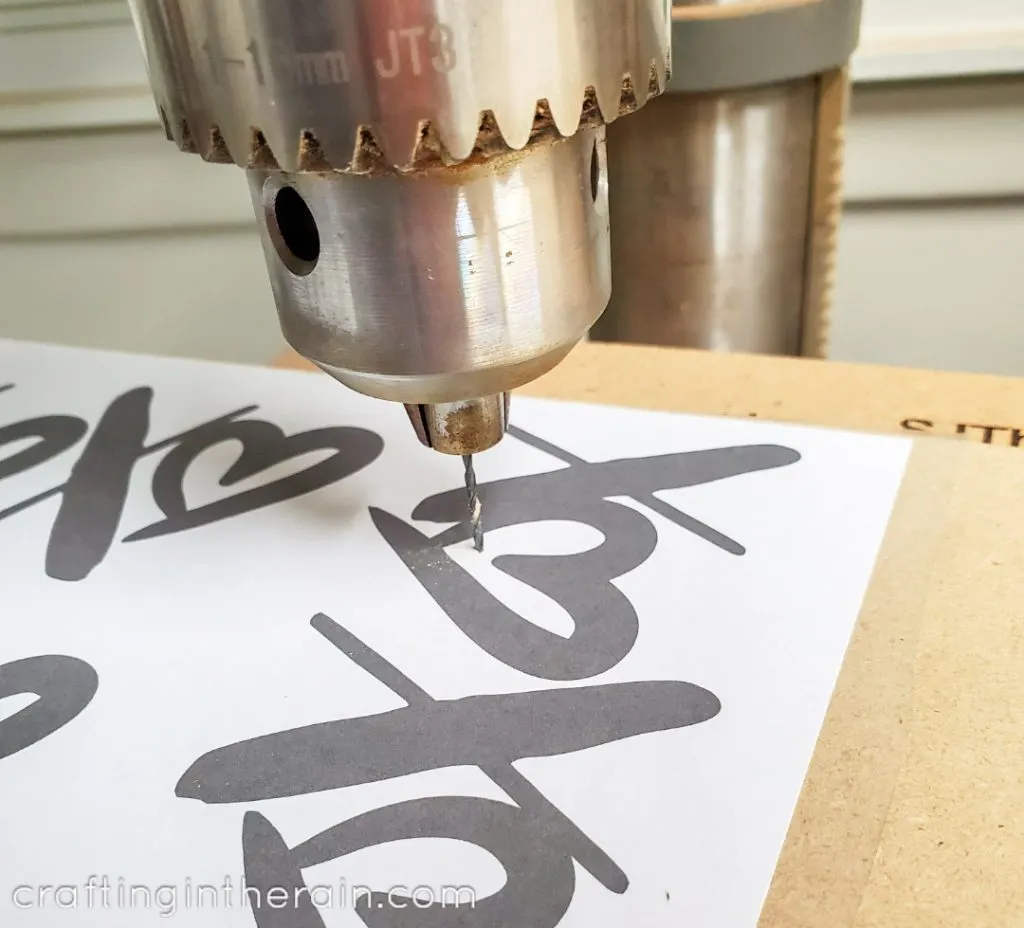
How to print a scroll saw pattern
What to print scroll saw patterns on
These patterns can be printed on regular copy paper. In fact, if you tried something thicker like cardstock, it would actually be harder to work with, so just stick with easy printer paper.
If the design fits on a 8.5 x 11 piece of paper, simply print it out on your home printer with no adjustments.
To print a large scrollsaw pattern, you have a few options.
You can upload it to an office supply print shop, like Staples, and see if they will print a drafter’s print or blueprint for you (some places stopped doing this a while back when people were printing really large photos.)
You can also do a tile print on your home printer – this is what I do.
Create a Design in Canva that is a little larger than your desired print size.
Import the image or SVG into Canva and place on the design canvas. Resize if needed. Download as a print PDF.
Then open this PDF in Adobe Reader. Open the print dialog box (ctrl+P) and click the Poster button.

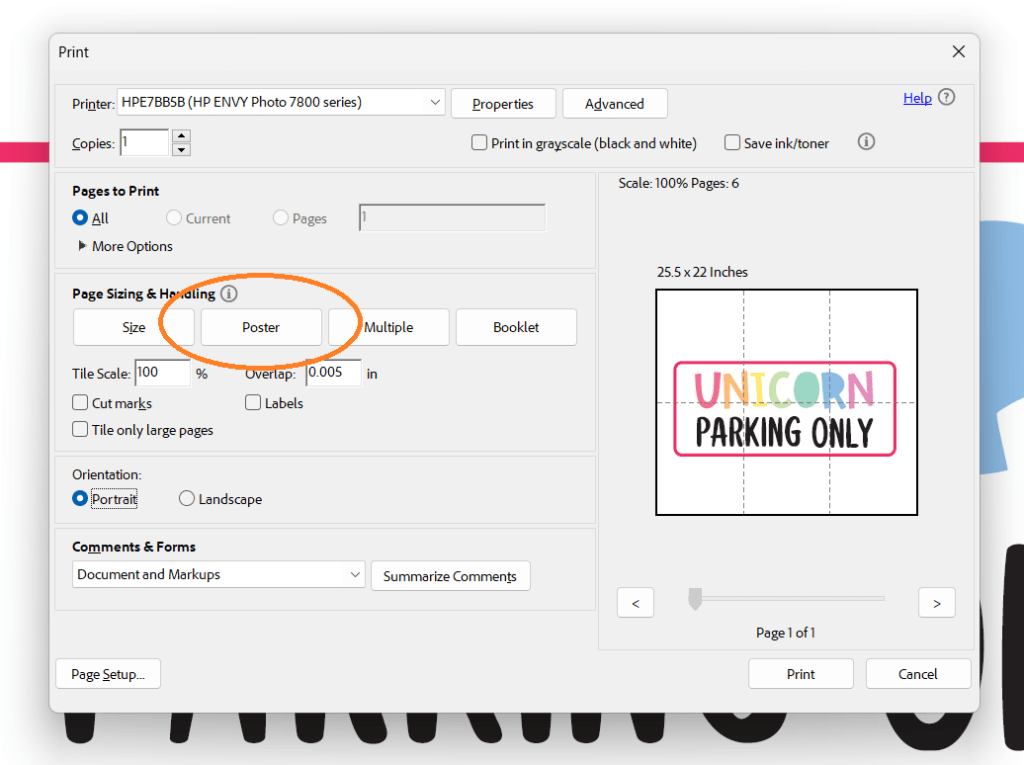
The program will then tile the design so that it prints on multiple pages. Click Print and then tape the seams of the design together and trim away the excess border.
Should scroll saw patterns be printed in color?
Color or black and white printing is kind of a personal preference, and may simply depend on if you want to use any of your printer’s colored ink.
I usually just print in black or gray, to conserve ink. But make sure there’s enough contrast so you can clearly see the pattern while cutting.
Color printing can be helpful in scroll saw patterns that have a lot of pieces, and you want to give yourself some help when sorting them for painting later.
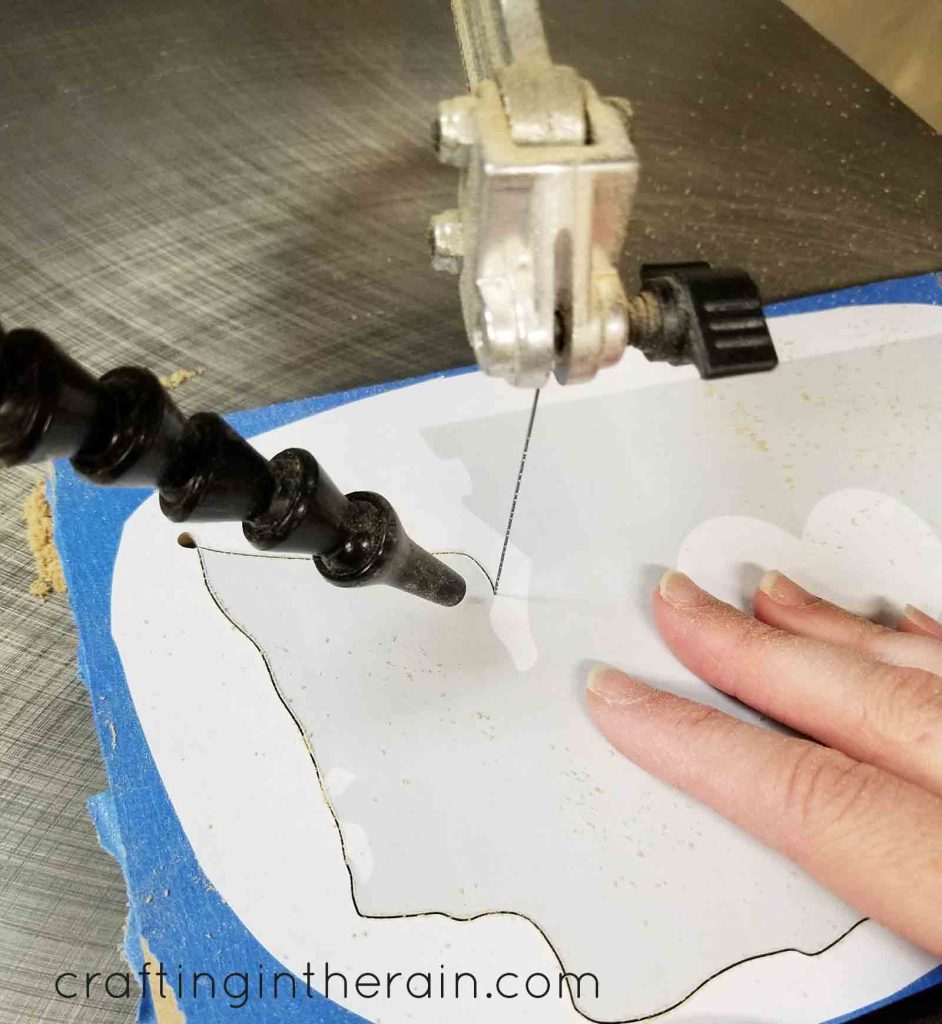
How to apply a printable scrollsaw pattern
I apply patterns in a way that they stay put while cutting, but are easy to remove after without damaging the wood surface.
Cut a piece of clear contact paper and press it smoothly down on the wood or MDF surface.
Then spray the back of the printed paper with spray adhesive. My two favorites are 3M 77 and Gorilla Glue.
I do this spray outside because otherwise, a sticky mist can settle in places you don’t want it!
Position the pattern down on the contact paper. The contact paper comes off much more easily after cutting than paper that’s been glued right to the wood surface.
How to keep track of cut scroll saw pieces?
As you get more advanced with your scroll saw patterns, you’ll realize that you can end up with a lot of cut pieces to deal with! When there are just a few, it’s easy to eyeball what piece goes where, and which side is up.
With larger and more detailed projects, you could end up with dozens of pieces, and more!
As I mentioned before, printing in color can help you keep your pieces organized after cutting.
Before removing the contact paper and pattern, group the pieces that all get the same color paint or finish. Then mark a pencil x on the backside to make sure you paint the top side of the piece.
If you will be dealing with many colors, print out another copy of your pattern and fill it all in like a paint by number.
For example, 1= light pink, 2= dark pink, 3=mint, 4=teal, etc.
Again, before removing the pattern from the cut pieces, write the corresponding number on the back.
Then assembling the whole piece feels more like a fun puzzle, instead of a torturing mind game.
Why is my scrollsaw pattern lifting up?
Make sure there’s no sawdust or other debris on the wood or MDF. If the wood surface wasn’t clean all clean when you put the contact paper down, it will just stick to the dust and not the surface underneath.
If the has some texture, consider misting with water to raise the grain, then sanding with 220 grit sandpaper.
Remove the sawdust of course!
Another reason could be the spray adhesive used. Sprays that are labeled as low-tack, and sometimes repositionable sprays may not hold the paper down to the contact paper.
Finally, incomplete glue coverage on the back will also cause problems. Make sure that the spray of glue goes all the way to the edge of the pattern so it is held down well while cutting.
I included a lot of printable scroll saw pattern information here, so I hope it’s helpful! If you have more questions, leave a comment and ask!
Lisa
Friday 25th of August 2023
Thanks so much for the tip on adhering the patterns to the wood. My husband is always cussing the paper that gets stuck on, because he has to sand it off and HATES sanding!