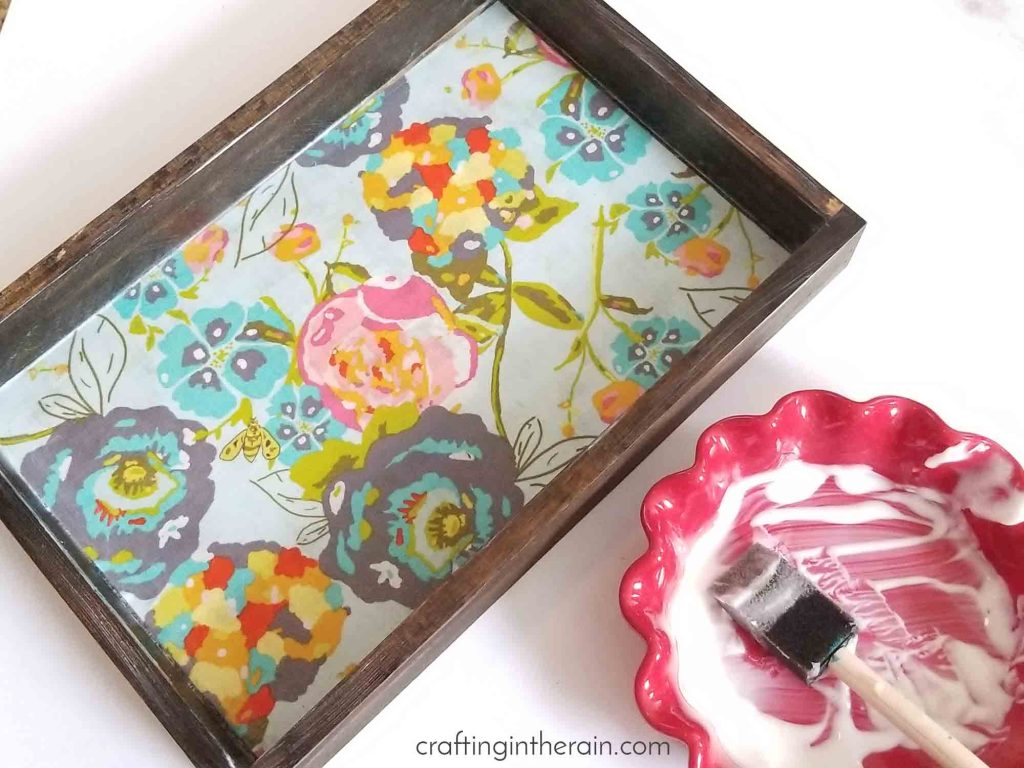
Craft Lightning continues this week. Don’t miss the spring bunnies and glitter earrings. This Mod Podge fabric bottomed wood tray could be simply decorative, or use outdoor Mod Podge and it can be used for holding drinks. Fabric is great for decoupaging a large area because it’s easier to smooth out wrinkles than with paper! (some links affiliate)

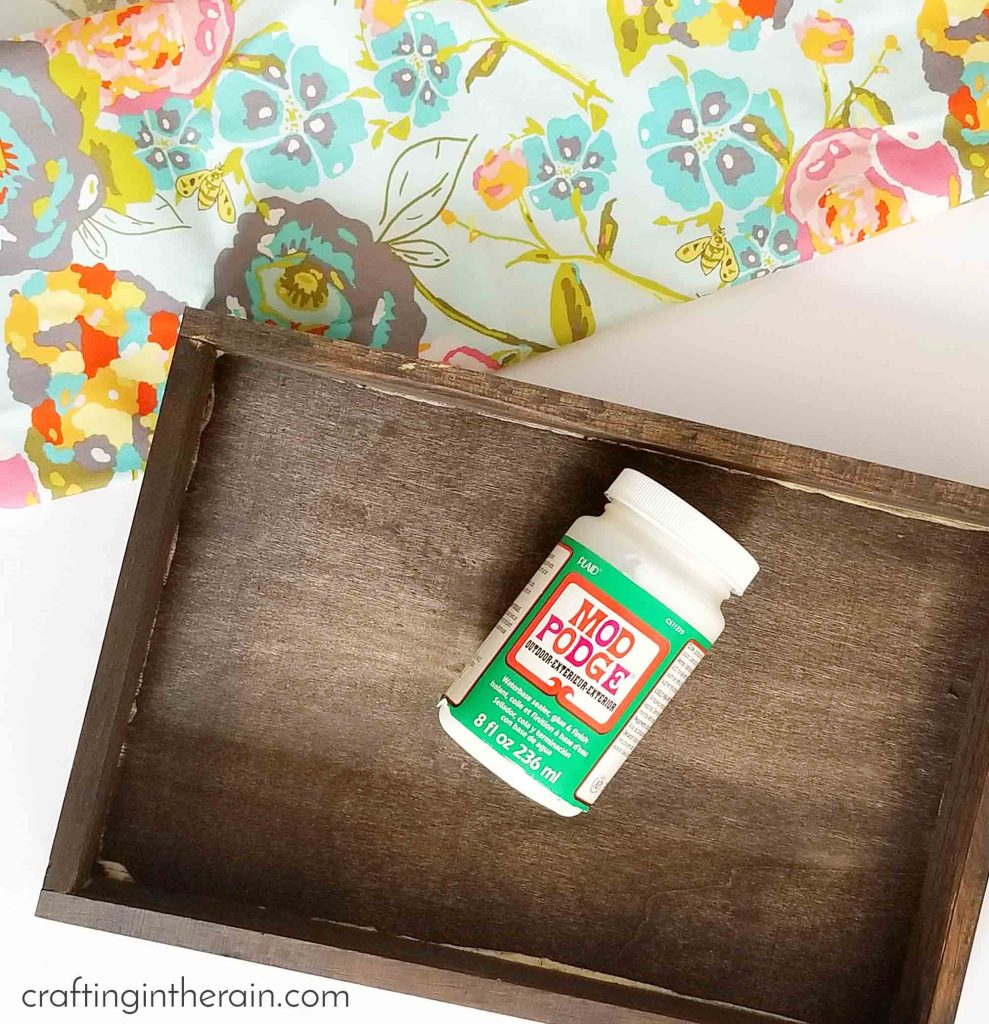
Supplies needed for fabric bottomed wood tray:
Wood tray
Fabric cut to size
Outdoor Mod Podge
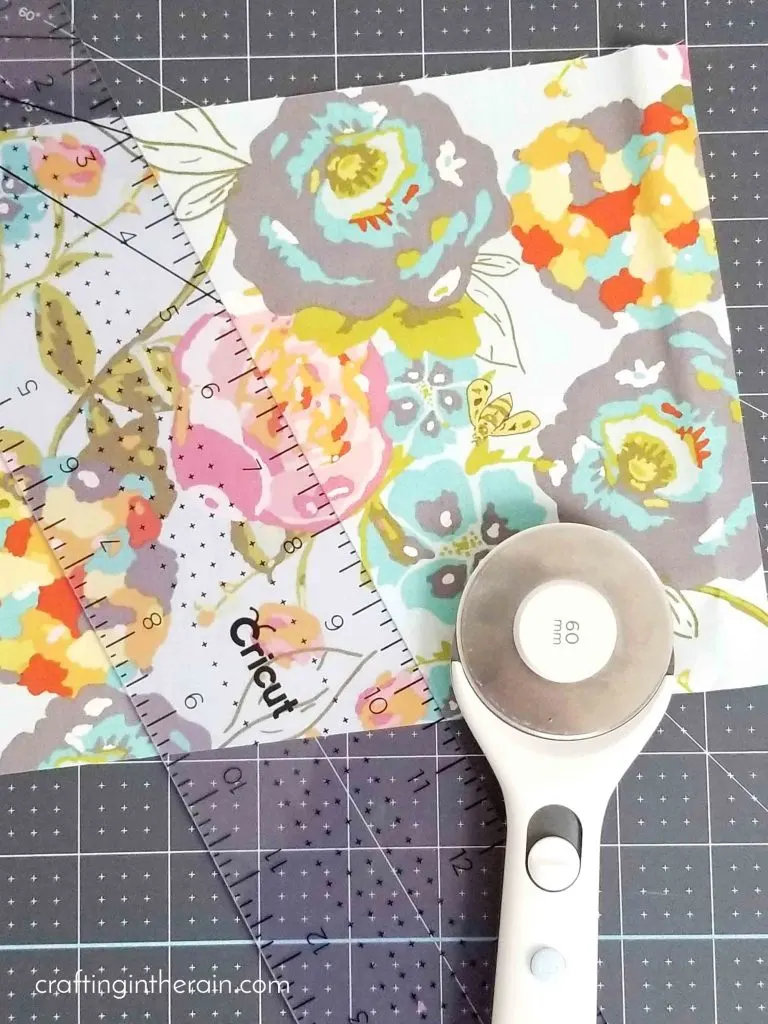
Cricut rotary cutter
Self-healing mat and ruler

If staining the tray, do this step first and let it dry for a day.
Measure the bottom of the tray and cut the fabric to the right size with a rotary cutter and acrylic ruler.
READ THIS POST about Cricut craft tools

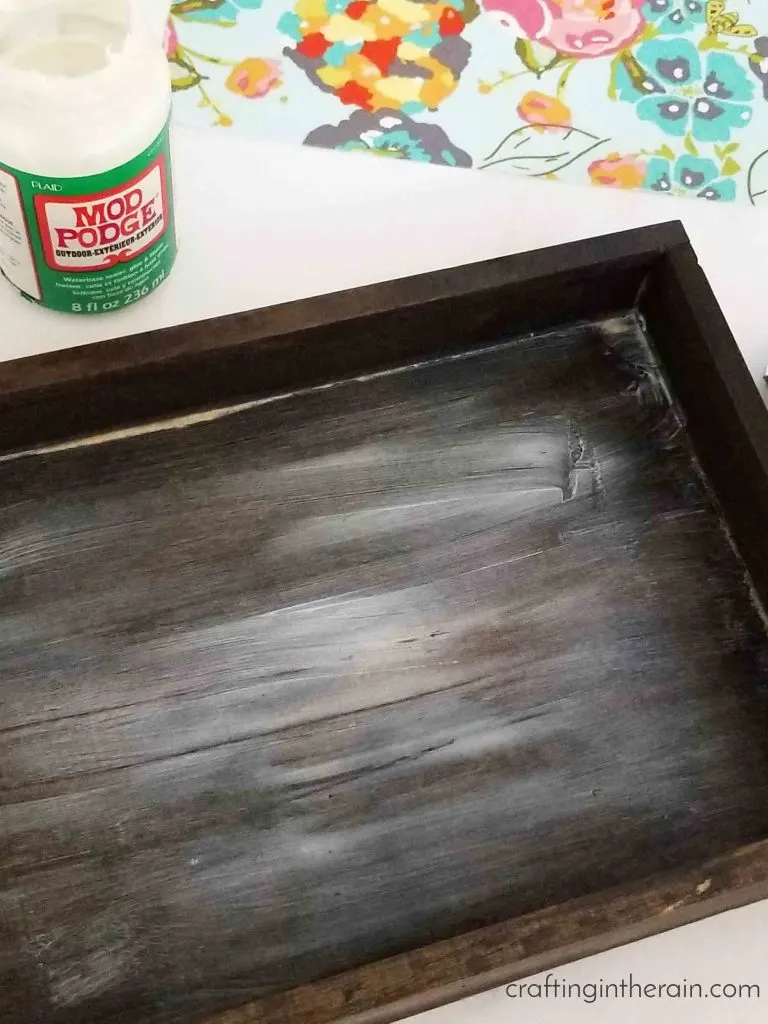
Brush layer of Outdoor Mod Podge on the bottom of the tray. I put a “medium” amount – not so much that it was very lumpy, but not just a thin layer either.

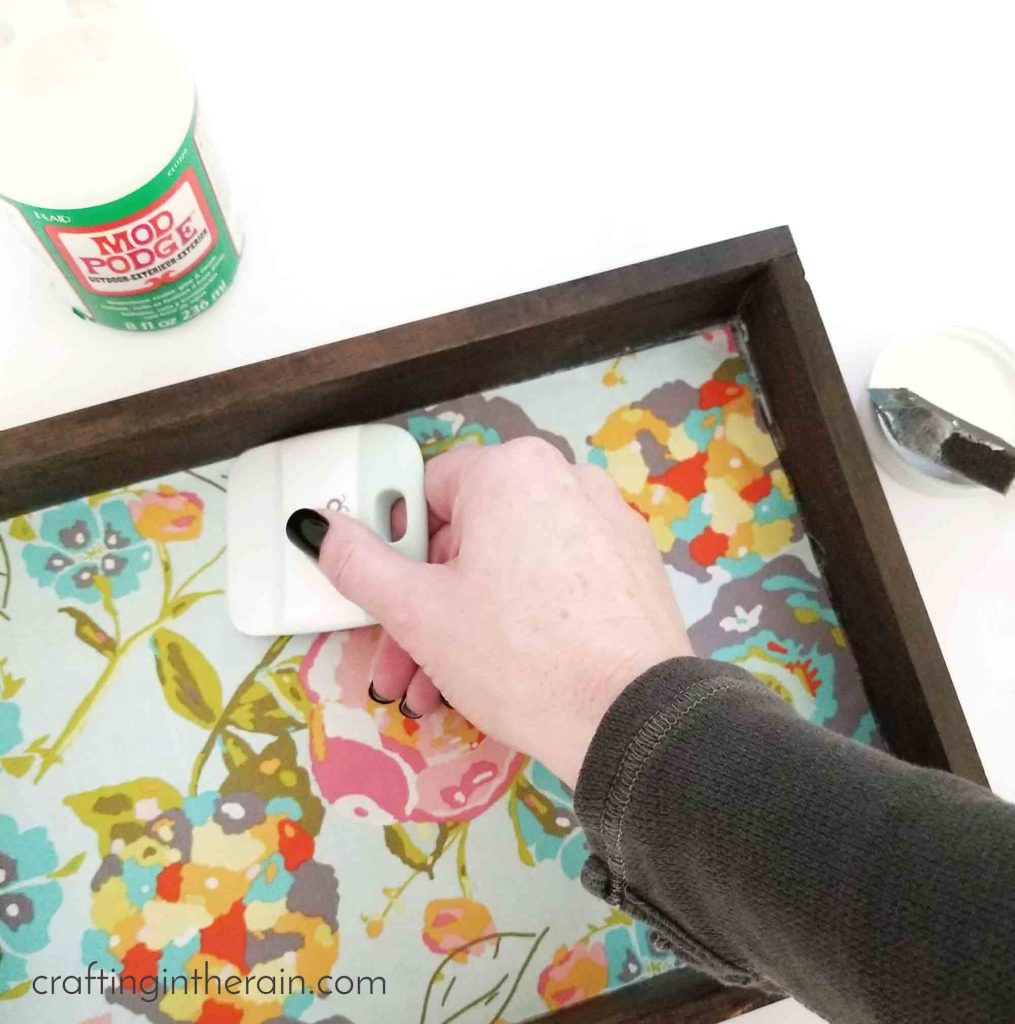
Press fabric down starting in middle and moving towards edges. I used my small Cricut scraper to smooth down a few wrinkles and bubbles. I really liked that I was able to get all the wrinkles without damaging the fabric. When I’ve used Mod Podge on larger pieces of paper, I always have to be careful that I don’t tear it.

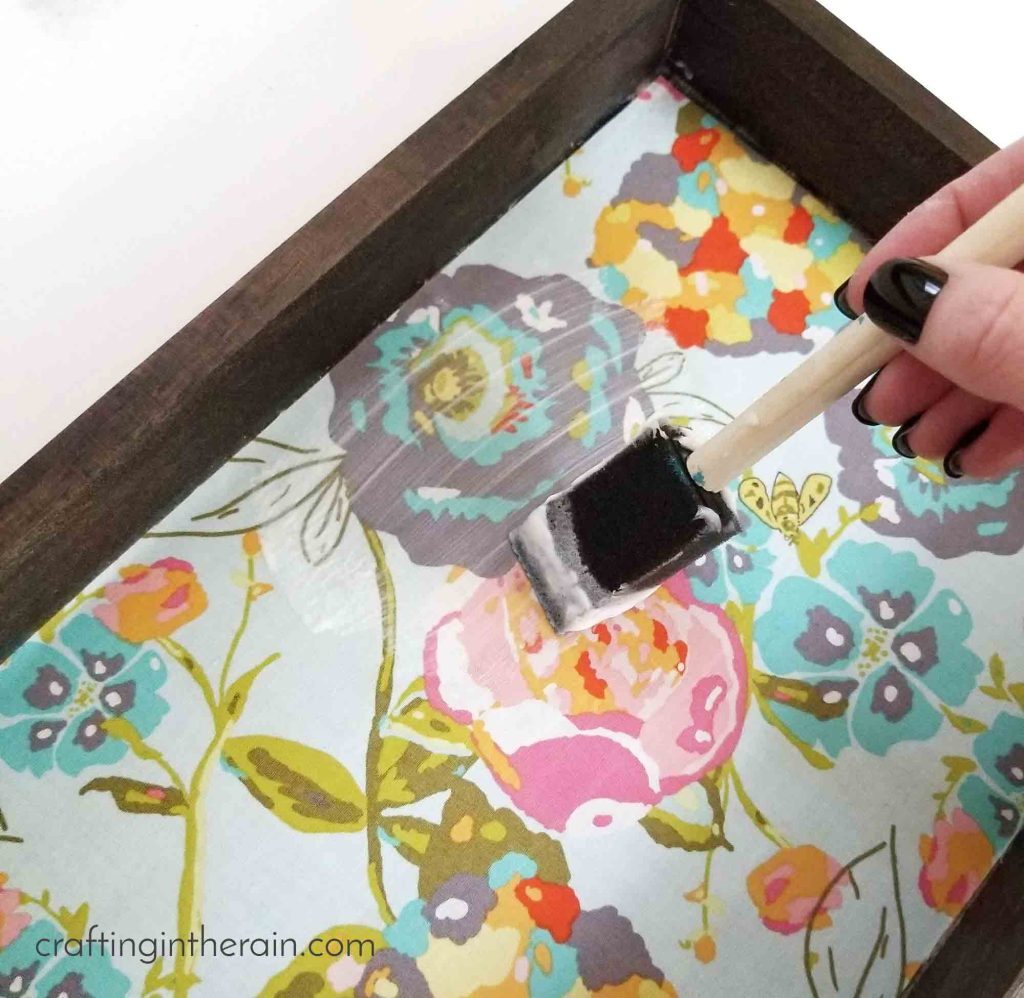
When dry, top with two more layers. I don’t know if my Mod Podge was a little old, or if the Outdoor formula is just thicker, but I thinned some down with just a bit of water to make these layers more spreadable.

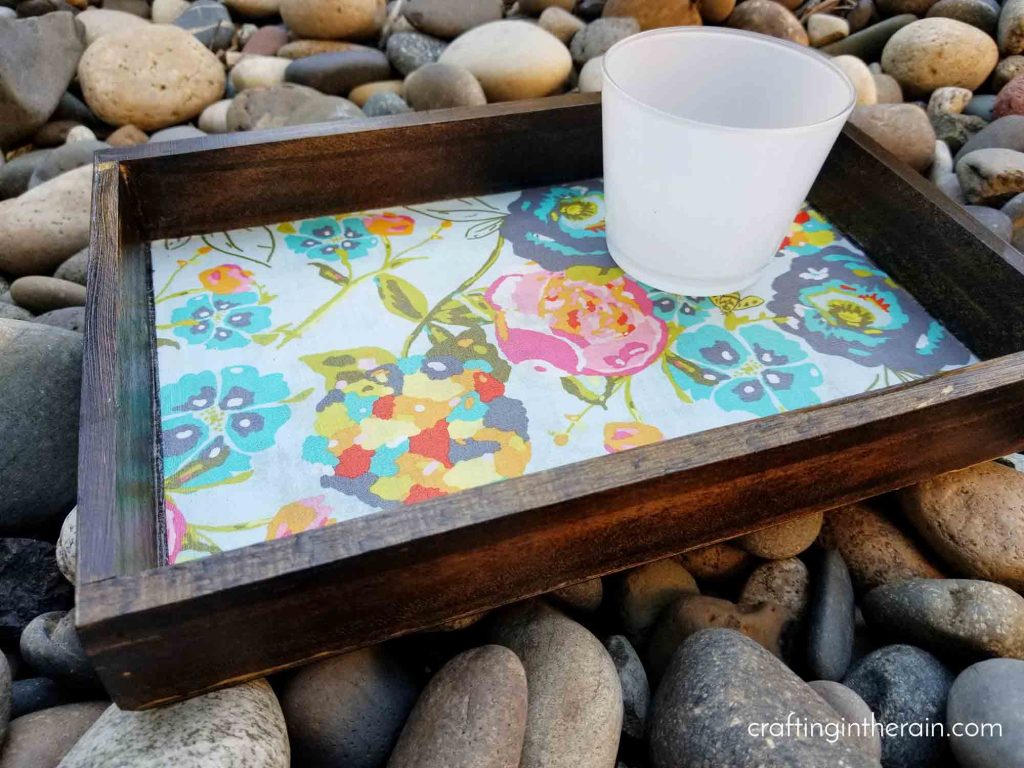
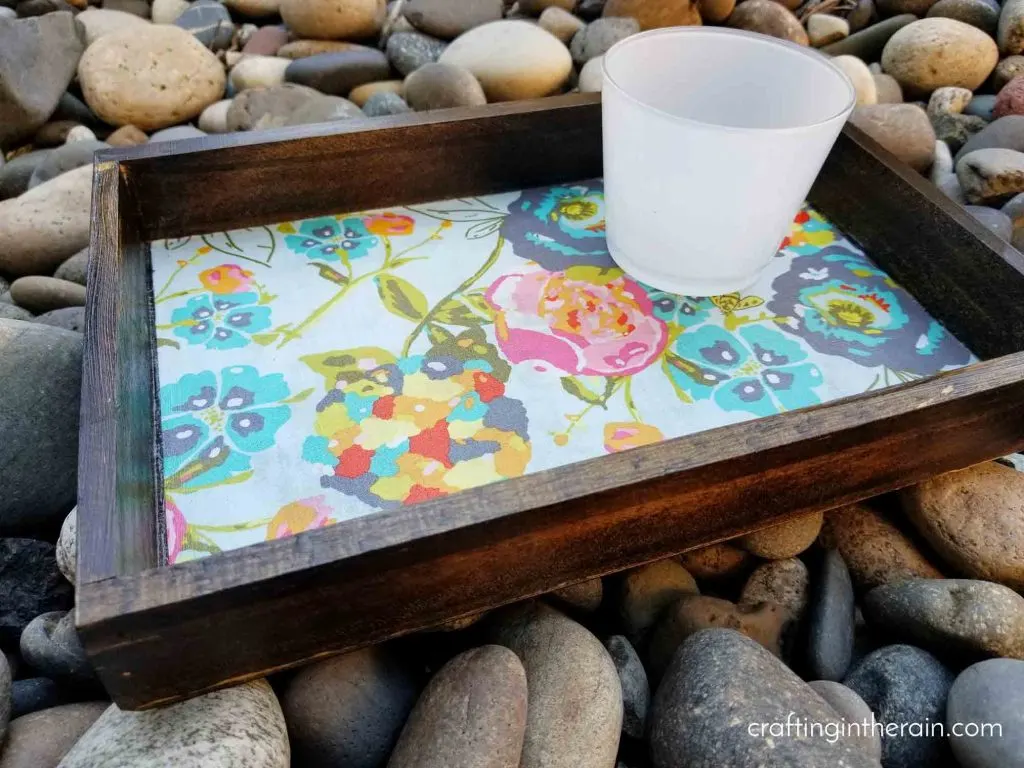
And since this tray is sealed with Outdoor Mod Podge, it works great for drinks, breakfast in bed, or set it on the coffee table with a pretty plant. It’s totally customizable!
Visit these posts for more great Mod Podge ideas.
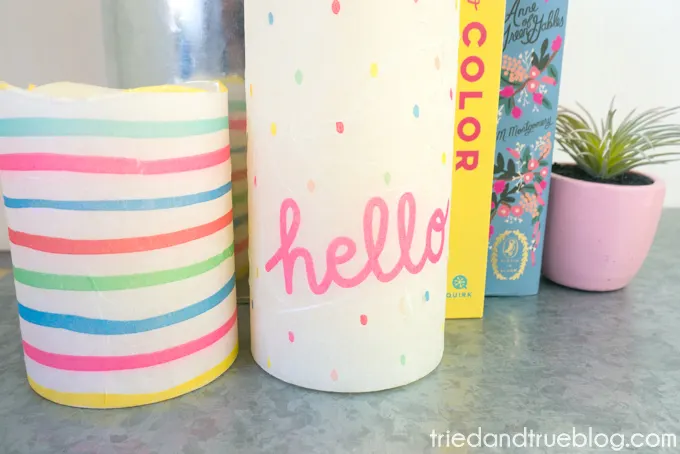
Mod Podge Candles – Tried and True
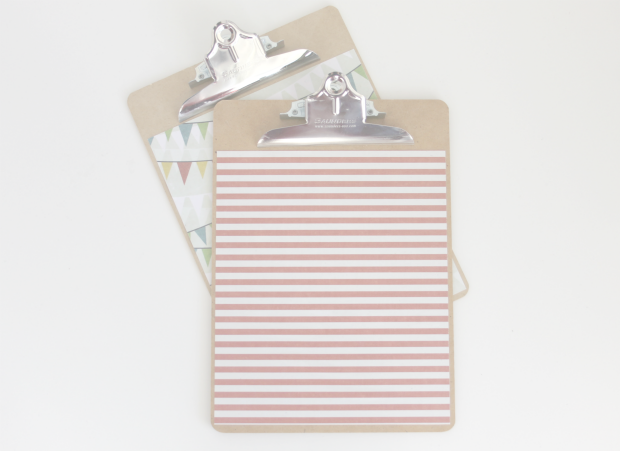
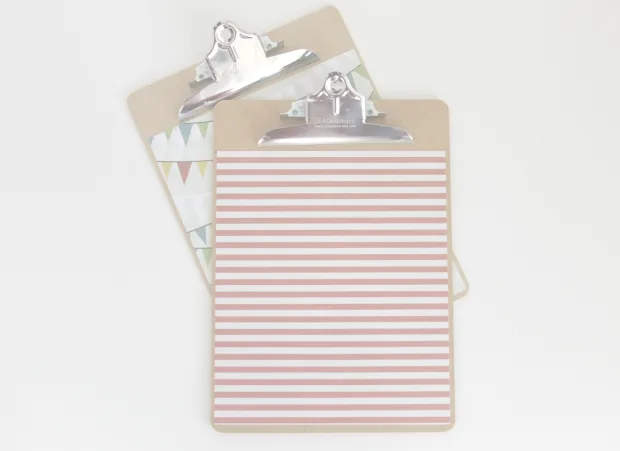
Mod Podge Clipboards – Ginger Snap Crafts
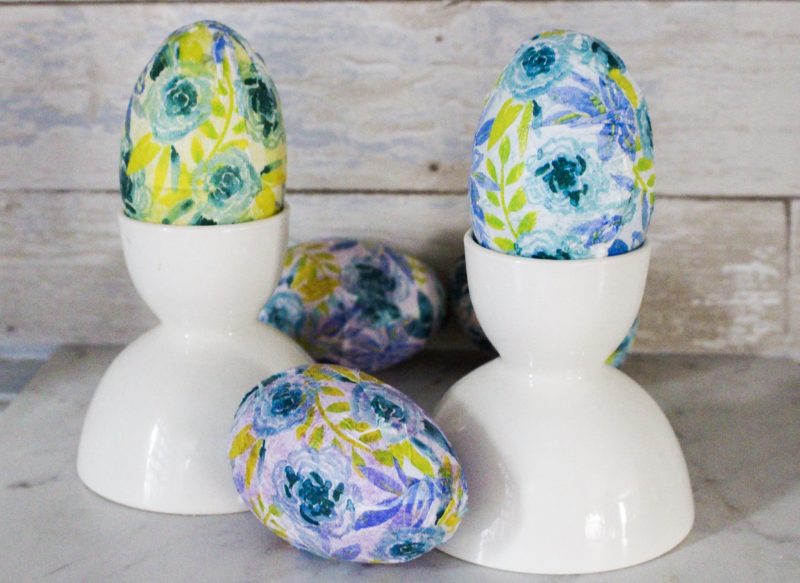
Napkin Easter Eggs – Our Crafty Mom

Mod Podge Craft Projects - A Little Craft In Your Day
Tuesday 7th of March 2023
[…] DIY FABRIC BOTTOMED WOOD TRAY From Crafting In The Rain […]
How to Make Adorable Letter Board Accessories With Your Cricut - The Country Chic Cottage
Saturday 9th of January 2021
[…] Our guest co-hostess is Crafting in the Rain and she is adding fabric to the bottom of a wood tray with decoupage. […]
Neha Jain
Saturday 25th of April 2020
For how long shall we dry it and at which all steps?
Thanks in advance