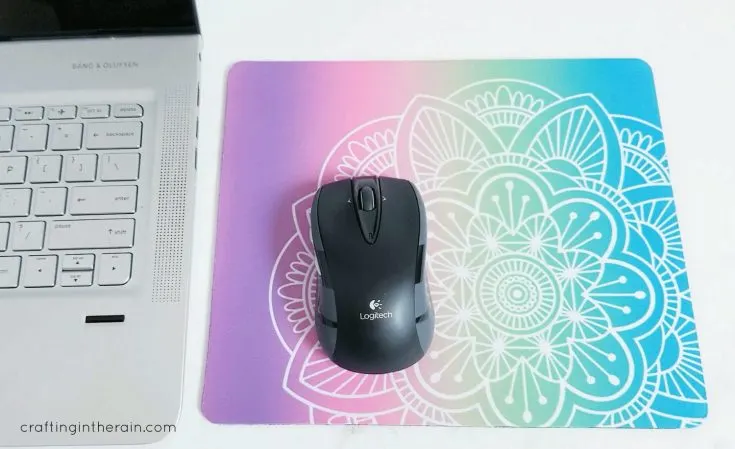
Have you tried infusible ink yet? I bought a pack of sublimation mousepads to try making an Infusible Ink mousepad with the transfer sheets, and they work great!
Well, I still messed up the first one, but think of how many tips I can teach you because I keep learning about what not to do!

You have to make sure to buy mousepads made for sublimation because they will have polyester for the ink to infuse.
Before you get started, I highly recommend reading through my Infusible Ink beginner tips and how to avoid Infusible Ink problems.
Then, you’ll be set to have the best chance at a successful ink transfer.
How to cut Infusible Ink transfer sheets
Design the cut to be slightly larger than the mousepad. This way, you’ll make sure that it can overlap a teeny bit on each side and you won’t risk a white line on any of the edges.
The ink sheets keep their roll pretty tightly, so just be patient when trying to get it laid out on a mat. I like to use the green mat for Infusible Ink sheets. It holds it down nicely while cutting but still comes off fine later too.
Mirror the design because it will need to cut out backward. If you want to use the same mandala design on my mousepad, open the Design Space project here. The color side goes face-up on the mat, with the clear liner face down.

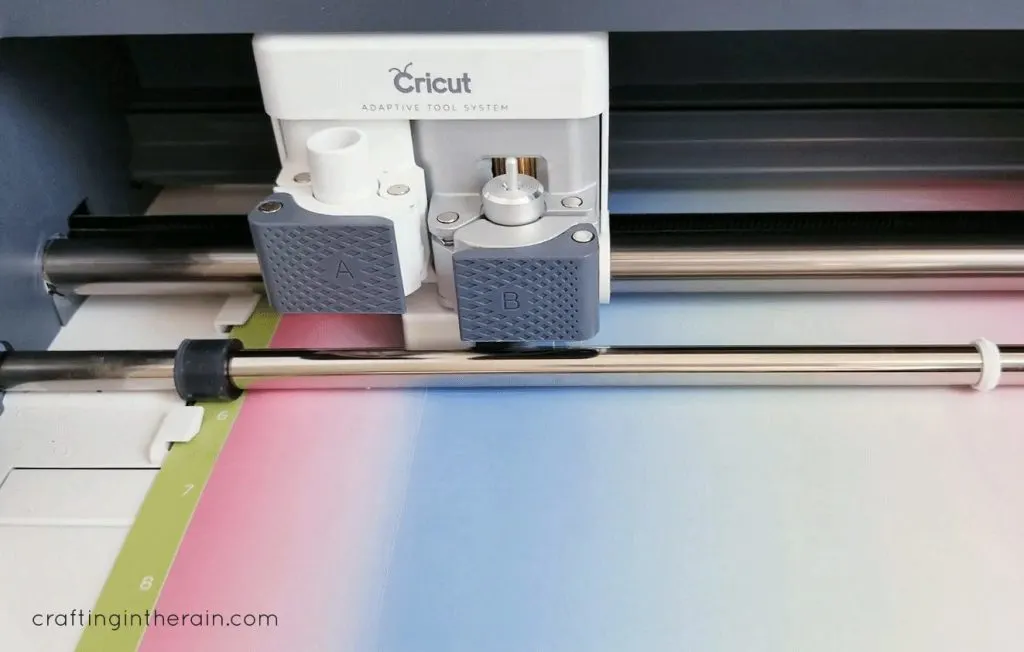
I recommend doing a small test cut if this is the first time you are cutting Infusible Ink with your to make sure that Cricut. For me, the Infusible Ink setting cuts it perfectly, but it sounds like some people have had issues with it cutting through the plastic sheet as well, or not cutting all the way through the paper layer.
If you’re doing test shapes first, you can see if the cut comes out right or if it needs more or less pressure, or even a different setting, before ruining a whole sheet.
Infusible Ink Sheets vs Pens
With the Infusible Ink sheets, the ink is printed onto a paper layer (either a solid color or a pattern) with a clear liner for easy transfer to the project blank.
With the pens and markers, you draw onto laser paper, with the Cricut machine or by hand. Be aware that coloring in shapes with the pens and markers doesn’t always give a perfect fill. If you can see darker and lighter lines on the paper, those differences show up in the transferred ink as well.
Weeding the ink sheets works best if you take it off the mat and roll it a little to help separate the cut lines. Use fingers to peel away the extra sheet and NOT a weeding hook.
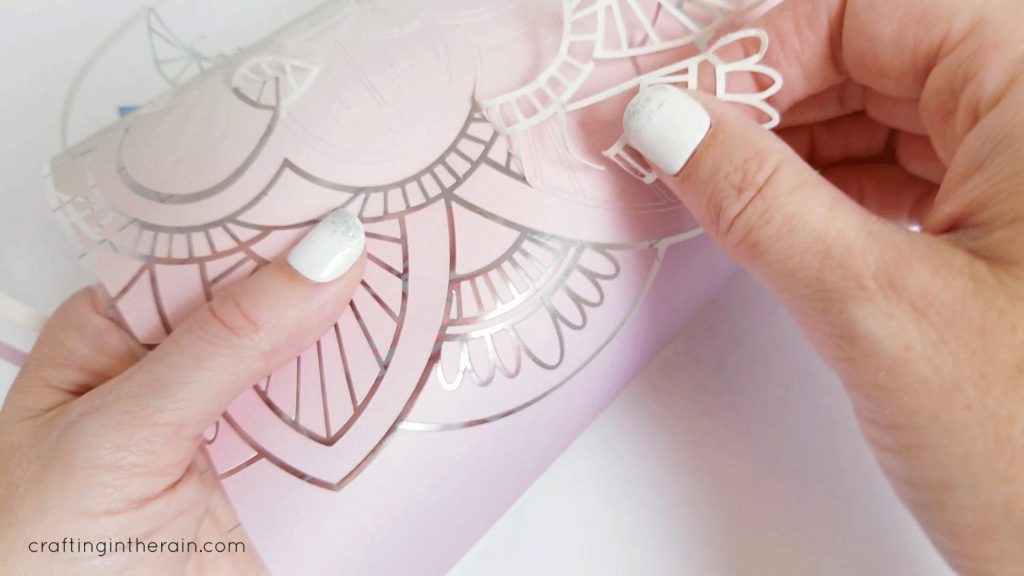

If you read the Infusible Ink problem list, you’ll know that the hook can actually force ink into the carrier sheet and you’ll get marks in the final project that you don’t want.
How to put Infusible Ink on a mousepad
Place white cardstock on the EasyPress mat, then the mousepad. Use a lint roller to remove any particles from the top of the mousepad.
Cover with a sheet of butcher paper and preheat with EasyPress at 400 degrees for 10 seconds. Then let the mousepad cool so that there’s no ink transferred while you’re getting the design in place.
Line up the design so that the entire mousepad is covered and secure with heatproof tape. But be careful!

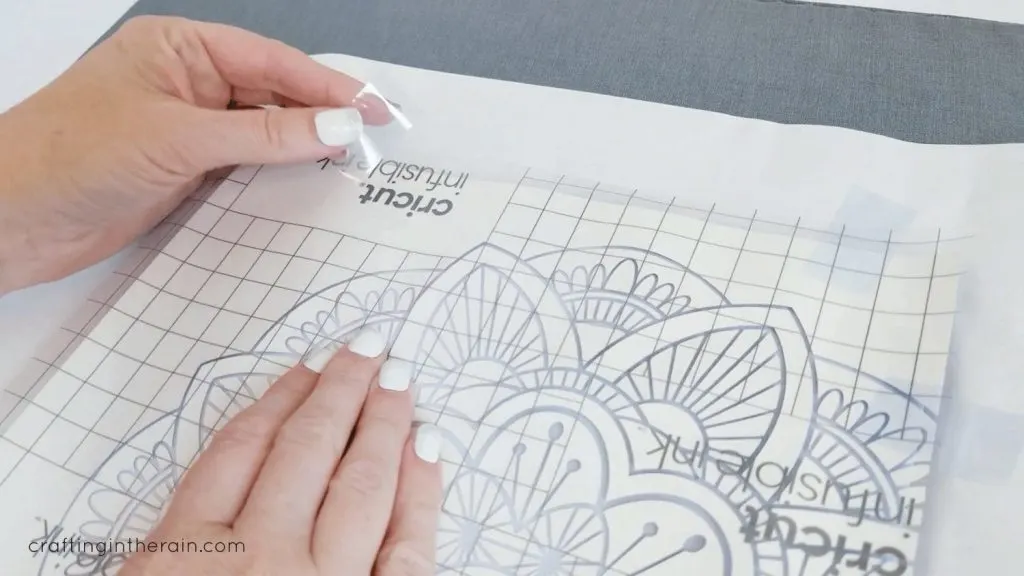
On my first attempt at making the mousepad, I accidentally let a piece of tape wrap under the design and stick to the ink layer. So the ink transferred to the tape and not to the mousepad underneath!
Cover with butcher paper and press at 400 for 30 seconds with medium pressure.

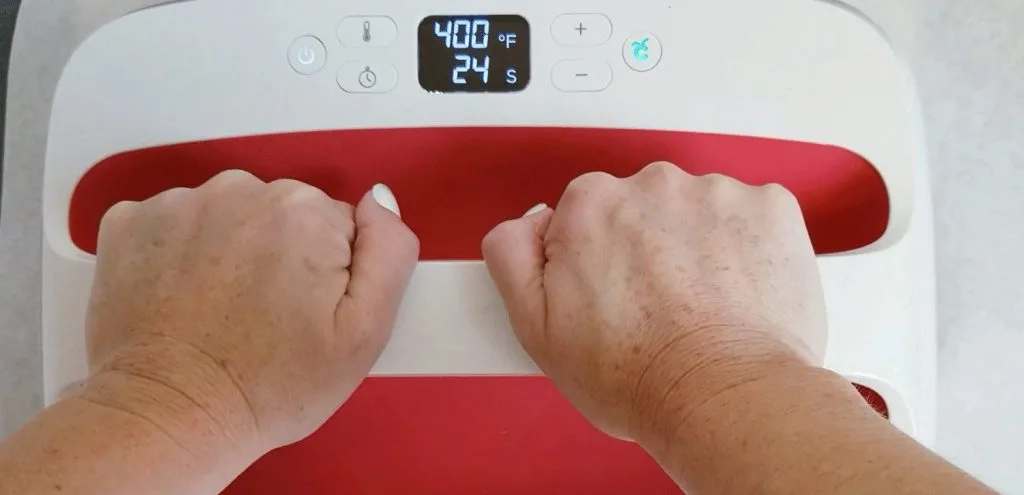
Carefully lift the EasyPress up to not disturb any layers. When the project is cool, remove butcher paper, tape, and carrier sheet.
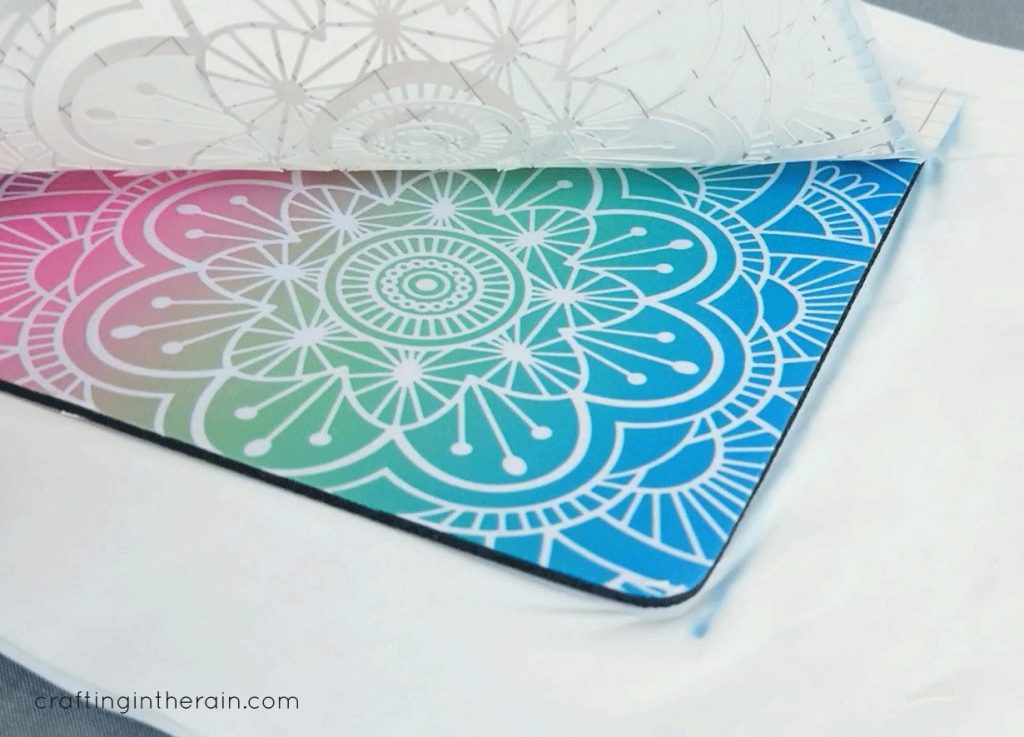
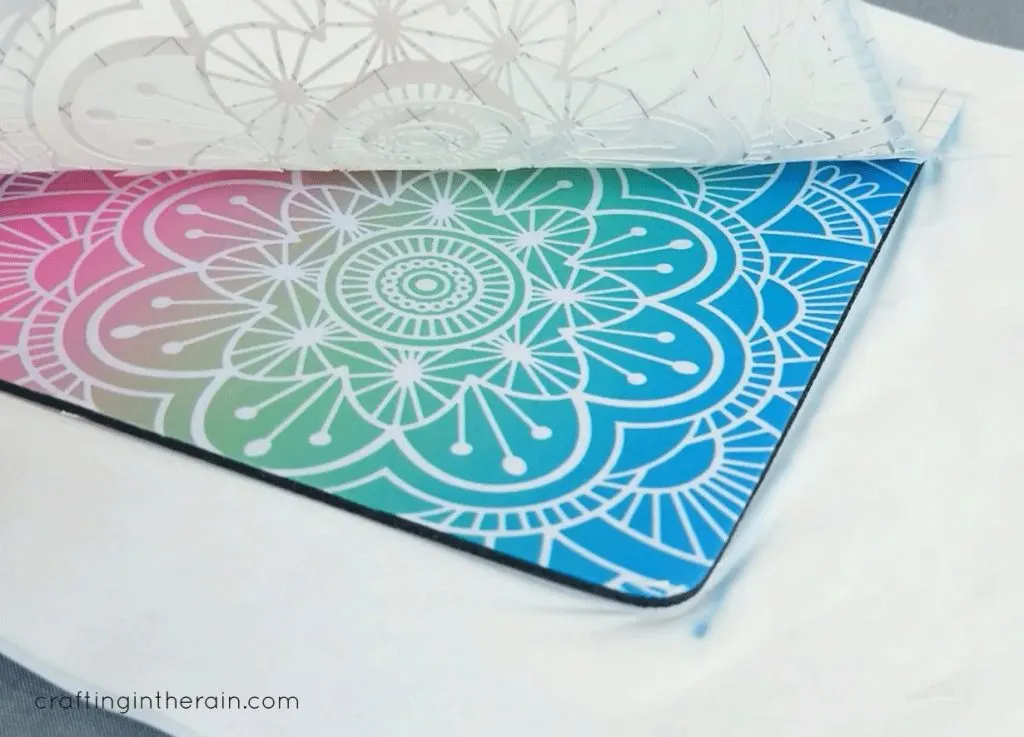
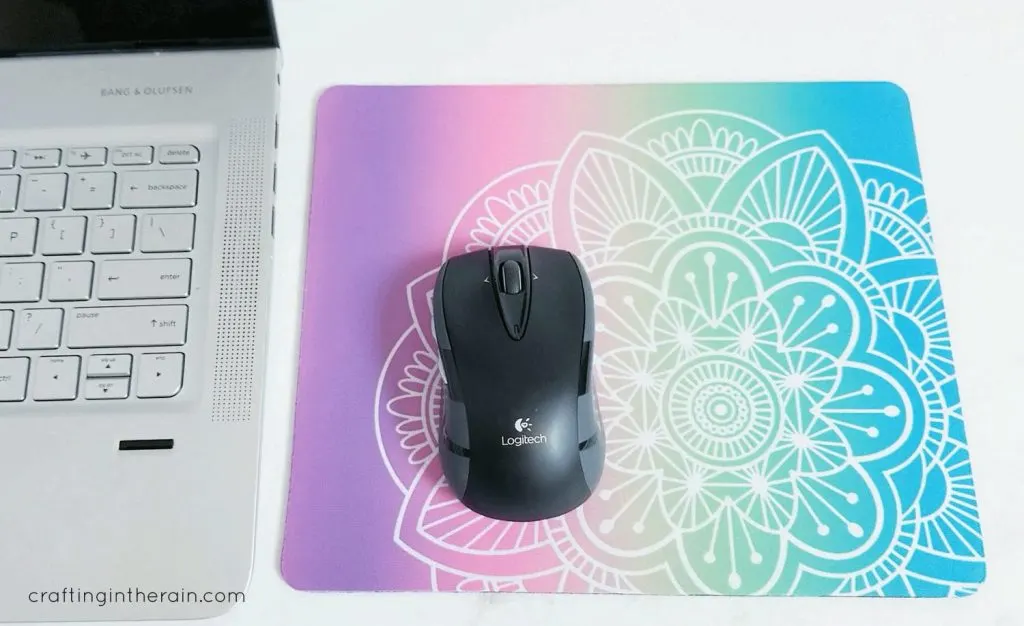
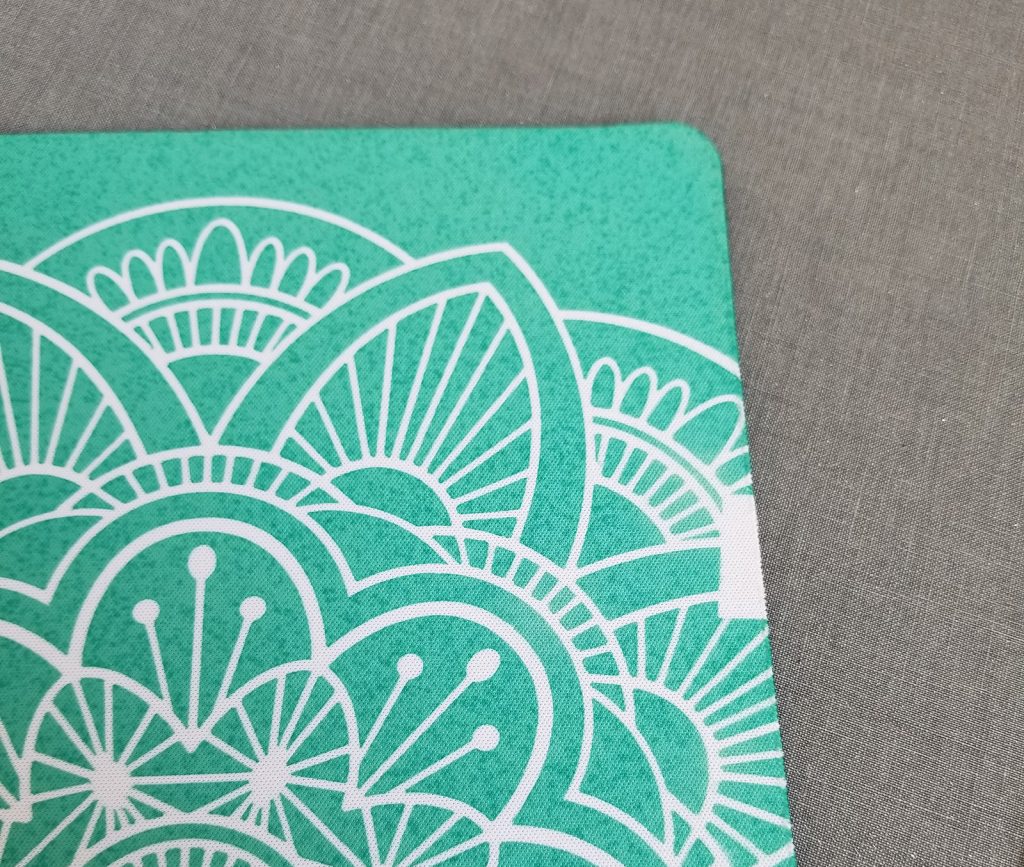
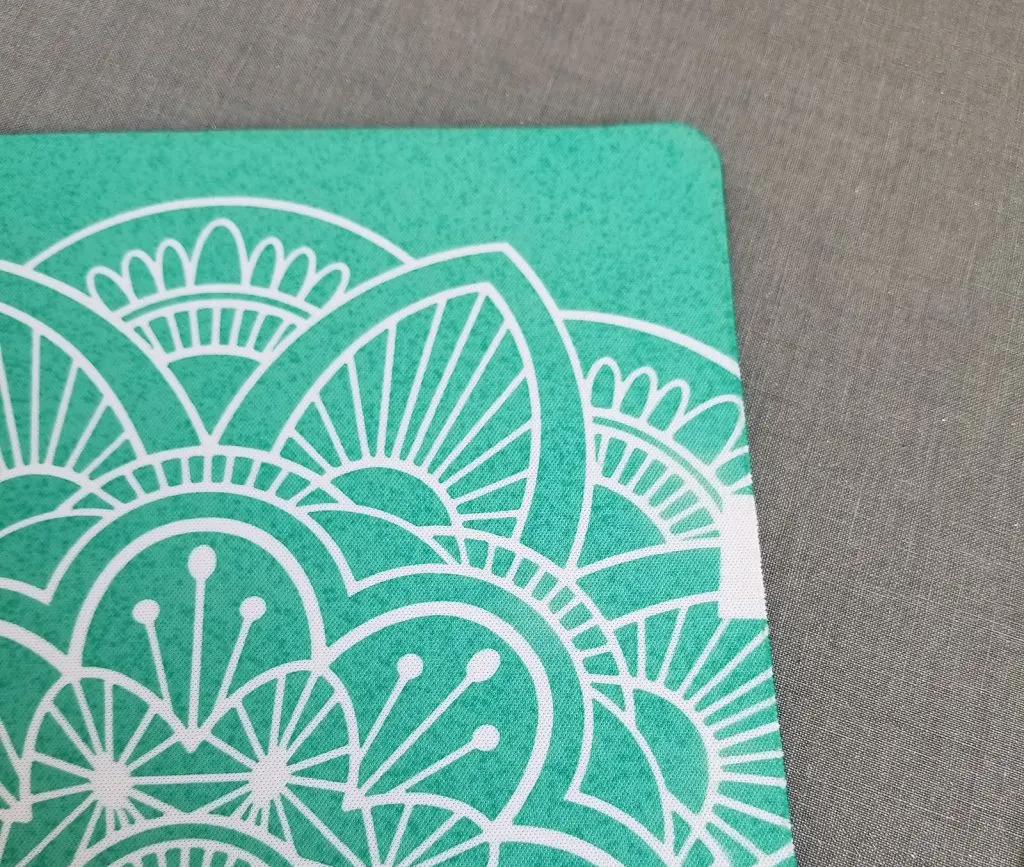
Look at the awesome color transfer! All the ink is now off of the transfer sheet paper and in the top layer of the mousepad.
Have any questions about making an Infusible Ink mousepad? Let me know!
You can also see how I made round Infusible Ink coasters here.


Cricut Infusible Ink Mousepad

Materials
- Cricut Infusible Ink transfer sheet
- Mousepad for sublimation
- Butcher paper
- White cardstock
Tools
- [Cricut Maker]https://amzn.to/3IqR1Tw)
- EasyPress 2
- EasyPress mat
Instructions
- Cut ink transfer sheet with Cricut - be sure to mirror image
- Weed away extra sheet using fingers
- Remove lint from mousepad
- Preheat for 10 seconds
- Let mousepad cool, then tape down design
- Cover with butcher paper and press for 30 seconds at 400 degrees
- Remove transfer sheet when cool
Recommended Products
As an Amazon Associate and member of other affiliate programs, I earn from qualifying purchases.

Jo Lee
Friday 4th of September 2020
please share if it is possible to apply a base color onto the mousepad with transferable ink and then apply a second design layer? Thank you!
Stephanie
Monday 7th of September 2020
While it's not recommended to do a second pressing of infusible ink like that (it can cause the first layer to lose color or become uneven), some people have had success with it. You could put iron-on vinyl on top, because it is pressed at a lower temperature.