This is a sponsored conversation written by me on behalf of Cricut. The opinions and text are all mine.
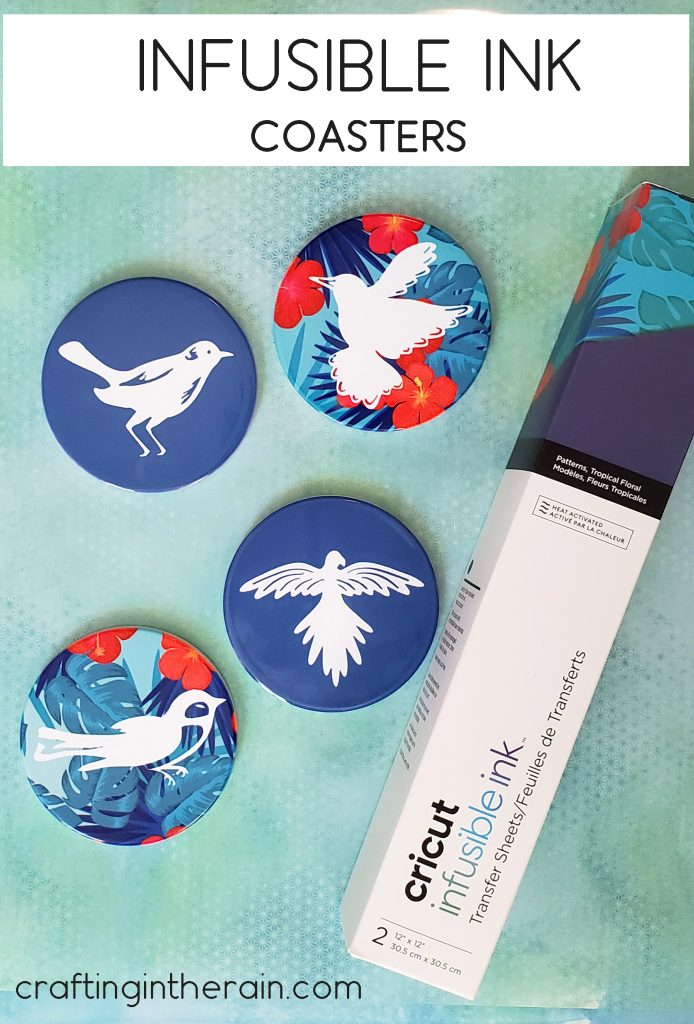
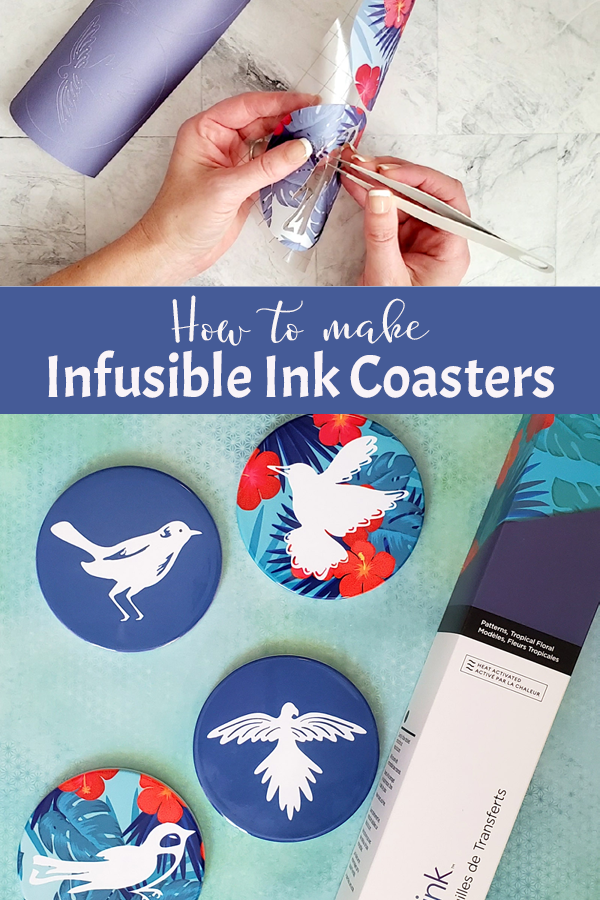
I’ve seen so many cute coaster designs that I wanted to make my own bird coasters with Cricut Infusible Ink. You can learn how to make Invisible Ink coasters too.

Cricut opens up so many possibilities for creating custom gifts. You can personalize items with names of course, but you can also create gifts tailored to someone’s interests and skills.
My dad has been an avid bird watcher since I was a kid. So he and my mom have literally traveled the globe looking for birds and having all kinds of adventures along the way.
They have been to Costa Rica, Thailand, South Africa, Australia, and New Zealand, to name a few places. They have safaried, snorkeled, hiked, camped, and hiked some more.
These coasters are designed for my dad with bird images found in Design Space.
Designing Coasters in Cricut Design Space
With the release of Infusible Ink and compatible coasters, a bunch of pre-designed coaster options were added to Design Space. Find them by searching “coaster.”

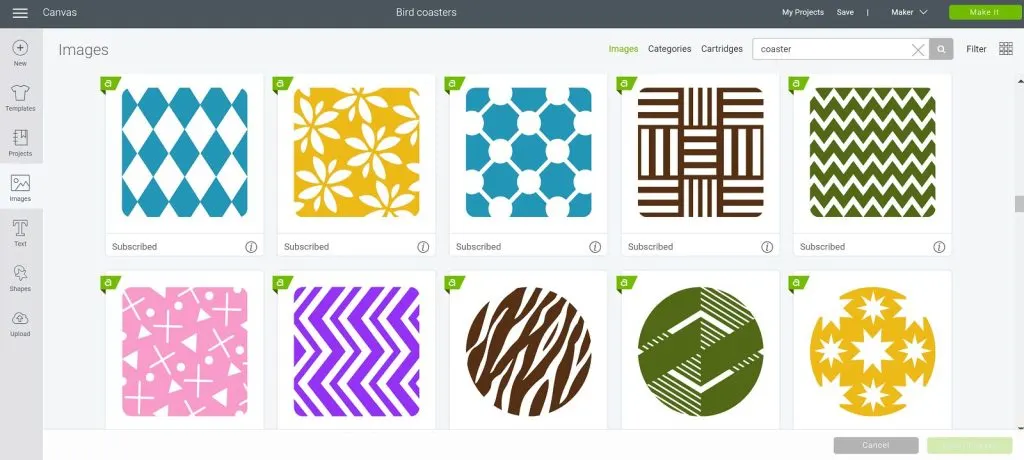
There are a bunch of options for both the circle and square coasters. The circles import at 3.5 inches, which would actually leave a small white border around each coaster. The coasters are 3.6 inches across.
I like the color to extend all the way to the edges, so I will resize to 3.7 inches and the design can hang off the end just a bit.
Make an original coaster design by adding a circle to the canvas. Add another image and center it with the circle. Select both and attach them.
Supplies needed for infusible ink coasters
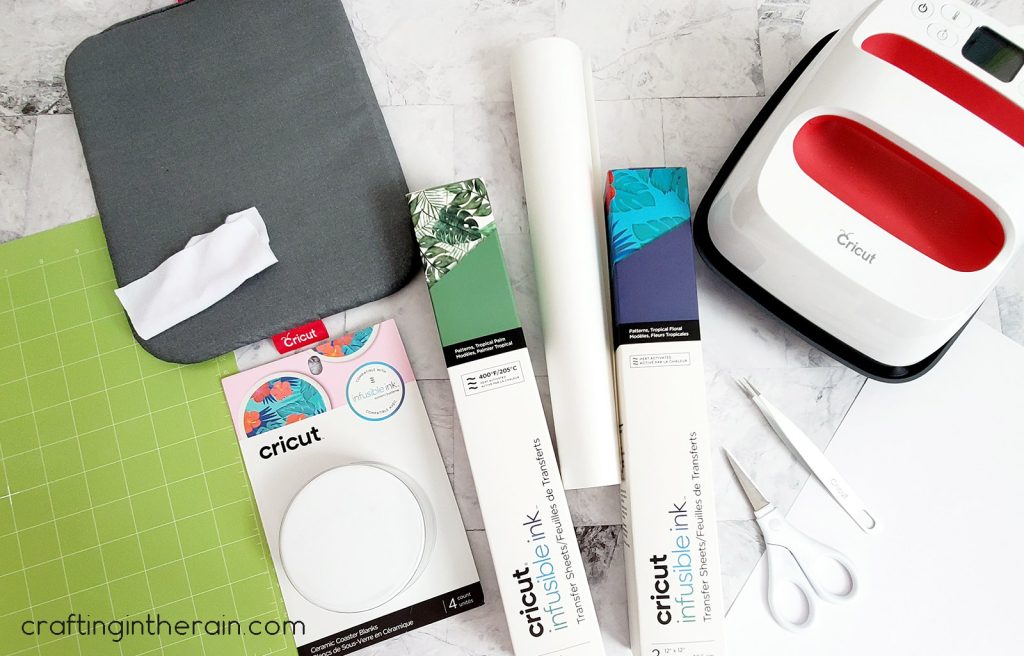
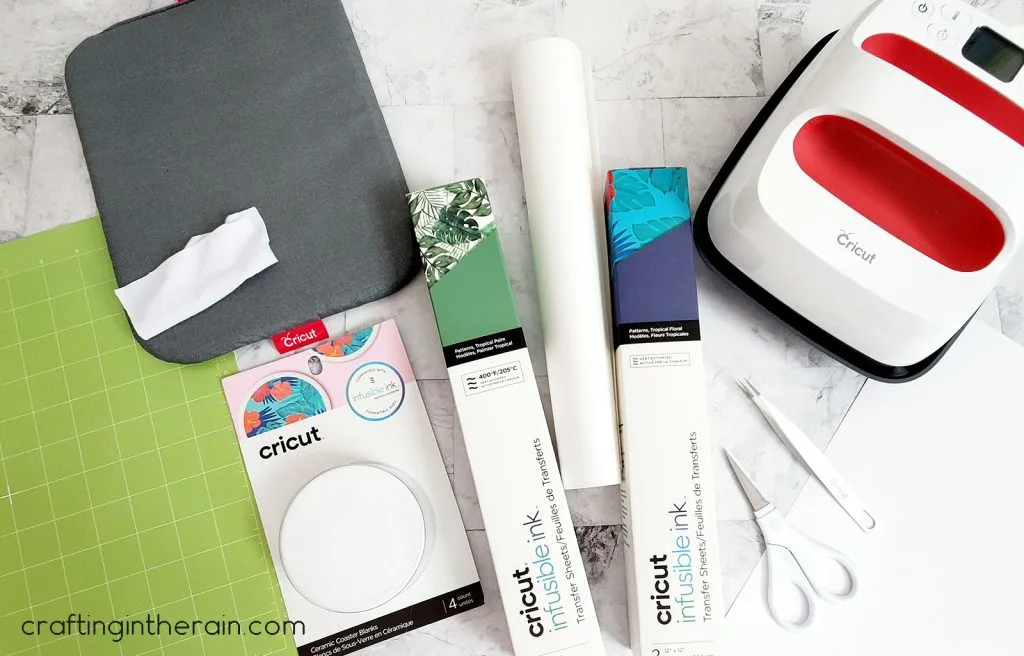
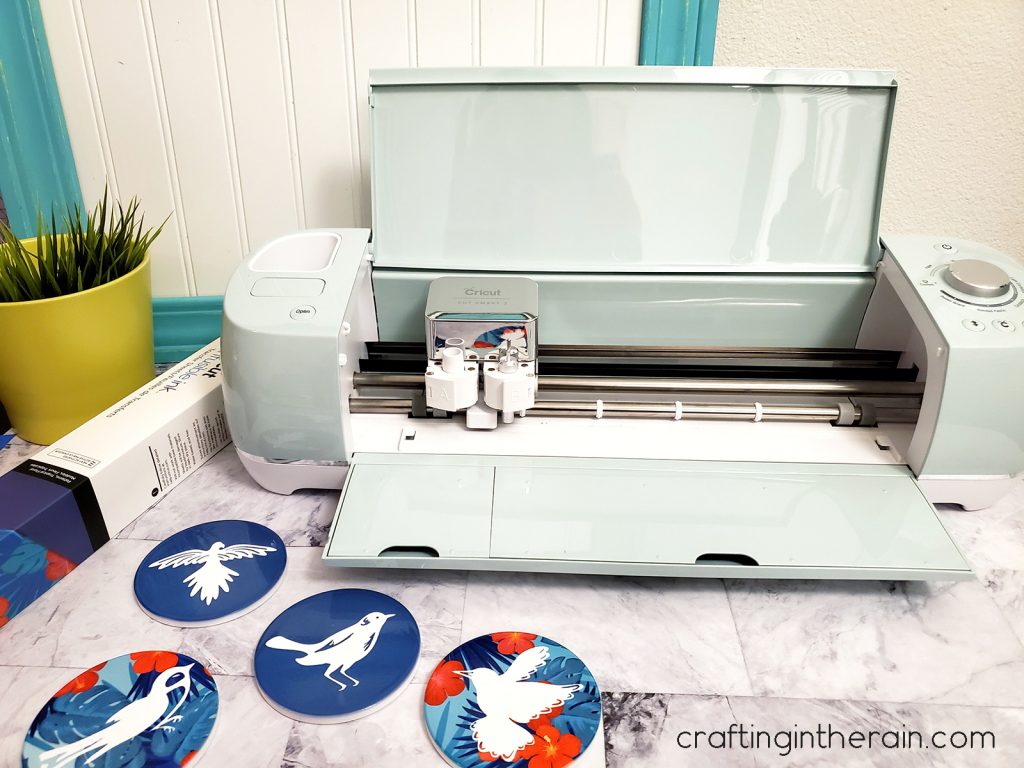
- Cricut Explore or Maker (I’m using my Explore Air 2)
- Standard mat (green)
- Infusible Ink transfer sheets
- Heat resistant tape
- Cricut Coasters
- EasyPress or EasyPress 2 (I am using an EasyPress 2)
- EasyPress mat
- White cardstock
- White butcher paper – comes with the Infusible Ink
- Tweezers
- Lint-free cloth – you can use the small cloth that comes with the rolls of Infusible Ink
- This Design Space project
Read this post with my favorite features of the Explore Air 2.
Most of these items can be found through the links above on the Cricut website.
How to make Infusible Ink Coasters
Read this post with tips for using Infusible Ink.
Cutting Infusible Ink Sheets
Mirror the mat before cutting the Infusible Ink sheet.
Press the Infusible Ink sheet down on the Cricut mat. Make sure your hands are clean and dry. The liner side goes down, the colored side goes up.


The sheets want to stay rolled up, which can make them hard to position on the mat. My trick is to slide the mat almost all the way under the machine and use the folded out door to rest most of the roll on.
Then it’s easier to manage the end of the roll and match it up with the edge of the mat. Watch the video to see it in action.
Since I’m using my Explore machine, I will set the dial to Custom Materials and then search for Infusible Ink in the Design Space materials.
Load the mat into the machine and press the Go button.
Weeding Infusible Ink Sheet Designs
Weed away the outside of the design and the un-needed middle part. Use your hands only, as weeding tools could scratch color into the carrier sheet.

Sometimes rolling the transfer sheet a little can help the edges pop up off of the carrier sheet and make it easier to weed.
Apply Infusible Ink to Coasters
Heat Cricut EasyPress 2 to 400 and set the timer for 240 seconds. Yes – it really is that long. (If using an original EasyPress, check the heat guide for temperature and time.)
Wipe the coasters to remove any possible lint.
Lay a piece of white cardstock on top of the EasyPress mat to protect it from any accidental ink transfer.
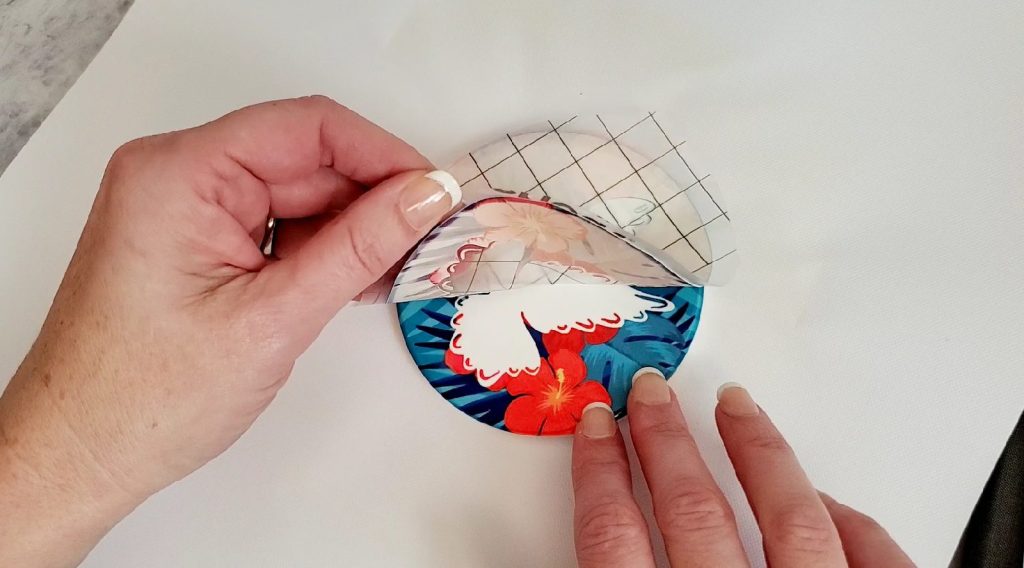
Position the cut ink sheet on the coaster and turn it over so the back of the coaster is facing up.
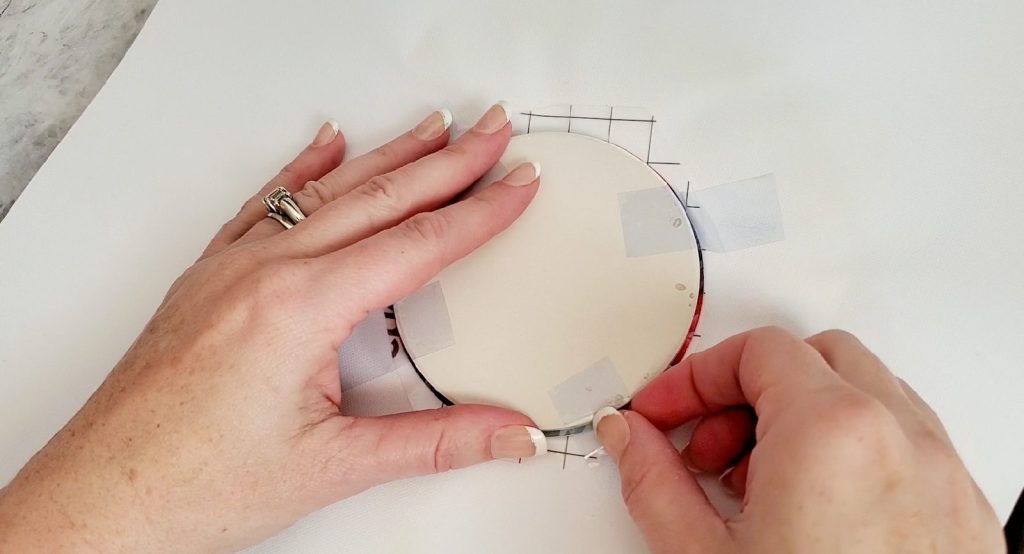

Cover the coaster with a piece of butcher paper.
Place the EasyPress 2 on the coaster and set the timer. I like to press down for about the first 40 seconds. Then I took my hands off of the EasyPress to make sure my hands didn’t get tired and make it shift.
When the timer beeps, carefully lift off the EasyPress and let the coaster cool before touching it. Leave it alone for at least 15-20 minutes. All that ceramic seriously stays hot for a while.
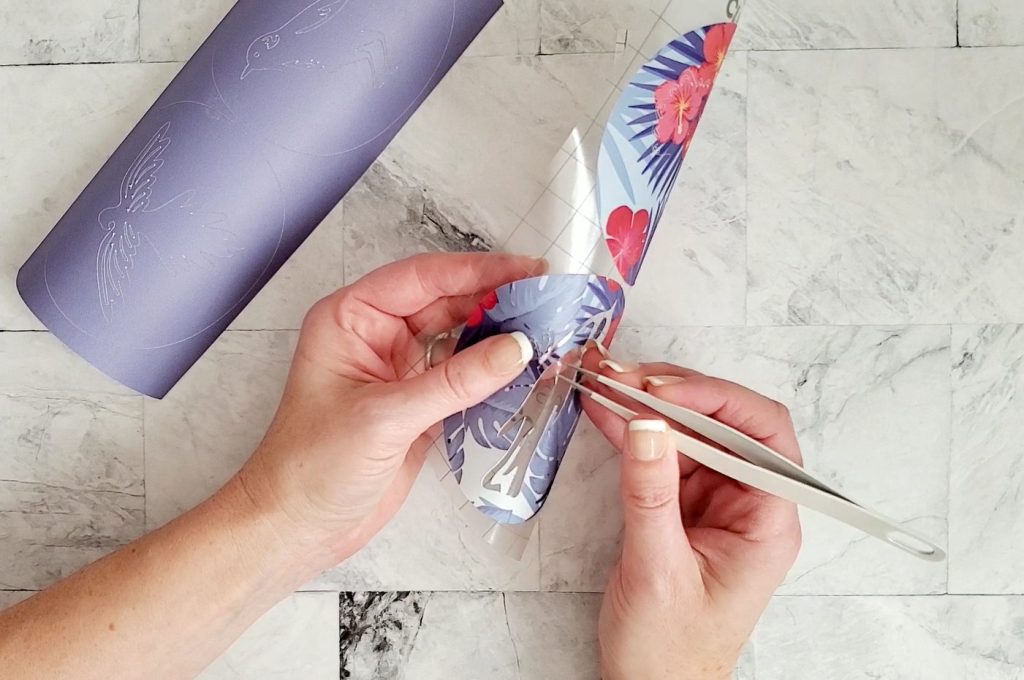
Flip the coaster over and remove the carrier sheet. If any pieces of the sheet stay stuck to the coaster, lift them off with the tweezers.

Then take a second to admire the vivid colors and cool design of the coasters you just made!
Caring for Cricut Ceramic Coasters

By using Infusible Ink and these compatible coaster blanks, your design is now permanently set in the coating of the coaster. There are no bumps, ridges, or anything that will peel up or crack over time.
These round coasters can be washed with warm water or glass cleaner. Do not use any abrasive cleaners or steel wool. These can damage the coaster or the design.

Thanks for reading, and let me know if you have any questions. Start thinking of all the great custom gifts you can make!
DIY Personalized Gifts Using Cricut - 25 Unique Gifts
Monday 9th of January 2023
[…] Gift Idea – The Idea Room | Personalized Grandparent Tea Towel – Thirty Handmade Days | Bird Coasters – Crafting in The Rain | Personalized Baking Set – Hey, Let’s Make […]
DIY εξατομικευμένα δώρα με χρήση Cricut - Ιστολόγιο
Wednesday 4th of January 2023
[…] γιαγιά και γιαγιά – Τριάντα Χειροποίητες Μέρες | Σουβέρ πουλιών – Χειροτεχνία στη βροχή | Εξατομικευμένο σετ […]
Tammy Moser
Thursday 13th of February 2020
Beautiful. Have you tried the Infusible Pens and Markers? I’d love a tutorial.
Heidi Kundin
Wednesday 30th of October 2019
These turned out so great! I love those designs with that pattern!