Cricut Explore Air 2 Features. This is a sponsored conversation written by me on behalf of Cricut. The opinions and text are all mine.
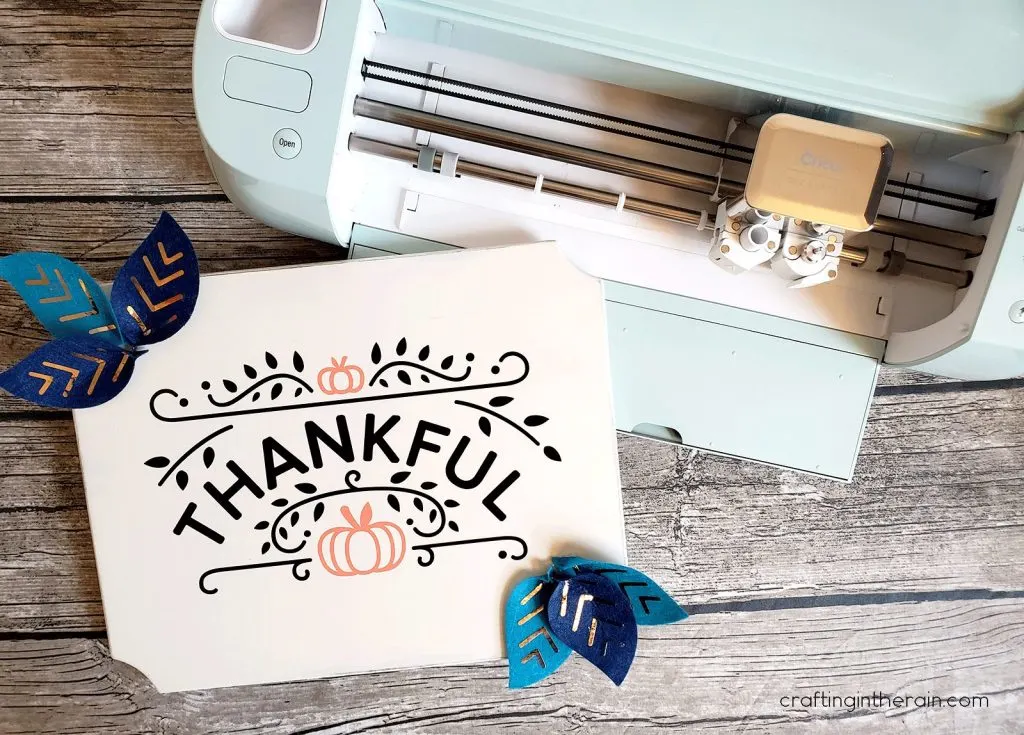
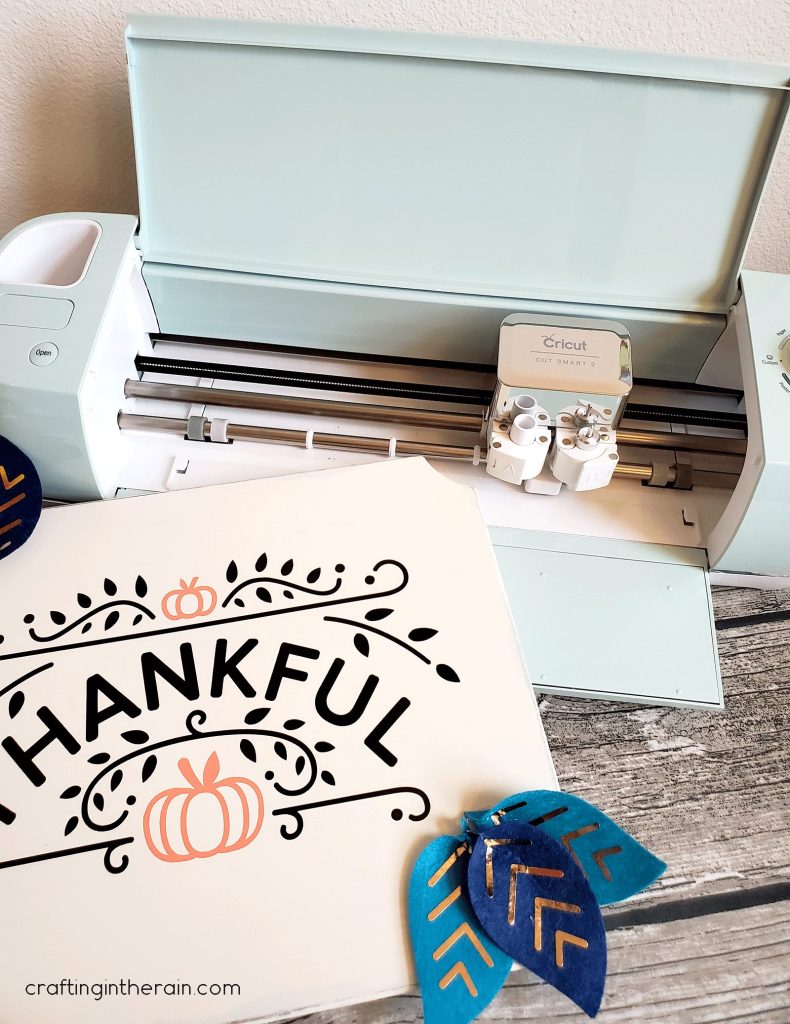
Want to learn more about the Cricut Explore Air 2 features? Let me show you some of the great things it can do and cut, using this Thanksgiving sign as an example.

What colors of Explore Air 2 machines are there?
The Cricut Explore Air 2 comes in a rainbow of colors. I’m not technically including this in the top 5 things I love about my Explore that I’m going to talk about, but I think it’s definitely important to mention!

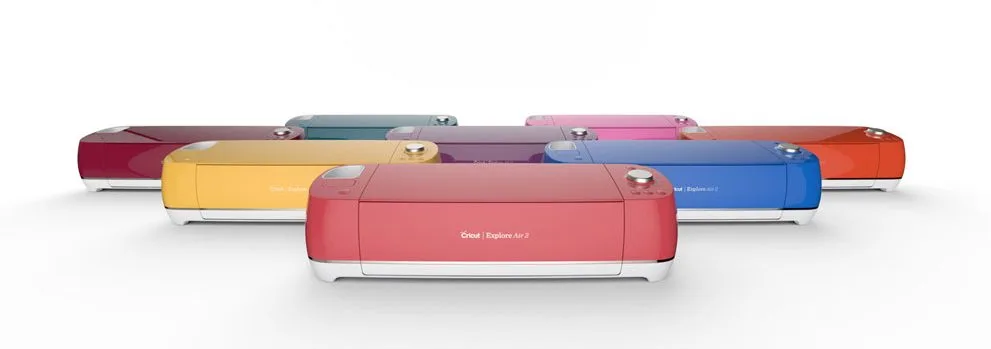
You can find the original Mint, Black, Lilac, Raspberry, Rose, Fuschia, Gold, and Blue all at Cricut.com. Other colors are available at certain retailers as exclusive colors. You may be able to find Peacock, Coral, Denim, Boysenberry, Sunflower, or Wild Rose.
Does Cricut Explore Air 2 have Bluetooth?
My number 1 favorite thing about the Explore Air 2 is the built-in Bluetooth. This means you can connect wirelessly to your computer or phone, using the Cricut app (for Android and iOS.)
The machine still has a power cord of course and comes with a USB cord so that you can connect to your computer that way if you like. But I always like the option of fewer cords.
You will need to pair the machine to the device the first time you connect to it. It will ask for a pin. The Cricut Bluetooth pin is 0000. Nice and easy.
When the Cricut is connected by Bluetooth, the power button light turns blue.

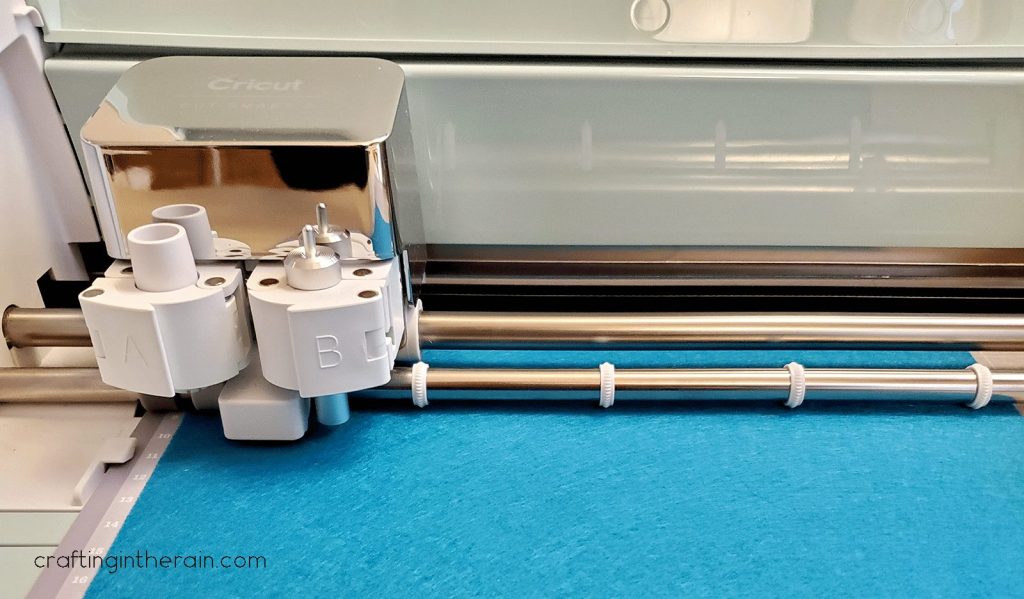
How many slots does the Cricut Explore Air 2 have?
My number 2 favorite thing about the Air 2 is that it has two clamps for holding blades or tools. Clamp A is used for Cricut pens and the scoring stylus. Clamp B holds the blade.

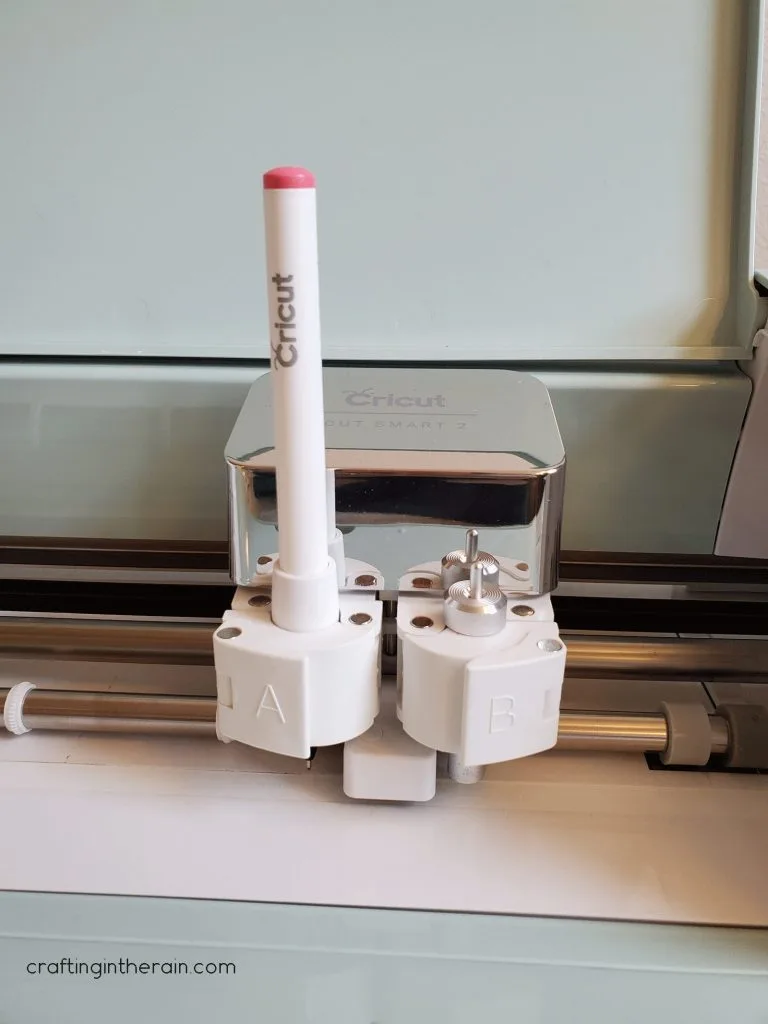
This means you can send a project to draw and then cut without having to swap the pen and blade. If you are using multiple colors of pens, or your project includes pen drawing and scoring, you will have to switch those.
Design Space will tell you what it’s going to draw or score next, so you know what tool or pen color to put in.
The clamps are easy to use and lock securely. TIP: When putting a pen or stylus in clamp A, press up on the white plastic part of the clamp with your left hand while pushing the pen down with your right hand until the pen gives a little “click” into place.
Which blades work with the Explore Air 2?
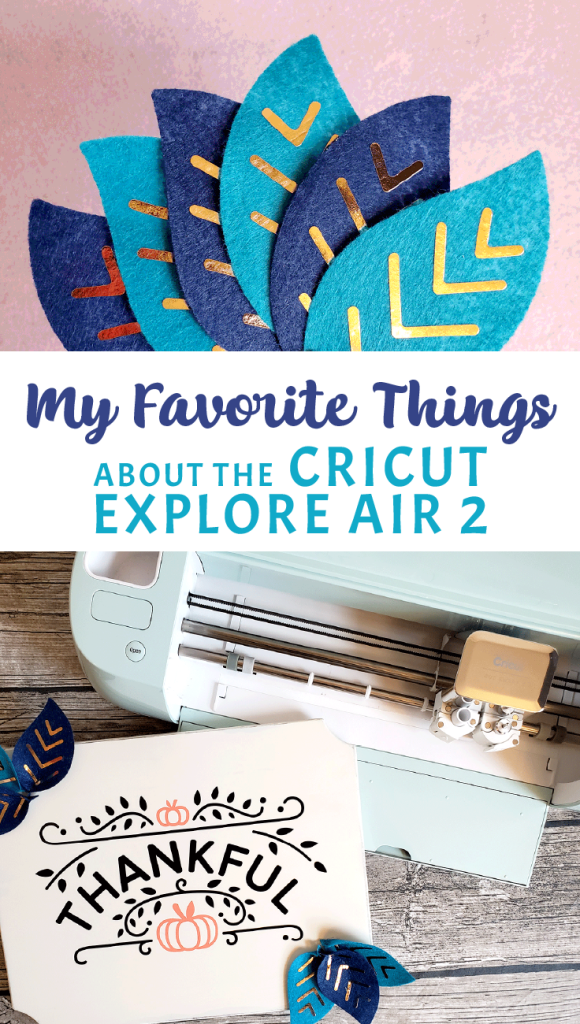
My number 3 favorite thing about the Explore Air 2 is the different blade options – fine point, deep cut, fabric housing (for cutting bonded fabric.) The pink color is to remind you to only cut fabric, not vinyl or paper, and the blade will last longer.
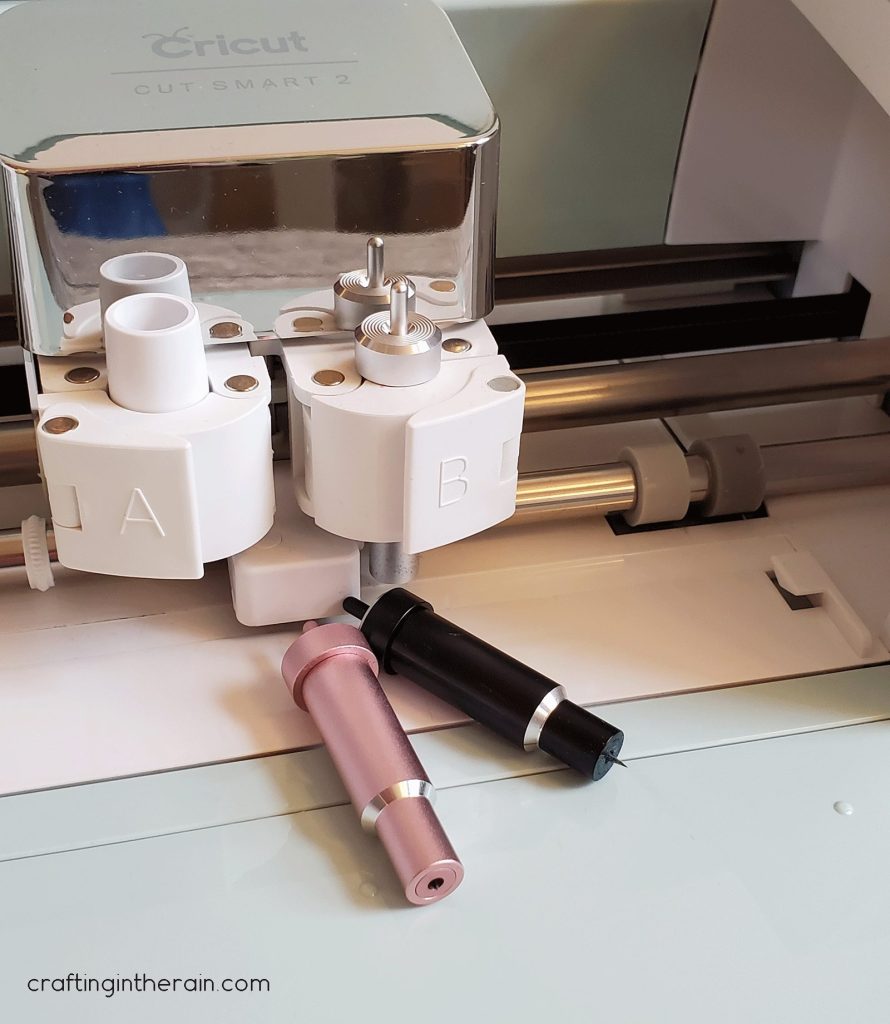

*Note that these blades can all be used in the Maker. Any tools or blades designed just for the Maker require the adaptive tool system and the greater force built into the Maker.
How fast can the Explore Air 2 cut?
My number 4 favorite thing about this machine is the option to draw and cut up to 2 times faster than the original Explore machine.
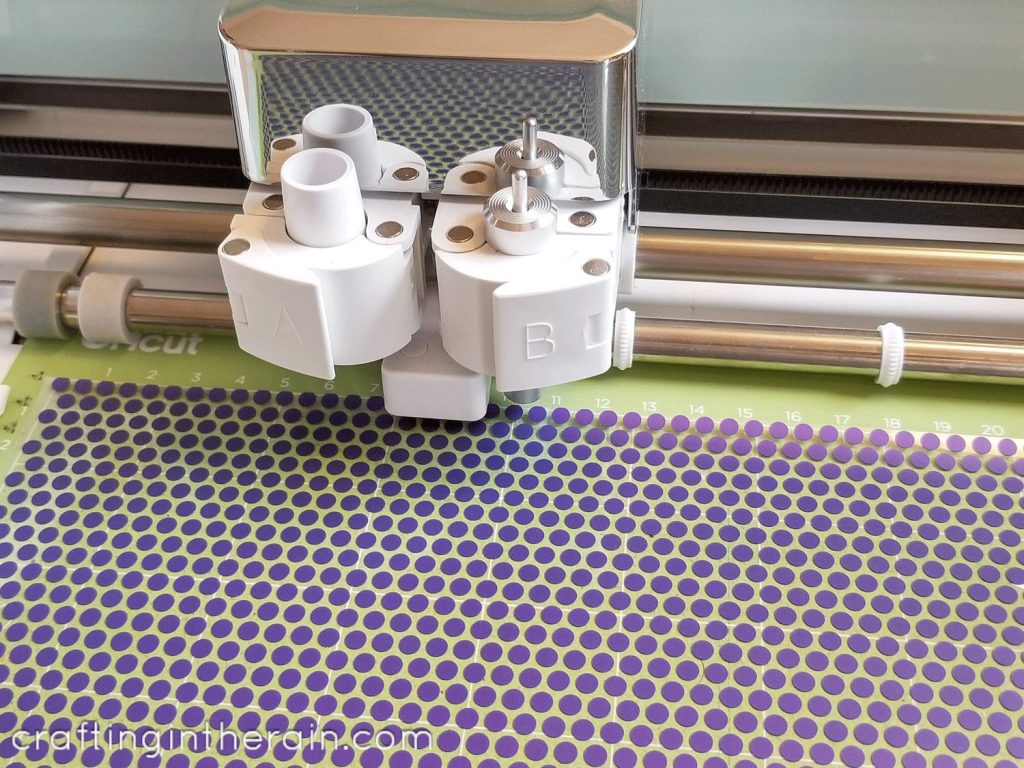
Watch the video for comparison. This is great when I’m cutting out several pieces for a project and want to speed up the cutting part.
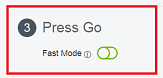
After you load the mat into the machine, the Fast Mode toggle button will become clickable in Design Space if the material is compatible with the faster cut speed.

For example in this project, I cut adhesive vinyl, iron-on vinyl and felt. The two types of vinyl could be cut with Fast Mode turned on, but the felt could not.
What can the Cricut Explore Air 2 cut?
Speaking of materials, my number 5 favorite thing about the Explore Air 2 is the number of materials it can cut. In Design Space, in the top right corner of the home page you will select the type of machine you are using (Explore or Maker.)
Then the materials list will adjust to show everything that machine is capable of cutting. With the Explore Air 2, you can cut materials like acetate, stencil material, thin balsa wood, faux leather, washi paper, vinyl, iron-on vinyl, cardstock, paper, and more!
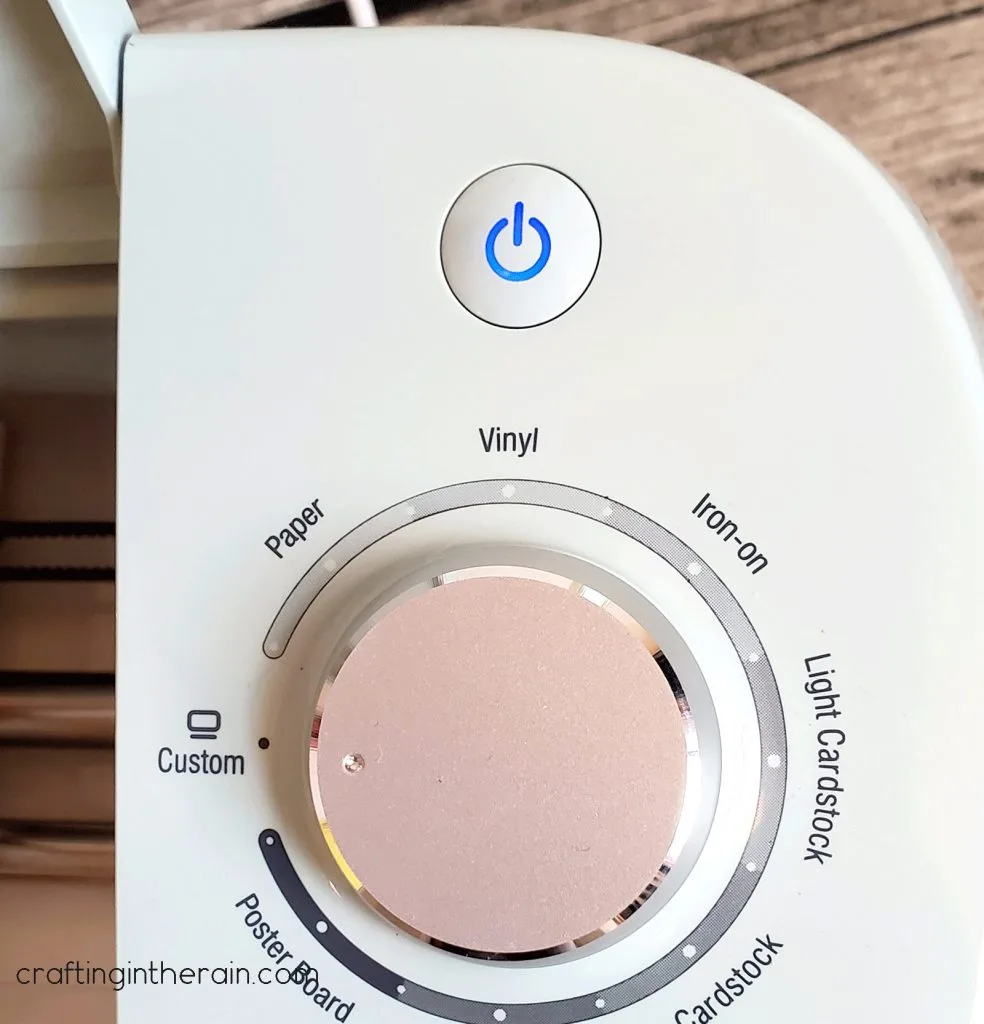
The settings dial on the Explore Air 2 features some of the most common cutting materials like cardstock, vinyl and iron-on.
I can easily choose from common materials I use, or leave it on the Custom Materials setting to choose the material within Design Space.
Can Explore Air 2 cut felt?
Yes, the Explore Air 2 can cut felt! The Cricut brand felt is a bit stiffer than other brands, so the fine point blade cuts it nicely with a few passes. I chose the felt, wool fabric setting and it worked great!

It also helps to use the brayer and a purple (strong grip) mat to make sure that the felt doesn’t shift while cutting.
Using the EasyPress Mini on felt
The Cricut EasyPress Mini is awesome for adding some foil iron-on details to these felt leaves. Use the low setting (one bar) and press while moving around for 30 seconds, and a few seconds on the back.

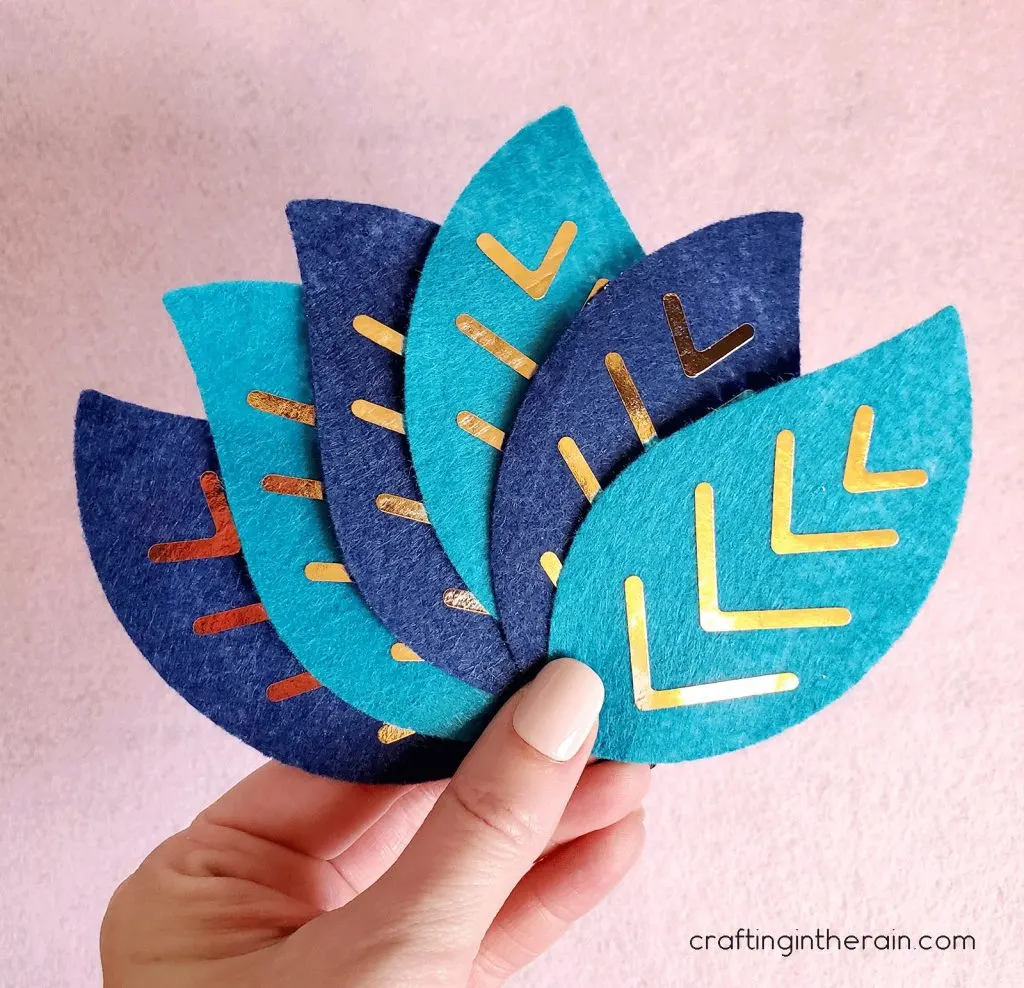
Then peel off the carrier sheet when it’s cooled.
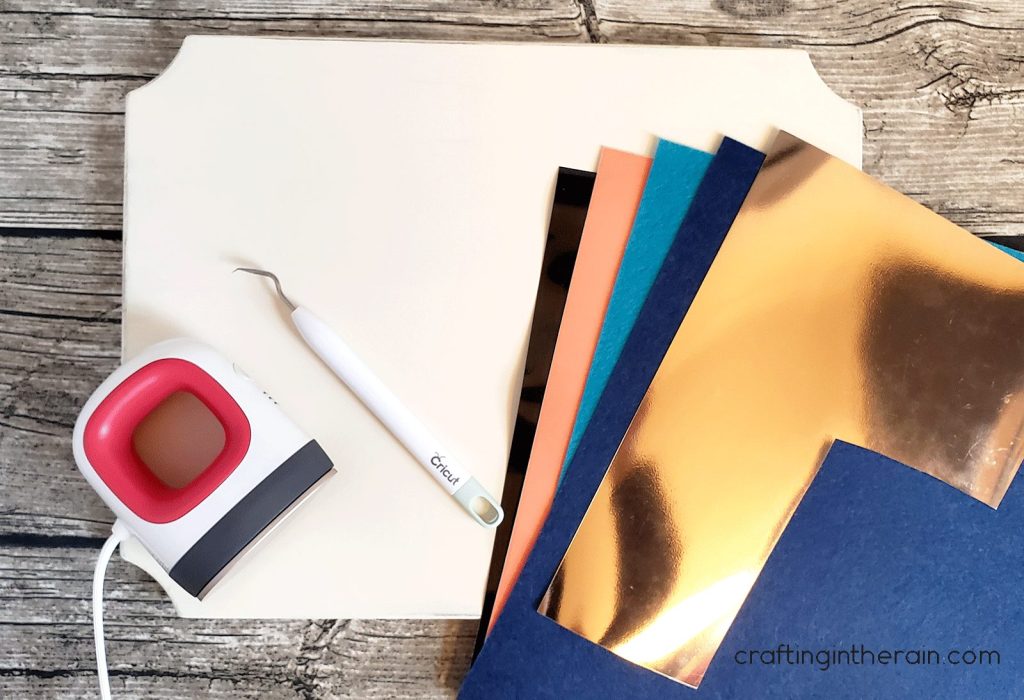

Supplies needed:
- Cricut Explore Air 2
- Black vinyl
- Orange vinyl
- Transfer tape
- Rose gold iron-on vinyl
- Cricut felt (Spring Rain colors)
- EasyPress Mini – currently on sale!
- Glue gun
- Weeding hook
- Scraper
- Design Space Project

Which Cricut Explore Air 2 features are you most excited about? If you have one already, what do you love to make? If you’re putting the Air 2 on your wish list, do you have any questions for me about it? Let me know!
Click here to read my original Cricut Explore Air 2 Review.
And finally, what color would you love to see the Explore Air 2 in next?

More Thanksgiving Decor
Harvest Wheat Bundle
Magnolia Leaf Paper Banner
Rosemary Placecard Wreath
Rosette Pumpkin
Jar Lid Pumpkin
Turkey Milk Bottles
Fabric Turkey
Reversible Porch Sign
Thanksgiving Banner
Thanksgiving Banner Ideas - 3 Free Printables - Paging Supermom
Saturday 26th of June 2021
[…] Simple Thankful Sign […]