How to cut balsa wood with the Cricut Explore.
I received a machine to participate in this contest, but all opinions are my own. Some links may be affiliate.

Our Team 10 picked the theme Into the Woods for the Celebration category this month. We all had such good ideas! I had a lot of fun coming up with these two projects so let me show them off to you. I’ll also include some tips for cutting wood with the Cricut.
First up are the little hedgehog cut outs. I cut them from balsa wood and added names in black vinyl to make them place markers at a party table (or how cute would these be at Thanksgiving!)
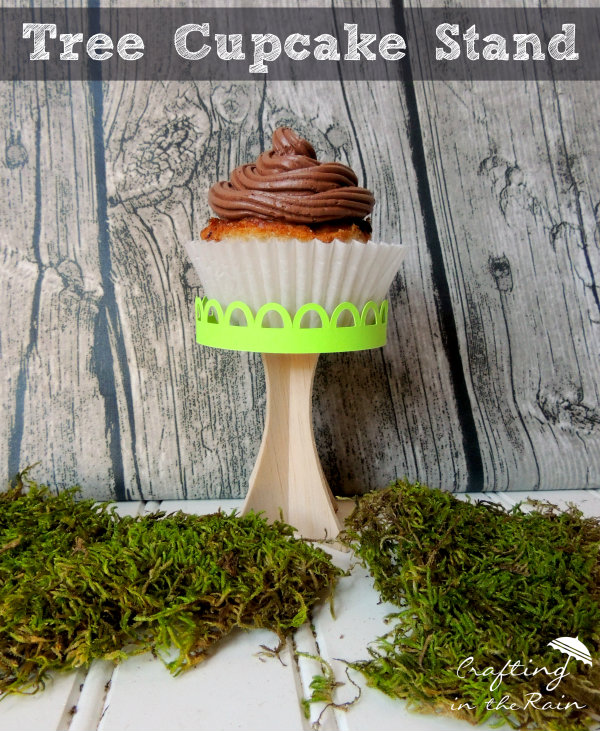
Next I made a tree cupcake stand. I designed the two base pieces to slide together, and cut those and the circle top from balsa wood. The green “treetop” is cardstock.
Hot glue was the best way to attach the cardstock, and then the circle to the base too.
Here are some tips for cutting wood with your Cricut.
1-Not all balsa wood is exactly the same (they could be slightly different thicknesses, more soft or brittle) so unfortunately you may have to tweak settings on each new piece you cut. So do a test cut on new pieces.
2- However, here are some good starting points. I made a custom setting and used a Deep Blade, Pressure 200 points, and multi cut 3. Less pressure and more multi cuts generally work better (a real hard pressure is more likely to split the wood.)
3-Cuts that go exactly perpendicular to the grain tend to break the wood also. If your image has straight lines, try to rotate it on the mat a bit so the blade is going diagonally through grain. Curves seem to cut beautifully.
4- Mirror your image before you cut it! The little plastic rings on the roller of the machine leave track marks on the wood, so you want to be able to flip the wood over when you’re done cutting.
5-Balsa wood can be found at Michaels in their model building aisle. I used 1/16th but the 3/32 size would probably cut nicely too… Just might need another multi cut.
What it boils down to is that I love cutting wood with my Cricut and there are so many possibilities!
So first off, I hope I’ve answered some questions you might have about cutting wood with the Cricut Explore. But mostly I’d love to hear what you think of my hedgehogs and cupcake tree.
Thanks for reading! And I hope you’ll try using wood in your Cricut too! (then tell me about it so you can show off 🙂


