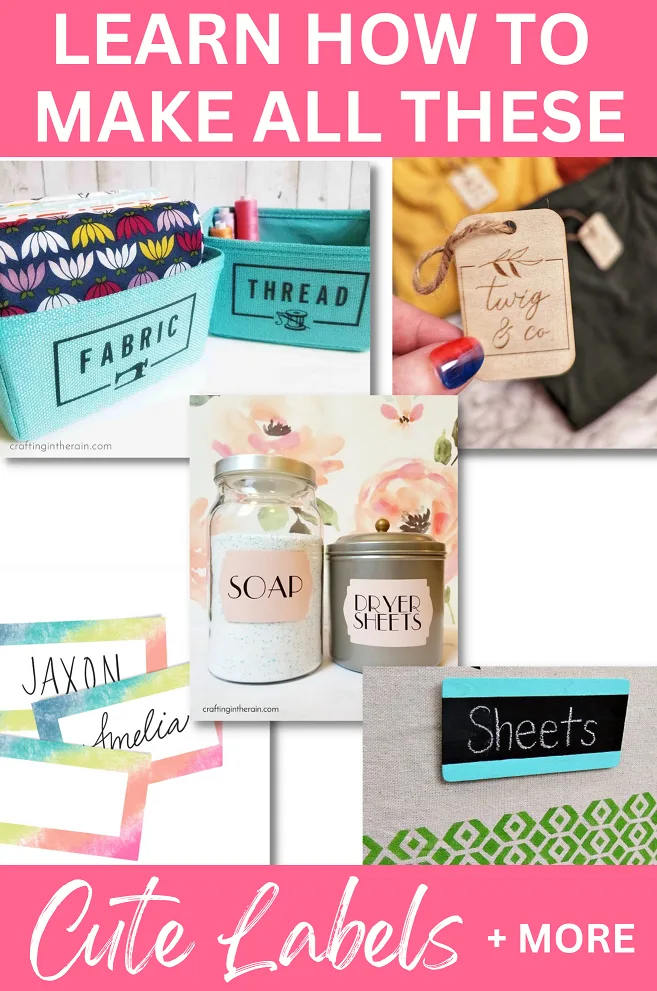
The more craft supplies you have, the more important it is to organize and label them so you know what you have and where to find it. Ditch the boring labels from the store, and instead make your own creative DIY labels for organization.
Then you can add your personal style and create labels that match the supplies you own. Here are some unique labeling ideas to help you organize your craft stash in a creative and personalized way.
Paper Labels
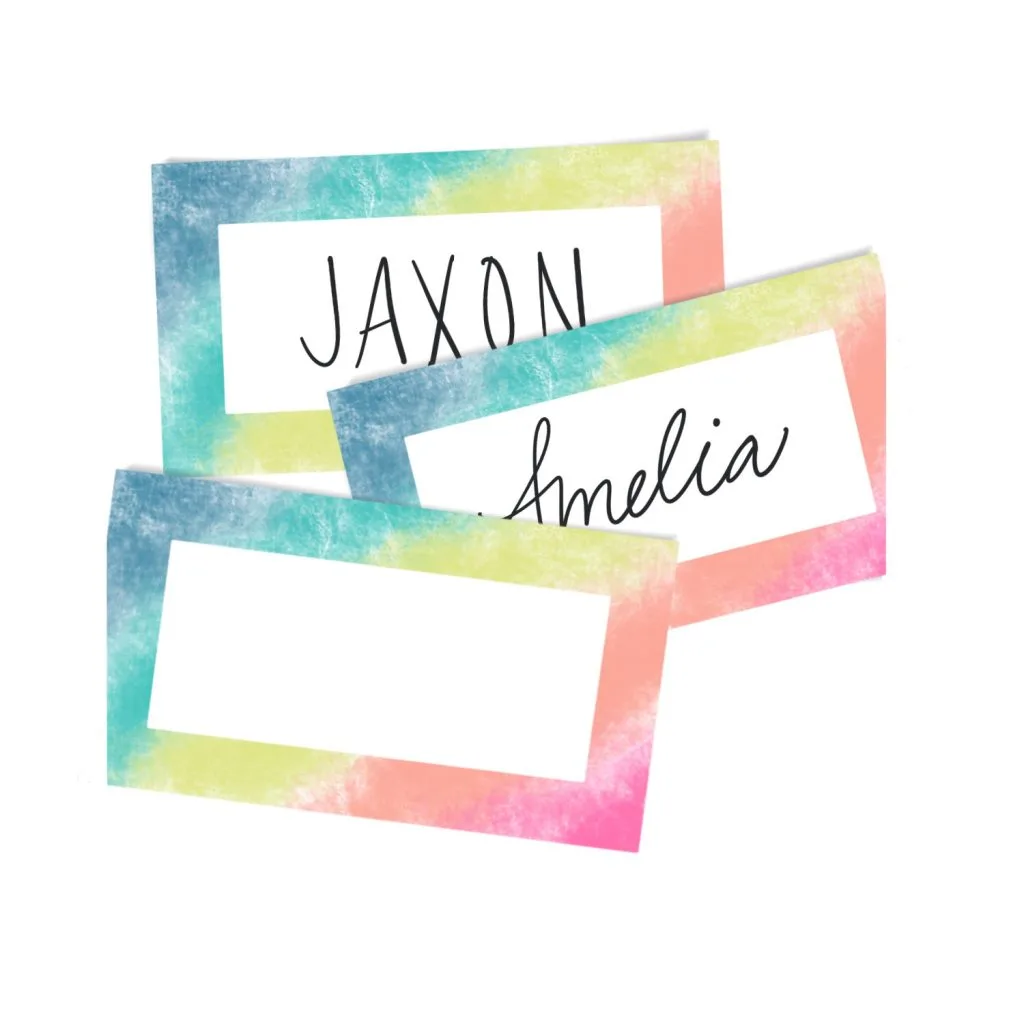
Paper labels are versatile and can be easily crafted using plain cardstock or patterned paper. You can stack multiple layers to create a framed look.
Customize them with your own handwriting or calligraphy, or if you prefer a more precise look, write on them with a Cricut machine.
Another option is to choose a computer font you like and print the labels using your home printer. To make the printing process even easier, consider using premade template kits like those available from Avery.
Their online program allows you to enter the product number for the labels you’re making and align everything perfectly so your words print in just the right places.
Supply options for making paper labels
- Avery tags
- Cardstock
- Pen
- Calligraphy pen
- Cricut pen
- Paper adhesive
Sticker Labels
Sticker labels are convenient as they come with their own adhesive. Sticker labels work well for labeling file folders, boxes, and plastic drawers.
For permanent applications, you can use Neato sheets. Alternatively, try Cricut printable vinyl if you prefer something repositionable.
If you have a Cricut machine, take advantage of its Print then Cut function. Design your own stickers, search Design Space for label templates, or browse Creative Fabrica for ready-made options.
Supply options for making sticker labels
Fabric Labels
If you enjoy sewing, chances are you have some favorite fabric scraps that you don’t want to part with. Fabric labels are an excellent way to use them while also keeping them on display.
To create fabric labels, use an iron or EasyPress to apply some Heat n Bond fabric stabilizer to the wrong side of the fabric.
Then use a rotary cutter to cut the fabric to the size you want for the label. The fabric will have some structure and hold its shape without fraying.
Cut iron-on vinyl and apply it to fabric scraps. You can also embroider the letters directly onto the fabric for a more handmade touch.
To hang the fabric labels, attach them with a clothespin or add a grommet and loop string through to hang them from a basket handle.
Supply options for making fabric labels
- Fabric
- Heat n Bond
- EasyPress / iron
- Clothespins
- Grommet kit
Chalkboard Labels
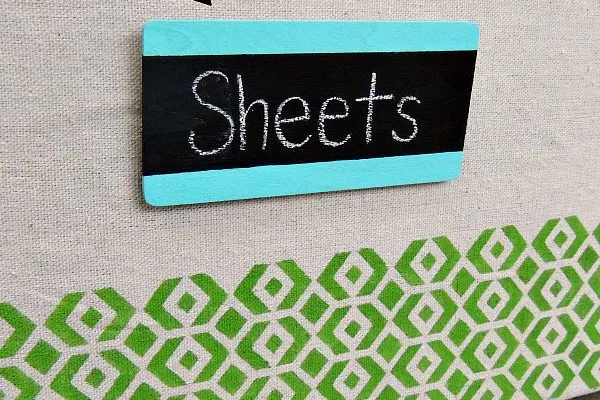
Chalkboard labels are still popular too. You can either make them yourself or purchase ready-made sets from stores like Michaels. If you prefer a DIY approach, take wooden tags and paint them with chalkboard paint.
To ensure that you can easily erase the chalk markings, prime the chalkboard surface before use. Write on the chalkboard labels using regular chalk or chalk markers for a more precise look.
Change the label writing by first wiping with a slightly damp cloth and letting the surface dry.
Supply options for making chalkboard labels
Wood Labels
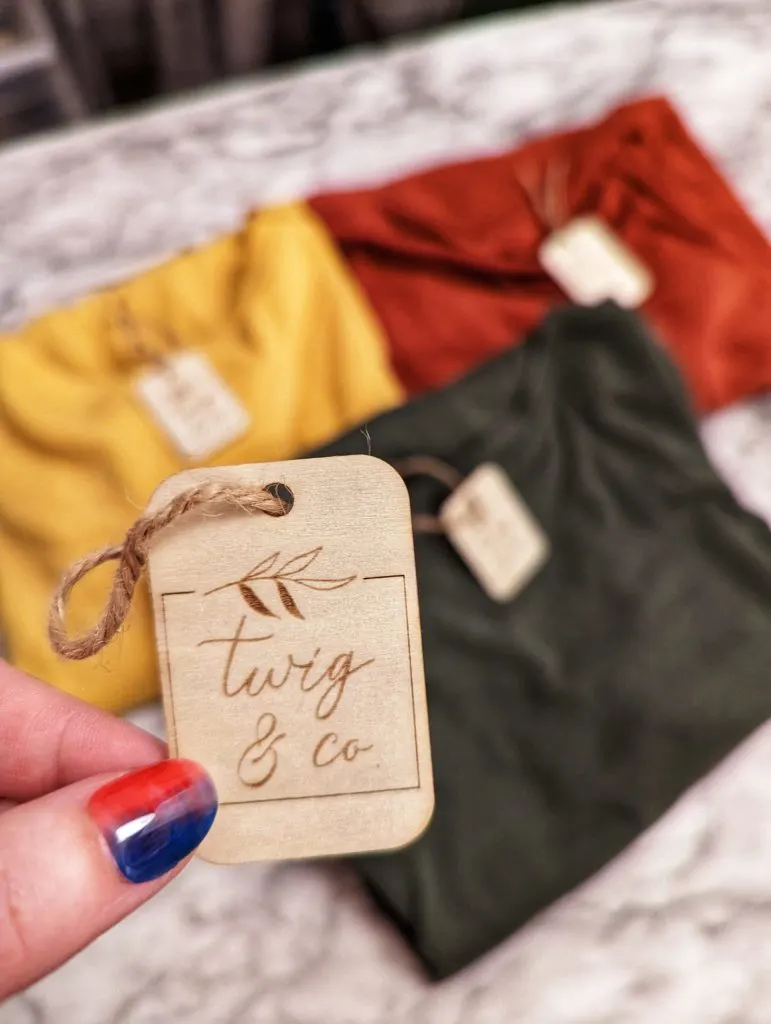
Wood surfaces can be labeled in various ways, including using paint, vinyl, or laser engraving.
Painting allows you to add a personal touch by hand, and you can even look for simple painting tutorials online if you’re a beginner.
Consider florals, vines, or abstract decorations for the wood labels.
For something more precise, laser engraving is a more hands-off way to add text and decoration to these wood tags.
Supply options for wood labels
- Wood tags
- Paint
- Vinyl and transfer tape
- Laser machine (like xTool)
Vinyl Labels
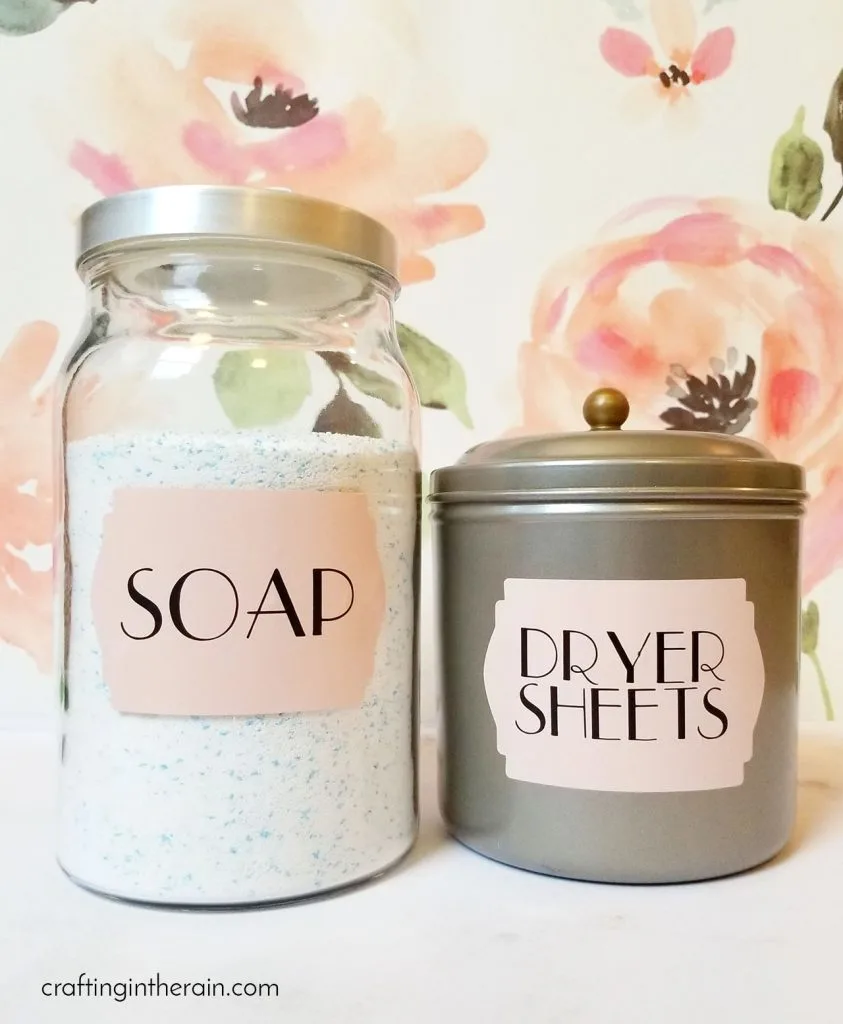
Adhesive vinyl labels are great for hard surfaces like plastic bins, cardboard boxes, and glass jars. You can apply the vinyl right to it.
It’s a great plan of attack if you have a Cricut or Silhouette. Just remember that you’ll be weeding everything before you apply it. So don’t choose fonts that are too skinny, too small, or too jaggedy – those can all be hard to weed.
If you don’t have a cutting machine, you can use pre-cut vinyl stickers. Just be aware that it can be tricky to get them to line up well, so they might look a little sloppy in the end.
Supply options for vinyl labels
HTV Labels
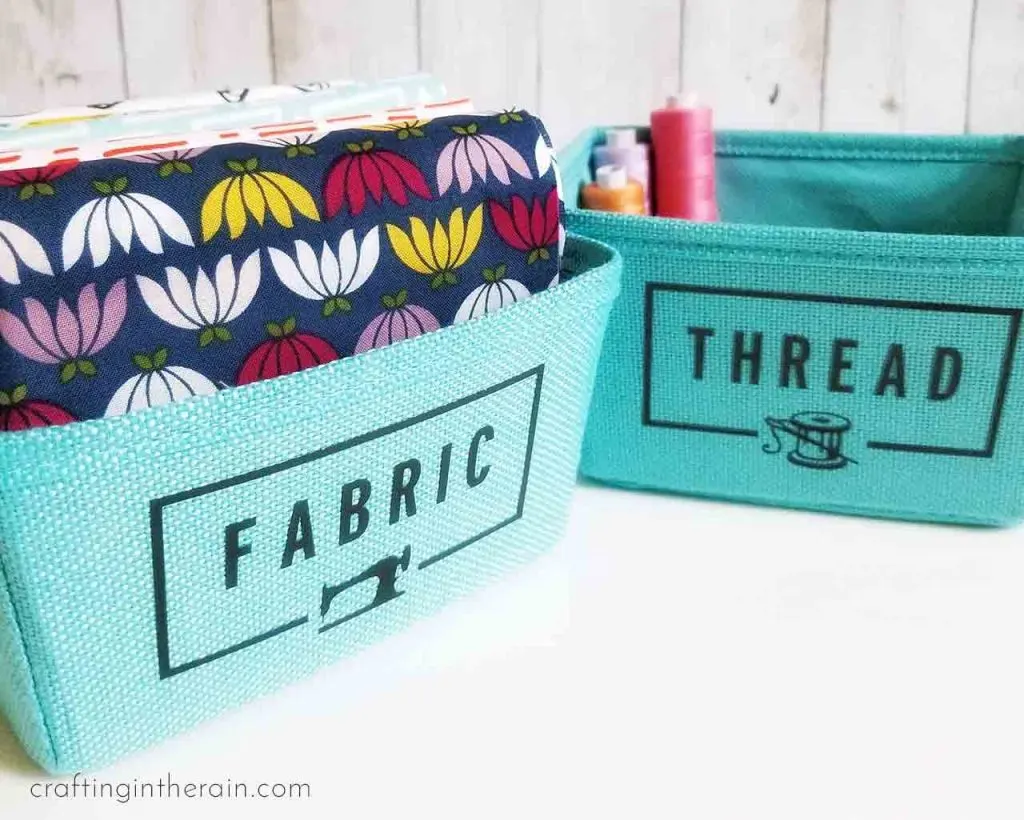
Heat transfer or iron-on vinyl comes in so many colors, styles, and patterns you can match any craft room vibe.
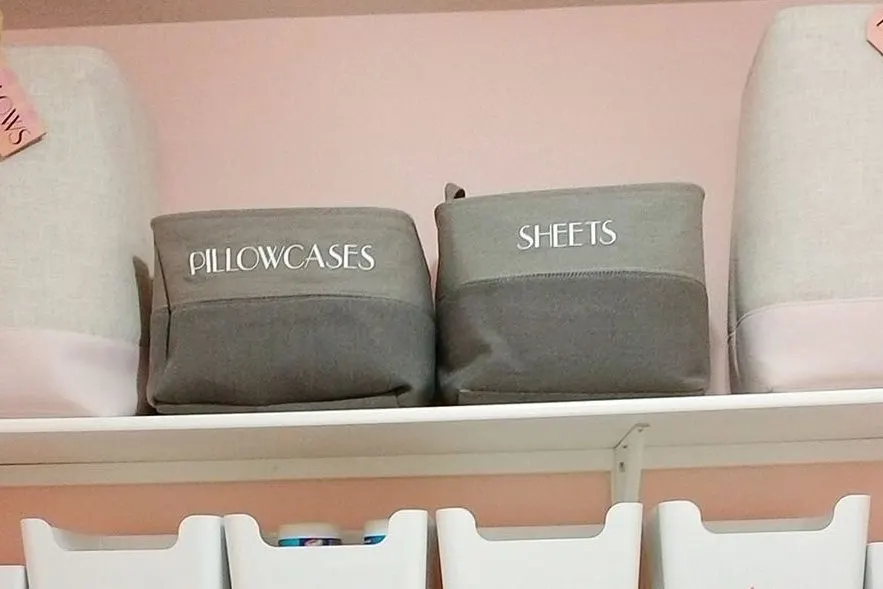
HTV can be added to fabric and felt bins, and the fabric labels mentioned before.
Applying iron on vinyl to a storage bin is of course much more permanent than a hanging label, but it can still be a good choice.
This example is actually in my laundry room and not my craft room, but I think it gives a good idea of how to use it.
Supply options for iron on labels
Temporary Labeling Ideas
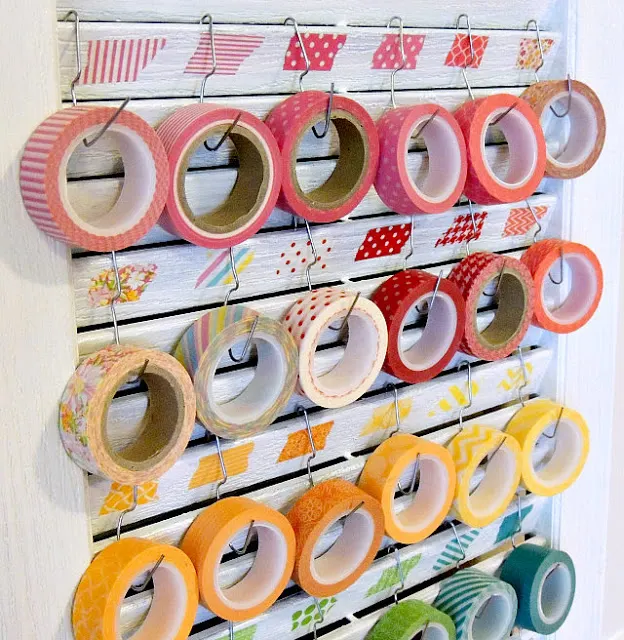
A great way to help sort out items when you’re getting started is to use pieces of washi tape or painters tape. Write on it with a sharpie, apply to the box, basket or container, and remove it when you’re ready for your more permanent solution.
Dry-erase markers can be used on glass or smooth plastic. I recommend testing on a small spot on the bottom to make sure it will wipe away cleanly later.
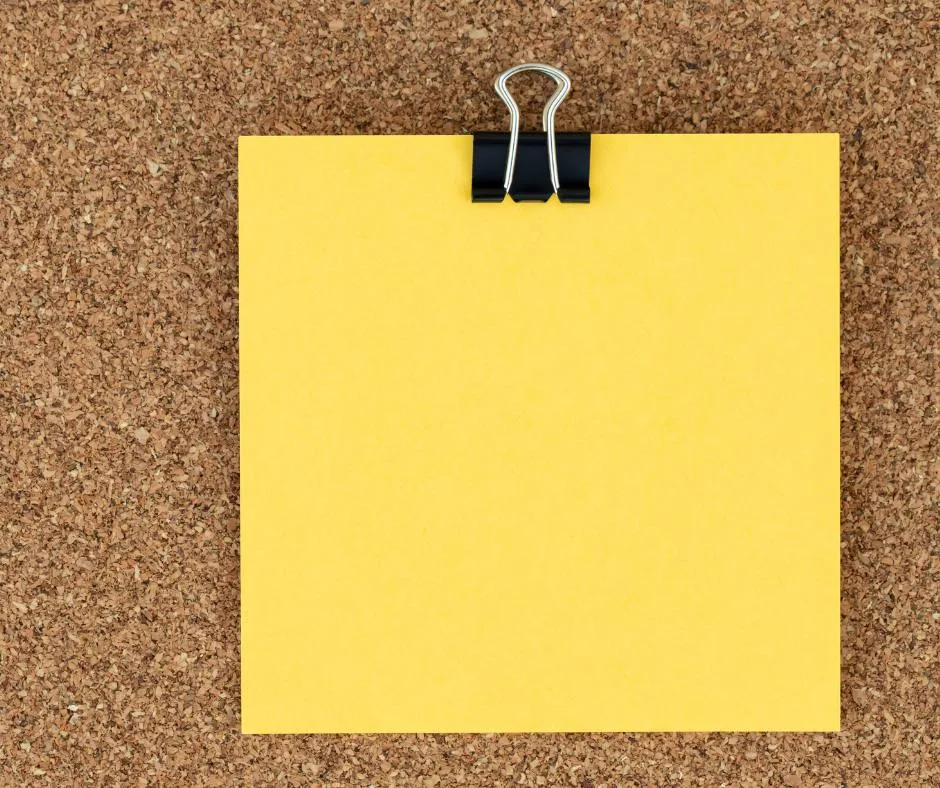
Post-it notes are easy to rearrange and even color code if you like. Just remember that there is only a strip of sticky on the back, meaning they may get knocked off or fall easily. So again, good for labeling in the short term.
Supply options for temporary labels
DIY labels for organization
I hope you can use these tips and ideas to organize your craft stash with style and fun.
Organizing and labeling your craft supplies not only helps you maintain a tidy workspace but also saves you money!
I’m not saying I’m a perfect example of this, but when your craft supplies have a labeled place and you know where to put them away and find them you don’t have to buy extras 🙂 It’s something to work toward anyway!
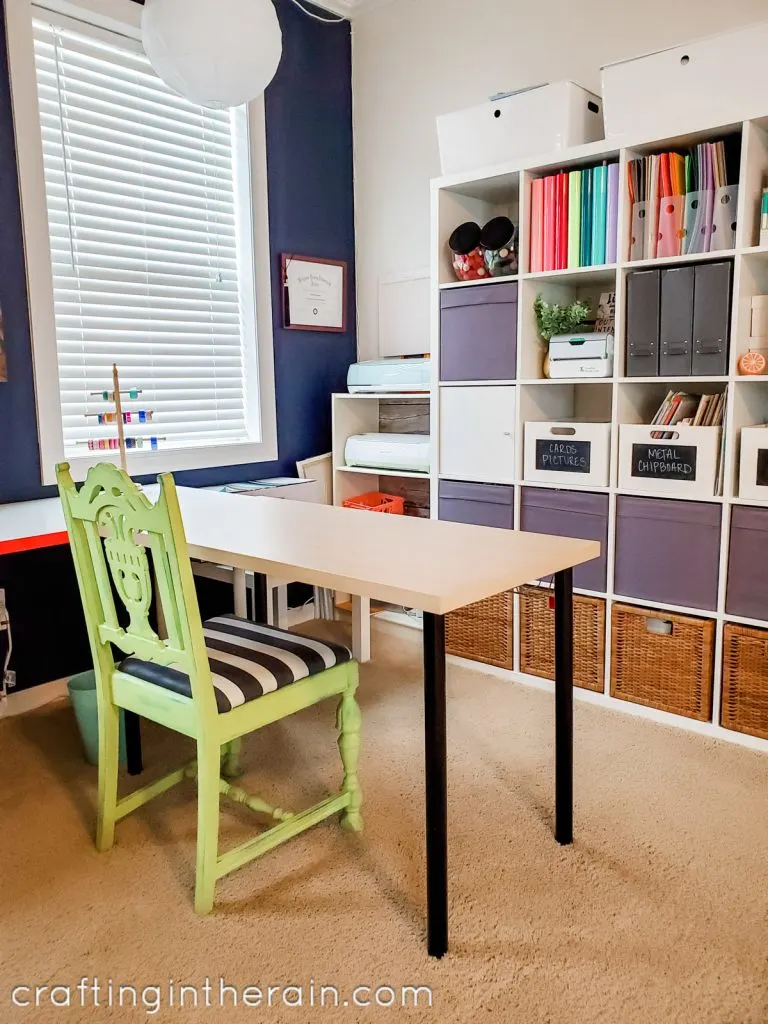
So go ahead, unleash your creativity, and have fun crafting unique labels that will make your craft space a joy to work in. And if I left out a good way to make creative DIY labels, let me know!

Kristie
Thursday 10th of August 2023
I really like all of your label ideas. I also noticed your nifty washi tape organizer!
Dayle
Saturday 8th of July 2023
Thanks so much. Definitely can use these!