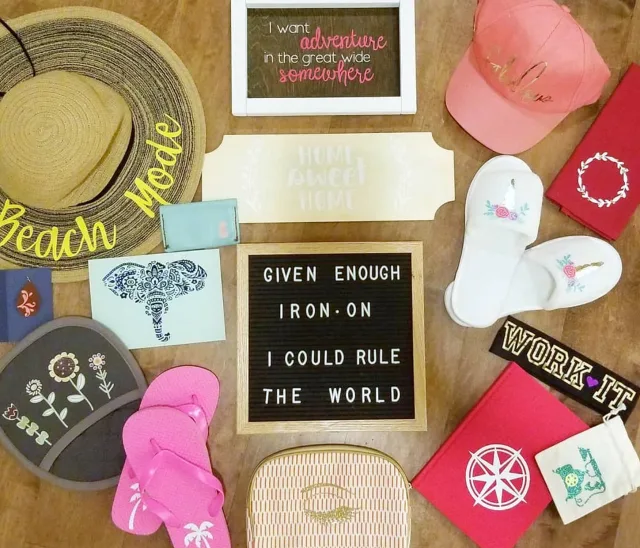
Earlier this week I was in Salt Lake for the Cricut Mountain Make-a-Thon and it was so much fun! I got to teach a class about all the different types of things you can use with iron-on vinyl, like slippers, pillows, hats, paper, wood and more!
I was also able to attend a couple of classes, hang out with good friends, and meet fabulously creative members of the Cricut community.

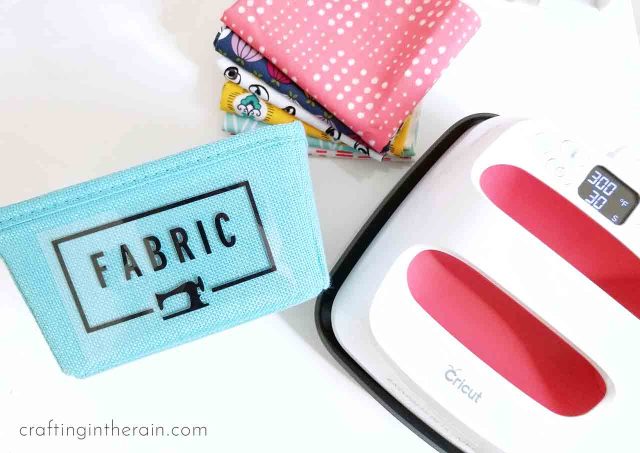
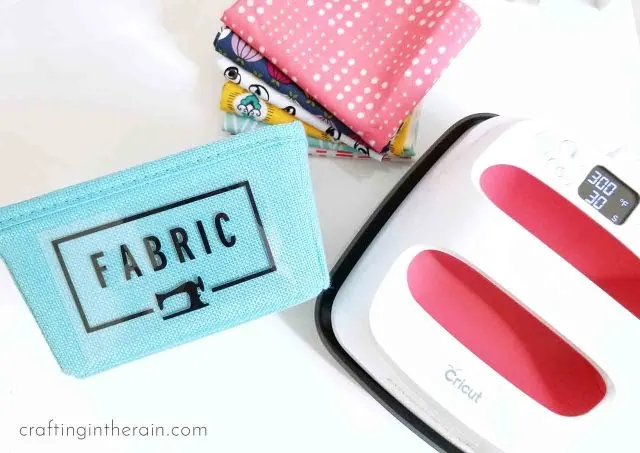
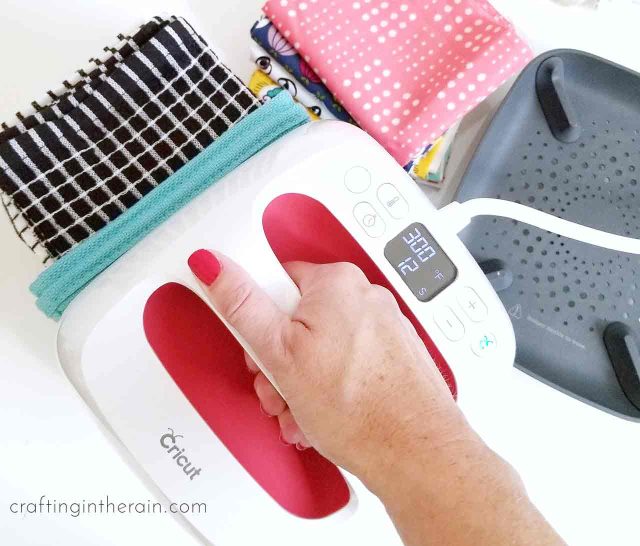
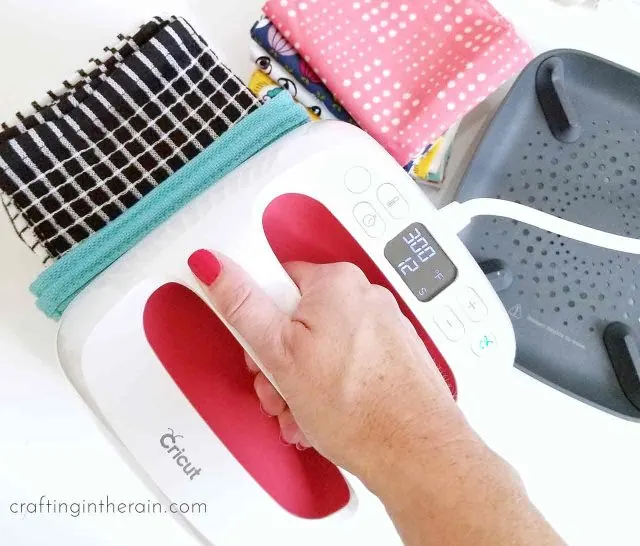
I was also there for the release of the new Cricut EasyPress 2! There are two new sizes and I am in love with the small size.
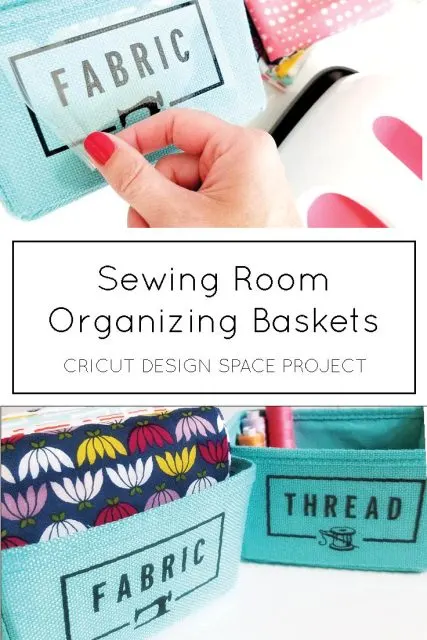
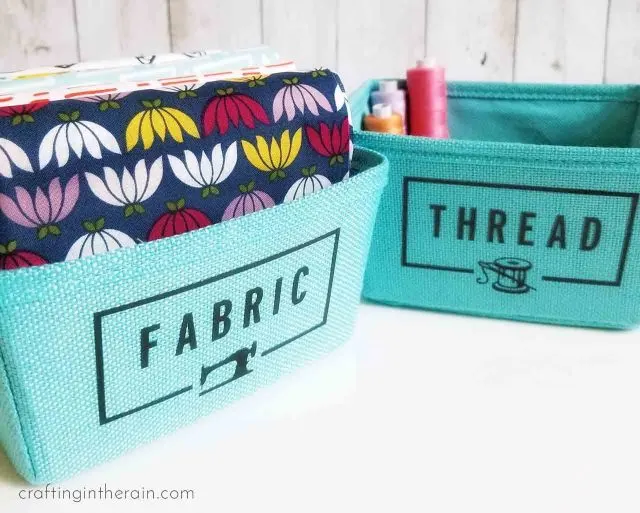
Besides just being so cute, it heats up super fast and is really easy to pick up and maneuver. That makes it great for smaller projects like these little baskets I found at Target.
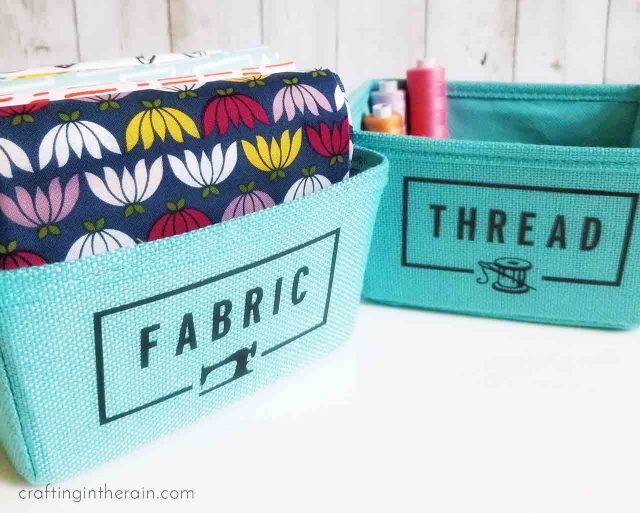
I used Design Space to design these labels so I can store thread, fabric (don’t worry – I know that won’t hold all my fabric, or your fabric, but it’s a great way to keep everything together for a specific project), and more.
Open the Design Space project here
If you have different size baskets you can resize the labels.
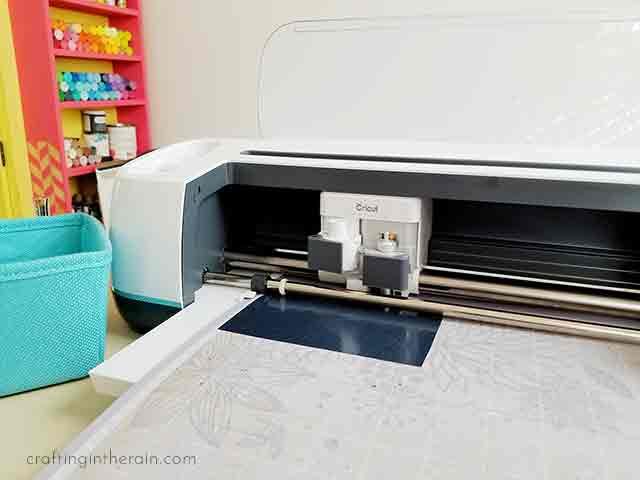
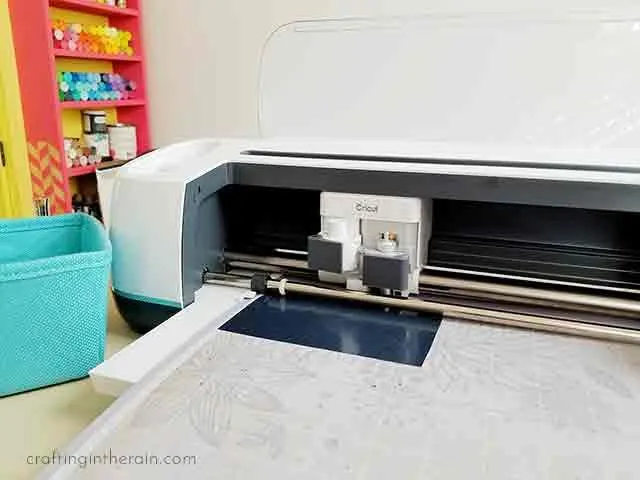
Cut iron-on vinyl. Remember to mirror the images and place the shiny side down on the mat to cut.
Set the EasyPress2 to 300 degrees, and the timer to 30 seconds. While the EasyPress is heating up (which happens really fast) weed out the designs. My favorite weeder is the one with the extra little hook at the end – found in this tool set.
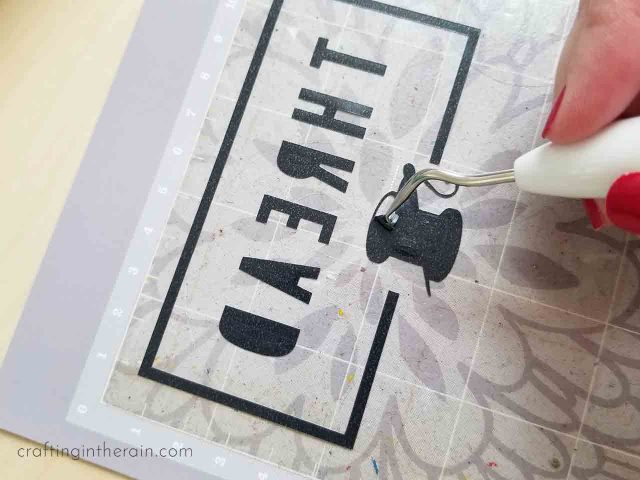

And here’s a great WEEDING TIP: leave the iron-on design on the mat while you weed it. The carrier sheet stays stuck down to the mat and keeps everything from getting wrinkled up while you weed. Try it next time and see if you think it’s easier too.
I folded up some hand towels to fill in the space of the basket so there was a cushioned surface I could press against.
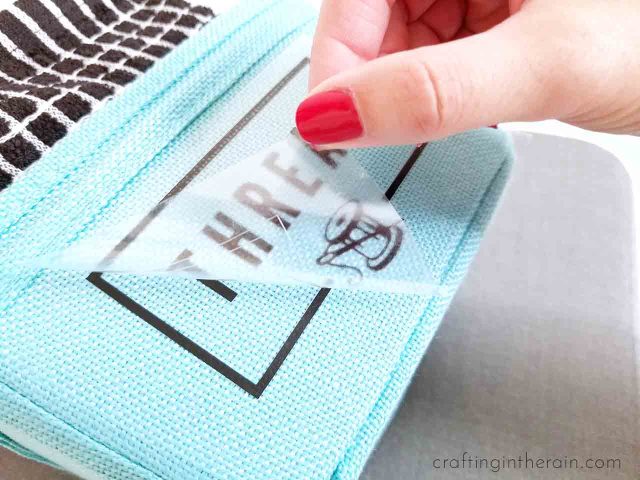
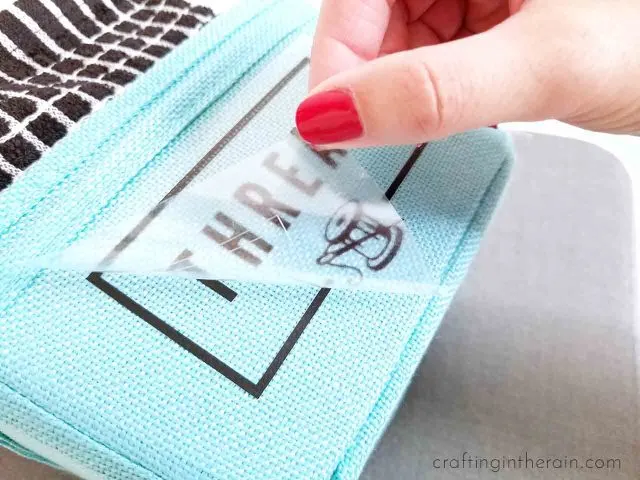
Once the timer has beeped, peel off the plastic carrier sheet and fill each basket with their specific item.
What other labels would you like to create with this template?
Have other Cricut or EasyPress questions? Ask in a comment!