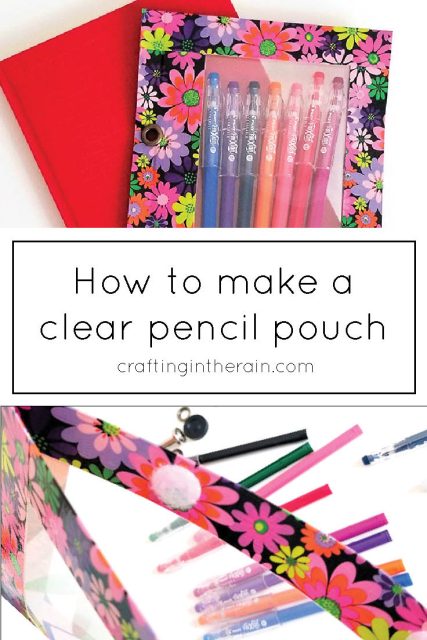
Learn how to make a pencil pouch with duck tape and clear plastic. It’s a great no-sew back to school project!

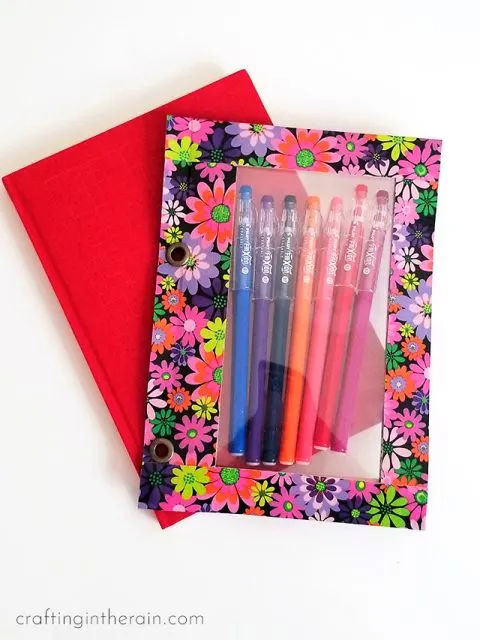
Somewhere in the lazy, relaxing, unstructured summer, I always get a bit of an organization bug. I think it’s the free time, and the little nudge in the back of my head telling me school is almost here again. Plus, I know I’m not the only one who gets excited about new office supplies. Do you pick up some things for yourself while you’re out shopping for the kids? I just got to try out these erasable FriXion pens by Pilot Pen, and they’re so cool! And I grabbed some of my colorful tape to make a matching pouch to store them. Here’s how you can make a pencil pouch like this one.

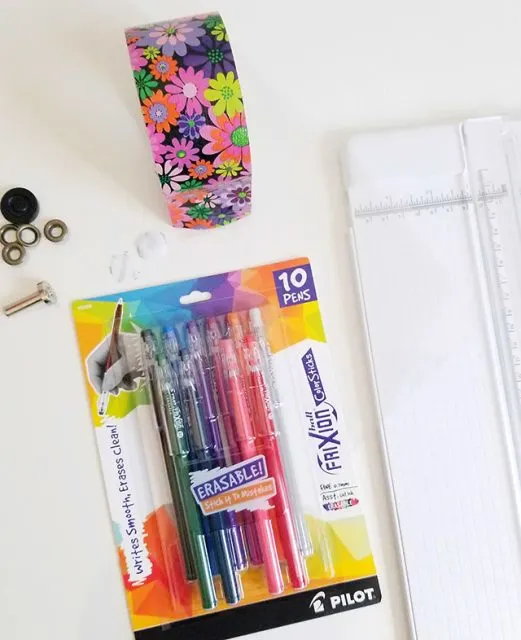
Supplies:
Clear plastic sheet/vinyl
Colored craft tape
Adhesive hook and loop dots
Grommet kit
Scissors and paper trimmer
Step 1:
Cut clear plastic into two 8.5 x 5.5 inch pieces. I liked this size because the FriXion pens will fit, but it’s not a huge pouch to put in my binder.
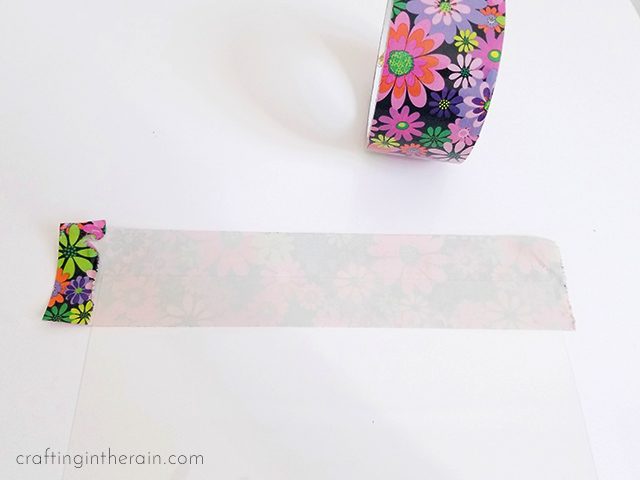
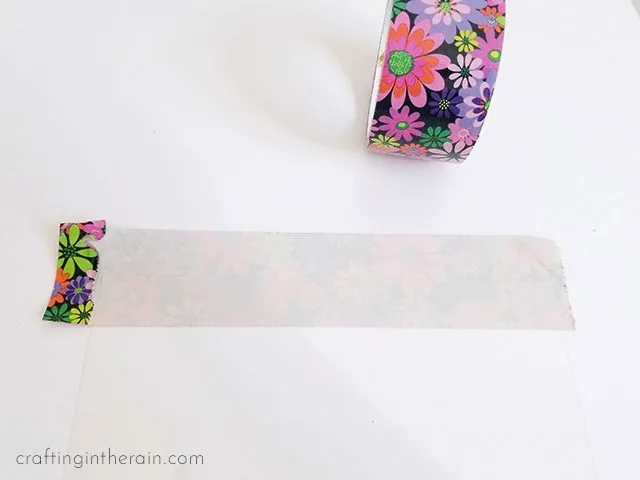
Step 2:
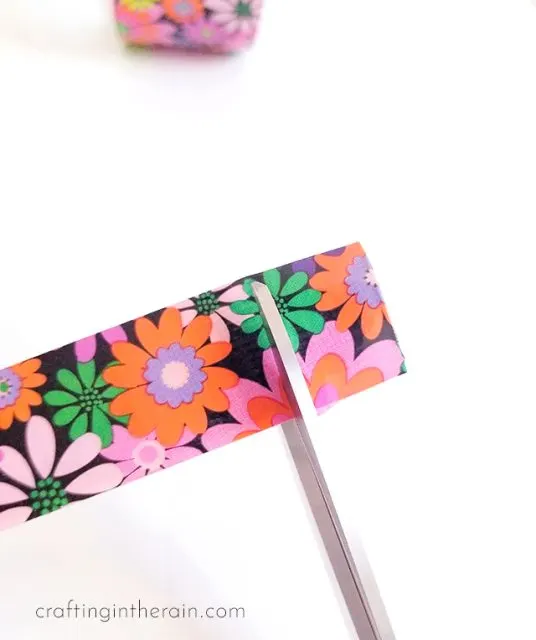
Place a length of tape on one long end of each plastic piece so that it’s centered and folds evenly to the back side. Trim the ends so they are even with the plastic.

Step 3:
Stack the two plastic pieces and tape them together with tape on the other long side. Don’t fold, but rather lay another piece of tape on the top so there will be room to add the grommets. Trim the ends again.
![]()
![]()
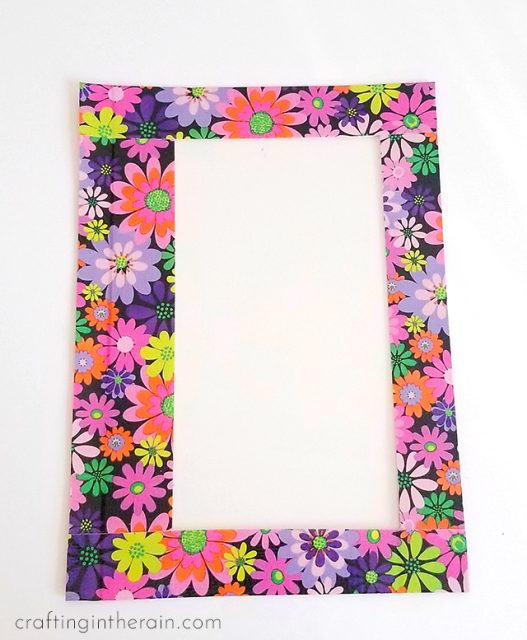
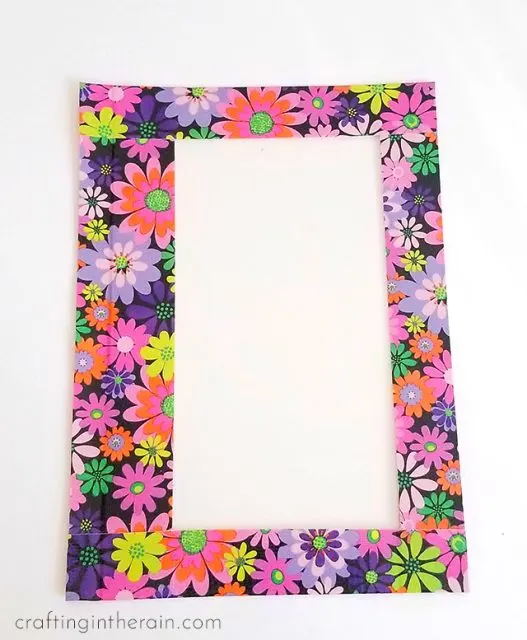
Step 4:
Tape the top and bottom of the pouch together by folding pieces of tape over. Trim the edges and make sure the open side of the pouch can open completely.
Step 5:
Use a binder to mark the location where two grommets should go. Cut holes with sharp scissors and push the grommet with the smaller inside circle into the hole (this will be the top) Then layer a grommet half with the larger inside circle behind it and set in the black plastic part of the tool. Set on a hard surface and use a hammer to tap the metal part of the tool onto the grommet until the two pieces have connected and are secure.
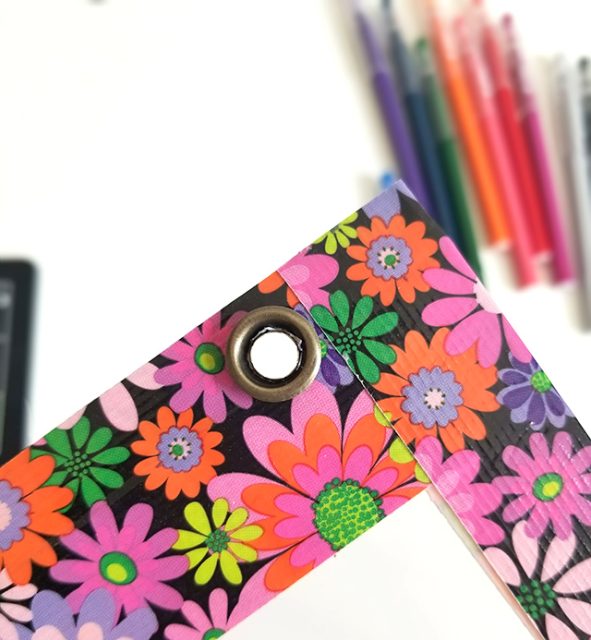
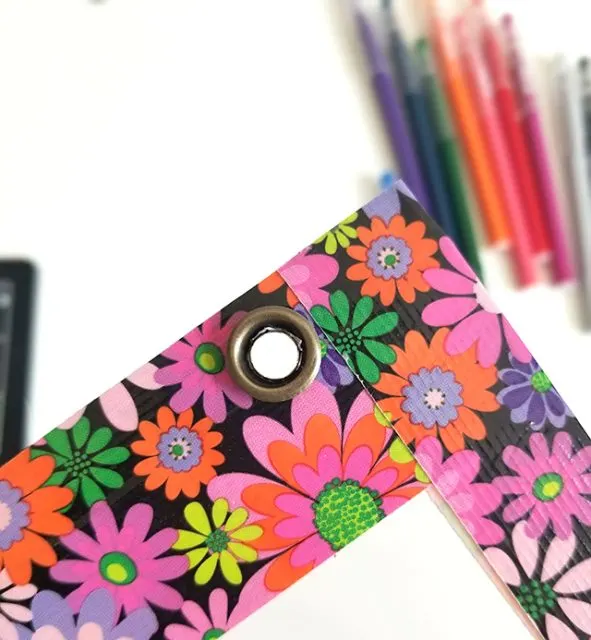
(back side of the grommet)
Step 6:
Stick hook and loop dots in the open side of the pouch (I used two pair) so that the pouch will stay closed, but can easily open when needed. Add your pens and you’re ready to write, erase, and keep on writing!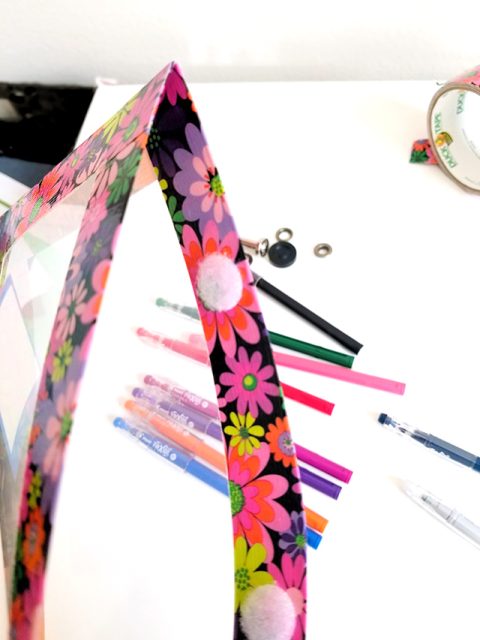

Watch here how great this temperature sensitive ink really does disappear!
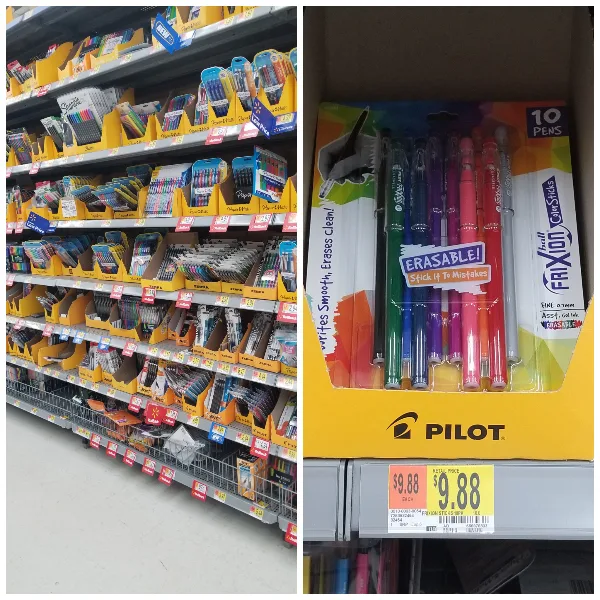
Find the smooth writing gel ink FriXion pens in the office supply section at Walmart, or online. 
 I hope you’ll try them out – and let me know if you make a pouch like this. I’d love to see it!

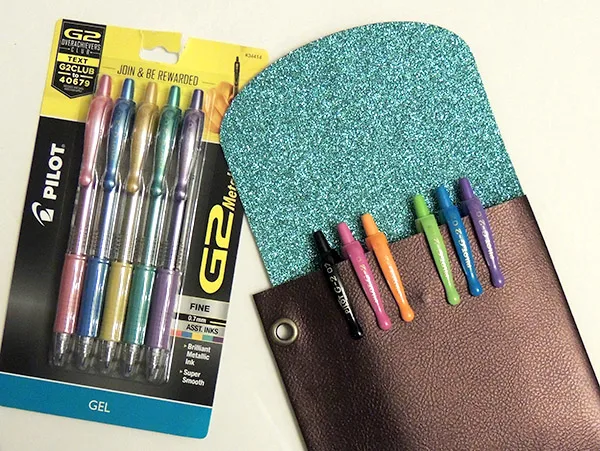
If you’d like a pouch in a different style, try this faux leather pencil pouch tutorial

Lisa
Wednesday 9th of August 2023
Cute idea! I'm going to try this. :)
Kelly
Thursday 19th of July 2018
I'm so impressed by the erasable power! Can't believe how clean it erases! #client