I have been dreaming about giving my laundry room a makeover for years. And now it’s finally done! It’s so much more fun to go and do laundry now and that’s really saying something. Plus I included a bunch of laundry room organization ideas that will hopefully help you out too.
This is a sponsored conversation written by me on behalf of Cricut. The opinions and text are all mine.
As you clean out your laundry room, are you finding holiday decorations too? Read some of the best ideas for storing holiday decor here.https://porch.com/advice/seasonal-storage-tips
Open Laundry Room Labels Design Space Project
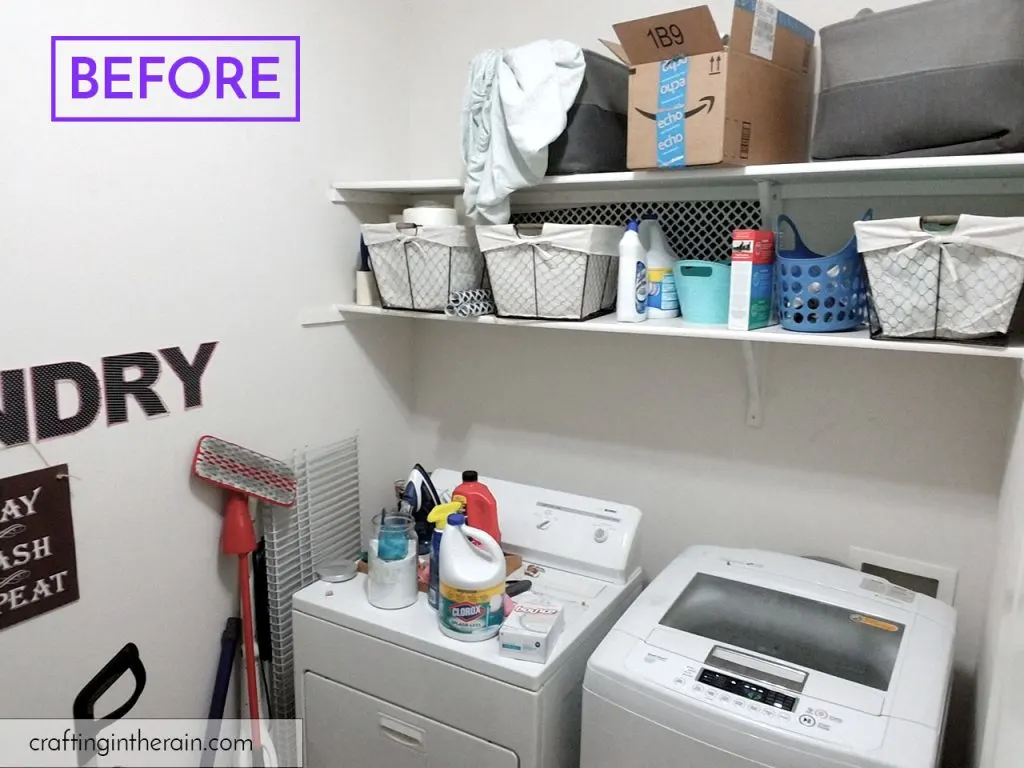
Any good makeover post starts with dramatic before pictures, right? This is what the laundry room has looked like on some of its worst days. Besides just being unorganized, everything was white, and nothing pretty or exciting was going on in there.

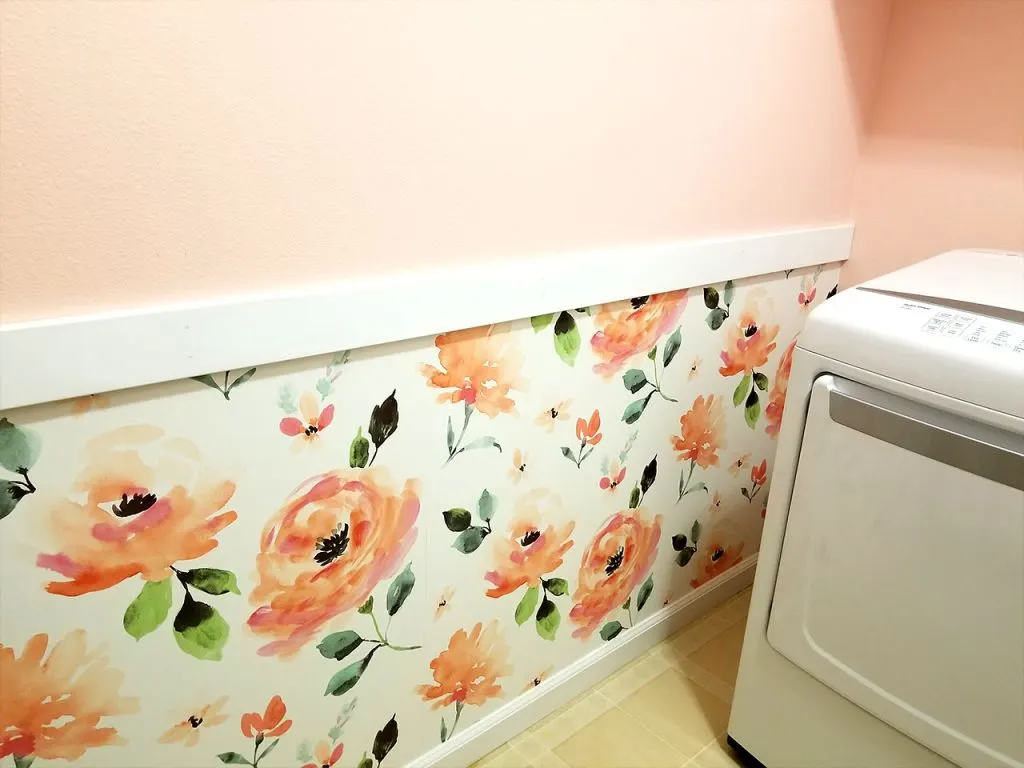
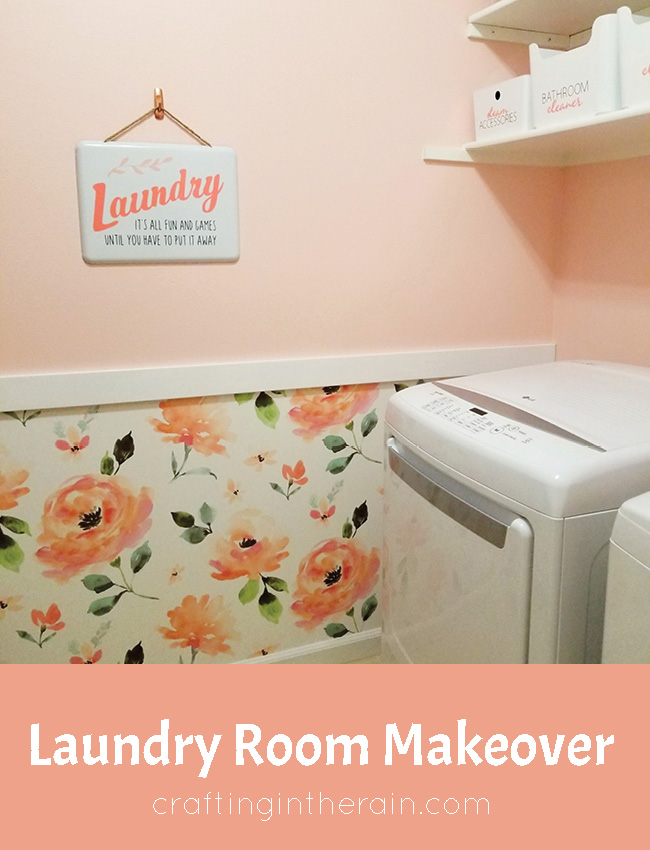
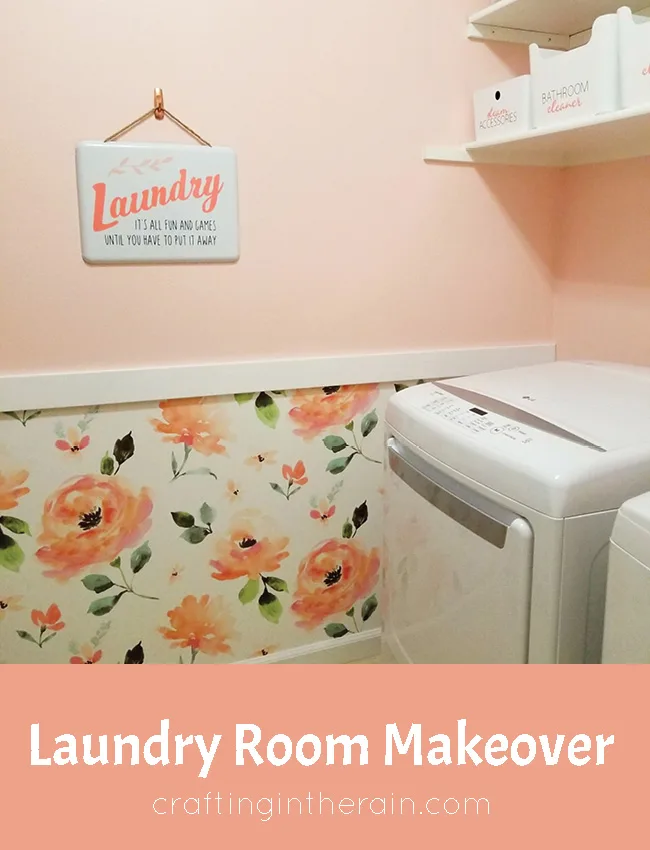
I started by painting the whole room a peachy-pink, leaving one section unpainted where I knew I would put wallpaper.
Then I added wallpaper on just the bottom section of this wall. Since I was only working with about a 2-foot tall part of the wall, I did it myself. But any taller and I would have needed a second person!
To finish off the wall I added a piece of wall trim to divide the wallpaper from the paint.

Best storage for the laundry room
One of the best ways to get a cohesive look in a space is to get matching containers for storage. I found all these white buckets at IKEA called Pulggis.
There are some smaller ones in the kitchen department (I have several in my pantry) but these are designed for recycling so they’re even larger, and perfect for the laundry room. Then I also got a couple of smaller boxes with lids called Kuggis.
Another tip for the laundry room is to buy canvas laundry baskets for storage. I found these at HomeGoods. and they’re fabulous because they’re tall. They use the vertical space up on my top shelf and will actually hold a lot.
It looks so much better than trying to build a stack of pillows up there.


Cricut supplies used:
Permanent vinyl – Black, Coral, Melon
Patterned iron-on vinyl – Sunset Blossom
Chipboard
Cricut Maker
Knife Blade
EasyPress 2
I chose two different ways to label them: chipboard tags and iron-on vinyl.
Read this post with tips for using iron-on vinyl
Making laundry labels with the Cricut
For the chipboard tags, use the knife blade to cut the tag shape with the Cricut Maker. The machine will set it to cut 20 passes, but I like to start checking the cuts at 10 passes.
Sometimes it is done at 10 or 11 passes (you can pause the machine and lift up an edge with the spatula or your finger.) Then just press the cut button again if it needs more. Or if it’s done you can eject the mat.

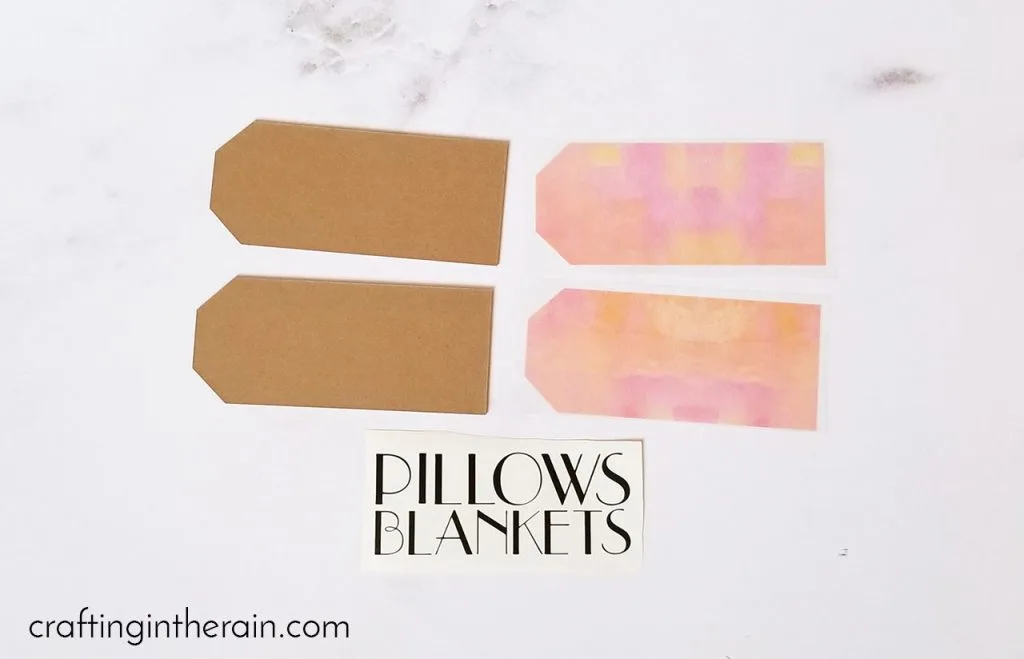
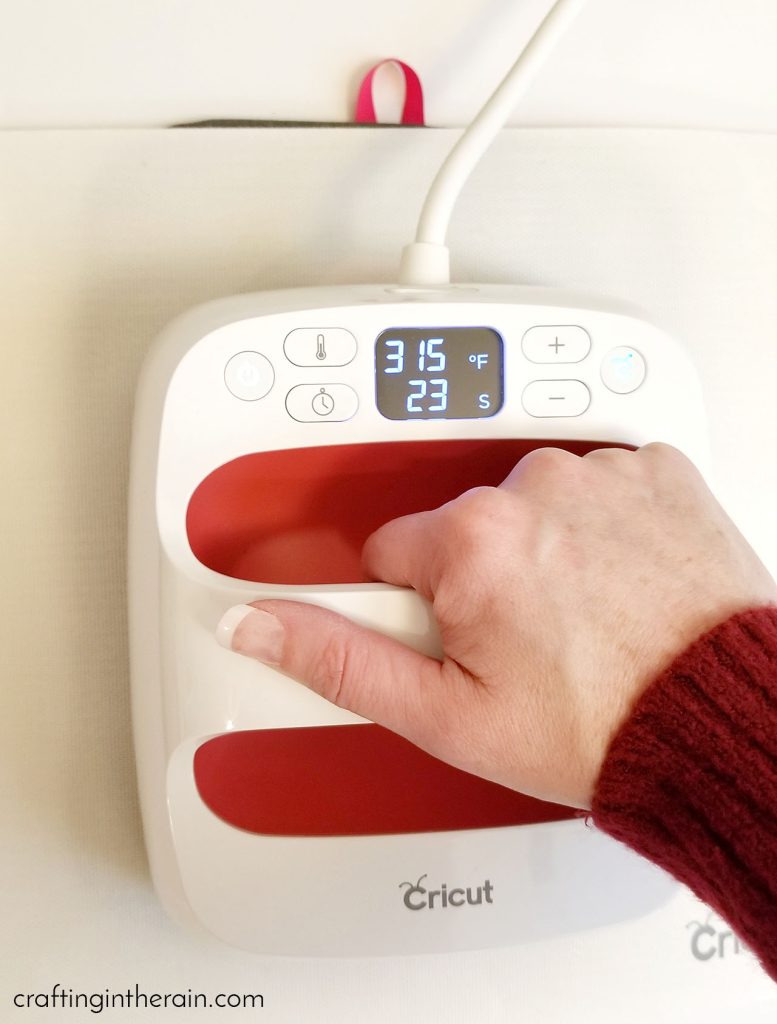
Then cut the patterned iron-on vinyl and use the EasyPress to apply it to the chipboard. Remove the carrier sheet and place under a flat heavy object to make sure the tag stays flat while it cools.

Read this post for how to use the EasyPress 2
Then add the black vinyl over the center of the tag with transfer tape.
For the other baskets, I used iron-on vinyl. To use the EasyPress I stuffed the basket with pillows and then added the EasyPress mat. That way there was something for me to press against.

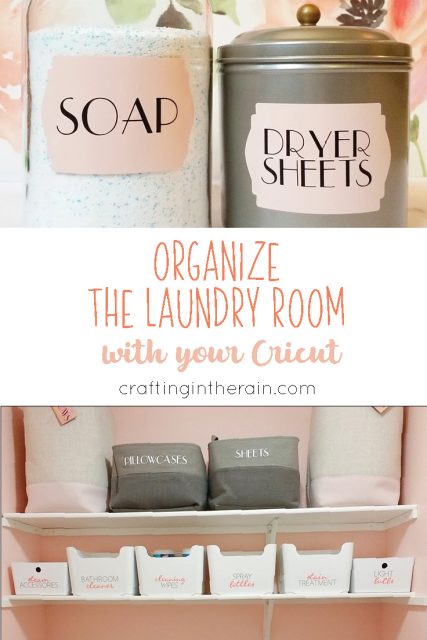
To label all the white bins I mixed black and coral Cricut Permanent vinyl.

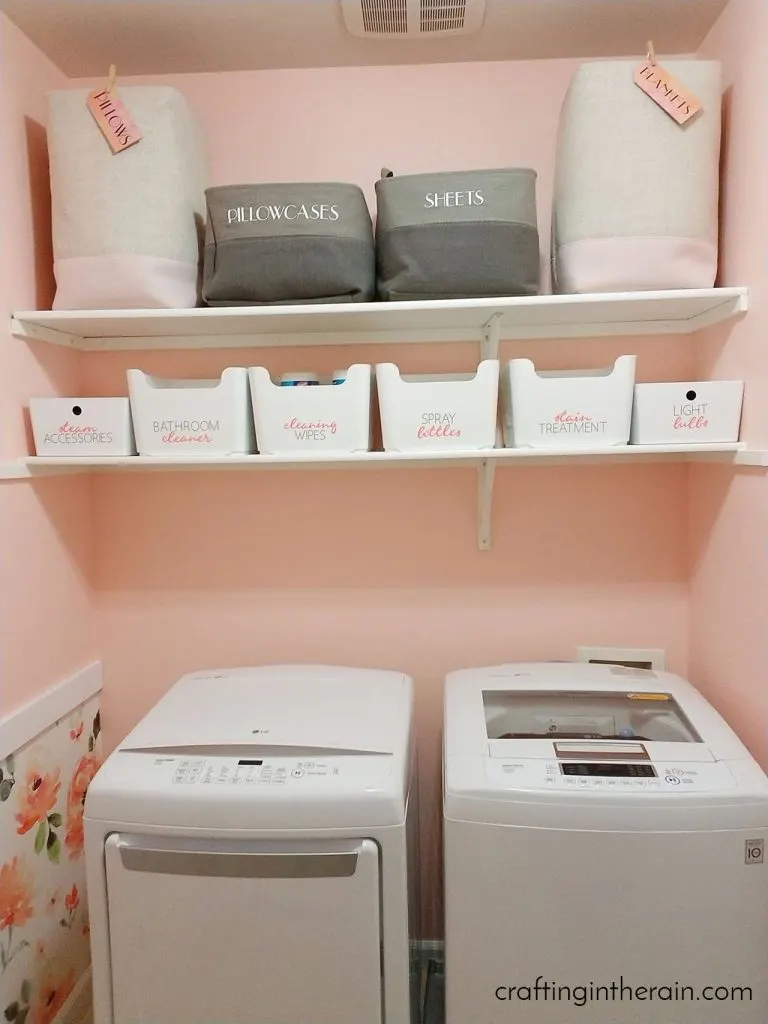
I measured up the same distance from the bottom of the bin to place the first word. This made everything look more consistent along my shelf instead of centering the labels on the smaller ones and then in a different place on the larger ones.
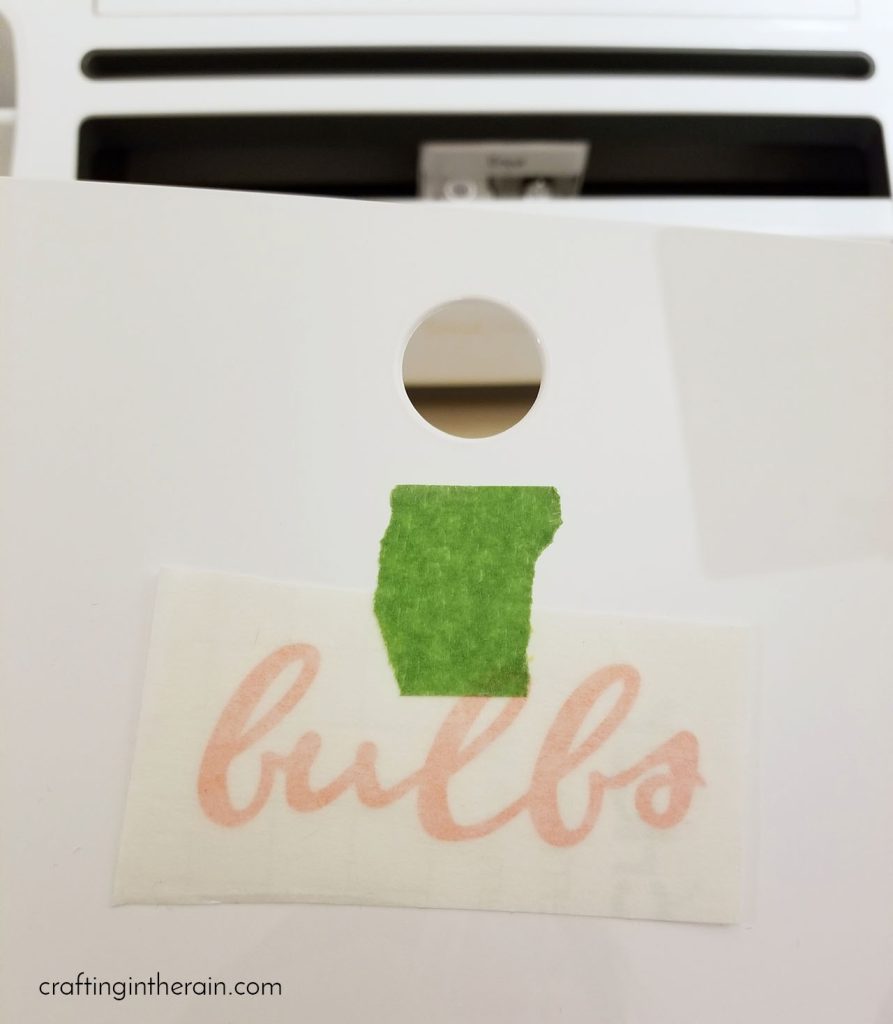
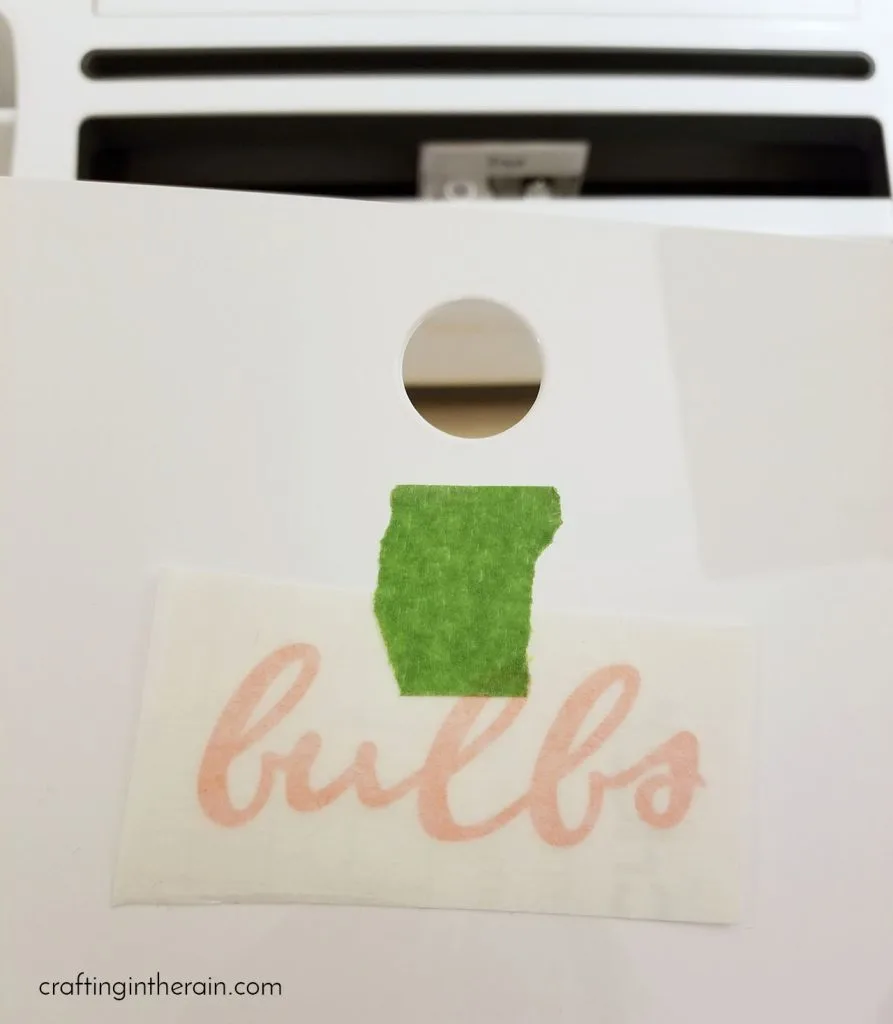
I like to use the hinge method when applying vinyl. You measure and position the vinyl with a piece of tape. Then lift it up and remove the paper backing, exposing the adhesive vinyl.

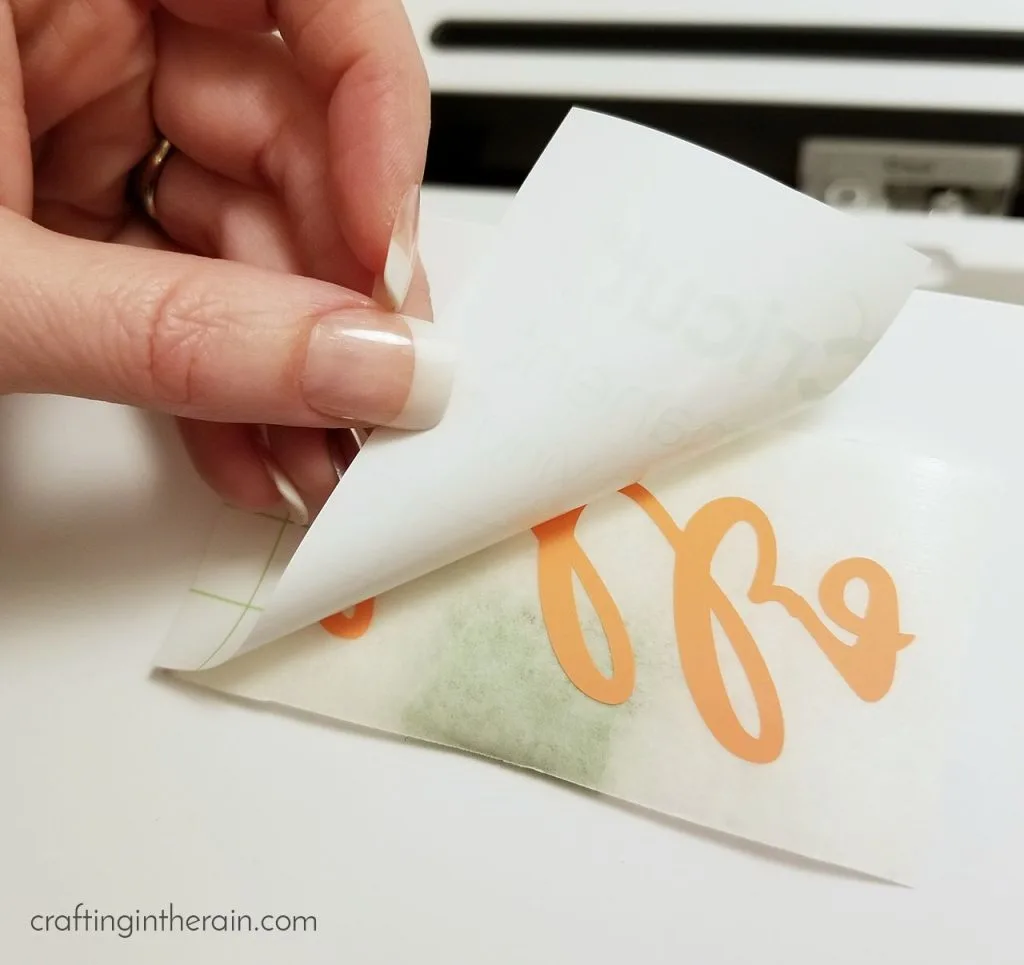
Then lay it back down and it will stay in the right place. Smooth out and remove the transfer paper.
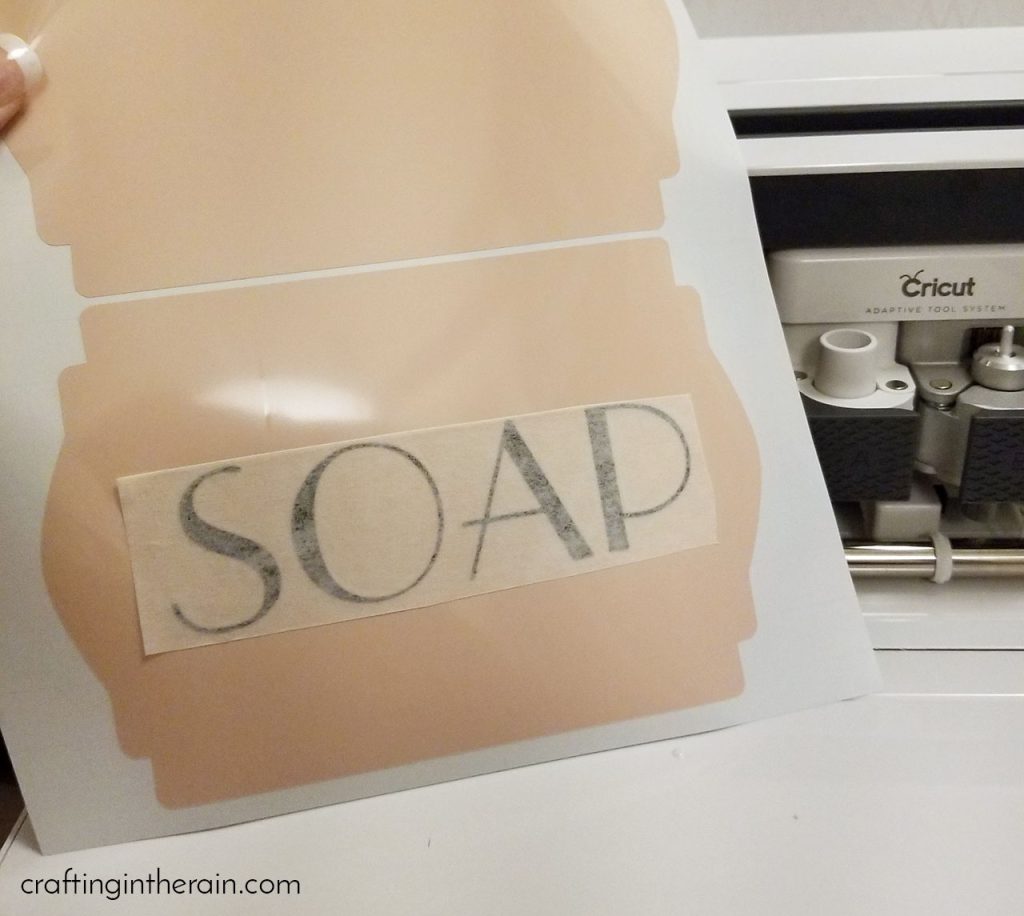
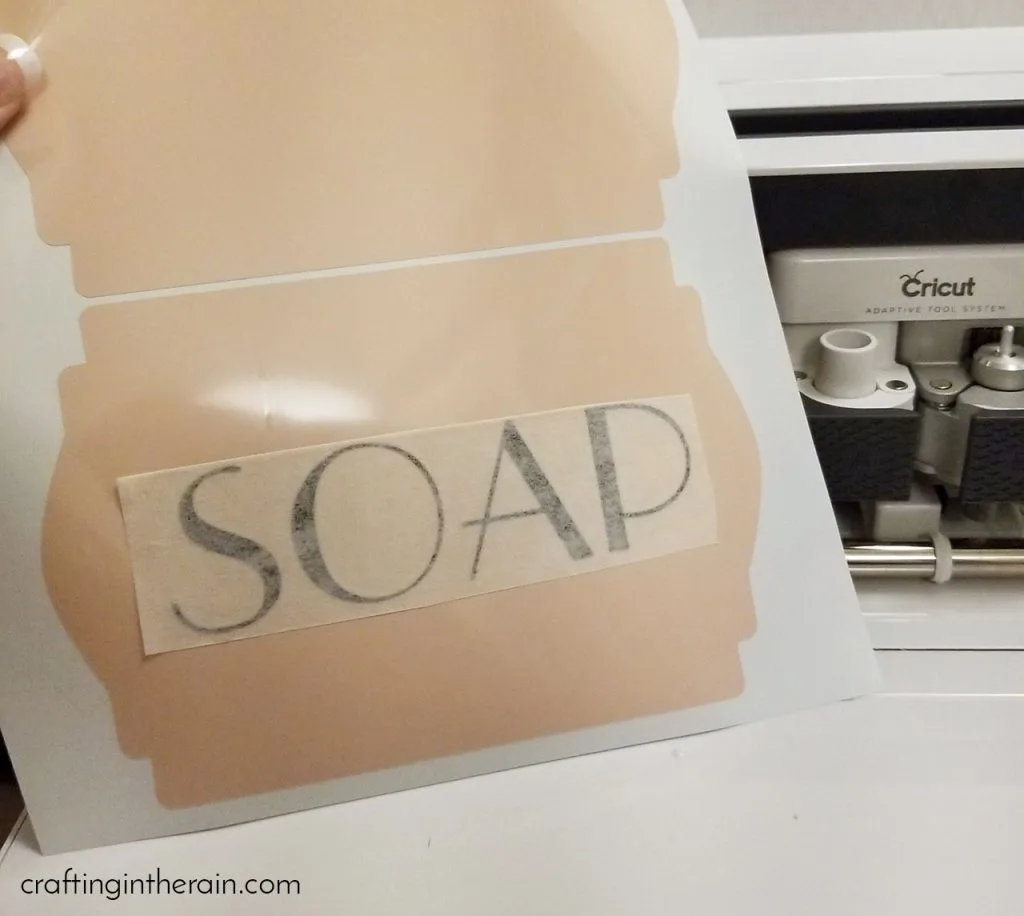
I labeled the soap and dryer sheet containers in a similar way. But I put the words on the pink backgrounds first because it was easier to center than it would have been on the jar later.

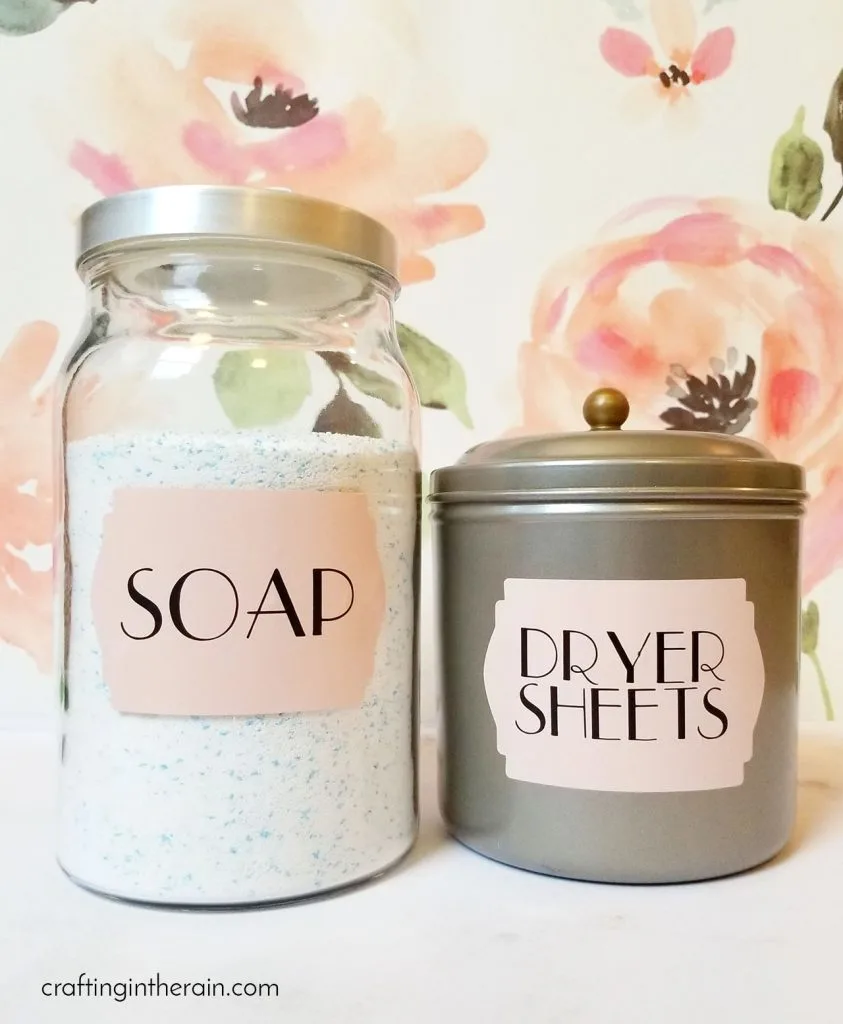
When you open the Design Space project above, you can cut the exact labels that I made, or you can design your own. I left a text block for each font I used so it will be easy to make matching ones if you need other labels.
Fonts are Dear John, Gypsy and Parisian.
What is your favorite part of my laundry room makeover? Have you been inspired by the laundry room organization with Cricut?

Home Organization Ideas with a Cricut or Silhouette - Burton Avenue
Saturday 7th of January 2023
[…] Laundry Room Organization by Craftin in the Rain […]
Cricut Organization Ideas to Keep You Organized! Labels, bins & more!
Monday 29th of August 2022
[…] from Crafting in the Rain. Having an organized laundry room just makes it easier to do laundry! Read More… DIY Cork Board with Cricut Iron On Angie from The Country Chic Cottage shows us how to use […]
Lisa
Monday 29th of April 2019
The wall paper! ❤️ Where did you get it?
Stephanie
Wednesday 1st of May 2019
Hi Lisa - I bought it from the Anthropologie website! Isn't it lovely?
Angela Carson
Friday 1st of March 2019
I love to see this crafting! beautiful! good crafting can surely add beauty to your laundry. I really liked your fonts and will make similar for my DIY.
Stacey
Thursday 28th of February 2019
Love the entire thing!