This is a sponsored conversation written by me on behalf of Cricut. The opinions and text are all mine.
If you’ve been reading my blog for a while, you’ve seen me often using a Cricut EasyPress 2. So let’s get back to basics a little bit to review exactly what the EasyPress is, how to use it, and why it might be one of the best additions to your craft room. (some links affiliate)

The EasyPress 2 is different from a standard iron
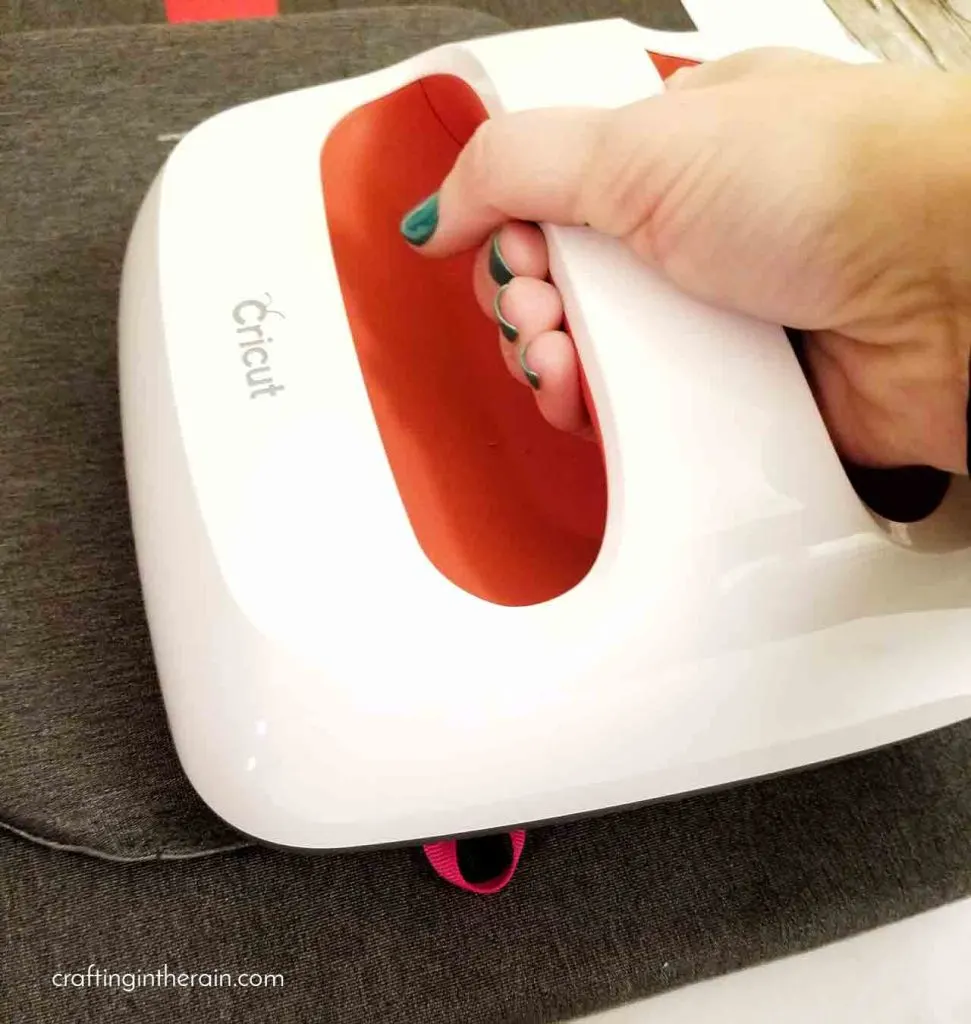
My first complaint about using an iron is the steam holes. I’ve actually had it leave marks in my finished project before. The EasyPress 2 has a ceramic coated flat plate that heats evenly from edge to edge.
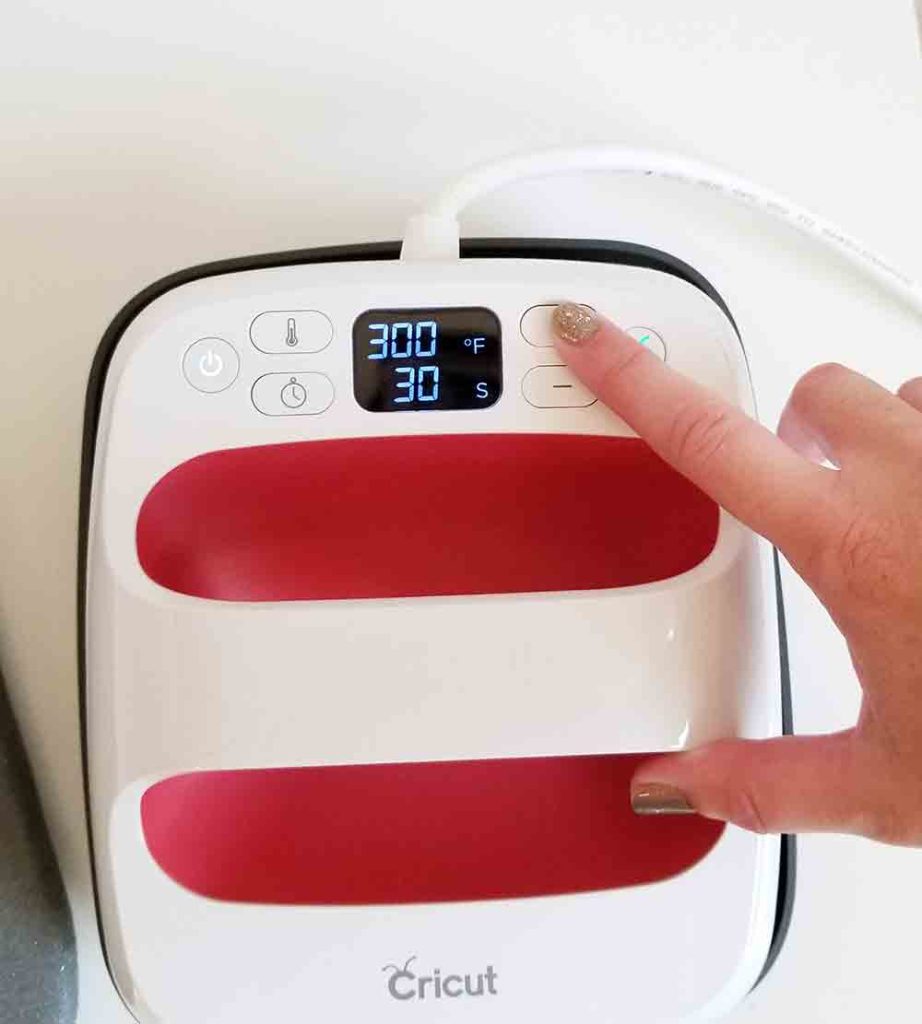

An iron’s temperature can vary greatly from one part of the iron to another. The Cricut EasyPress 2 has a wide and precise temperature range. The low temp on the EasyPress is 210 and it can go up to 400.
The EasyPress 2 is different from a Heat Press
A heat press is heavy and takes up a lot of room. EasyPresses are compact, lightweight, and easy to maneuver. The largest EasyPress 2, the 12×10 inch size, only weighs 8.6 pounds. A heat press can weigh at least 45 pounds. You’d never want to travel with that, but it’s easy for me to take an EasyPress to a friend’s house or even another room in my own house when that makes crafting easier.
The EasyPress 2 comes to temperature in 60 seconds or less while it can take over 15 minutes for a heat press to fully heat up. Additionally, the EasyPress has a safety auto-off feature when it’s been unused for 10 minutes. A heat press won’t automatically turn off.
Which EasyPress should I get?
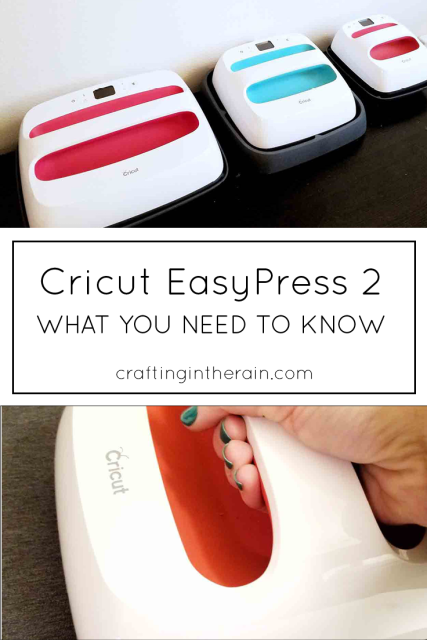
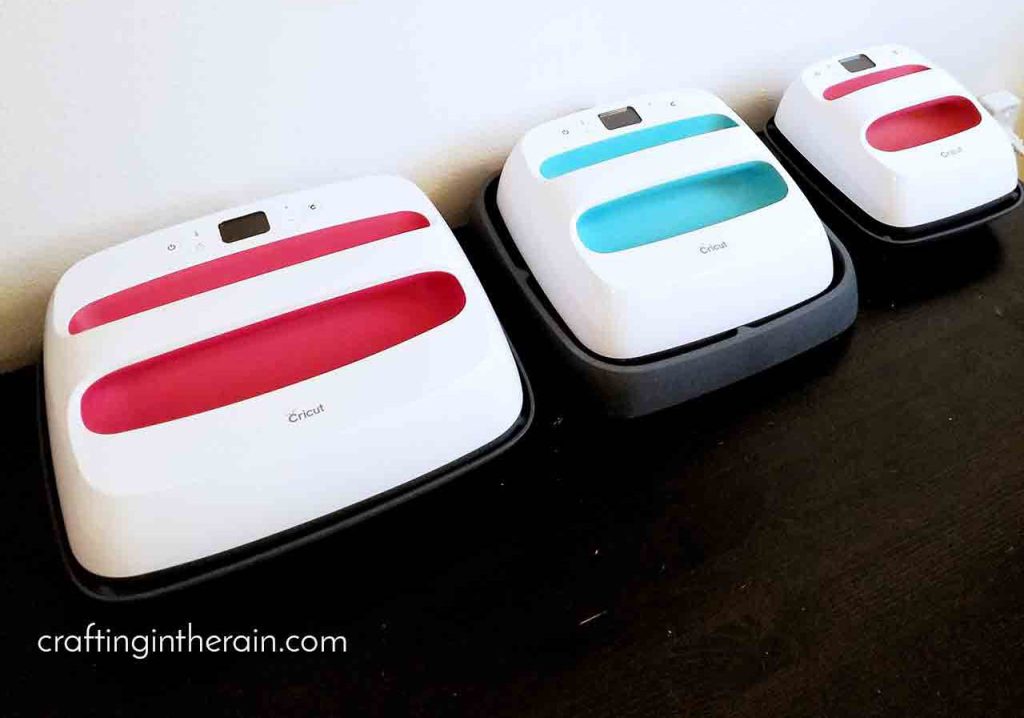
The Cricut EasyPress 2 comes in 3 convenient sizes.
Small: 6×7 inches
Medium: 9×9 inches
Large: 12×10 inches
To determine which size is right for you, take a look at the projects that you make most often. Is it usually large shirts, pillows and even large wood signs? You’ll probably want the large size so that you can cover the most area at once with one press.

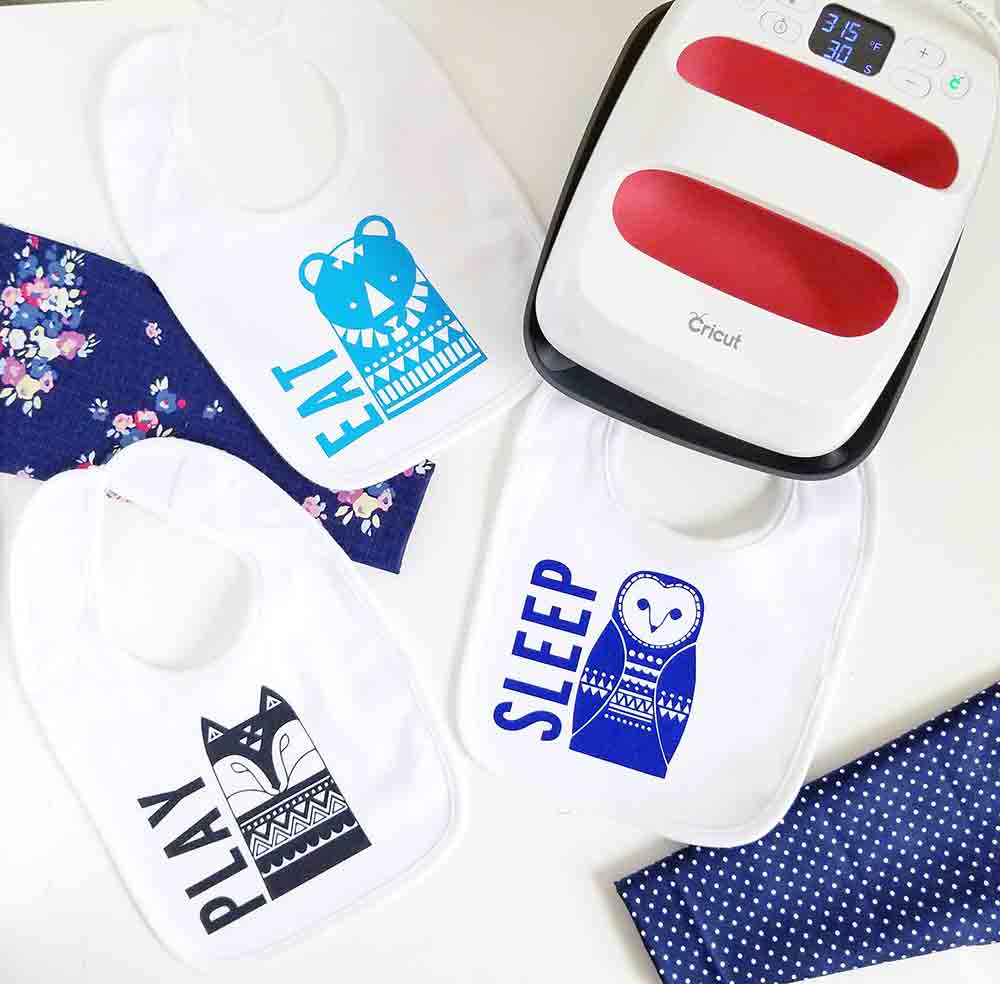
If you usually put iron-on vinyl on onesies, bibs, hats, napkins, cards, earrings, and other small items, the small Cricut EasyPress 2 will be perfect.

If you do a little bit of everything, the medium size will be great. It doesn’t feel too big for most of those smaller projects, and you can do more than one press to cover the area of larger projects. If you can only get one EasyPress, this is the one I recommend. If you can get more than one, it’s fabulous to have the flexibility of other sizes!
Difference between different Cricut iron-on materials
Cricut sells several types of iron-on materials, and they are ideal for different projects. Click each link to check colors and prices.
Everyday iron-on: Works on shirts, bags, pillows, and most types of fabric. Many colors available, and can be layered.
Foil iron-on: Adds a lovely shimmer to most types of fabric. Must be a top layer, don’t add anything over the top as it won’t adhere well.
Holographic iron-on: Perfect for anything related to a party. Regular holographic and sparkle options. Top layer only.
Patterned iron-on: Decorate shirts, bags, pillows, and other fabrics. Top layer only.
SportFlex iron-on: Not as many colors available, but it’s for any fabric that has stretch like leggings, headbands, sport shirts. It’s won’t crack or wrinkle. Can layer, but only with other SportFlex so that it stretches the same.
Glitter iron-on: Again works on most fabrics. Top layer only.
Read this post to create projects that look like they have layers with glitter vinyl or other “top layer only” vinyls.
What temperature to use for different materials/projects
As you may know, different types of iron-on vinyls require different temperatures. And sometimes that temperature also changes with the material that you’re applying it to. So how to keep it all straight?
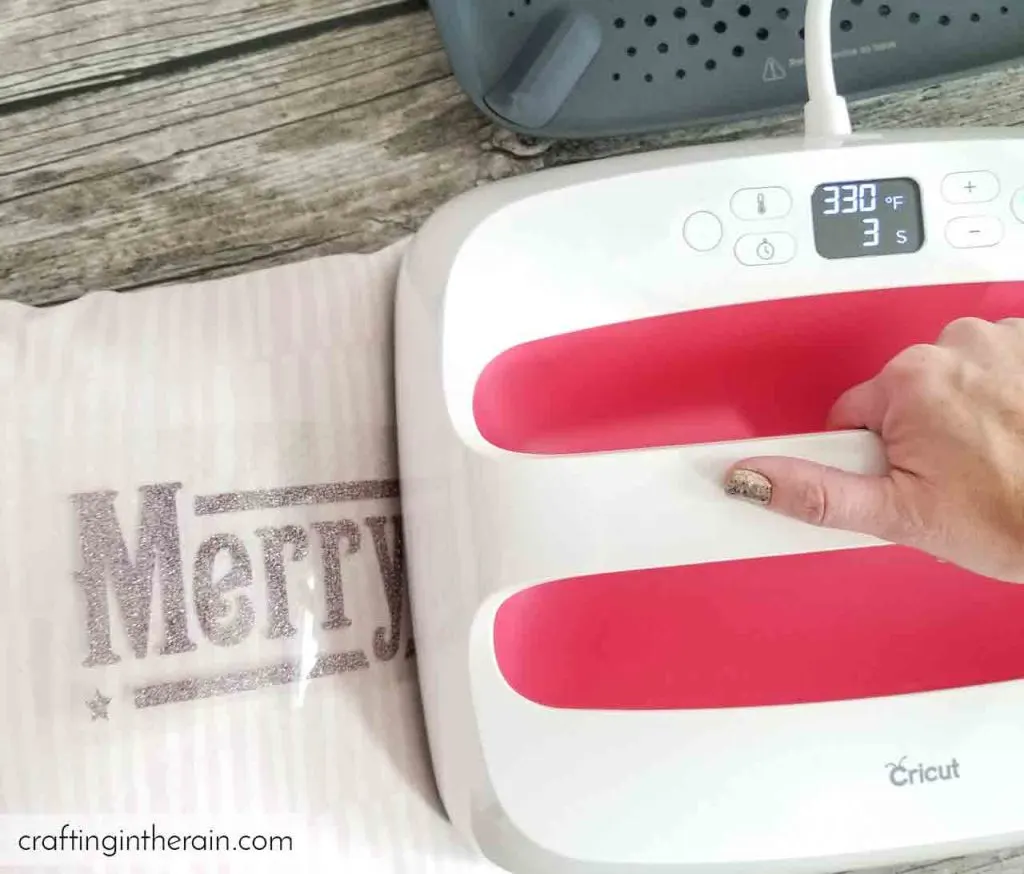
Use the interactive EasyPress guide. Choose your iron-on type and then base material from the drop down menus. Then Click EasyPress mat or towel and instructions will pop up. It shows the temperature to set the EasyPress, and then times for how long to preheat, press the iron-on, and press from the back. Then it will also tell you if you should use Warm Peel or Cold Peel.
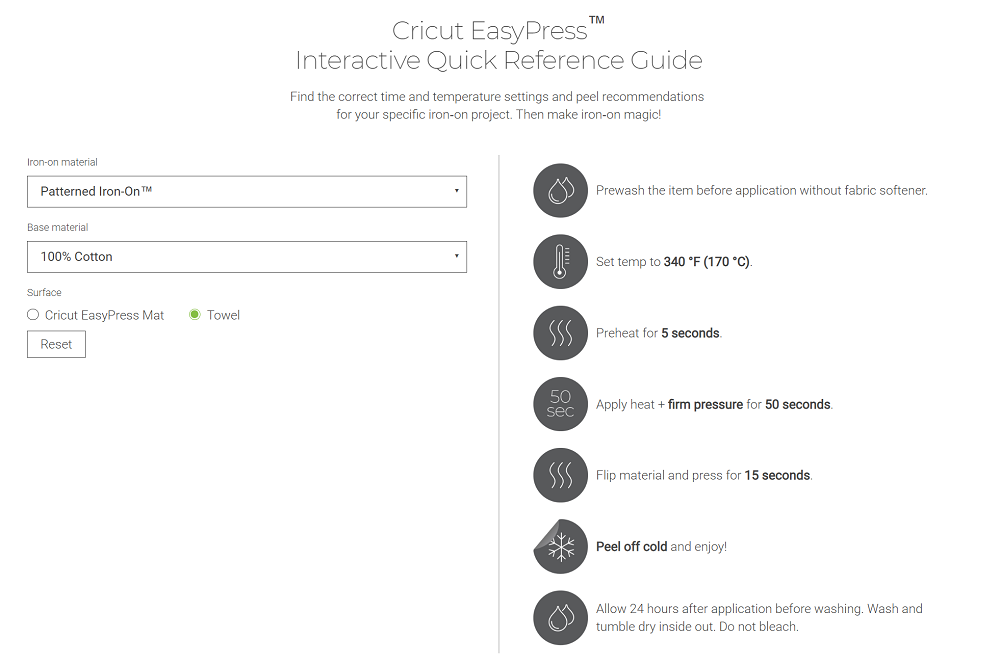

Basically, the carrier sheet should be removed either right when you finish pressing, or you should wait for it to cool a bit. The EasyPress Guide tells you which. Hey, Let’s Make Stuff made a printable EasyPress chart if you’d rather have that.
Details about EasyPress mat
The EasyPress mat has been specifically designed to draw any moisture away from your project (which can affect the adhesive) while containing the heat and protecting your work surface.

The EasyPress mat is sold separately from the EasyPress machines. There is a size to match each EasyPress. The large EasyPress mat is great with large shirts and pillows along with the large EasyPress. But of course it could be used with any of the smaller EasyPresses as well.
One thing I have found is that the small EasyPress mat is great for putting inside bags or pouches when I want to make sure that the heat won’t make anything inside the bag stick together.
I have all three sizes and found this great way to store my EasyPress mats together.
Do you have any other questions you want to ask me about the Cricut EasyPress 2? Leave me a comment!