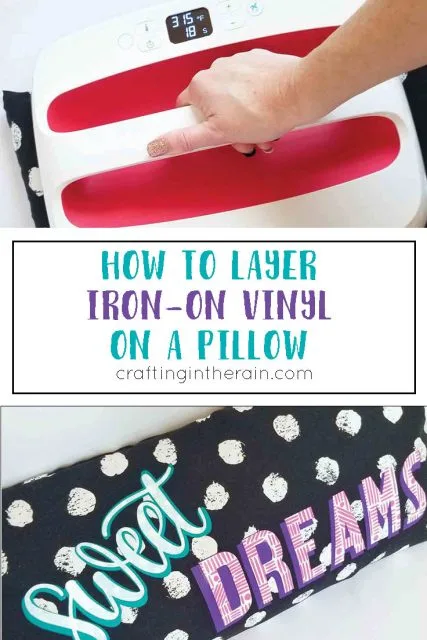
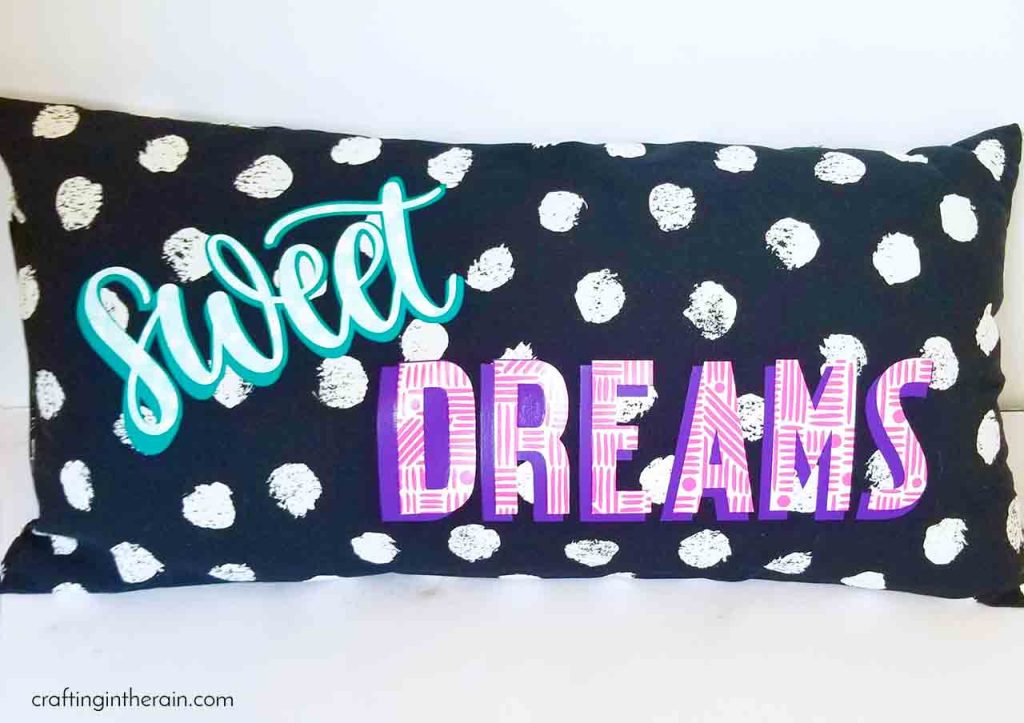
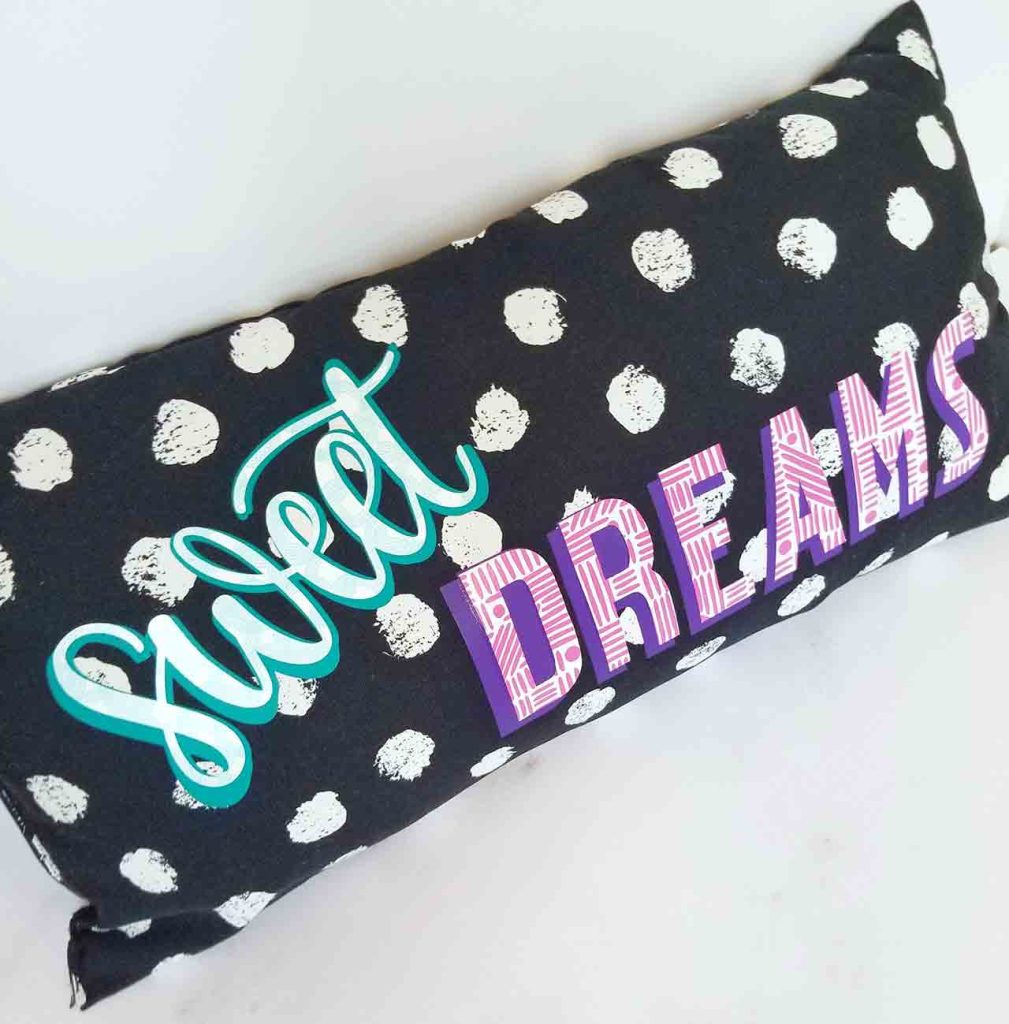
Layering iron-on vinyl can seem tricky, but it doesn’t have to be if you remember to follow a couple of steps. I’ll show you how I decorated this pillow with Patterned iron-on and Everyday iron-on (this is what you would consider “regular” iron-on.)

This is a sponsored conversation written by me on behalf of Cricut. The opinions and text are all mine. Some links are affiliate.
How to add iron-on vinyl to a pillow
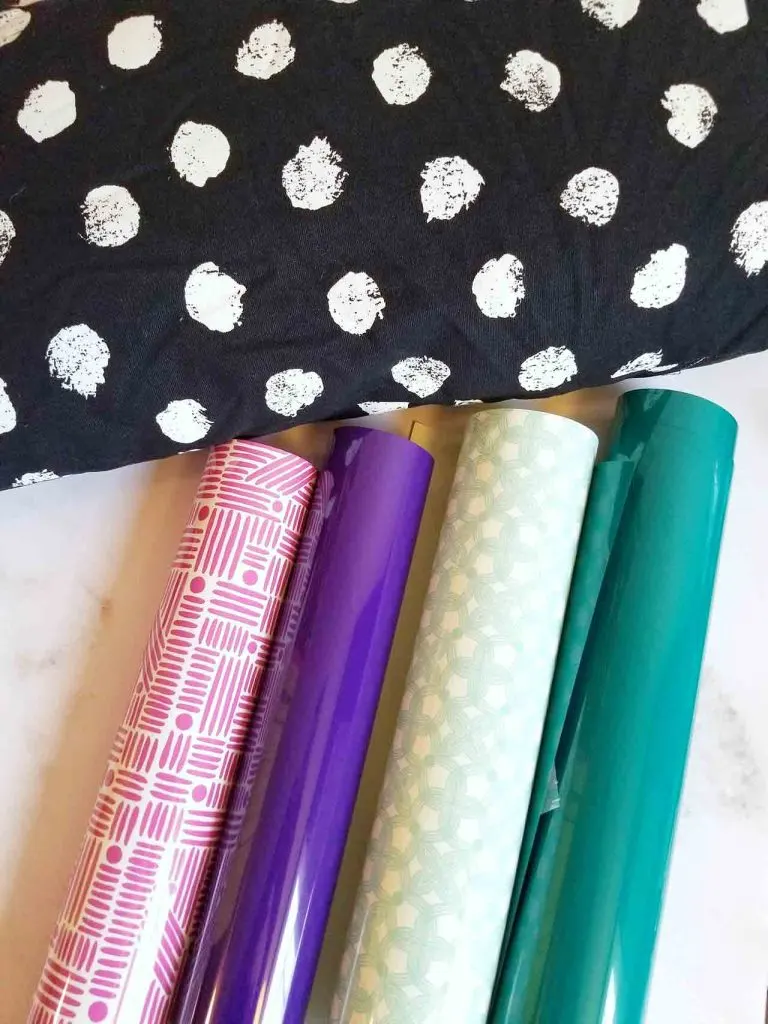
SUPPLIES:
Patterned Iron-On Rob & Bob Stamped Blooms
Everyday Iron-on Teal and Purple
Pillow
Large EasyPress 2
Cricut Maker
Weeding tools
Weeding tools
Open the Design Space Project
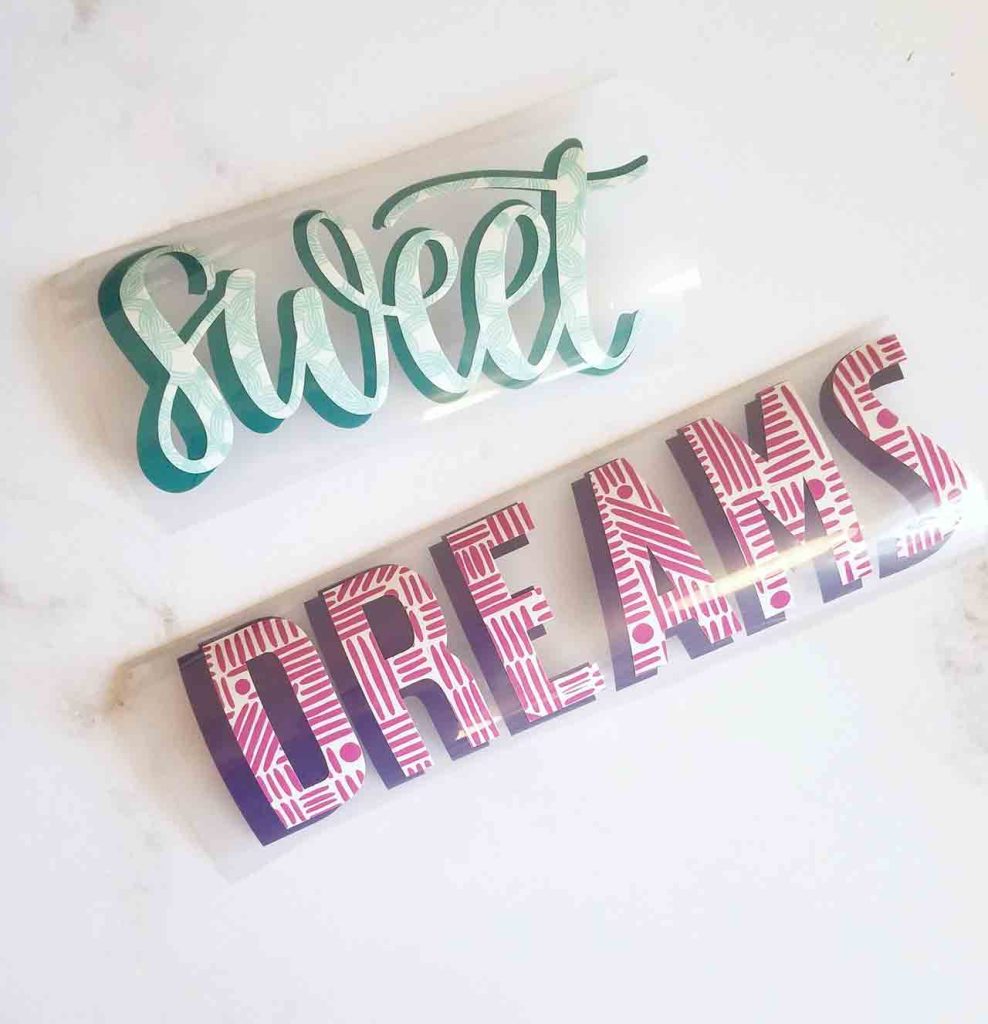
Cut each layer from the color or pattern you want – remember to lay the iron-on face down on the mat and mirror before cutting! Read here for how to use iron-on vinyl.

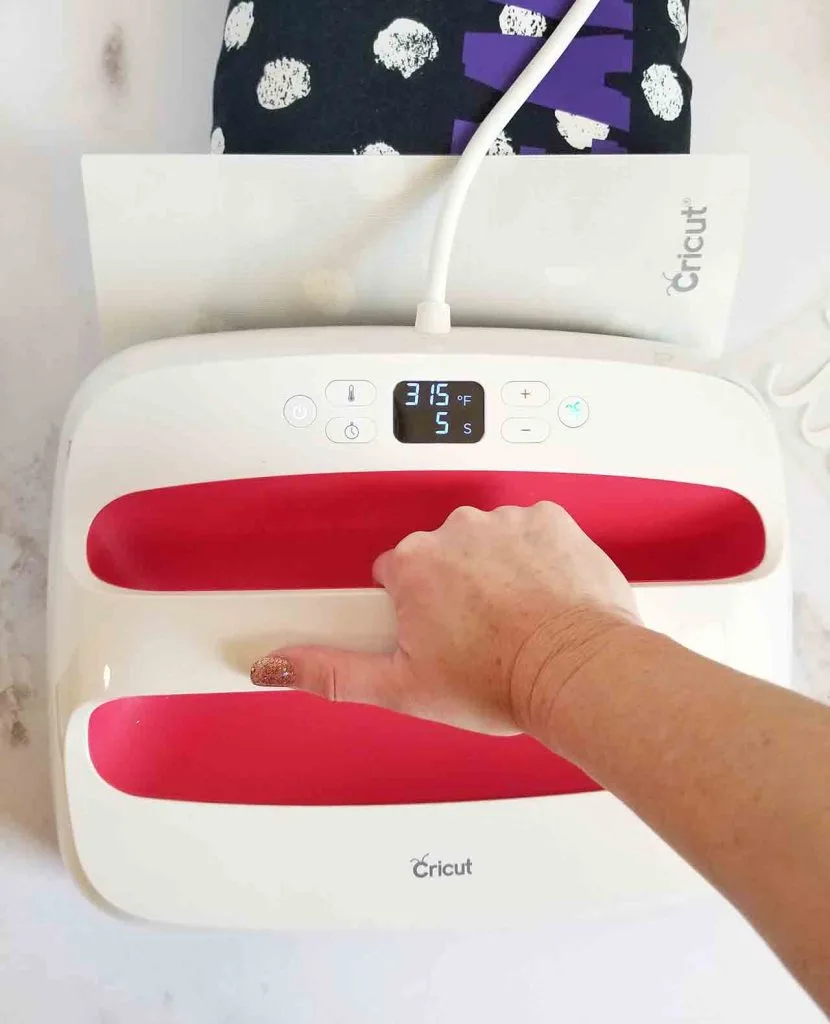
My pillow is 100% cotton, so the EasyPress temp is 315. Preheat the pillow for 5 seconds.
Learn all about the EasyPress 2 here.

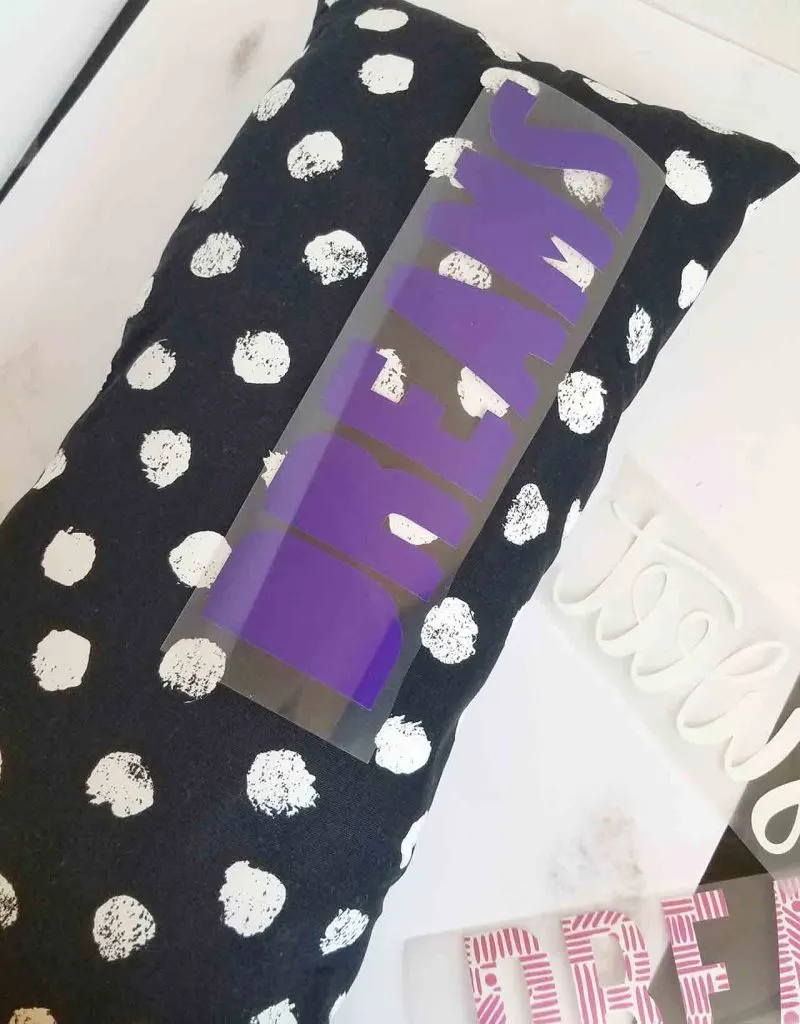
The patterned iron-on has to be a top layer, so the Everyday iron-on goes down first. Position the first layer and press for 30 seconds. Let the carrier sheet cool most of the way and then peel it off the vinyl.
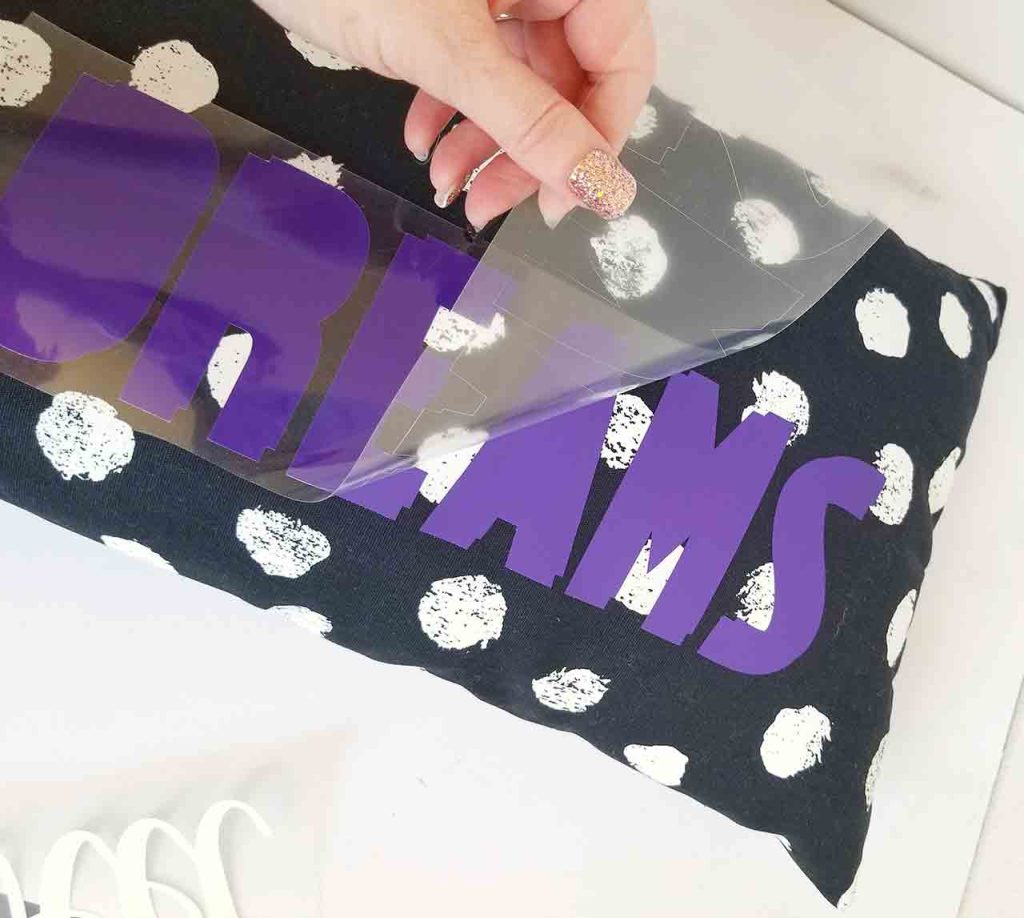
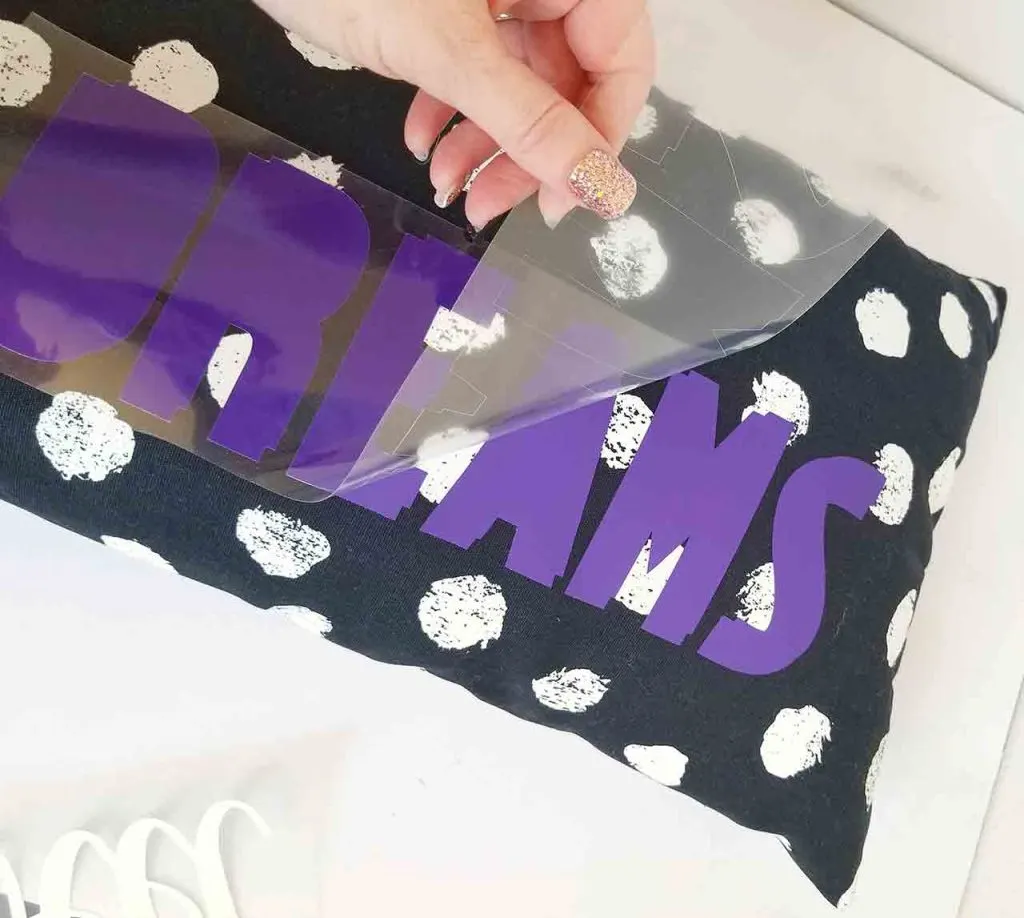
Position the second piece of Everyday iron-on and cover everything with the Cricut protective sheet. This protects the first piece of iron-on that had the carrier sheet removed already. Press for 30 seconds and peel when cool.

I have found that sometimes the light colored patterned iron-on will let the dark material show through, so that’s why I made a design that would have the Everyday be completely under the Patterned as a barrier.
But after that, the Patterned iron-on should be the top layer. Anything added to the top of it might not adhere well.
Change the EasyPress temp to 340. Position one of the Patterned pieces and cover with the protective sheet again. Press for 40 seconds. * The guide says 50 seconds, but since my pillow isn’t going to be washed, and I didn’t want to risk heating the Everyday iron-on too much I cut it a little short.

Remove the carrier sheet and repeat the process with the other Patterned iron-on piece.
Cricut iron-on comes with the StrongBond guarantee. This formulation of iron-on will last over 50 washes as long as it is applied according to the directions for each type of iron-on. Consult the packaging on your specific type of iron-on.
Get long lasting results with iron-on vinyl
Prewash (with no fabric softener)
Preheat
Press design with correct temperature, pressure and time
Press from back of material
Peel warm or cool
Wait 24 hours to wash (foil and holographic should be hand washed in cold)
Wash inside out
No bleach
To share my personal experience, I have sometimes been a rebel with some of these instructions. For example, I don’t always prewash, I don’t always turn shirts inside out, and I don’t know that I’ve ever hand washed a t-shirt in my life 🙂 BUT, I still get great, long lasting results with all my Cricut shirts. So I hope that’s helpful to someone.
Here’s another post where I added vinyl to an Ikea pillow.
Let me know if you have any other questions about layering vinyl!