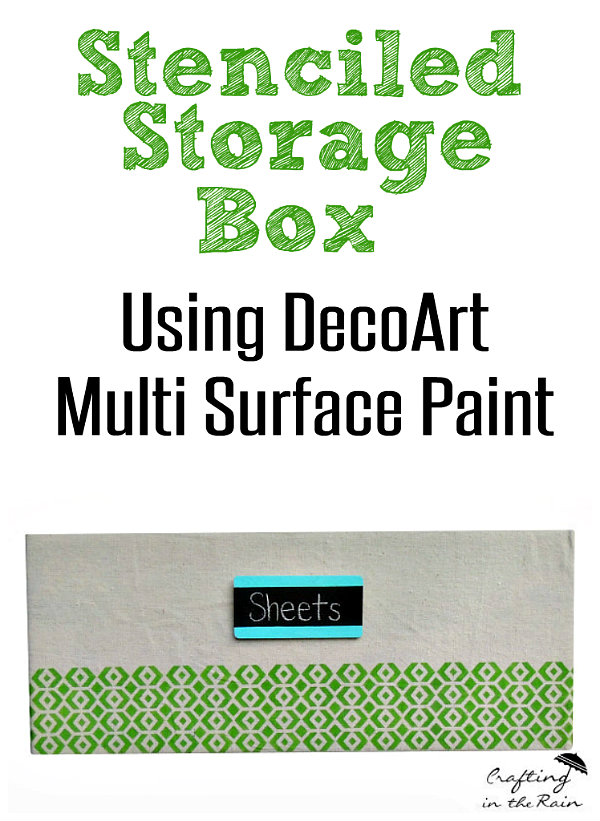
Check out this easy way to create a cute storage box from a diaper box.
I’ve been using a couple of diaper boxes in the top of my son’s closet for storage. I mean, they are large, sturdy boxes that I’m bringing into my house anyway, why not make them useful!
They are great for bedding, clothes he’ll grow into later, and even toys!
Supplies for turning a diaper box into a storage box
- Canvas drop cloth
- Scissors
- Spray adhesive
- Adhesive velcro tabs
- Wood tags (something like these) But check the craft store too so you don’t have to buy so many at once if you don’t want to
- Paint and brushes (muli surface and chalkboard)
- Stencil and stencil brush
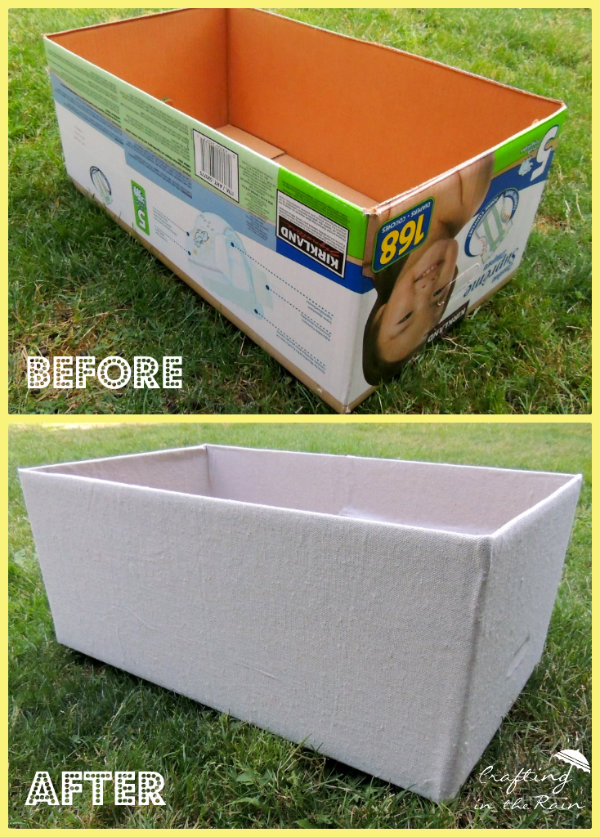
The first step was to cover the box in drop cloth canvas. Cut the top flaps off of the box and use spray adhesive to get the cloth to stick to the box.
Wrap it all the way around, folding the corners under the box like a present, and folding about 3 inches down into the box to cover the cut edges.
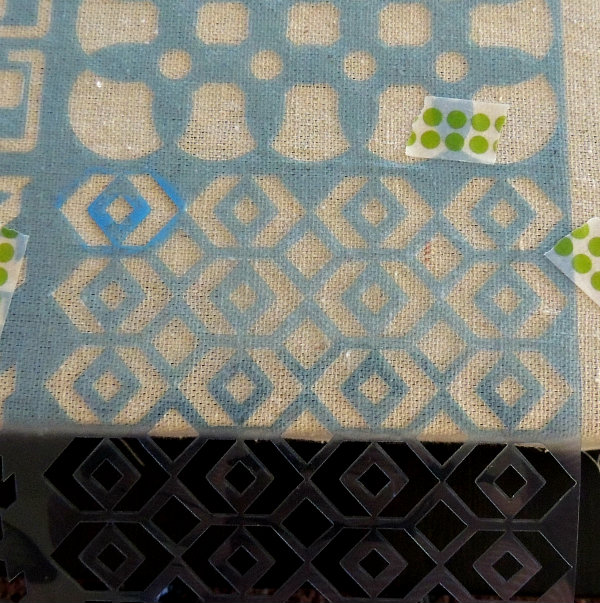
Using the Retro Mod stencil, I lined up the bottom of the box with the 3rd row of the pattern and painted with Leprechaun Multi Surface satin paint.
Secure the stencil with a bit of tape. Blot the stencil brush to remove excess paint before painting on the fabric, and let dry before moving to the next section.
I worked on this project over the course of a couple of days! That way my neck didn’t get tired and I didn’t get burned out of painting.
I stenciled the two sides as well (but not the back) but you could get away with just doing the front side if you want.
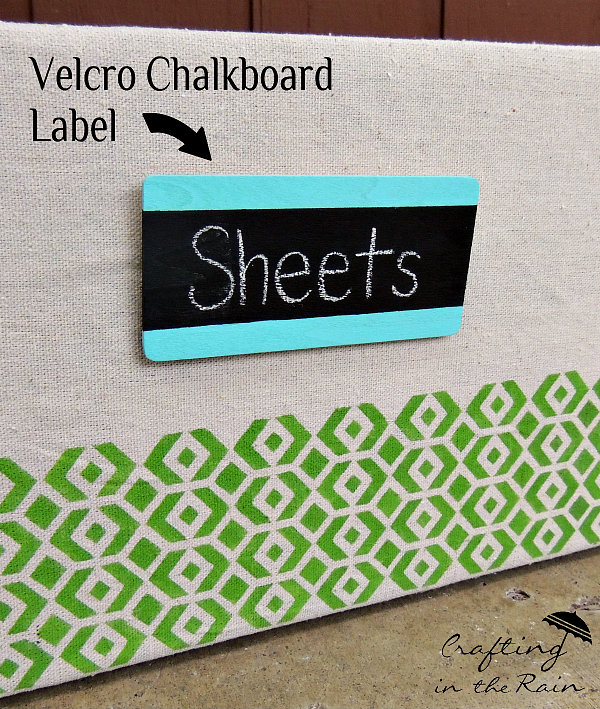
At any time, start working on the chalkboard labels. Grab some of these thin wood pieces from the craft store and paint with DecoArt chalkboard paint.
The instructions say to use two coats, though I had to use about 5 because this particular wood kept soaking up the paint!
Then paint a top and bottom stripe using Turquoise Waters (Multi Surface) Use 2 coats for best coverage. Washi tape or painters tape work well for taping off a straight line for those sections.
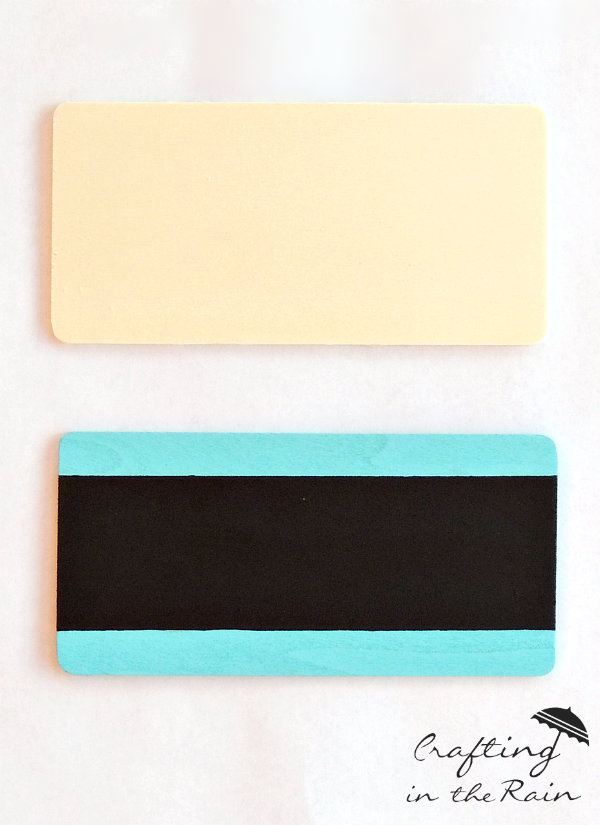
Apply one side of adhesive Velcro to the box, and the other side to the back of the label. Rub the side of a piece of chalk all over the chalkboard paint to prime it, wipe clean and then write on the label.
Stick it to the box then you can easily remove and change the writing on the label at any time.
Are you currently using empty diaper boxes for storage? Will you be decorating them now too?
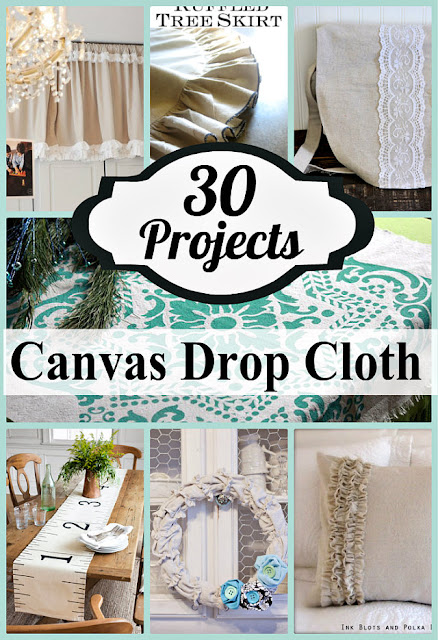
Click this image for more canvas drop cloth DIY projects.
Kathy miller
Sunday 11th of December 2022
Just remember markers and such should be stored horizontally.
Gina H
Friday 24th of June 2016
If you had used multi-purpose sealer on the wood, it would probably only have taken 2 coats.