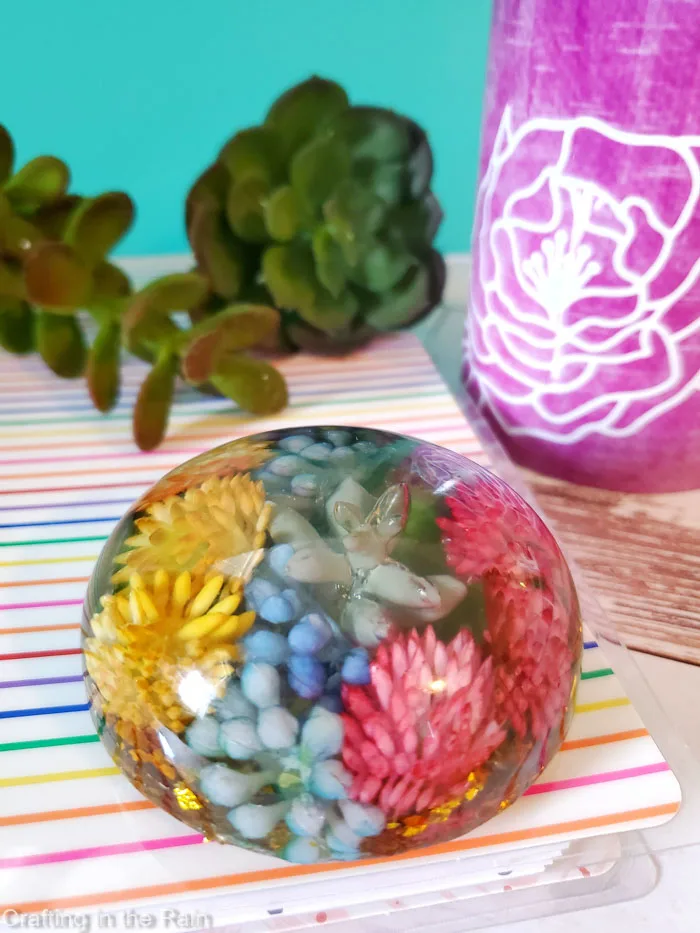
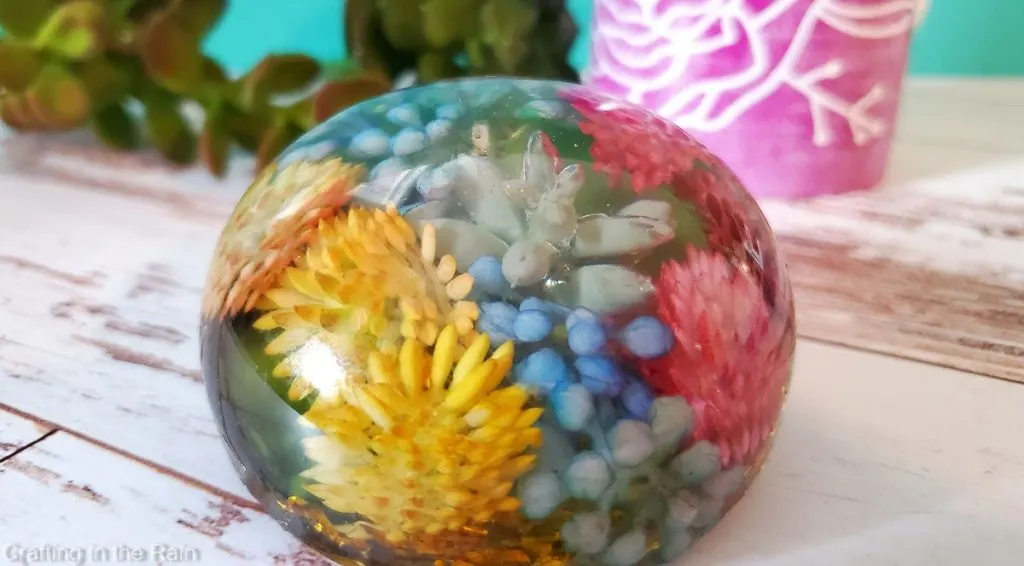
This succulent paperweight resin molds is one of the prettiest resin creations I’ve made! I shared it over on the Resin Crafts Blog a while back, so if you missed it there, here it is again.
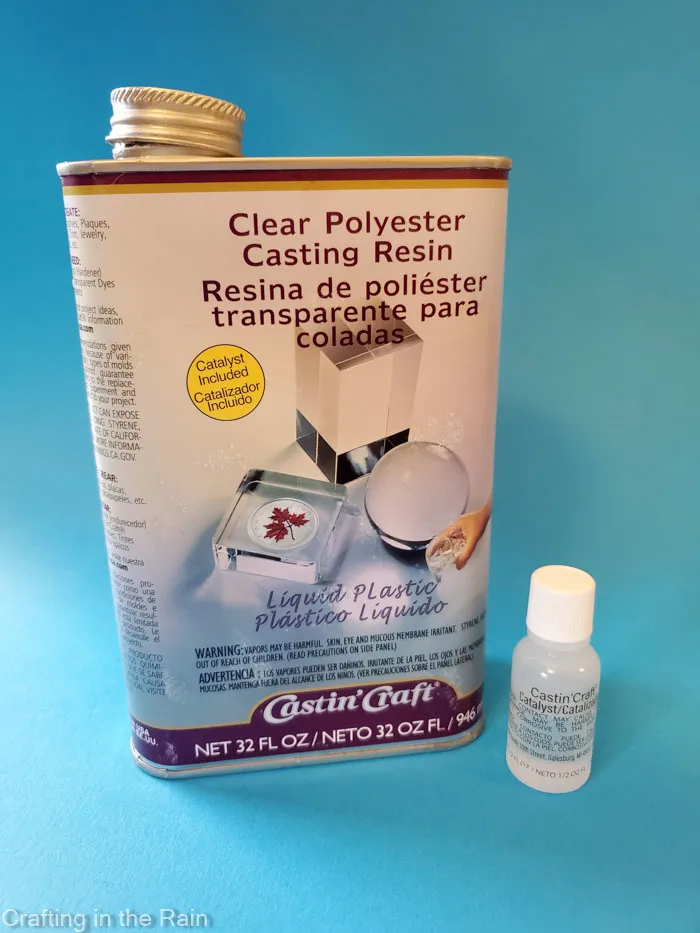
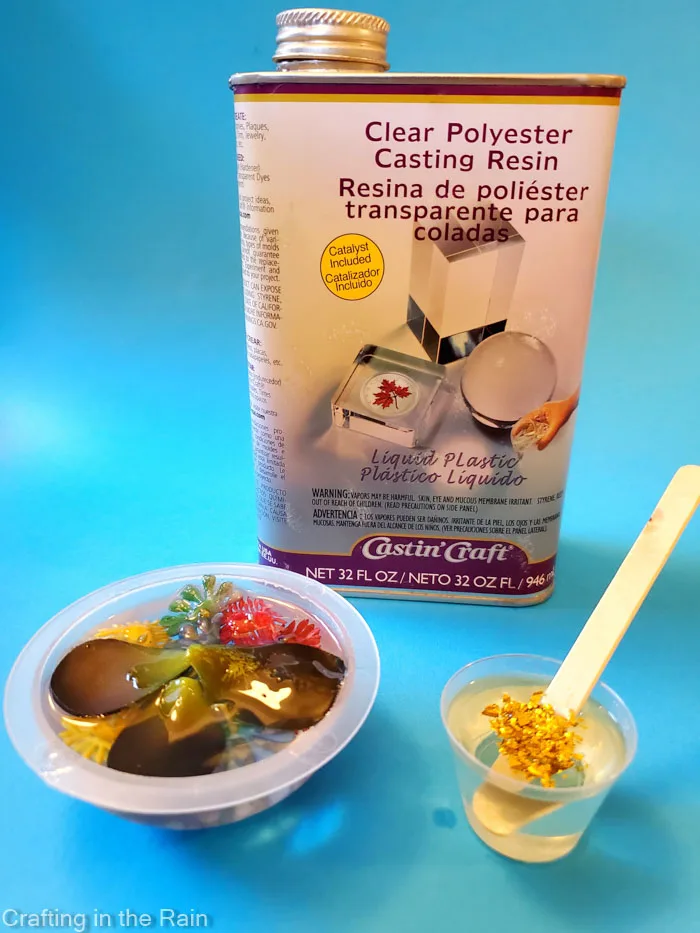
I used ETI Castin’ Craft Clear Polyester Casting Resin to make this crystal clear dome.

SUPPLIES FOR POLYESTER RESIN CASTING
Here’s what you’ll need to make your own dome resin casting.
- ETI Castin’ Crafts Clear Polyester Casting Resin
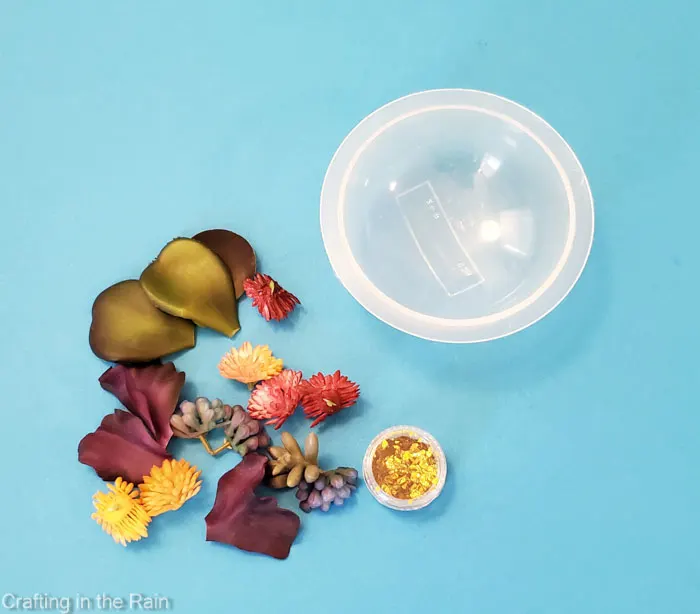
- Faux Succulents – look for ones with small leaves and pieces
- Dome Mold
- ETI Mold Release Spray
- Gold Flakes
- Mixing cups and stir sticks
- Gloves and glasses
Polyester resin is great for deep pours embedding items because the bubbles come out so easily and it cures so clear.
Read this post for more tips on how to remove bubbles from resin

Before starting any resin work, read all the instructions fully. Work in a well-ventilated space. This resin has a pretty strong acetone-like smell. Think of what you might encounter in a nail salon.
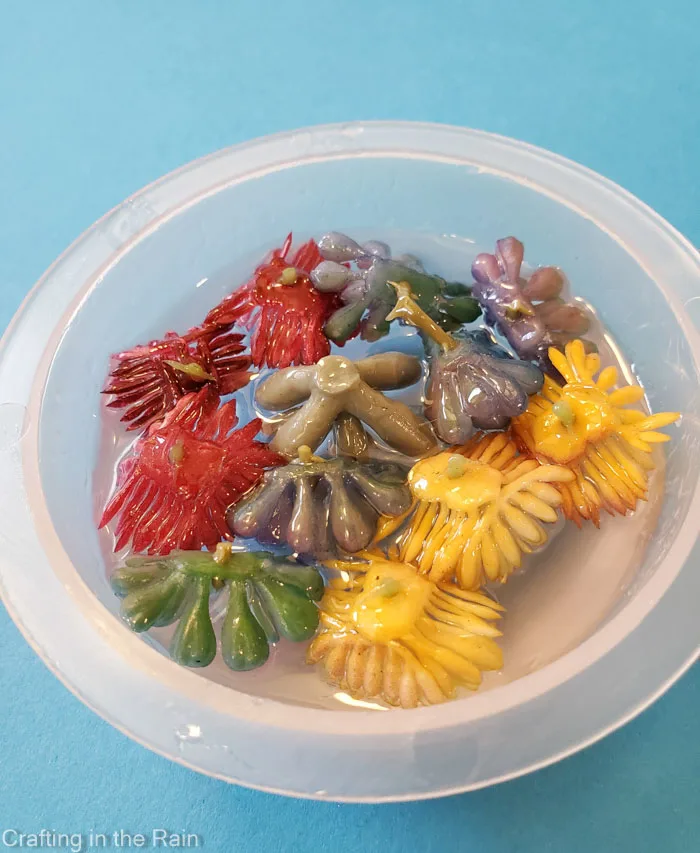
Prep the succulent pieces by trimming small pieces so they will fit in the mold. You can see I cut some single leaves as well. None of these had wire at the ends, so I just used scissors.

EMBED ITEMS IN POLYESTER RESIN
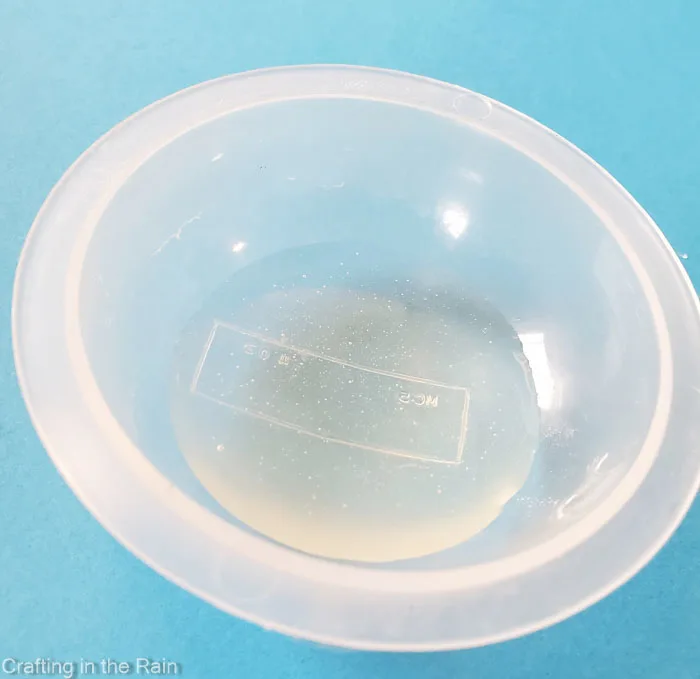
Spray Mold Release on the mold and let it dry.
Check the chart on the back of the can to see how much catalyst per ounce for each layer. Be ready to check in on the layers every 20 minutes or so.
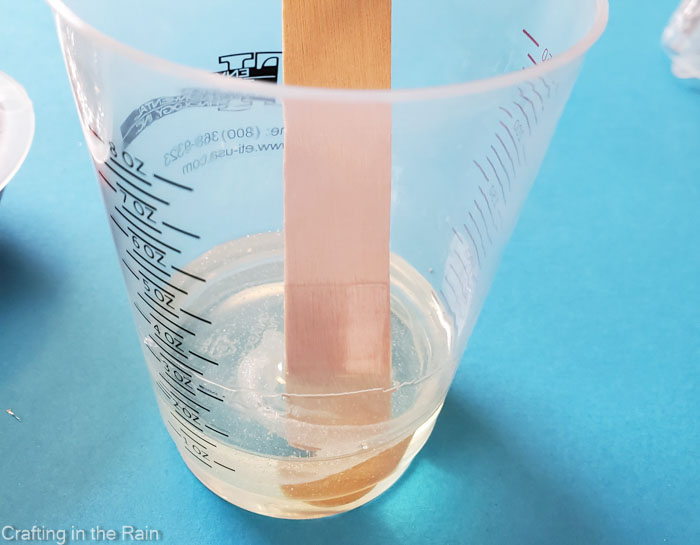

Wearing glasses and gloves, mix resin and catalyst for 60 seconds, scraping sides and bottom. Then pour in the first layer and let it gel.
Depending on the depth of the layer and the temperature of your workspace, this can take anywhere from 20 minutes to an hour or more. Check by gently touching the surface with a stir stick.
The first time I tried it, I found that if you wait too long, your objects will force air bubbles into the hardened resin. So set a timer as a reminder if you need to! (I will always need a timer.)

Position succulent pieces through the mold. Mix another layer of resin and pour at the edge of the mold so it slowly seeps around the succulents to try to minimize bubbles.

When the second layer gels, add a third layer – remembering to adjust the catalyst for each layer.
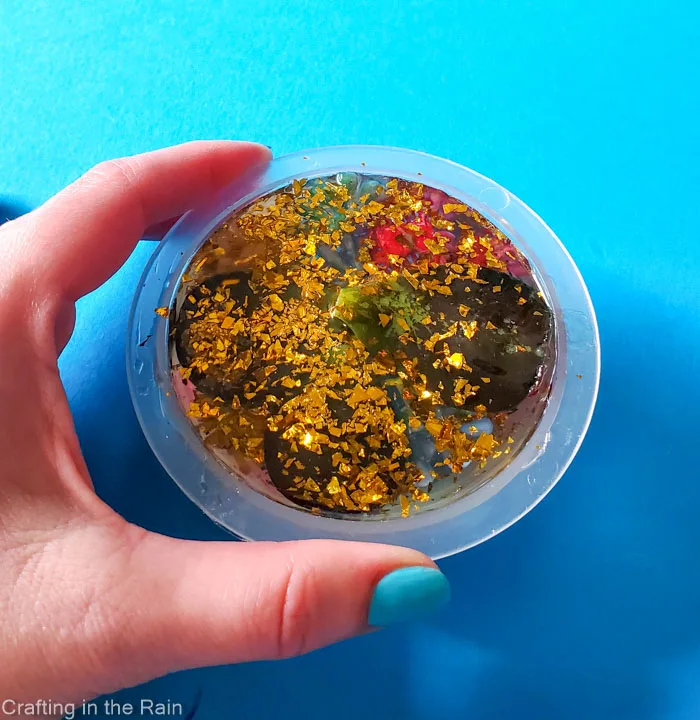
Mix glitter flakes in the last layer. This will be the bottom when the casting is demolded.

Let the resin cure completely. The final layer can take up to 2 days to finish curing. It will be solid and lose its smell.
To release the casting from the mold, squeeze the edges around the mold. Then turn it over to let it slide out.

This process can be used to embed and display insects, small toys, other cured resin pieces, treated flowers, shells, prepped photos and more.

What would you like to add to a mold like this? Have you made anything with Polyester Resin that I should try?