One of the most frustrating things with resin is having bubbles in your final project. So let’s talk about some different ways to remove bubbles from resin. You’ll enjoy the process more, and have more confidence in your creations!
Decrease Resin Bubbles with your Technique
Good prep is going to go a long way in reducing the number of bubbles you get in your resin before even pouring it on your surface or in your mold.
Stir slowly
When combining the resin and hardener, stir slowly. Check the product instructions and follow mixing times precisely.

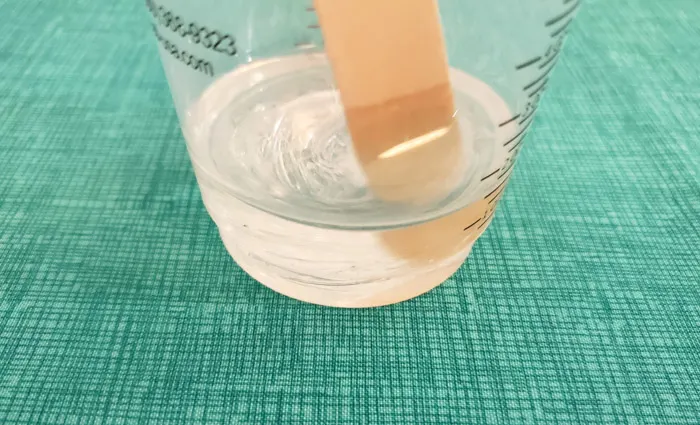
By stirring slowly, you will incorporate less air into the mixture and are more likely to get complete mixing as you scrape the bottom and sides.
Use a silicone stir stick
Since resin won’t stick to silicone, these stir sticks are reusable. With their smooth texture, they aren’t as likely to drag air into the resin as wooden stir sticks. Try one on a couple of projects and see if you notice a difference!
Wait a couple minutes after stirring
Even with the smoothest, slowest stirring, some bubbles will still get in the resin. Let the resin rest in the cup for a couple of minutes to allow some of those bubbles to rise to the top.
Then you can blow or exhale across the top of the cup and pop some of those bubbles before pouring.
Rotate mold to coat with resin before pouring to fill
When pouring a mold, add a small amount of resin first and move the mold around to help resin get into the edges and corners. If there are any bubbles in this layer, blow on them to pop before filling the rest of the mold.
Pour resin slowly
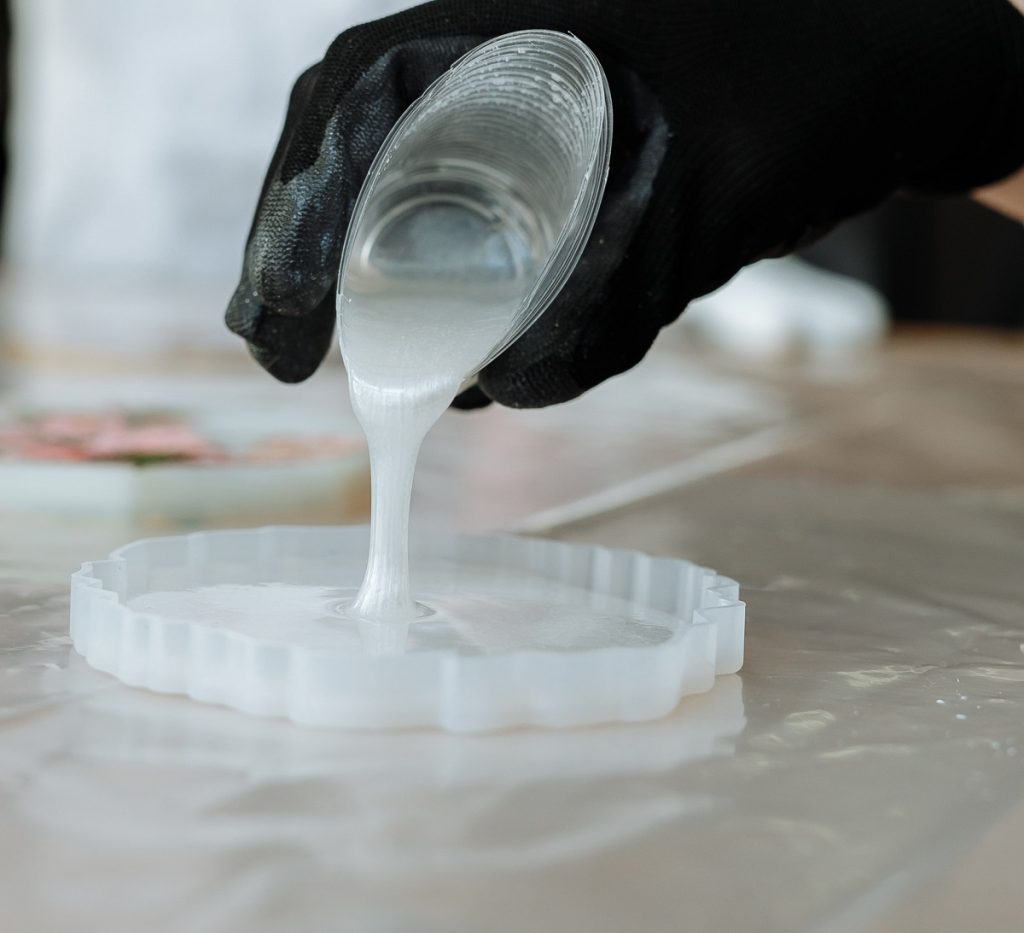

A slow, consistent pour into the mold will be less likely to pull in a lot of air. And any air that doesn’t come in, doesn’t have to come out.
Remove resin bubbles With heat
Keep temperature in mind during the whole process of working with resin. It prefers warmer environments to cooler.
Warm work space
If your craft room or garage or whatever space you are working in is on the cool side, do what you can to warm it up. Check the specs of the resin you are working with, but most recommend a room temperature of about 70-75 degrees F. If your temperature is above 85, you may find that you have less time to work with your resin or mix in colors before it starts getting sticky.
Warm bottles
Before measuring and mixing resin, set the bottles in warm (not hot) water for a few minutes. This will improve the mixing ability of the resin and hardener and will let bubbles escape more easily.
Heat gun – not hair dryer
A heat gun passed over the surface of resin is very effective at bringing bubbles to the surface and helping them pop.
The reason to not use a hair dryer is that the force of the air is just too strong. You’re very likely to blow dust and lint onto the surface of your resin. You may even push resin over the edge of the mold causing a spill.
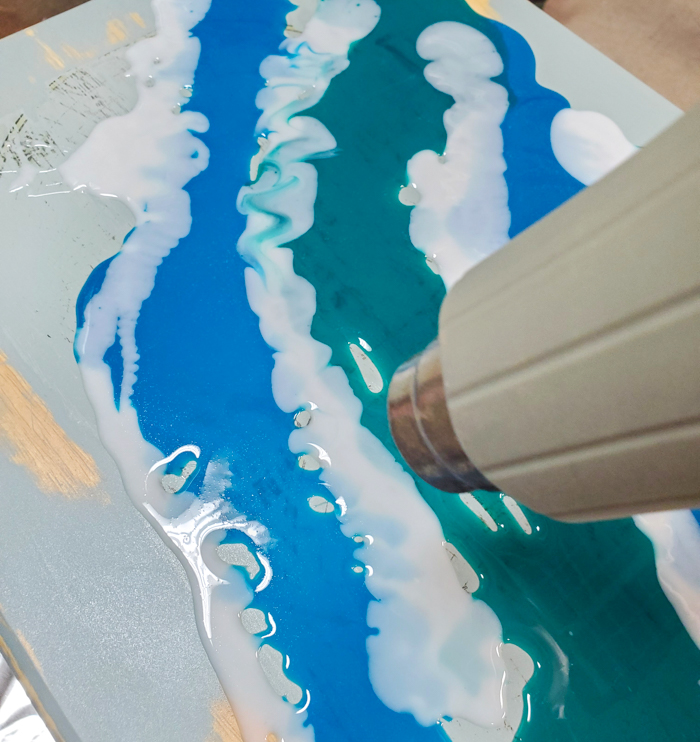

Pass the heat gun about 2 inches above the surface of the resin. Don’t stay in one spot or the resin could overheat, changing its texture or ability to cure. Watch if more bubbles appear and repeat.
Kitchen torch

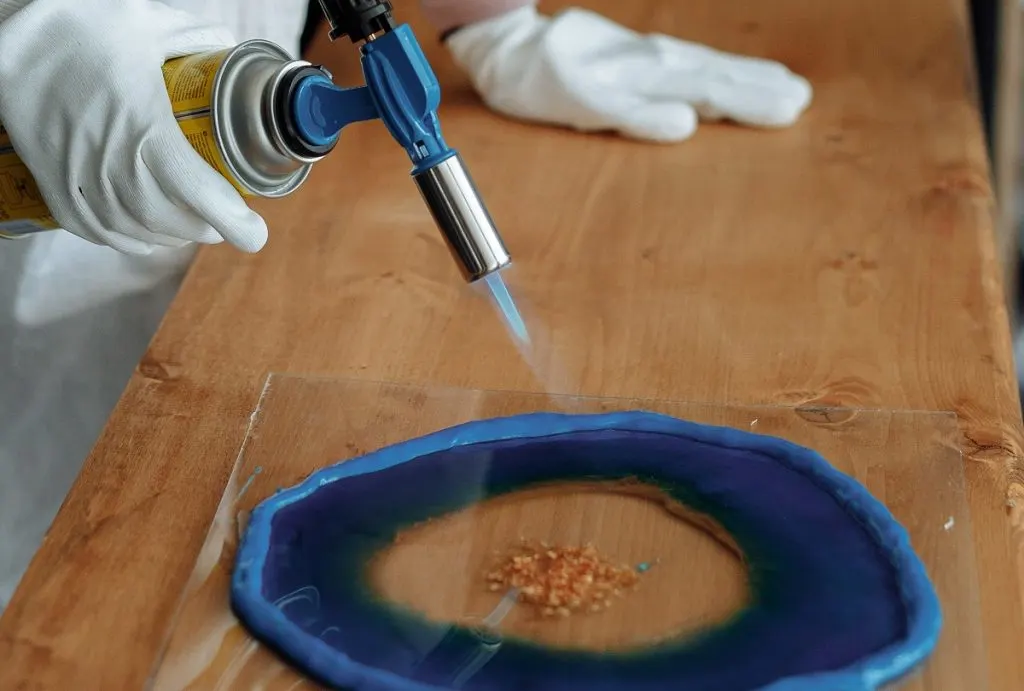
Many people like the precision of a small kitchen torch (think of what you would use to caramelize creme brulee.) This is also an effective way to remove bubbles, with the same caution as the heat gun – don’t overheat any areas and don’t get too close to the resin surface.
Also, take extra care that you don’t melt your molds at the edges.
Remove resin bubbles With Tools
Toothpick to drag out bubble
Sometimes, even with all the above steps, you may find there is a particularly stubborn bubble that is stuck to the side or corner of a mold. These can often be tackled with a toothpick or straight pin or something similar.
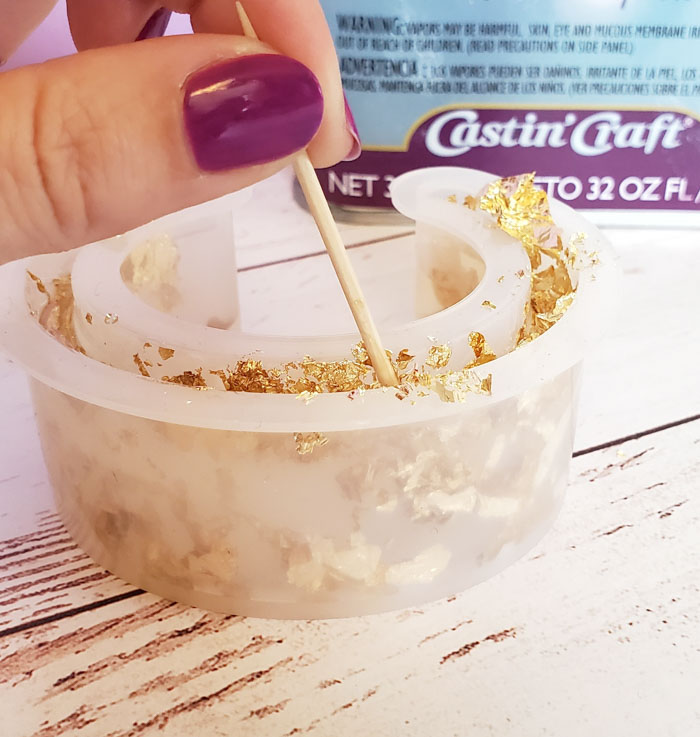
See if you can catch it with the toothpick and drag it up to the top to pop, or even remove the bit of resin that has the bubble in it.
Pressure pot
A final option, if you are looking for super crystal clear results, and especially in deeper pours, is to use a pressure pot. There are places to buy them and instructions various places online.
After pouring, the mold is placed into a pot and sealed with its pressurized lid. The pressure is then raised inside the pot, causing any bubbles in the resin to become so small that they disappear. The pressure is released when the resin has reached its cure time.
Summary
So there you have it, a list of 11 ways and tips to remove bubbles from resin. I hope this improves the quality of all your future pours.
Did I leave anything out that you’d like to add? Which of these methods seems to work the best for you!
SHOP ON THE ETI SITE
use code CRAFTINGRAIN to get 10% off your order
- EasyCast (for knobs, jewelry, charms, coasters, etc.)
- Pour on Lite (high gloss coating, great for tables, coatings, etc)
- Jewelry Resin (specifically for making jewelry)
- Polyester Resin (Embed objects like insects, coins, shells, etc in clear plastic)
- Mold Builder (for creating silicone molds of objects to then fill with resin)
- Resin Powder (for coloring)
- Mixing cups (large and small)
- Molds
- Mold Release Conditioner
- Opaque Pigments and Transparent Dyes
use code CRAFTINGRAIN to get 10% off your order
SHOP ON AMAZON
- EasyCast (for knobs, jewelry, charms, coasters, etc.)
- Pour on Lite (high gloss coating, great for tables, coatings, etc)
- Jewelry Resin (specifically for making jewelry)
- Polyester Resin (Embed objects like insects, coins, shells, etc in clear plastic)
- Mold Builder (for creating silicone molds of objects to then fill with resin)
- Mixing cups (large and small)
- Stir sticks
- Silicone candy mold (no food use after this)
- Other molds (make trays, coasters, pendants, accessories, etc)
- Mold Release Conditioner
- Opaque Pigments and Transparent Dyes
- Resin Powder (mica powder for adding color)
- Gloves and eyewear