I recently learned about Cricut’s partnership with The Birthday Party Project and knew I wanted to help out. I decided on a mermaid theme, and as I browsed images in Design Space, all these ideas came together on how to make a mermaid birthday with Cricut.

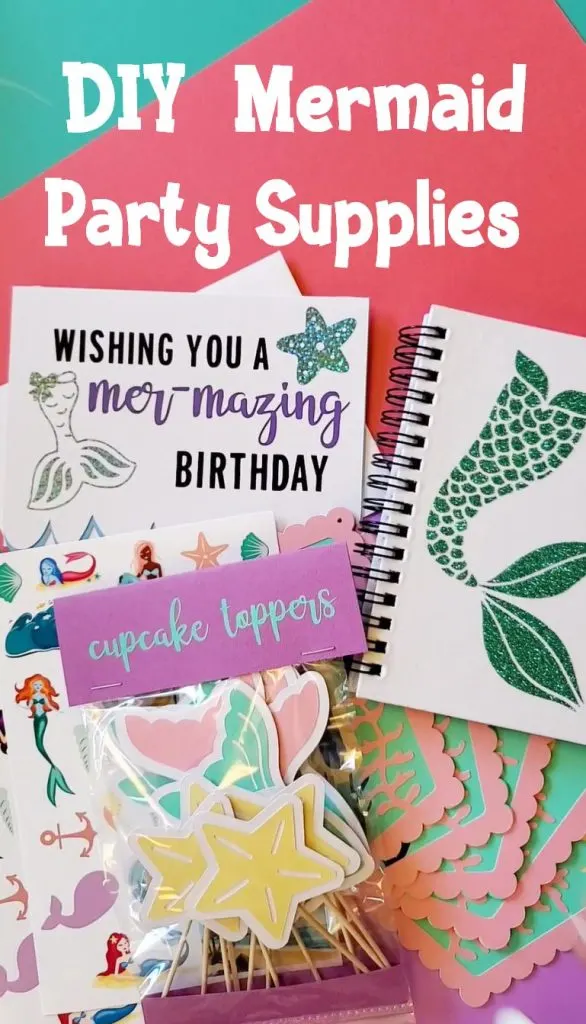
In each section below, I will show you how I used my Cricut to make mermaid party supplies. Get the whole designed project here.
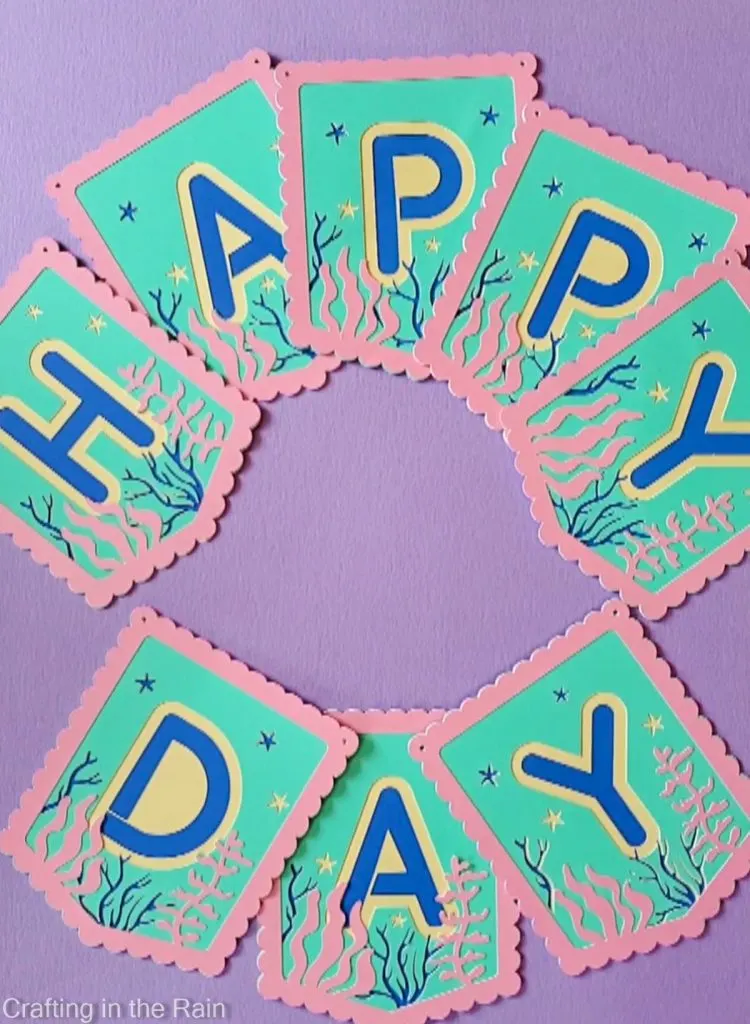
Mermaid Banner
A birthday banner makes a great party decoration because it makes a fun backdrop for food or photos. And depending on how you space out the letters on the string, it can fill more or less space as needed.

Banner supplies
- Cricut Maker 3
- Smart Paper Sticker Cardstock in Pastel (yellow, pink, aqua)
- Cricut Cardstock in Navy (for the bottom layer – you don’t want this one to have adhesive on it!)
- Weeding hook
- 13 inch paper trimmer
- String
- Design Space set: Mermaid Banner (choose the letters and numbers you want in your banner)
I decided to make this banner say “Happy Day” for 2 reasons. 1) It can be reused for other special occasions other than just a birthday and 2) The project could be made with a single pack of Cricut Smart Paper Sticker Cardstock.
The Cricut Maker 3 (or Explore 3) can cut this Smart Cardstock without a mat. Be sure to check the directional arrows on the backside of the liner paper.
This will make sure the paper fits perfectly going through the machine.

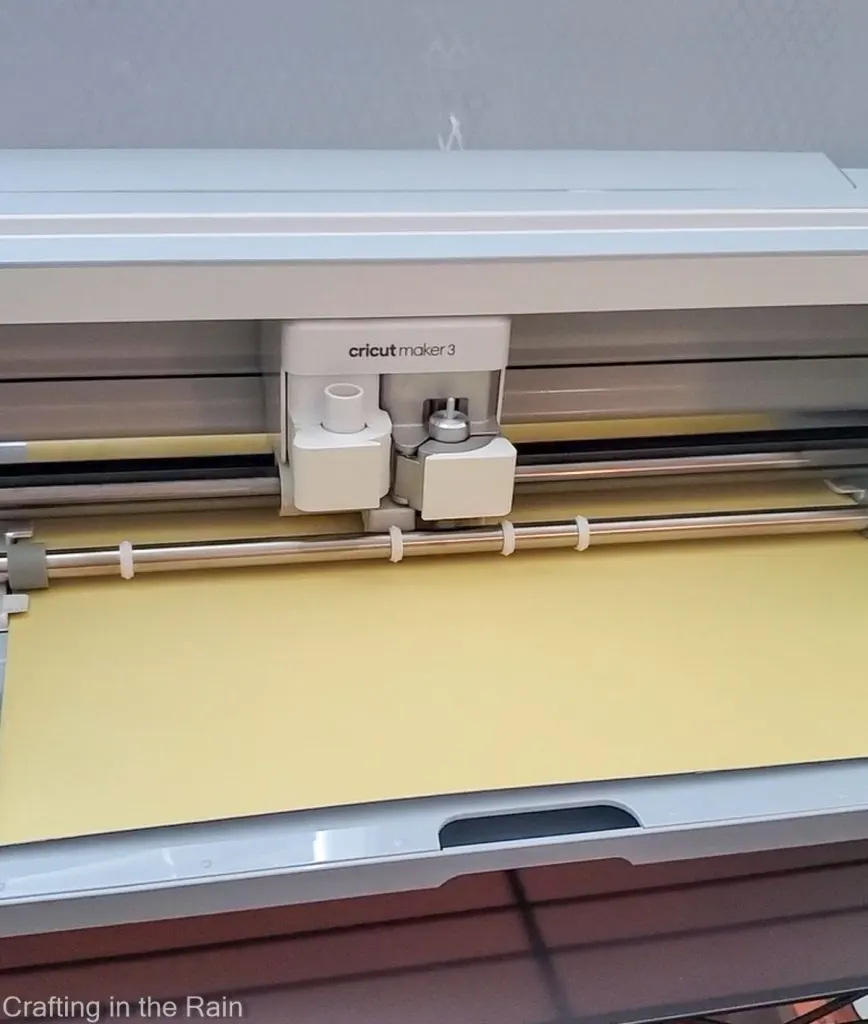
Using the Cricut 13 inch paper trimmer, cut off the extra cardstock – this will be used to make the cupcake toppers later.
Since the cardstock is sticky on the back, I treated the pieces a bit like vinyl and did some weeding. Flip the paper over and peel the backing away from the cardstock so it doesn’t bend.
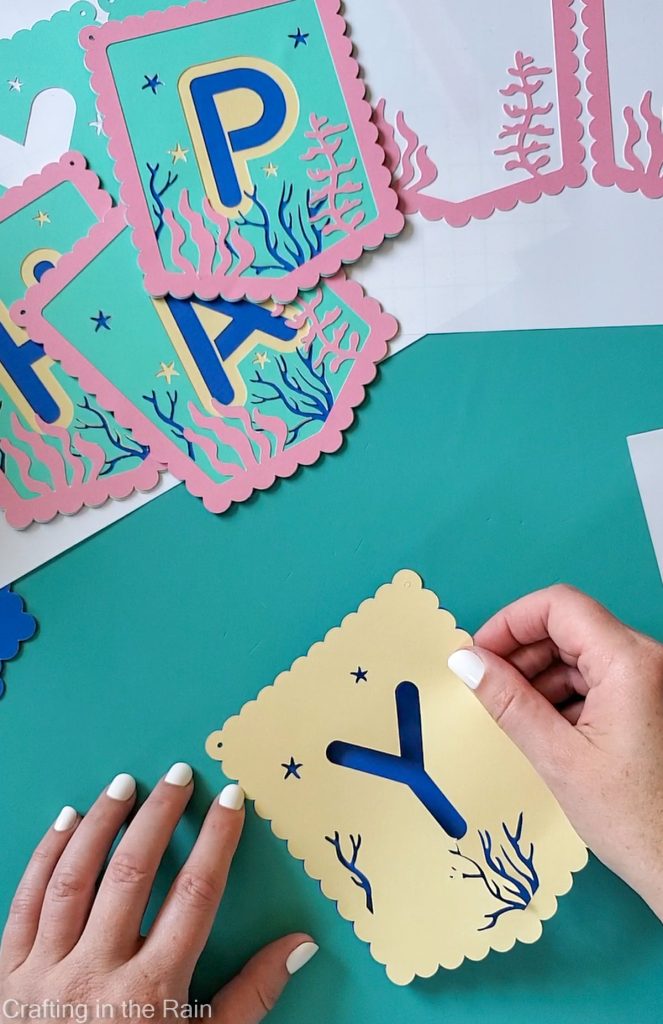

Then it was super easy to assemble the banner with no glue! There are holes already cut in the banner pieces, so just thread some string through to hang it. If it’s a little difficult to get the string in, try using a tapestry needle or something.
BONUS TIP: I like to have Design Space open when I assemble a layered project like this so that I make sure I’m laying the colors down in the right order.
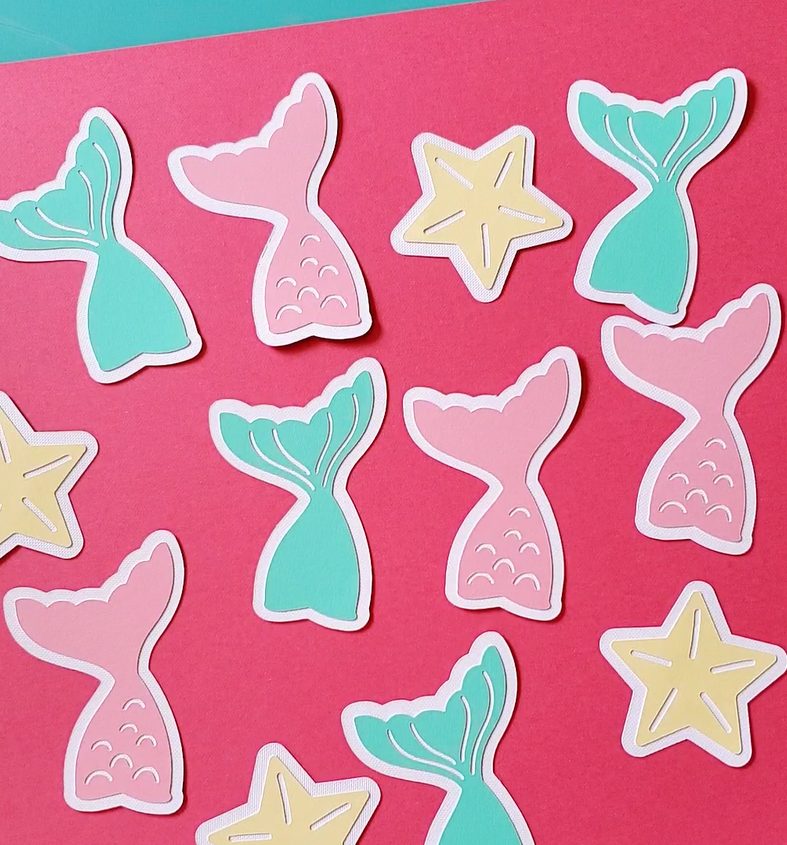
Mermaid Cupcake Toppers
Cupcake toppers are a small decoration that can be stuck into cupcakes and make them automatically themed for the party. A good standard size for cupcake toppers is about 2 inches.

Cupcake Topper Supplies:
- Cricut Maker 3
- Cricut Smart Paper Sticker Cardstock in Pastel (the scraps from the banner cuts)
- White Cardstock
- Toothpicks
- Hot glue
- Design Space Image: Mermaid Tails with Seashells #M28497E4A
I used the cut off pieces from the banner cardstock for these cupcake toppers so the colors would match. The smaller pieces do need to go on a mat to get cut on the Cricut.

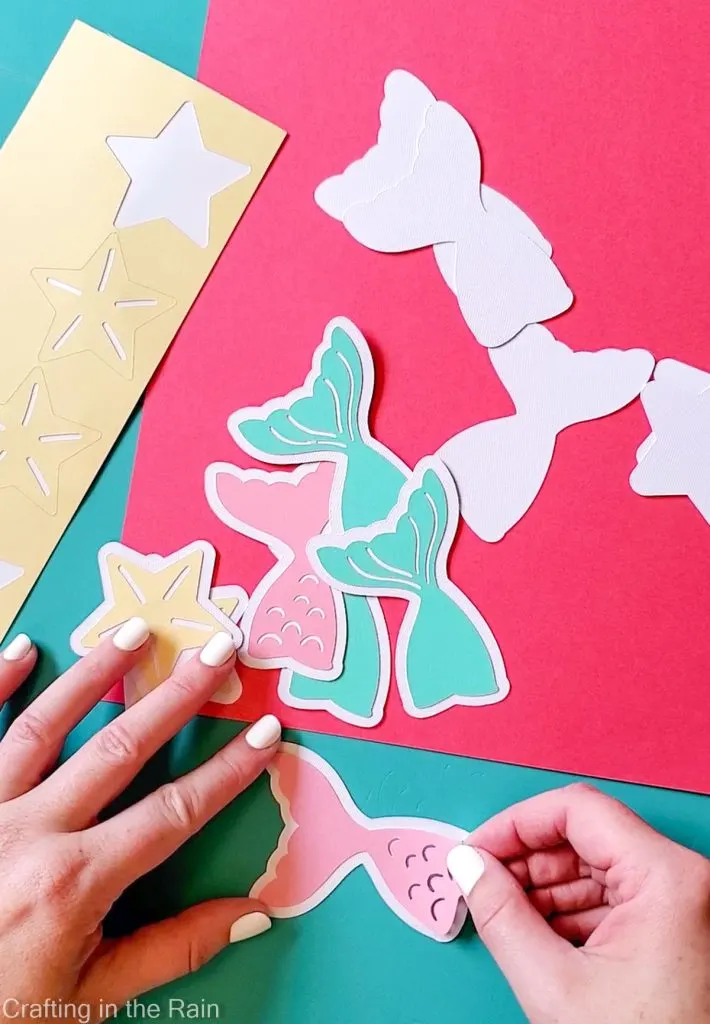
The background pieces are cut from white and each shape just gets placed on top. It fills in the cuts in the design on the top layer and gives them a bit more stability.
To make cupcake toppers like this with different shapes, give the image an offset and that will become the background piece.
A dab of hot glue on the back secures a toothpick making each shape a topper.
Make a cupcake topper bag
I also made cupcake topper packaging with a clear plastic bag I had.
To prevent the toothpicks from piercing holes in the bottom of the bag, I folded a piece of cardstock in half and cut it to just fit inside the bottom of the bag. Then each toothpick end rests in that fold and the bag is protected.

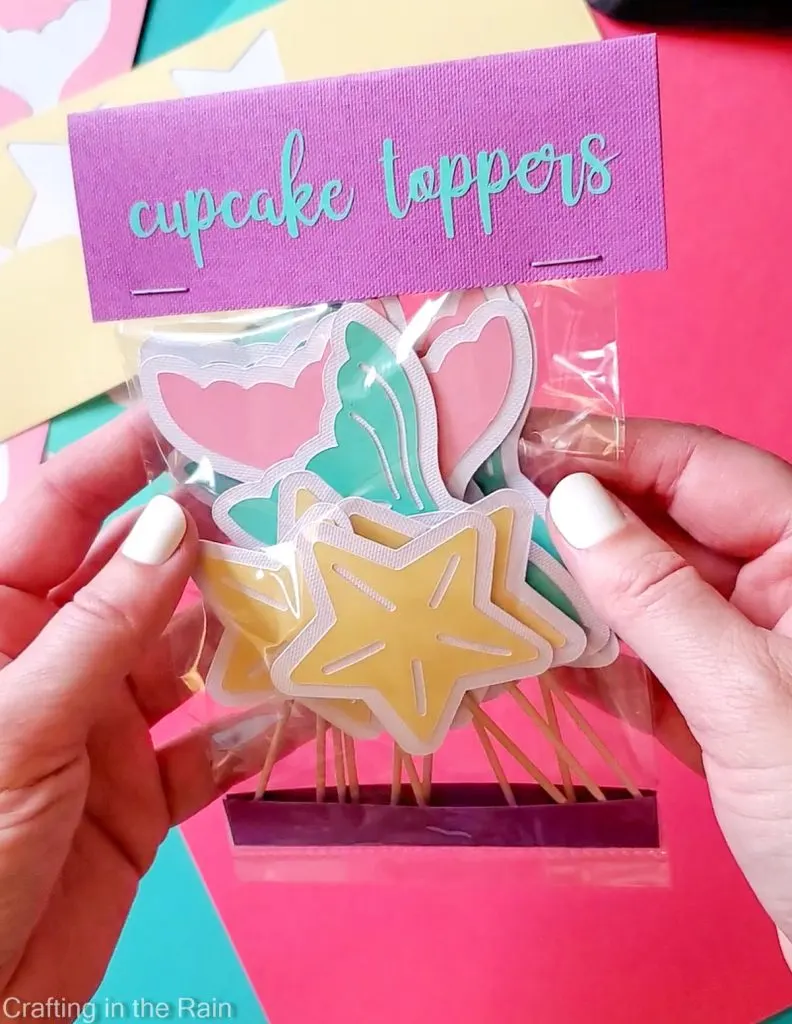
I made a slightly larger cardstock fold for the top of the bag. Two staples hold the label to the top of the bag, and I added adhesive vinyl to say “cupcake toppers.”
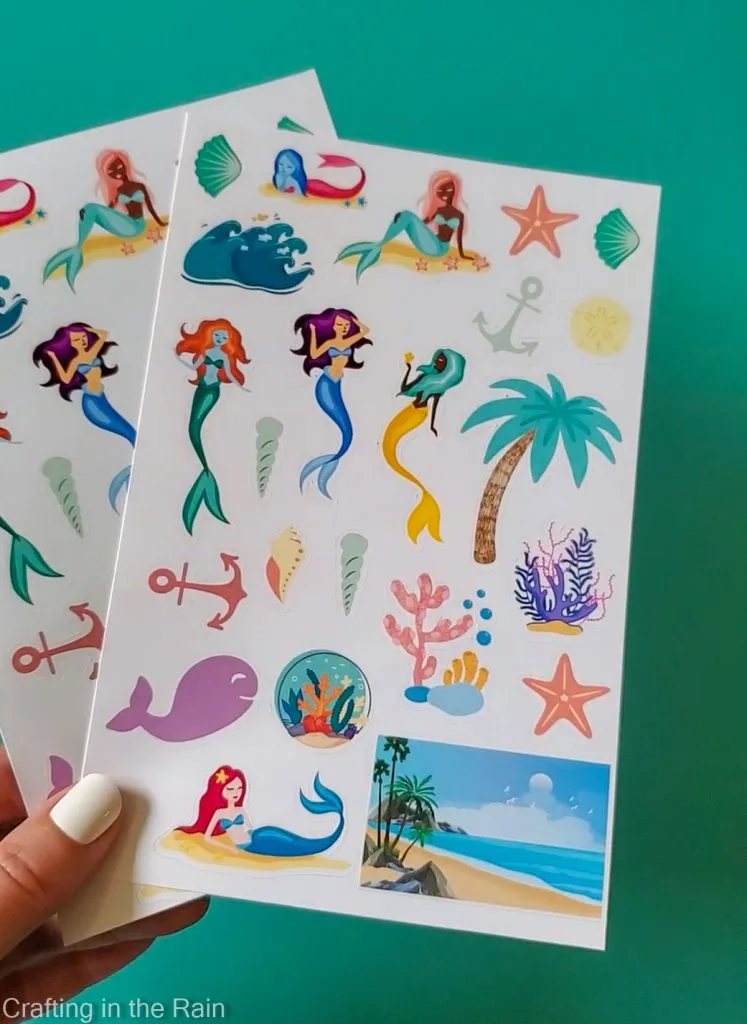
Mermaid Stickers
To make these exact stickers, your best bet is to open the whole mermaid project that I designed and use the stickers I made. But each of these images came from Design Space already ready to print, or it was a layered cut that I turned into a sticker.

Sticker Supplies
- Cricut Maker 3
- Glossy Sticker Paper
- Design Space: Several images, each given an offset in white and “flattened” to become Print then Cut
The designed file will cut two sets of stickers on one piece of sticker paper. For these gloss sheets, I used my printer settings and changed the paper type to “gloss.”

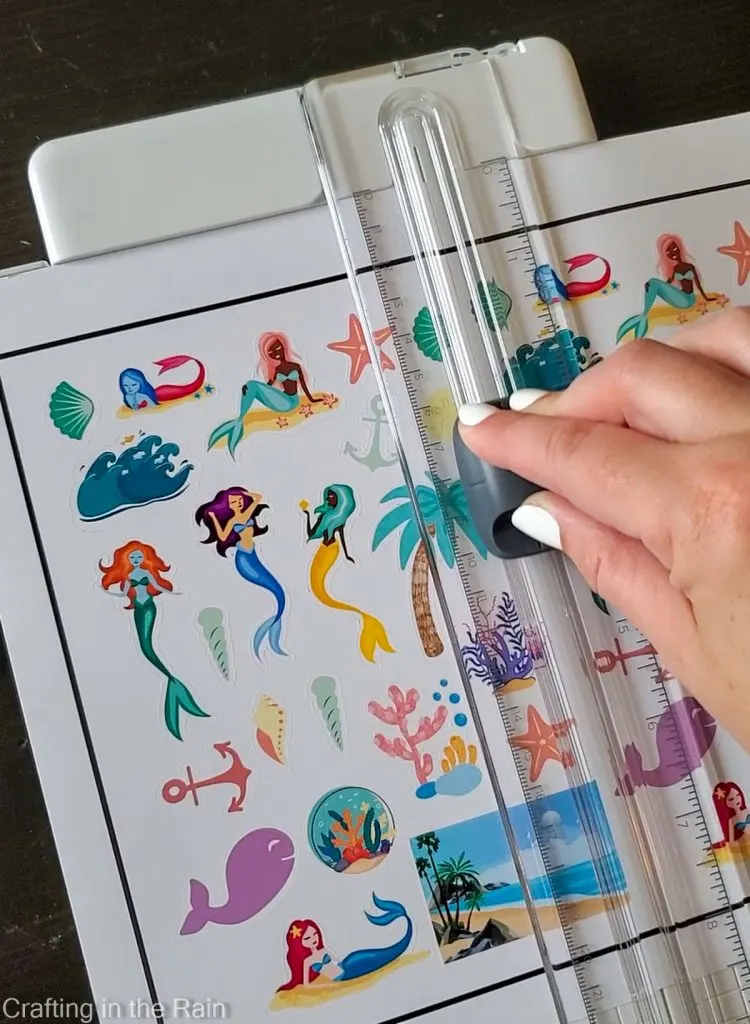
After printing, send to the Cricut to cut. Then trim away the print box and cut in half to make two sticker sheets.
Read this post for more info on making Cricut stickers.
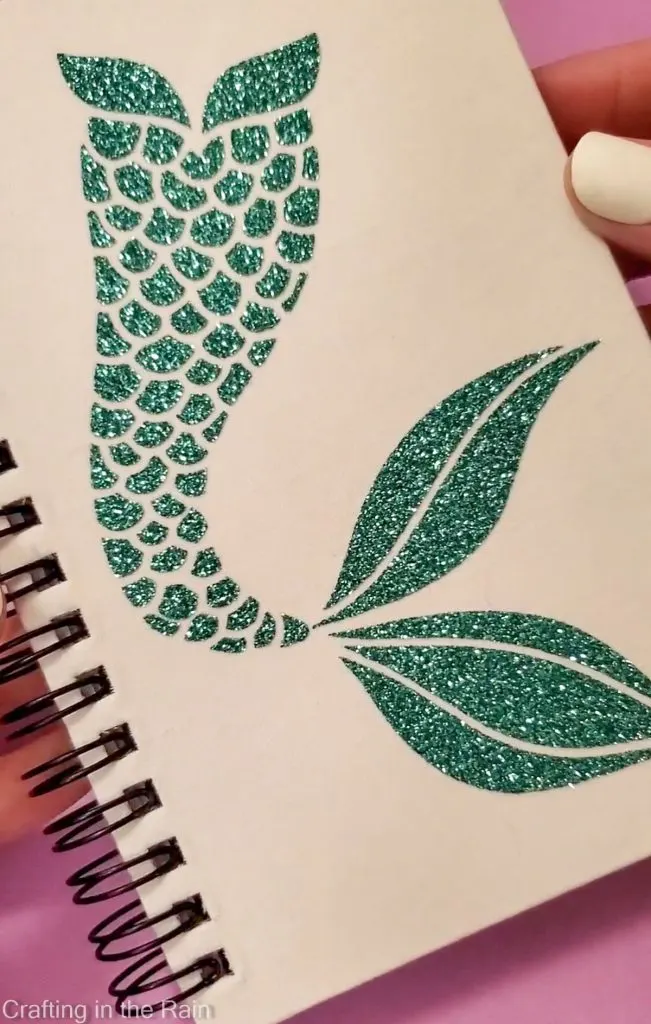
Mermaid Notebook Cover
This was the easiest project of the mermaid party supplies. A notebook like this could be part of a gift, or make several for party favors.

Mermaid Notebook Supplies:
- Cricut Maker 3
- Glitter Iron-on Vinyl – Aqua
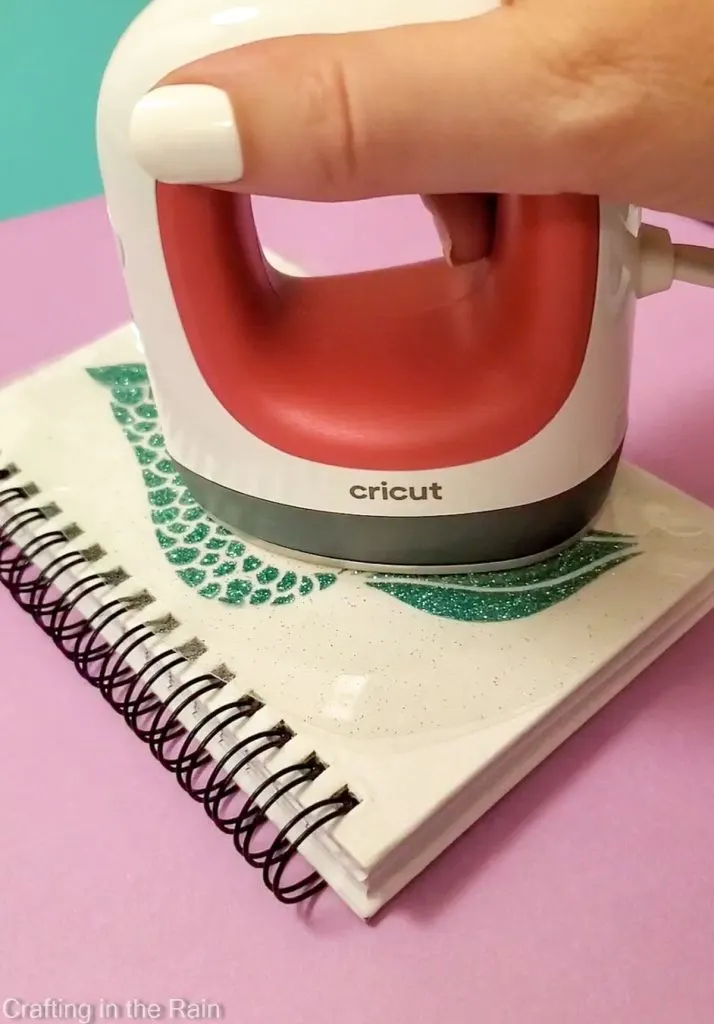
- EasyPress Mini
- Canvas cover notebook
- Design Space Image: Mermaid Tails Flowers and Hearts #M2612E55C
This important thing is to find a notebook that can get hot on the cover. These came from Oriental Trading company. The cover has a bit of a fabric/fuzzy texture so iron-on works much better than adhesive.
See more ideas for decorating blank notebooks here
Cut the mermaid tail from iron-on vinyl and weed away the extra vinyl.
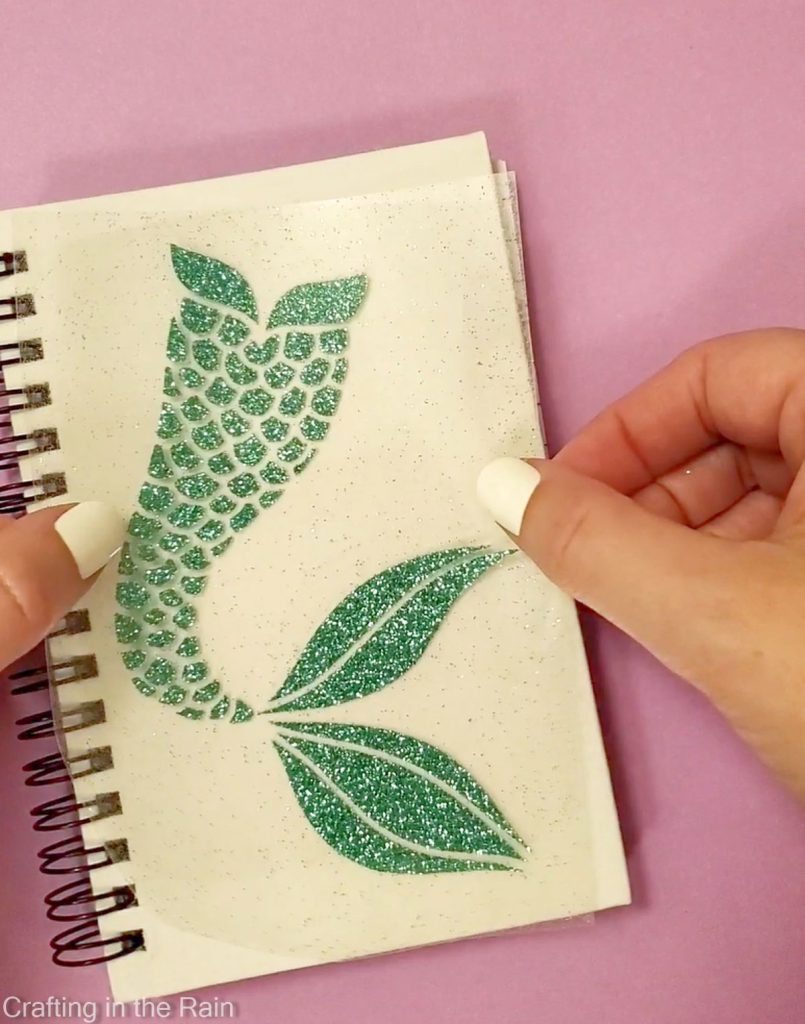

Use the EasyPress Mini set at level 2 and apply the iron-on for about 30 seconds with some pressure.

Peel away the carrier sheet. Combine with a collection of colorful pens, or even these mermaid pens .
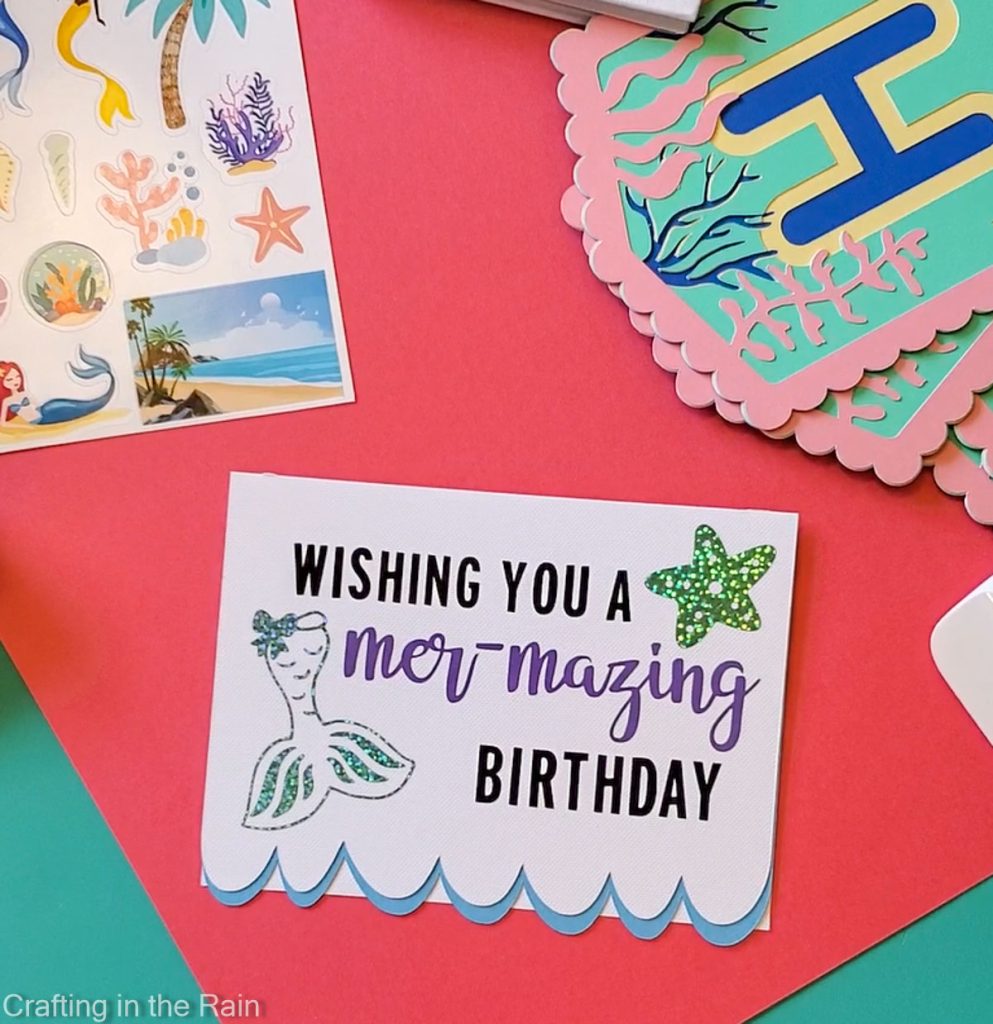
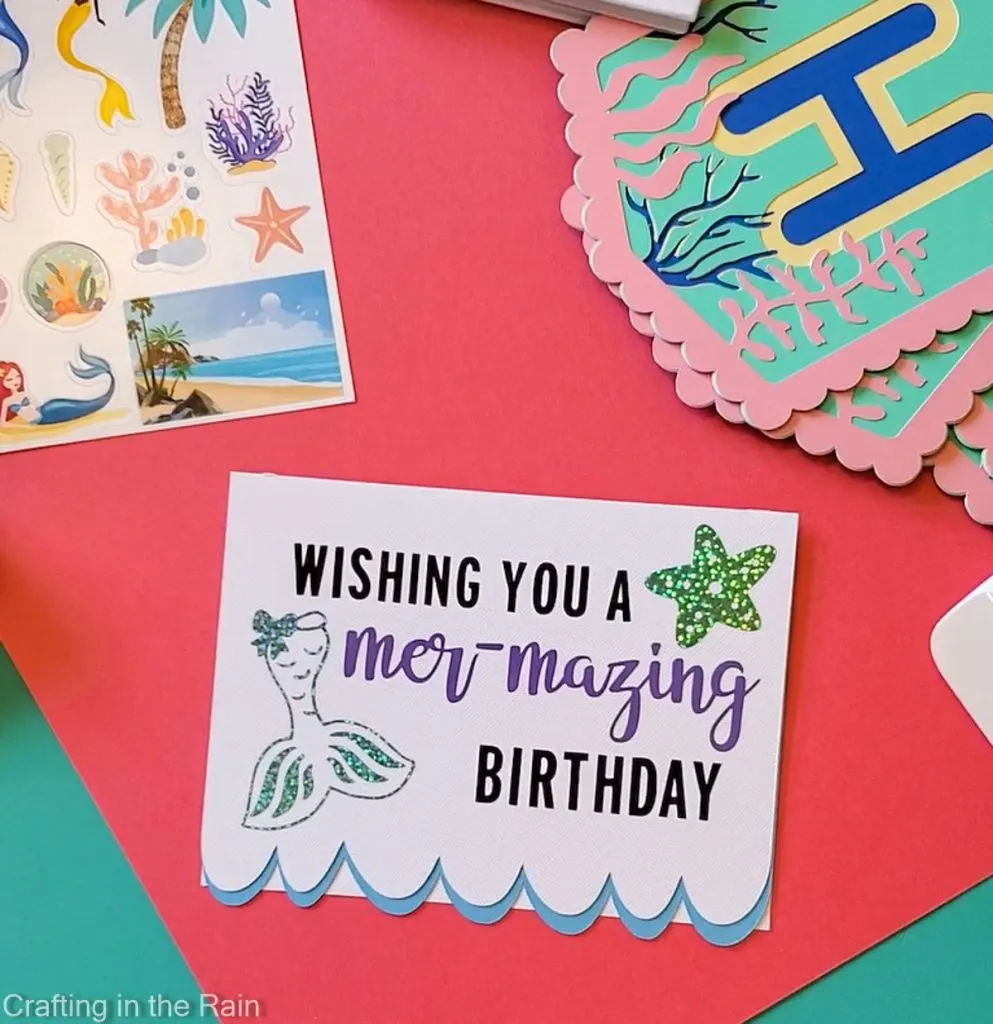
Mermazing Birthday Card
To finish the mermaid birthday set, I made a card with a scalloped edge on the bottom that reminded me of waves. The card phrase says “Wishing you a mer-mazing birthday.”
Mermaid Card Supplies:
- Cricut Maker 3
- White Cardstock
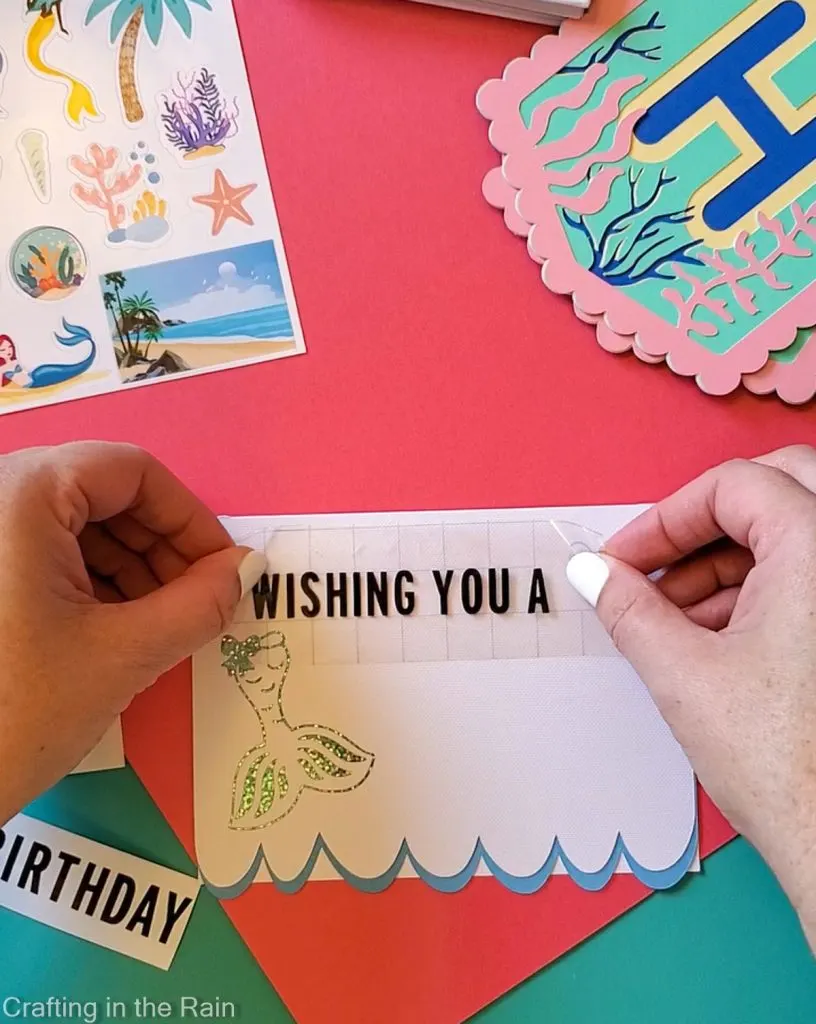
- Permanent vinyl: black and holographic sparkle – whispering blue
- Weeding hook
- Transfer tape
All the decorations on this card are adhesive vinyl. I especially love using vinyl for lettering on cards because it’s so much easier than placing and gluing individual letters.

Plus, the holographic blue vinyl had to make an appearance in my mermaid supplies somehow!
So if you find yourself in need of DIY mermaid party supplies, I hope this post has given you some good ideas.
And if you want to get involved with The Birthday Party Project, they would love to have you share your creative talents!