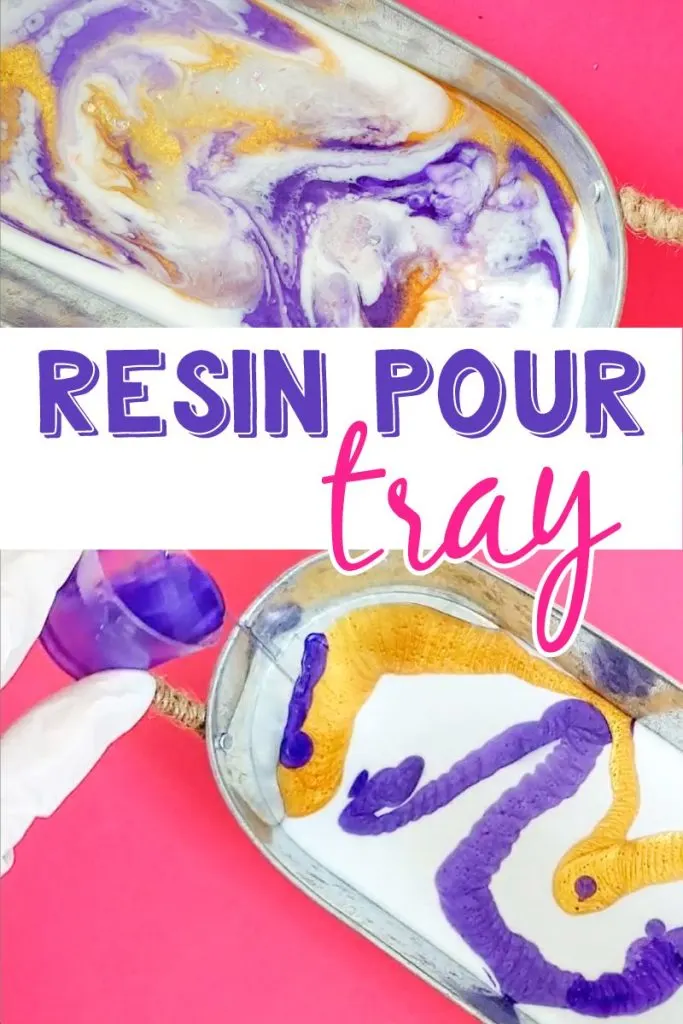
Custom DIY resin trays make great gifts, decor, and serving pieces. Learn how to make one in this tutorial.

Resin tray for beginners
A resin tray is a great beginner project. You are forced to give up any perfectionism because you don’t know quite how the resin colors will move together. The resin coating stays in the tray so you don’t have worry about taking it out of a mold.
A good rule of thumb is to start with white and 2 or 3 other colors. More colors may be harder to work with at first.
Supplies for a resin pour tray
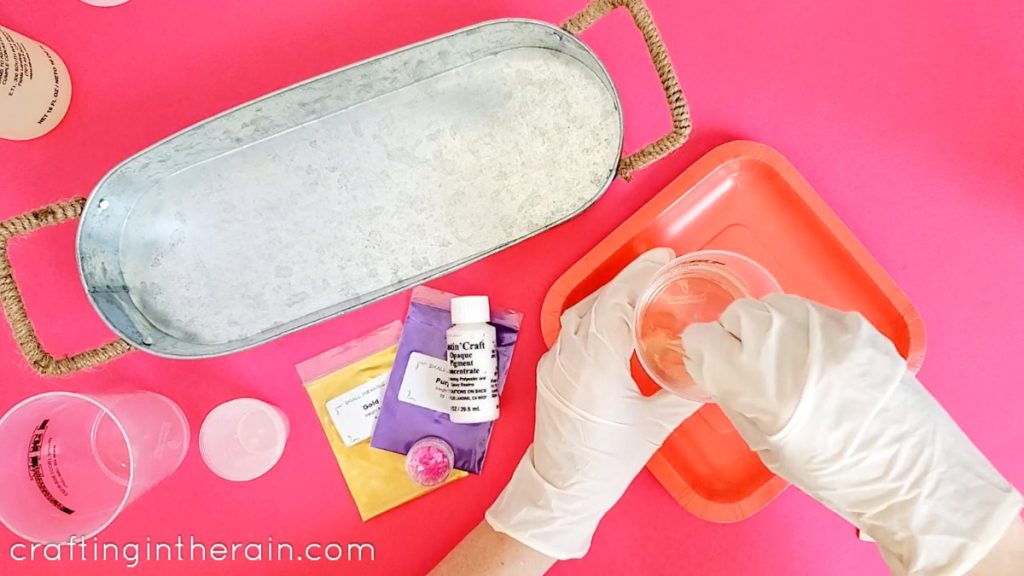
- Tray – There are different sizes, shapes, and materials options at craft stores, home stores, and even Amazon. Feel free to experiment with smaller-sized trays as you learn the process. Larger trays obviously require more resin.
- I chose a metal tray. Other good options are acrylic and wood. Avoid flimsy, bendable plastic. You can also buy a resin tray mold made from silicone. You would pour the resin into the mold and release it after it cures. In this project, the resin stays in the already existing tray.
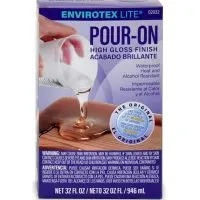
- Resin – What kind of resin to use for a tray? In this example, when coating the bottom of an existing tray, Envirotex Lite Pour-on works perfectly. If using a resin tray mold, use ETI EasyCast.
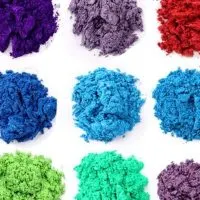
- Mica powder – It colors the resin beautifully and creates a bit of shimmer in addition to being an opaque color.
- Opaque or Transparent Dye – This is what I use for making the white resin. It helps with the swirl and makes the colors stand out really nicely. I’ve also seen really beautiful versions with black as the main color – so like I said, experiment!
- Glitter flakes – There are a couple of different ways to use these. You can mix them into a small amount of resin and drizzle at the end, like I did. You can also hand place or sprinkle on a few places on the as the last step. After the resin has cured, top with another layer of clear resin to seal it all in and smooth the top.
- Mixing cups and stir sticks – Have enough for each different color you’re mixing.
- Heat gun – This is used to remove air bubbles and spread the resin colors around.
- In addition to those items, you’ll want disposable gloves, eye protection, and paper or plastic to protect your work surface.
When shopping at ETI-USA.com, use the code CRAFTINGRAIN10 to get 10% off your first order!
Making a resin pour tray
Start by figuring out the amount of resin needed to cover the bottom of the tray. Each tray shape and size will be different. One way is to pour water into the tray then measure how many ounces it is. Mix up a little more resin than this amount.
Make sure the tray is completely dry before continuing. A wooden tray may need a couple of days to evaporate any absorbed moisture and should be sprayed with sealer to prevent bubbles from rising through the resin.
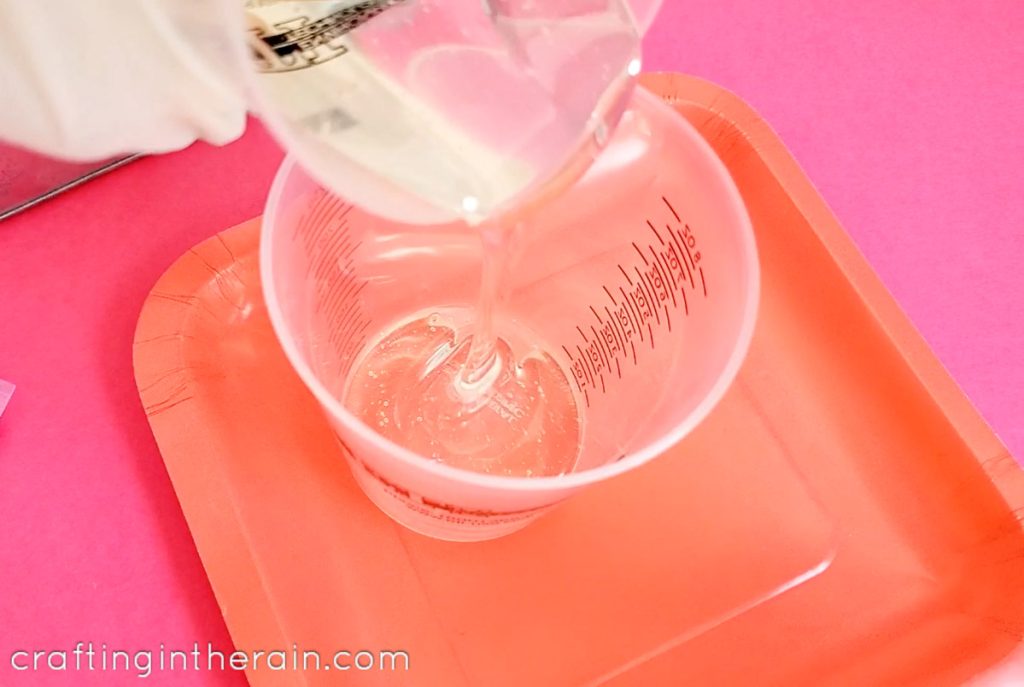
Prepare all the supplies and pour equal amounts of resin and hardener into a large mixing cup. Stir for 2 minutes.

Then pour into a clean cup and mix another minute. This process helps ensure that the resin is completely mixed and will cure without sticky parts.

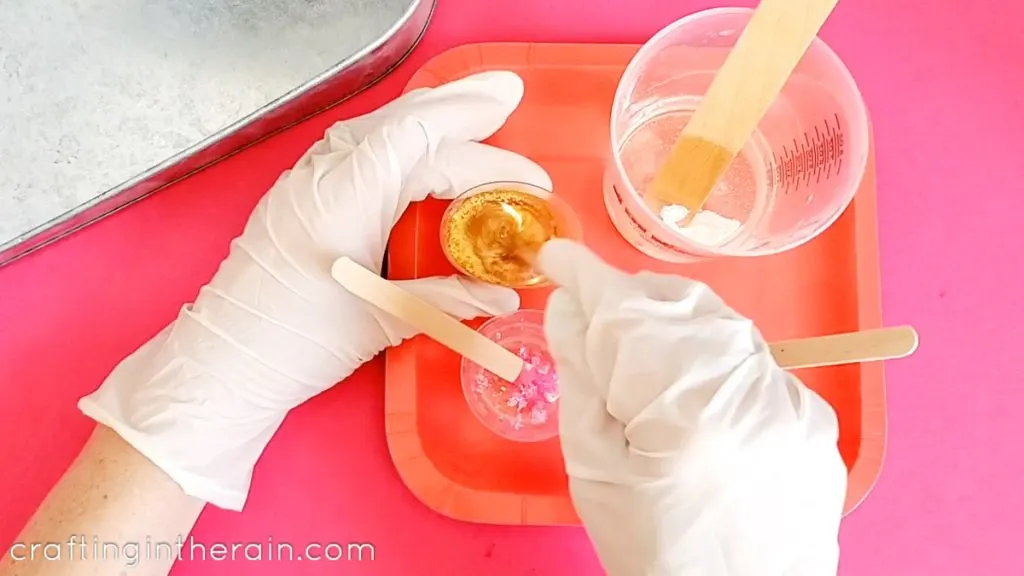
Pour small amounts to cups for mica and glitter. Add and stir in colorants.

Making resin swirl in a tray
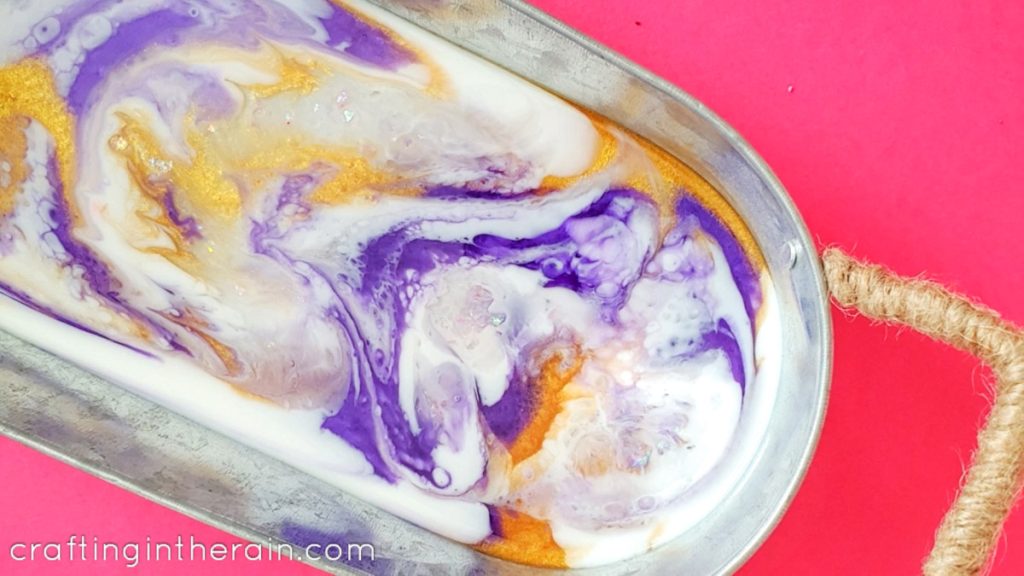
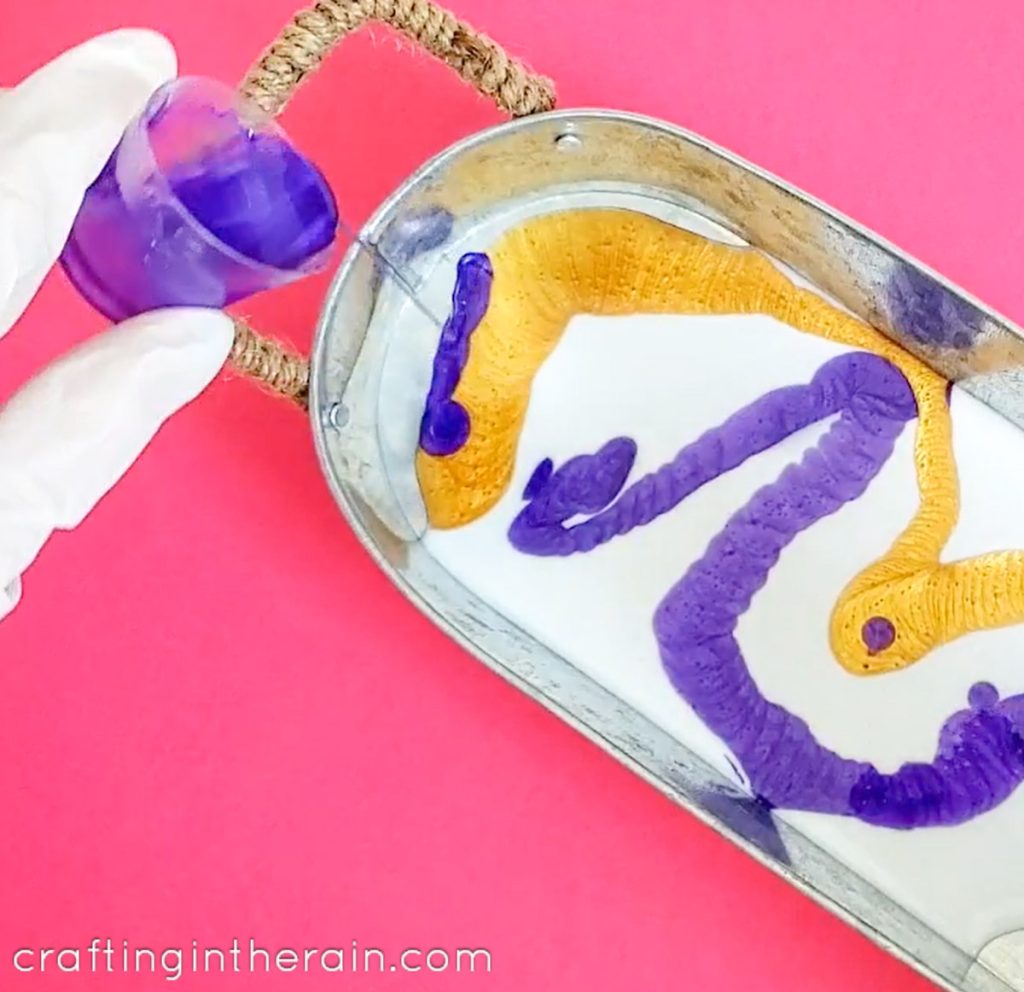
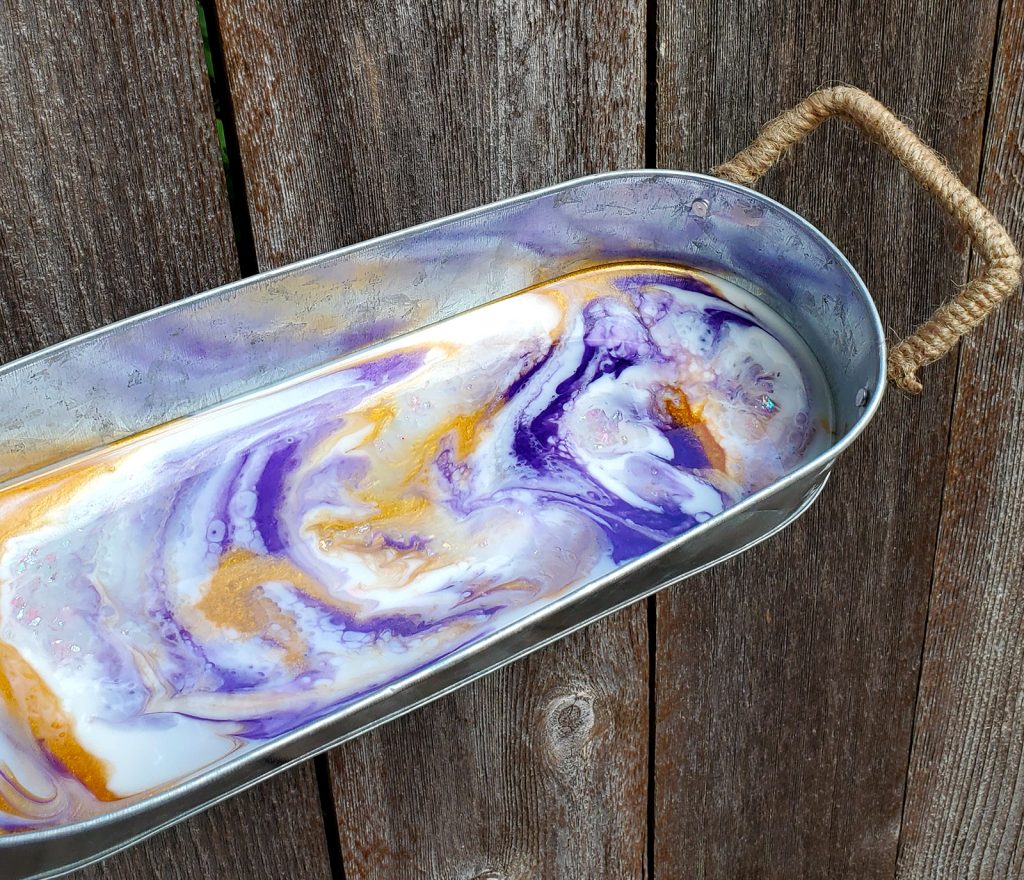
Pour white on the tray and spread a bit with a stir stick.
Add other colors, rotating the tray around and using a stick as needed to pull resin into the edges and corners.

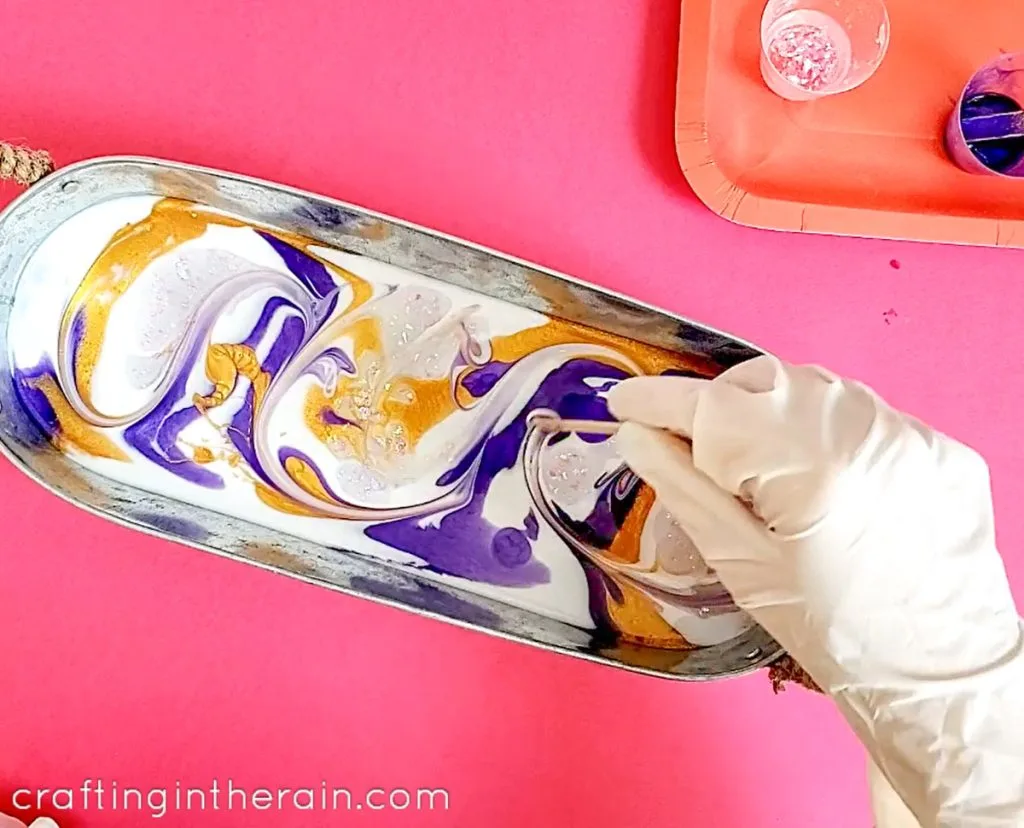
With the tray bottom covered, pass the heat gun over the top to pop air bubbles.
Swirl colors together slightly and add the resin mixed with glitter.

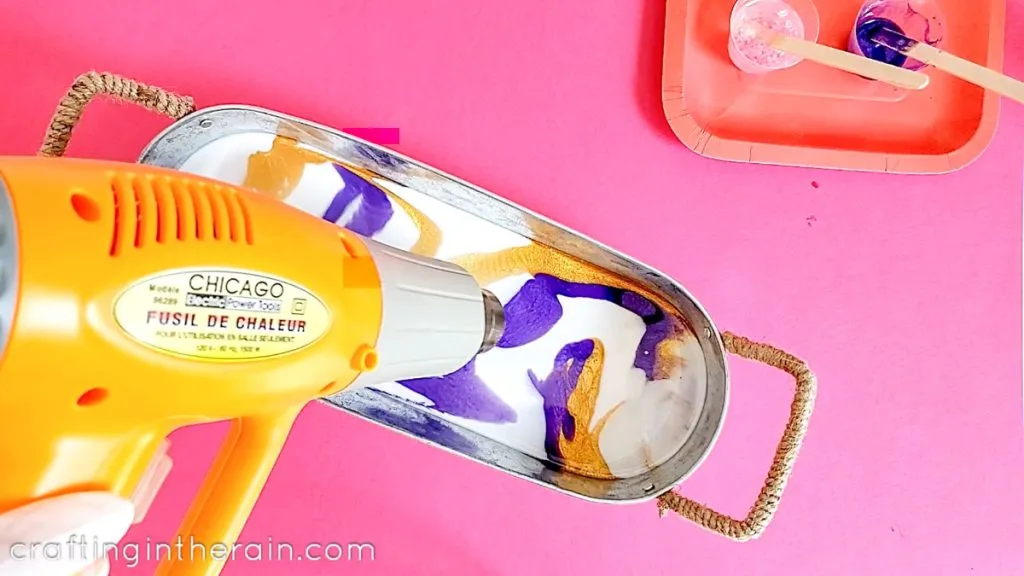
Use the heat gun to create new patterns in the resin. It will cause it to spread a little more and give a more marbled look than just dragging a stir stick through the colors.

Cover tray with a large box or poster board to keep dust out while curing. After 24 hours, the tray is ready to use.
Pour colored resin to make a custom resin tray for serving or decoration. As an Amazon Associate and member of other affiliate programs, I earn from qualifying purchases.How to Make a Resin Tray


Materials
Tools
Instructions
Recommended Products


Is resin food safe?
Wondering if your DIY resin tray is food safe? After extensive testing, ETI Resin has been FDA approved for indirect and direct contazct with food when the resin is accurately measured, thoroughly mixed, and fully cured. So yes, you can put food on your resin tray.

Take a look back at my first resin project in this state wood cutout.
Let me know if you have any questions!
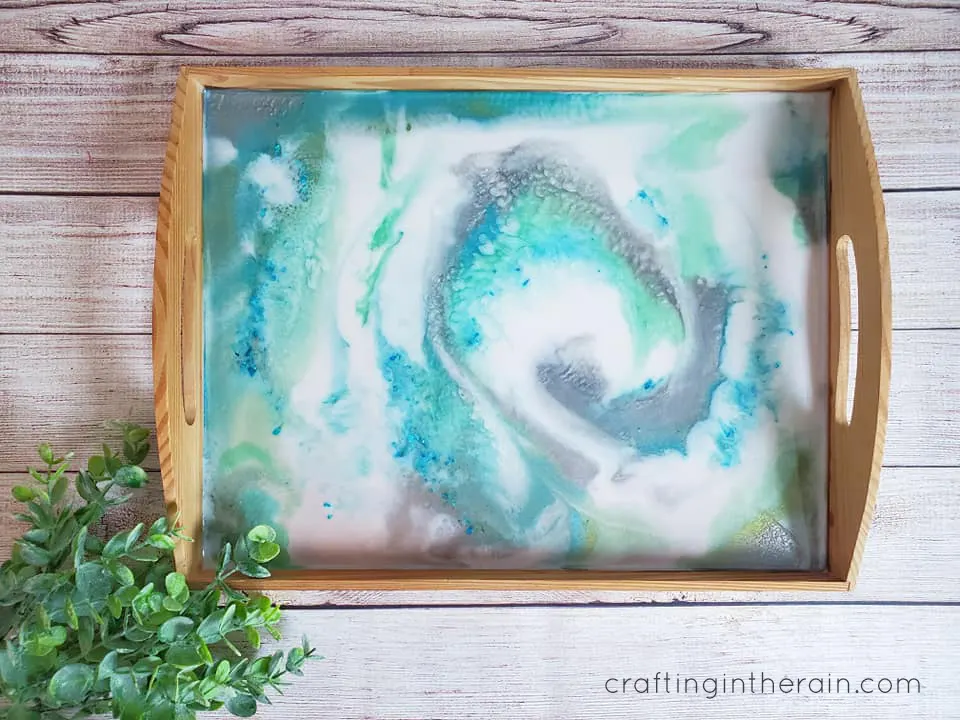
Here’s another tray made with the same process but different colors of resin.


22 DIY Rolling Tray Ideas - DIYS Craftsy
Wednesday 26th of October 2022
[…] Click Here […]
24 DIY Resin Tray Projects You Can Make Easily - DIY & Crafts
Wednesday 13th of July 2022
[…] craftingintherain […]
22 DIY Rolling Tray Ideas – seoteam marketing tools
Tuesday 17th of May 2022
[…] Click Here […]
24 DIY Resin Tray Projects - How To Make a Resin Tray
Monday 4th of April 2022
[…] craftingintherain […]
Allie Johnston
Monday 1st of November 2021
Hi I just realized that the first comment was not grammatically correct. Can you please use the one below? Thanks, Allie
Hi! I just came across your instructions and think that they are amazing as they are easy to follow. This is a project that I really am excited about trying. My one question is that since I’m on a budget, can a hair dryer take the place of a feat gun?
Thanks so much in advance for your guidance!
Stephanie
Tuesday 14th of December 2021
The tricky thing with a hair dryer is that there's a lot of air movement. It can move the resin a lot, and blow dust into your project as well. But, if you are careful to just use the low speed setting, and if you have a diffuser, even better. It should still work but might not give the exact same results as a heat gun. Hope that helps!