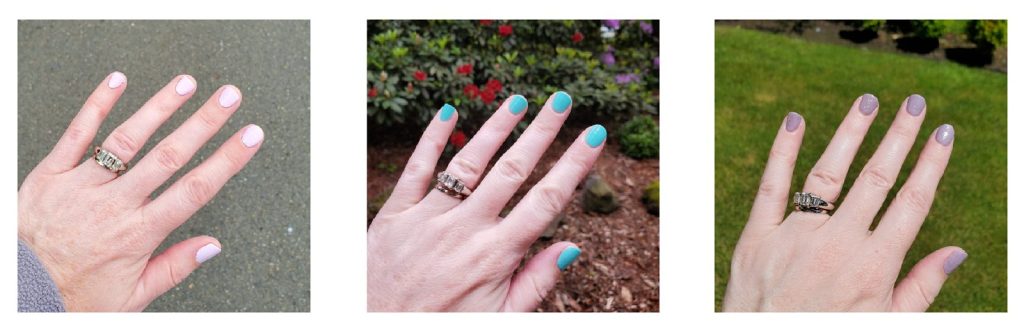
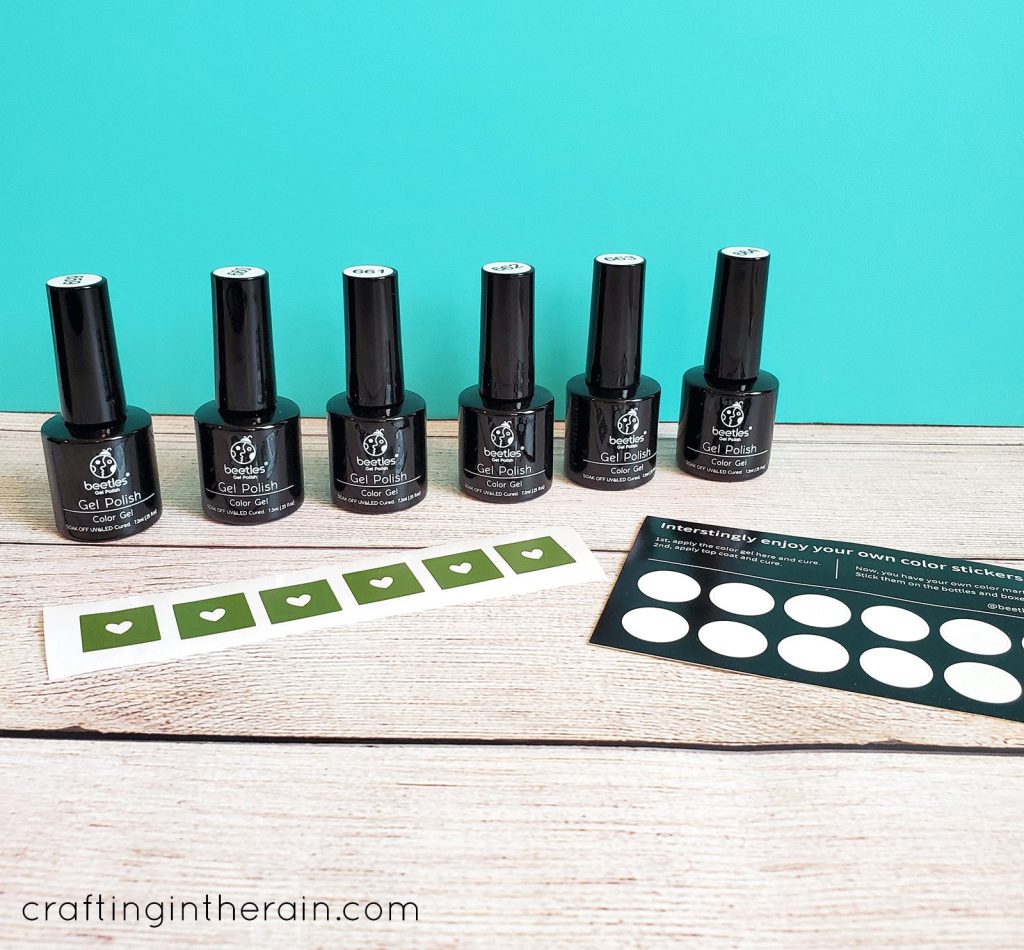
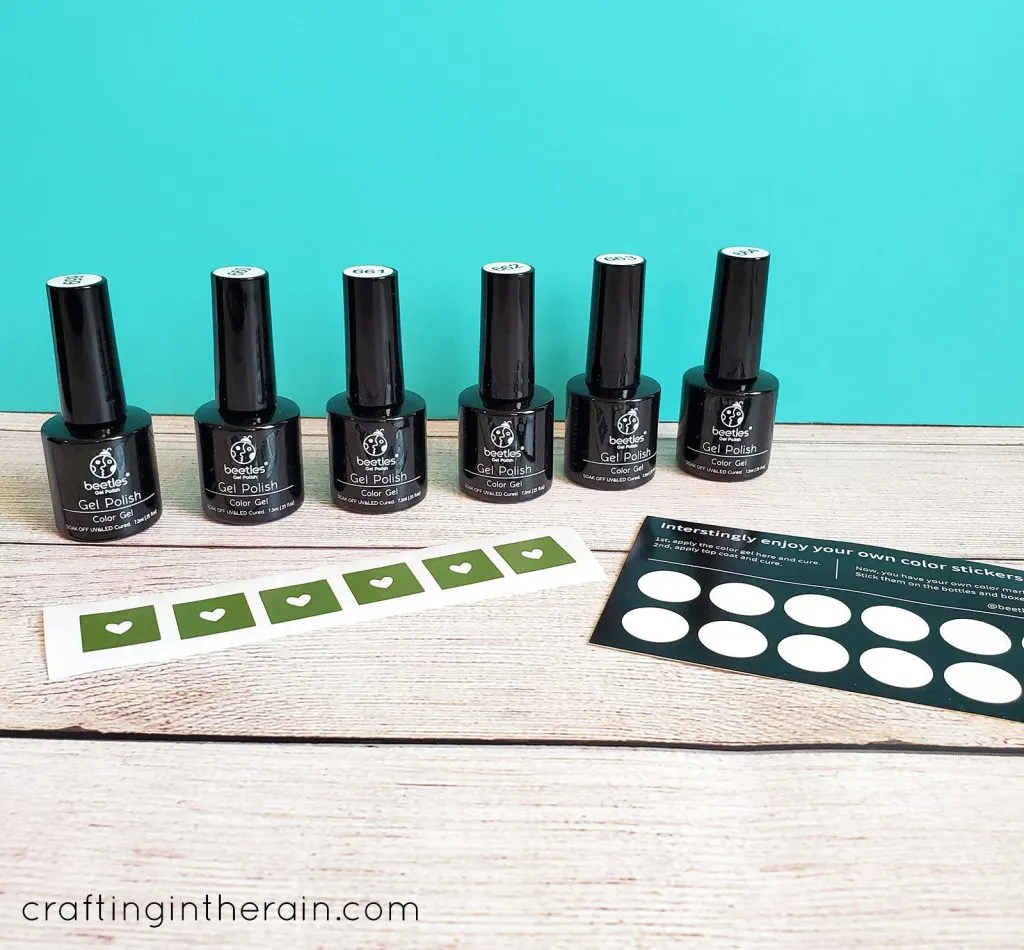
Over the last few weeks, I’ve been expanding my collection of gel nail polish colors. They are cured with a lamp, so they come in black bottles to keep the polish protected.
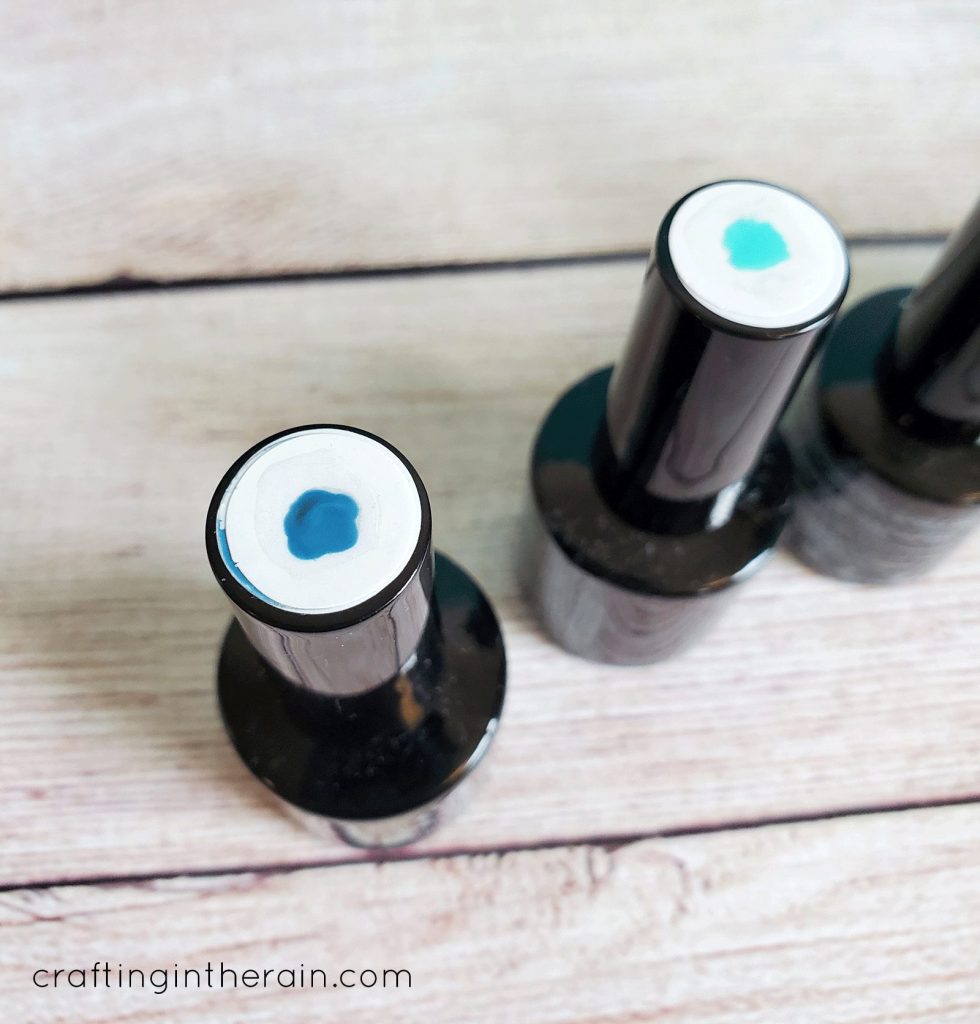
I wanted to mark the top of each lid so I could tell what color was inside. My polishes came with stickers and I started by just putting a little blob of polish.
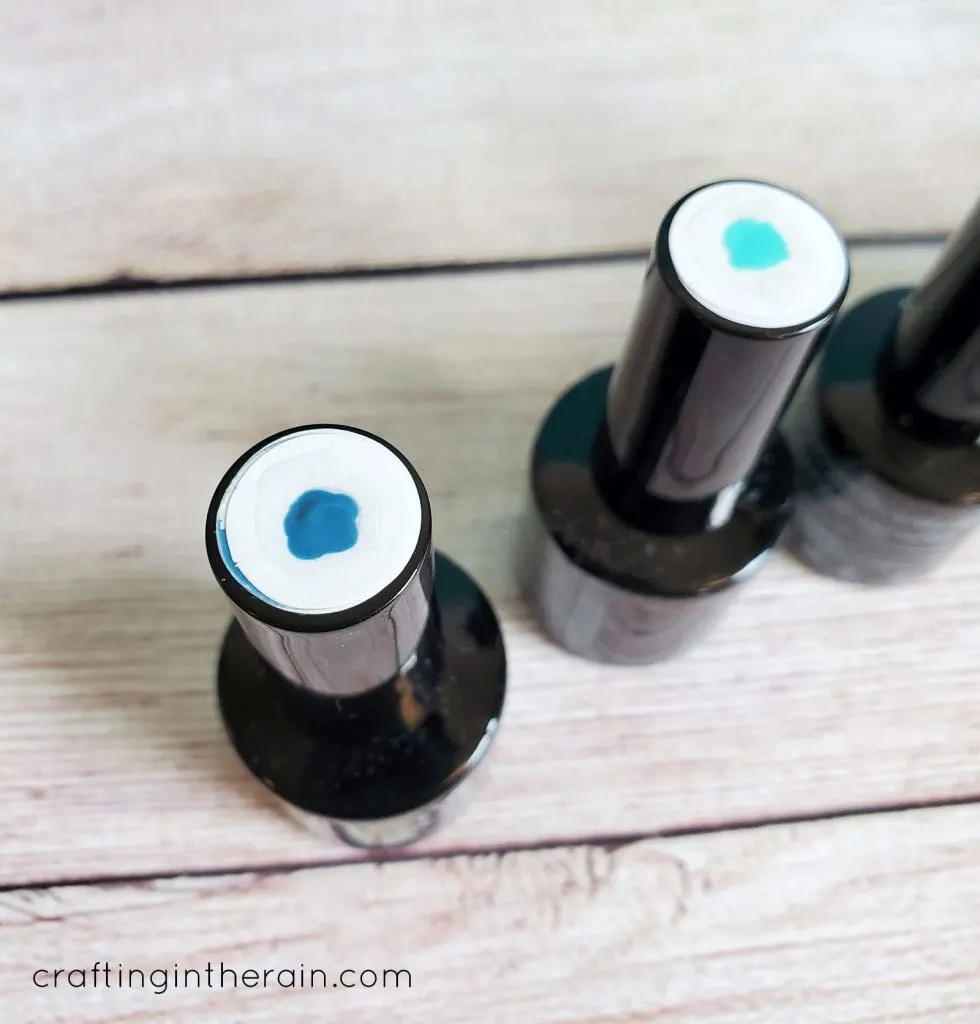
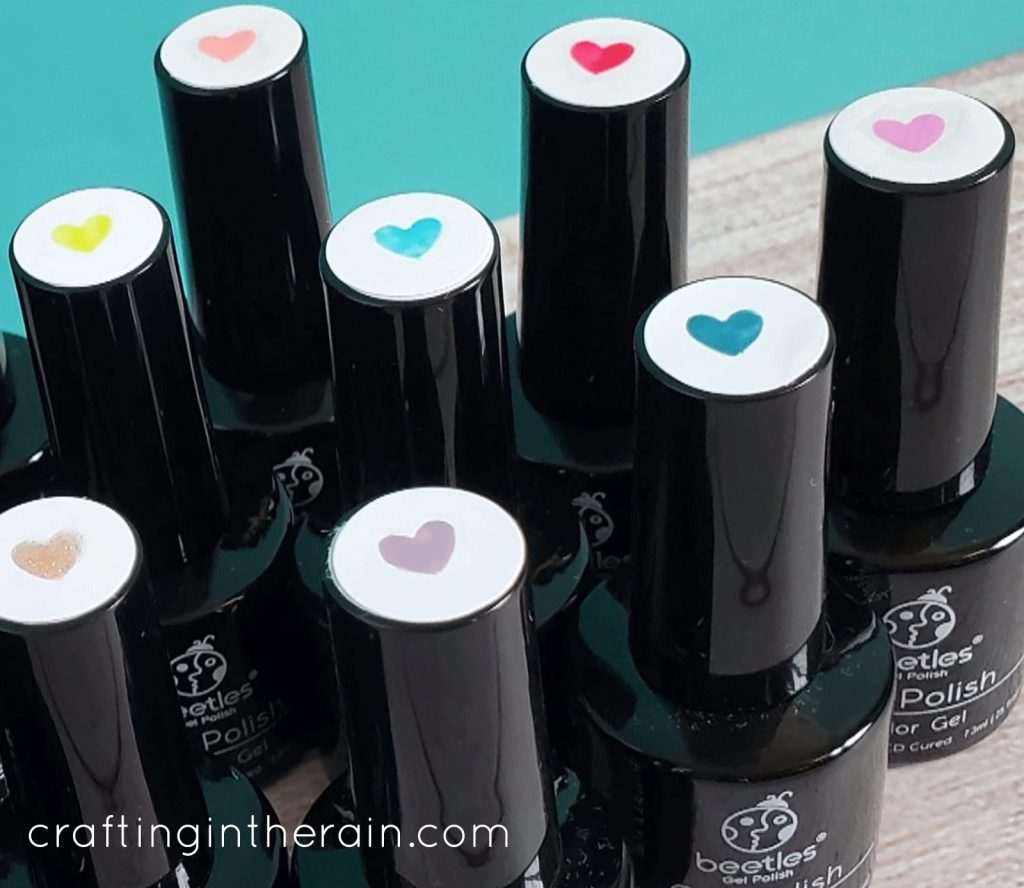
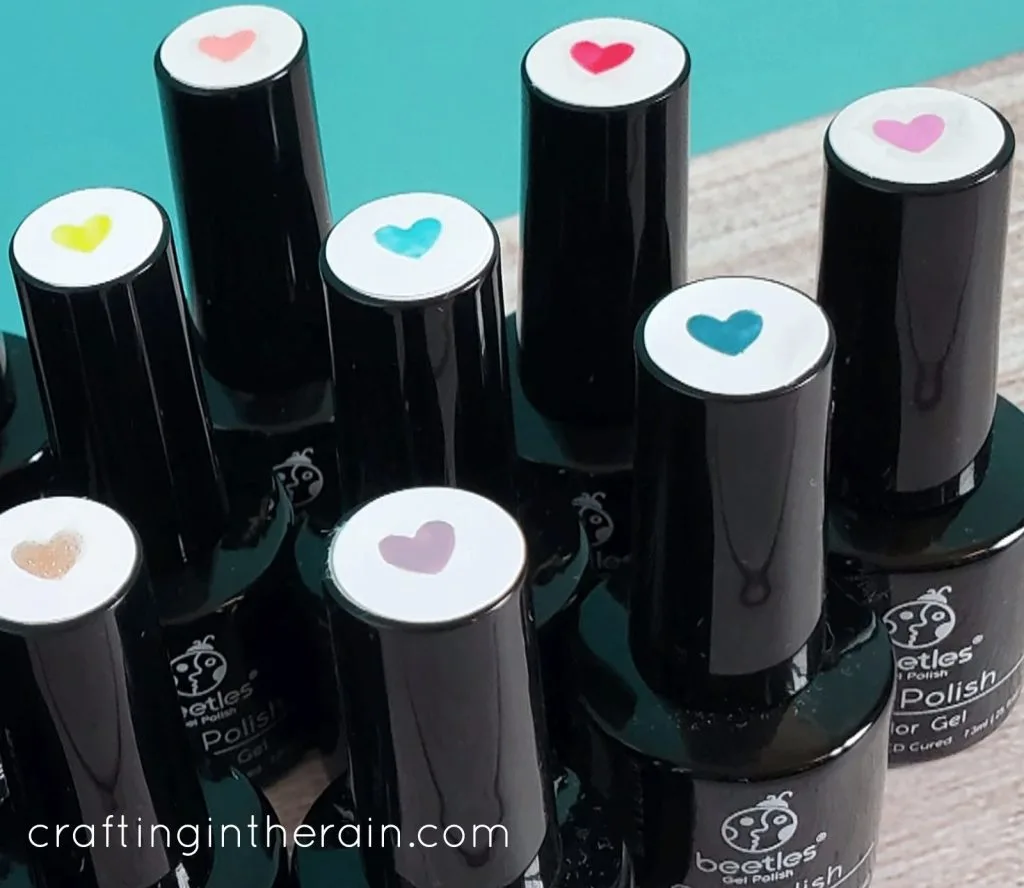
But it didn’t look very cute – I knew I could do better 🙂 So I made hearts!
Supplies:
- Gel nail polish
- Nail lamp
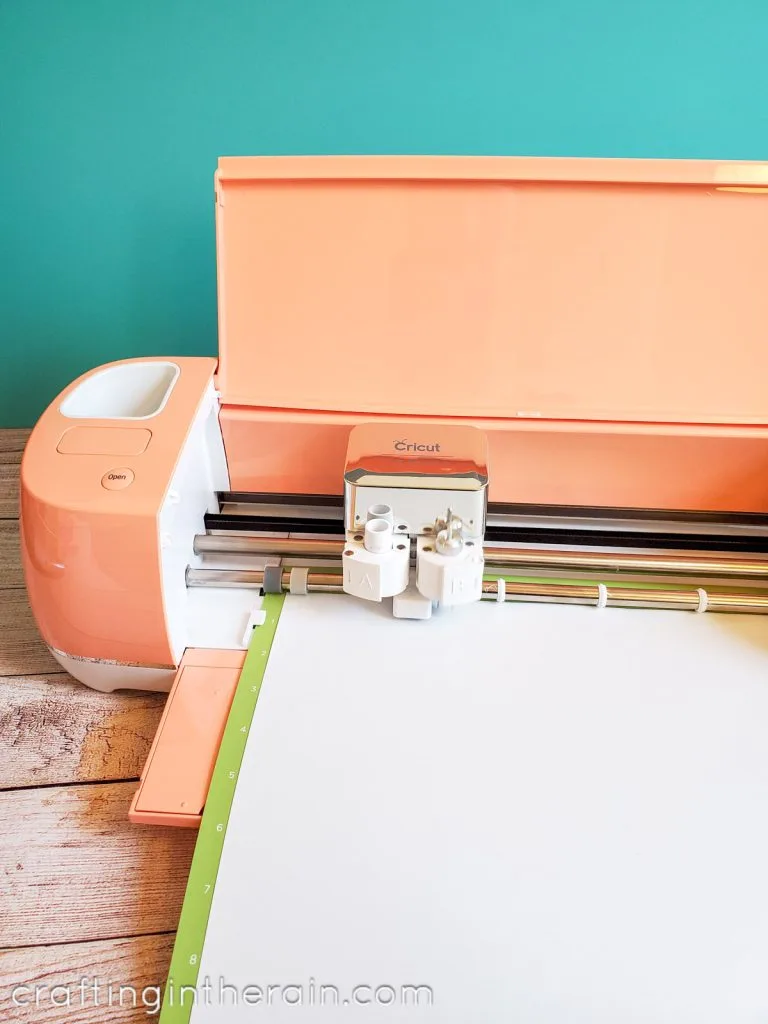
- Cricut – Joy, Explore Air 2 or Maker will work
- Vinyl
Start by measuring across the top of the nail polish lid. Mine is .55 inches across, and my polishes actually came with a set of circle stickers. If you need to create stickers, cut one from white vinyl for each polish.
In Design Space, create a circle the size of the top of the nail p0lish lid. Then add a small heart to the center to figure the size.
Open my Design Space project here – use as is, or as a starting point.
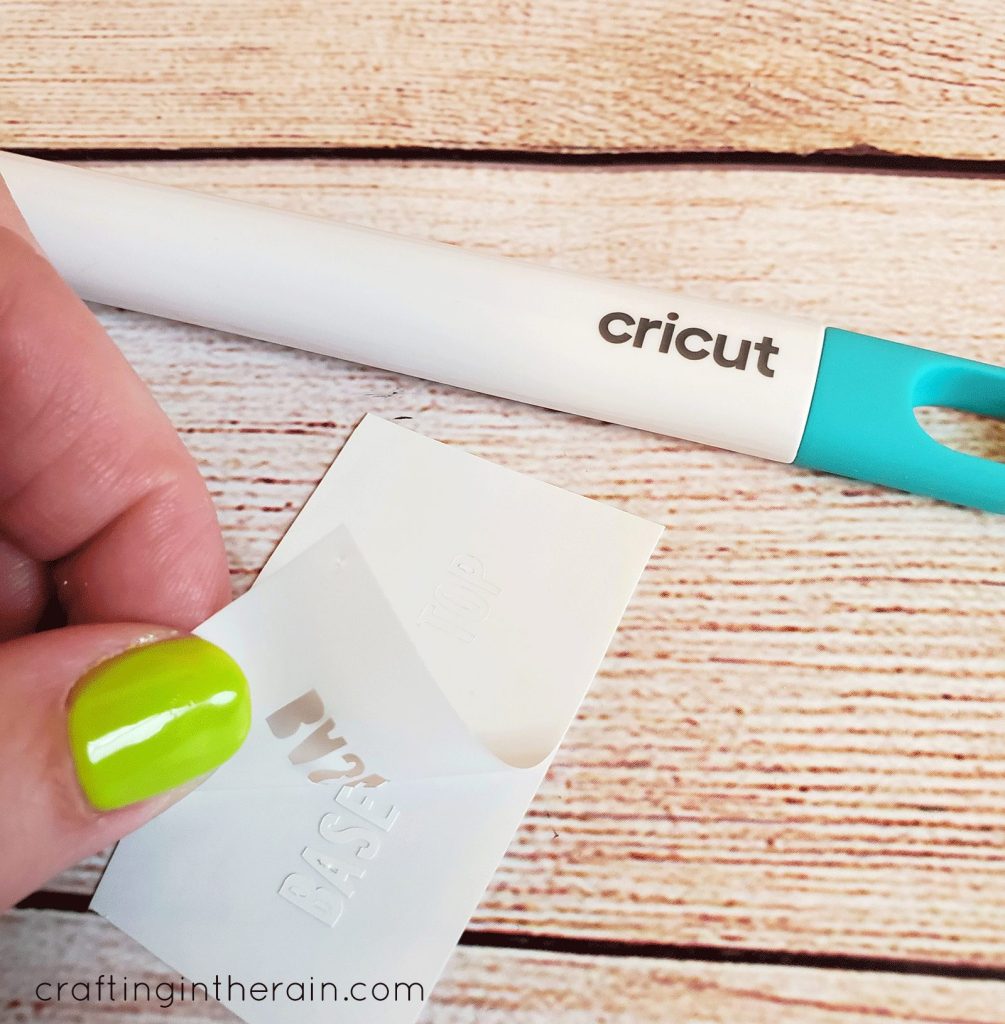
Create the stencils by centering the heart in a square that’s a little bigger than the top circle. Cut one for each polish – and this is a great way to use up scraps of vinyl, or a color that you won’t use for anything else.

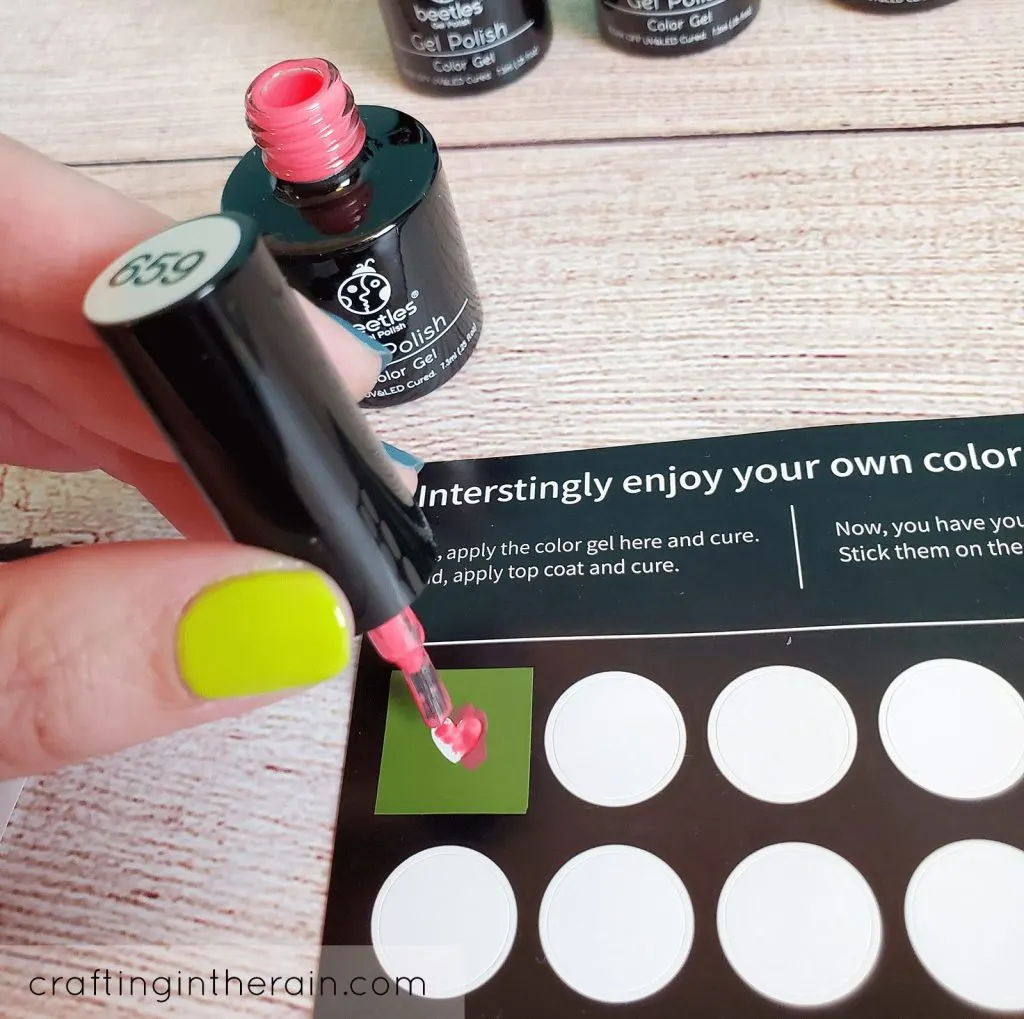
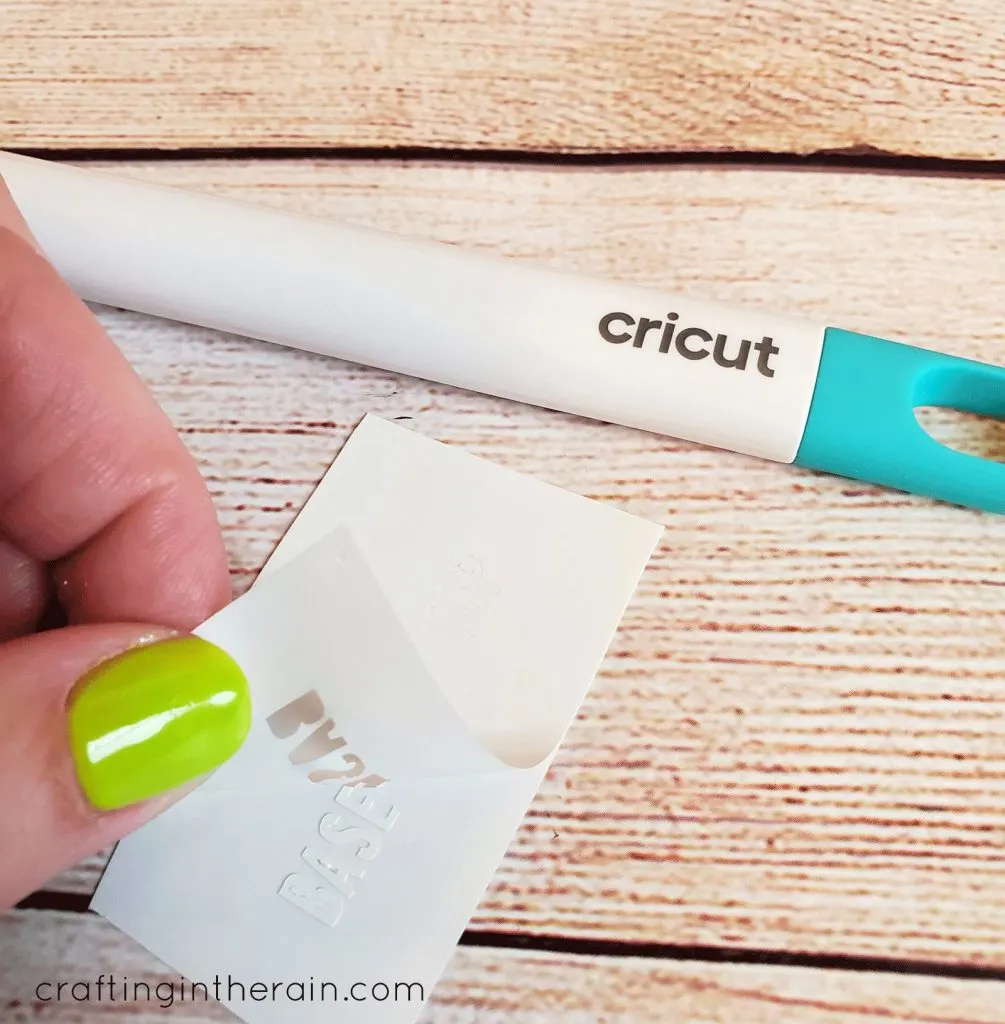
Center the stencil on a sticker and press just around the heart. Don’t try to stick the rest of the vinyl too hard because you want to be able to take it off.
Dab a bit of polish on the heart and peel off the stencil and discard.

When a few are done, cure under the LED lamp for the required time. For this polish, it’s 2 minutes.
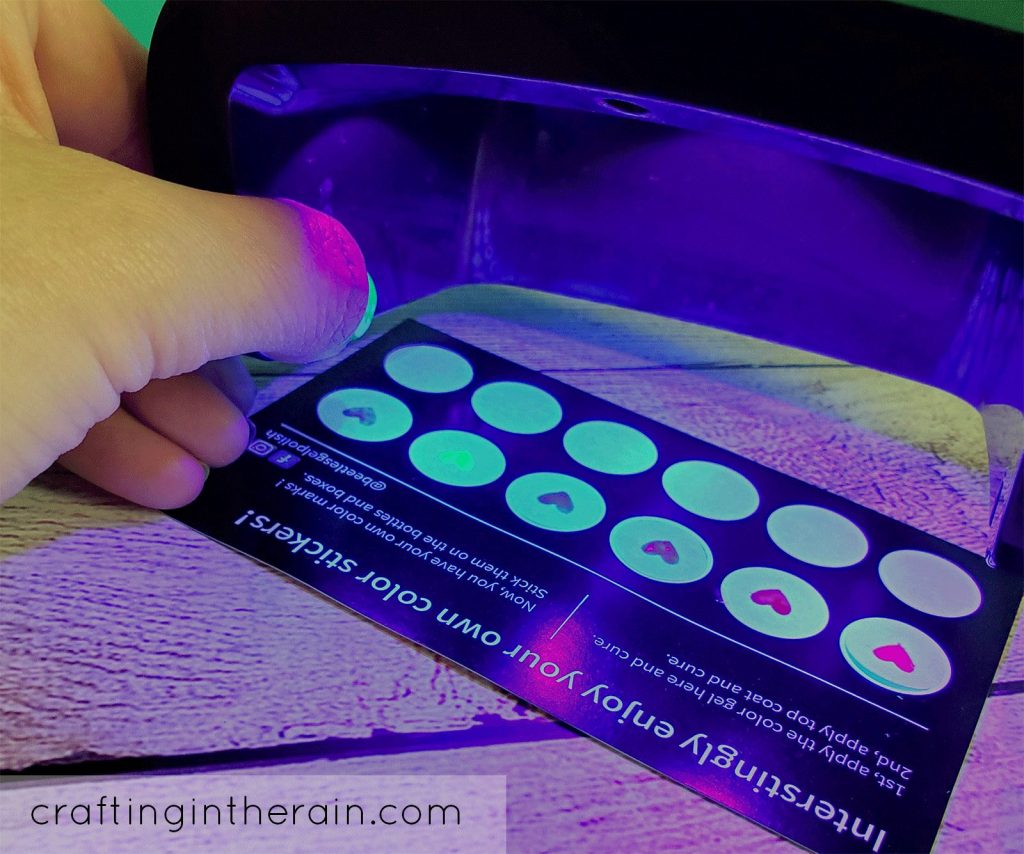

The polish will be a bit sticky at this point. Swipe on a bit of top coat and cure again.
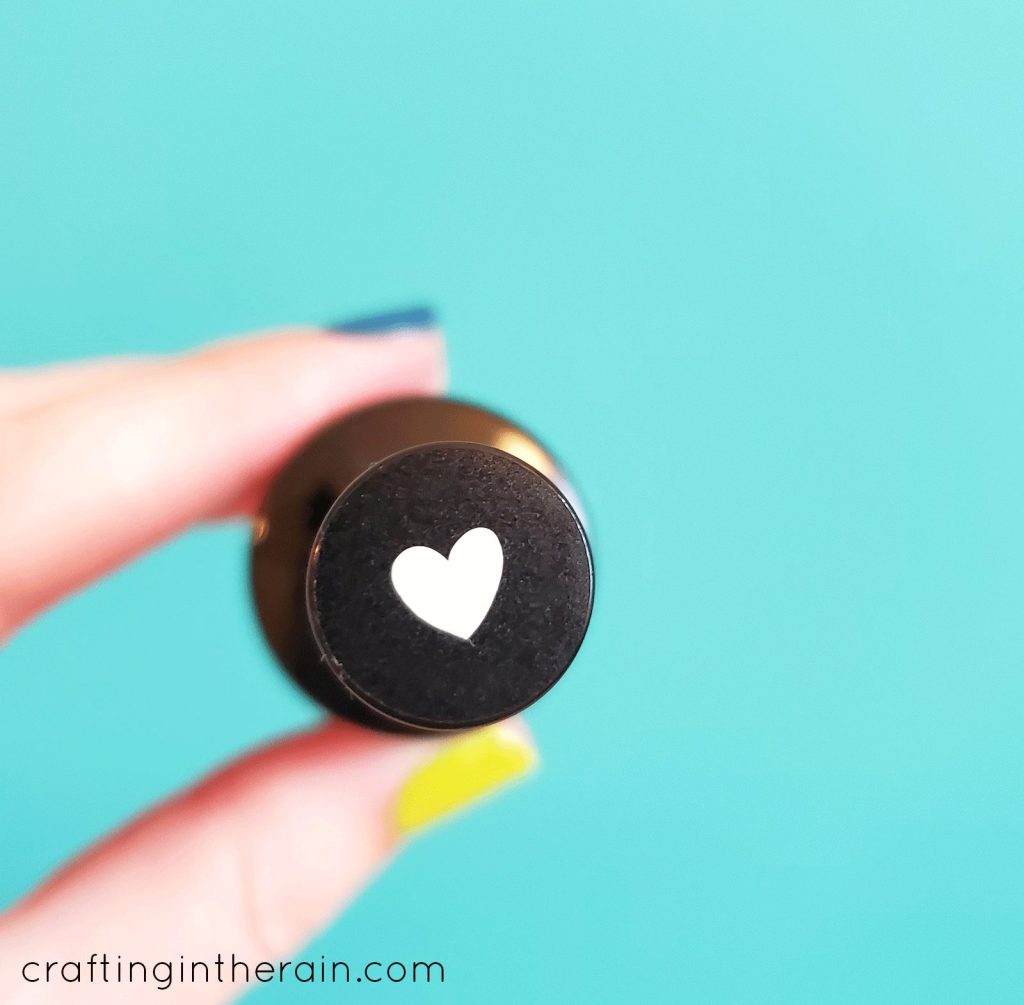
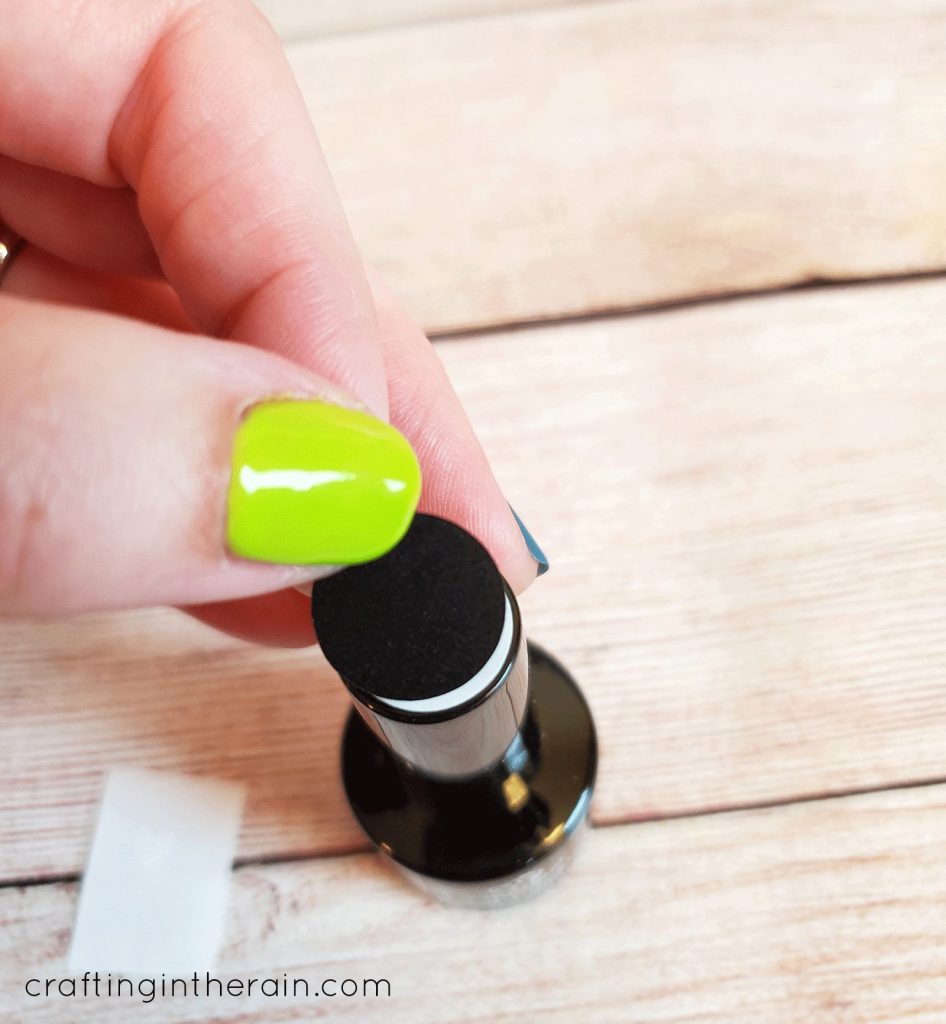
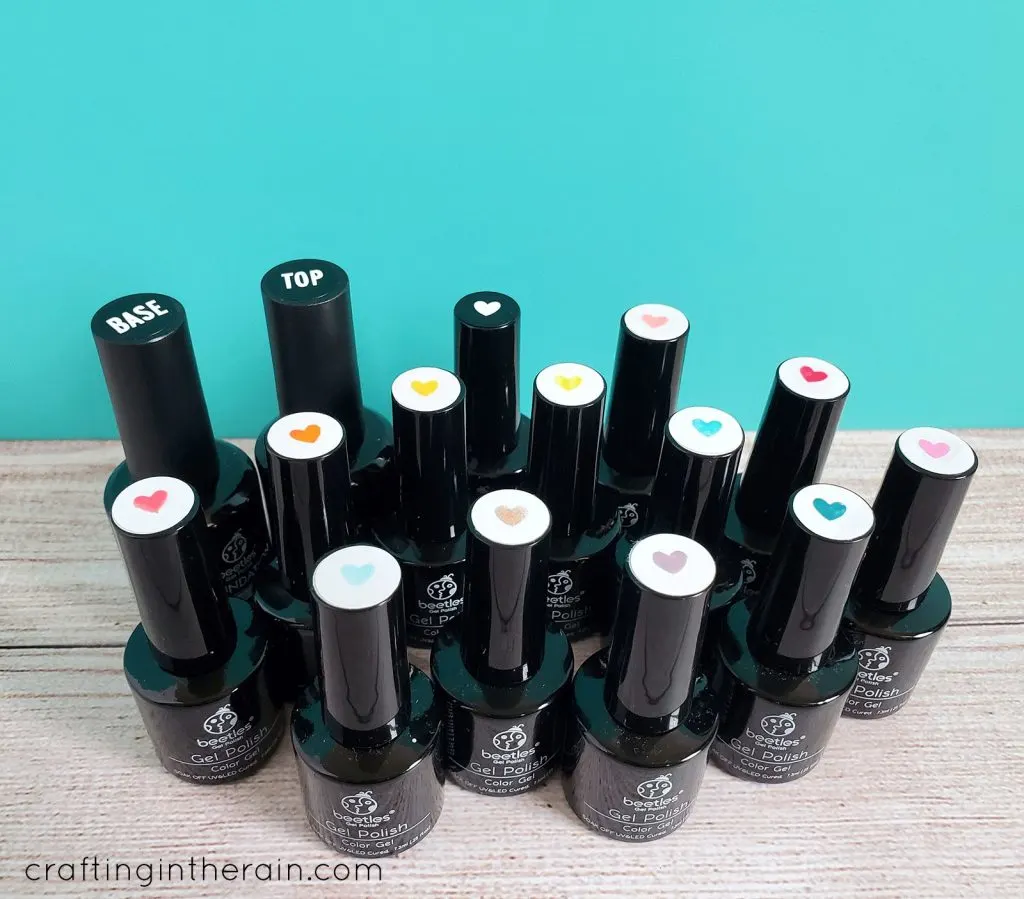
Now the stickers are ready to apply. I made sure to line the heart up with the center of the nail polish bottle.
For my white polish, I cut a heart from white vinyl and put it on a black circle.

I also created stickers for the Base coat and Top coat.


I cut black for the stickers and small words from white vinyl.

Now it’s easy to tell which colors I have, and they look so cute organized together.
Then you can pick up a cute clear acrylic storage tray (holds 16) or a larger step organizer – or browse others on Amazon.

Have you done your own gel manicures at home?
What are some of your favorite colors?