If you’re thinking of giving your kitchen or bathroom cabinets a makeover, you probably want to know is Rustoleum cabinet transformation worth it?

You don’t want to do all that work just to have your new finish chipping and fading in just a few months.
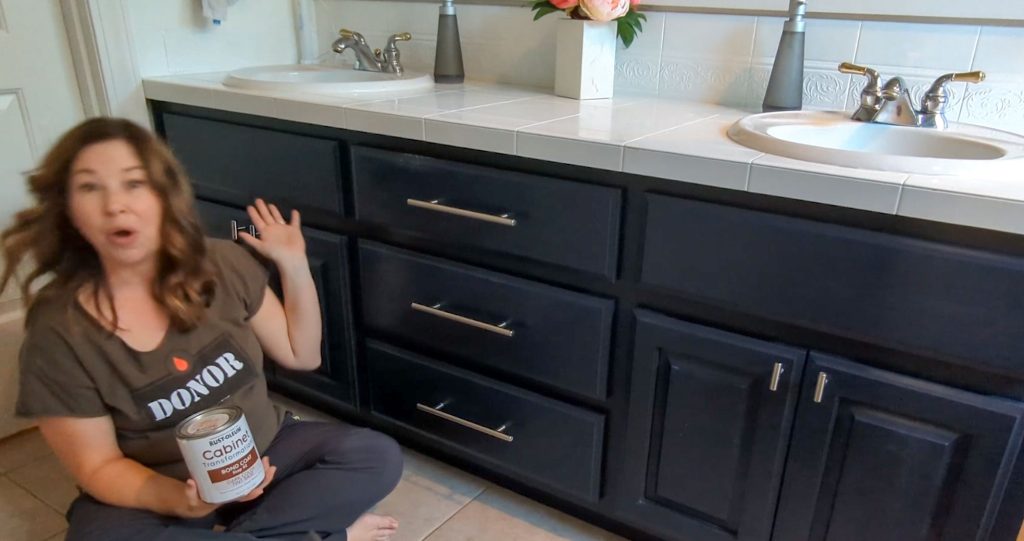
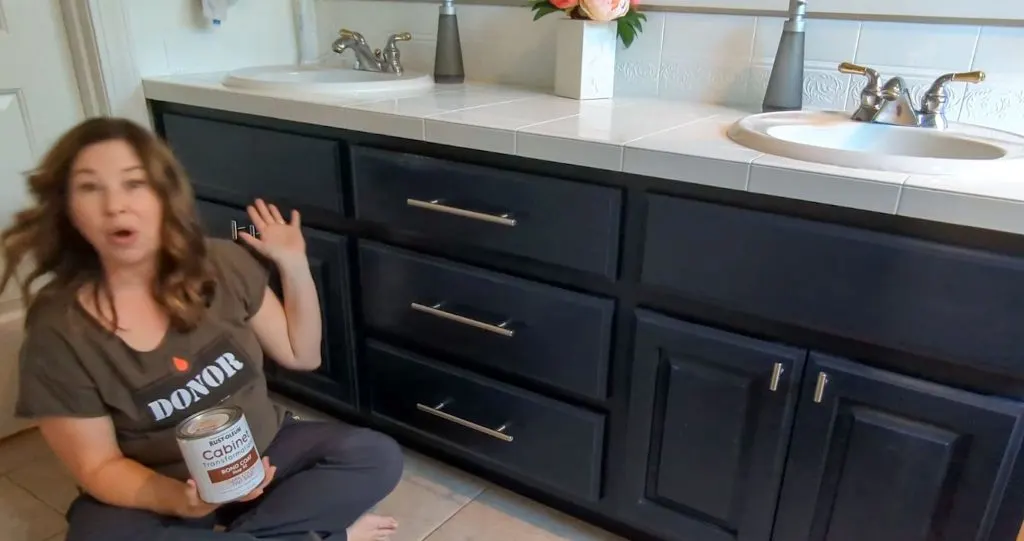
4 years ago I painted my bathroom vanity with a Rustoleum Cabinet Tranformation Kit. So that’s given it a lot of use and time to give a good long-term review of the cabinet kit and result.
What comes in a Rustoleum cabinet transformation kit
- Deglosser – to remove dirt, grease and grime from original cabinets
- Base coat – the tinted layer – this will probably require 3 coats
- Decorative glaze – if you want the brownish glazed look over the color of your cabinets. Makes the most difference if you have “fancier” cabinets or trim.
Plain flat surfaces won’t have all the edges that show off the glaze. I skipped the glaze when doing my dark blue bathroom cabinets - Protective top coat – this is the last step. It dries clear, gives a satin finish shine, and protects the paint color underneath.
As you can read in my original tutorial, it’s not super user-friendly and it’s hard to eliminate all pools and drips, which then dry cloudy and white – quite obvious on dark cabinets.
IN ADDITION, THE KIT ALSO INCLUDES - Instructional DVD
- Decorative Glazing Cloths
- Scrub Pads
- Stir Sticks
Pros and Cons of a Rustoleum Cabinet kit
So, the cabinet kit promises an easy way to transform your cabinets, providing all the layers you’ll need. Is it better to buy them separately on your own?
Here are my pros
- You know the products are designed to work together.
- No primer is needed (though you will find some people who used primer before painting with white and recommend it for the best coverage)
- Cabinet paint really does dry with no brush marks
Here are my cons
- You pay for the glaze even if you aren’t going to use it
- The clear top coat can be finicky, so if you choose to use satin polycrylic, you have still paid for the Rustoleum version in the kit
Ok, so how does the Rustoleum cabinet transformation really hold up? Naturally, most of the images and reviews you will see online show you the before, and the IMMEDIATE after.
Of course it’s going to look good, right? It hasn’t been used yet! It can be a little harder to find a review of the cabinet makeover months or years later.
Our cabinets looked really good for 3 whole years! I do have to acknowledge that these cabinets are in a bathroom, and a kitchen will likely have more traffic. But the paint has held up really well in that humid environment.
Once a spot does start to wear, it will deteriorate more quickly. But I’m going to show you how to touch up cabinets painted with a Rustoleum kit. It will really make you feel like a RustOleum Cabinet Transformation is worth the effort.
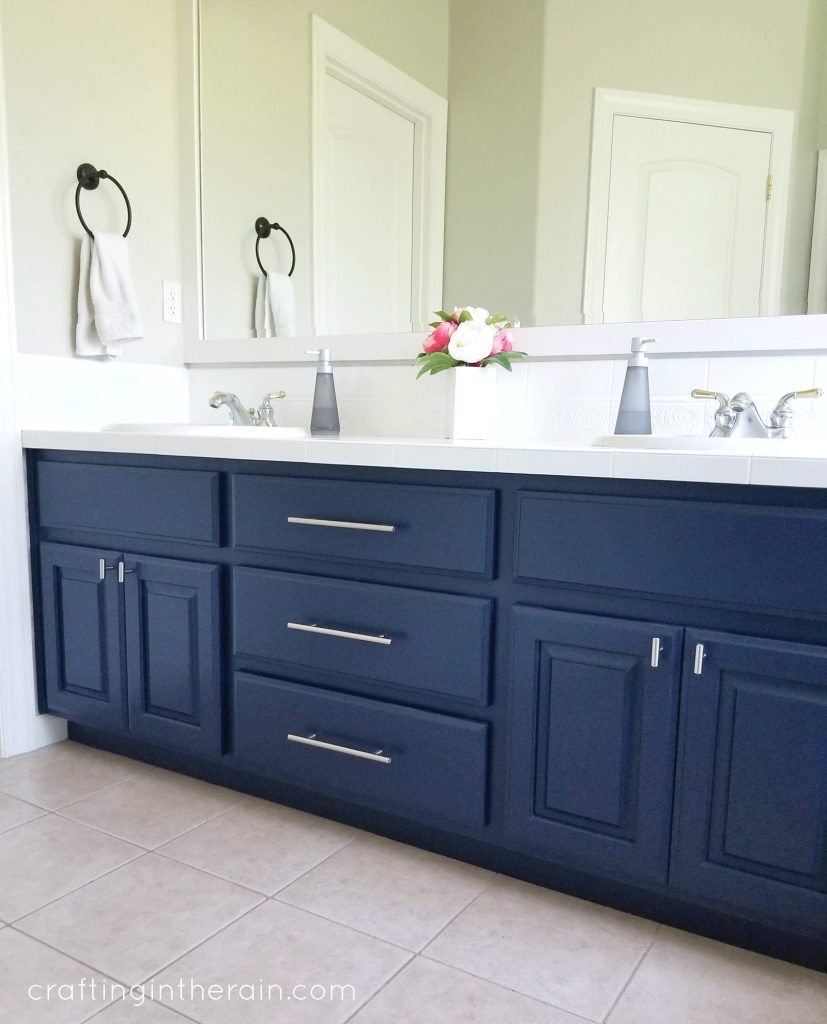
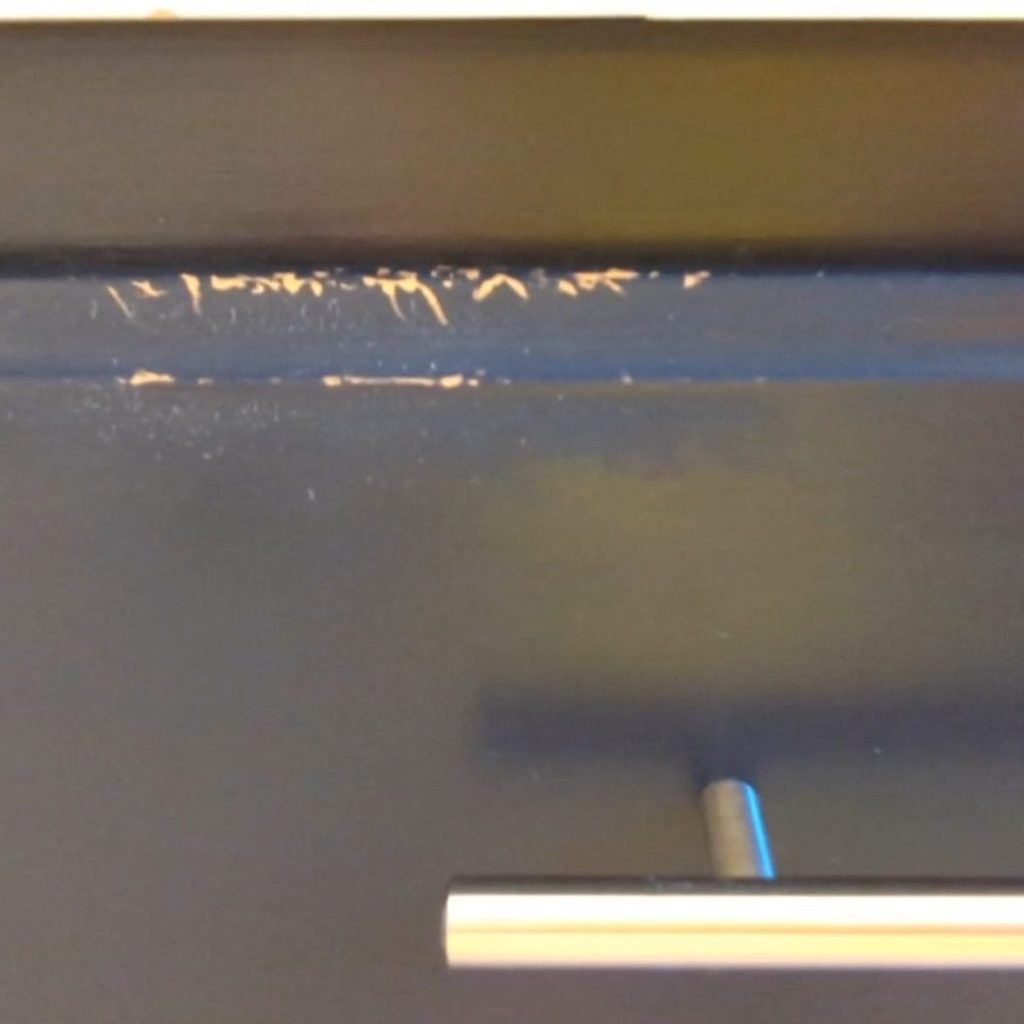
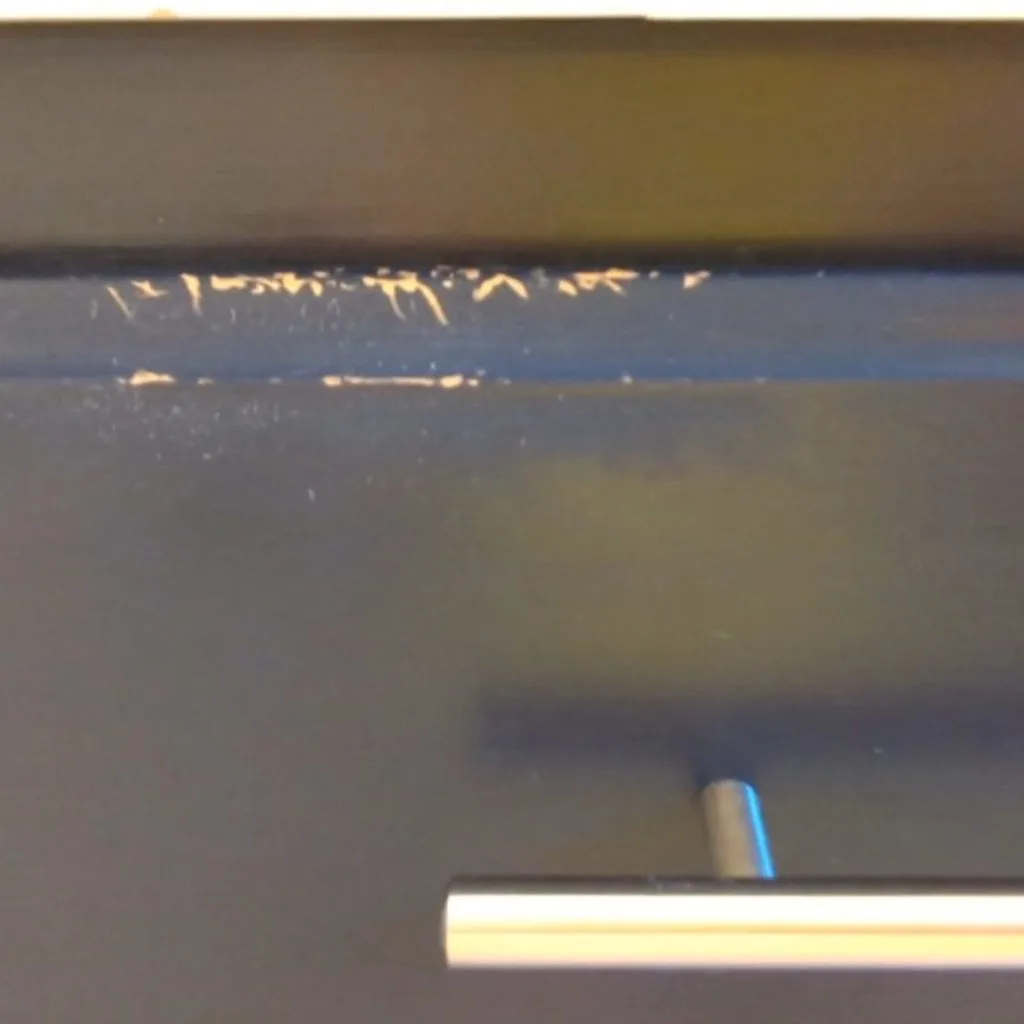
Like I mentioned, I first noticed some spots that needed help around the 3-year mark. And finally got around to working on it at the 4-year mark.
Here’s what the worse area looked like. It’s one of the drawers where this is used to open the drawer more often than the handle.
Supplies for touching up painted cabinets
- Paint in the original color – best case scenario, you have some of the bond coat from your original cabinet kit. Be sure to mix it WELL so that all solids and colors are completely combined
- If you don’t have some of the original, at least know the color you used so you can get it color matched at the hardware store. Ask the paint expert what kind of paint they recommend. And get the flat finish.
- Clear Satin Polycrylic
- Brush designed for clear top coats
- Paint brush
- Micro sander 220 grit
- Tack cloth
The method I’m going to show you worked perfectly for me. However, I still recommend that you find a section of your cabinets where you can do the whole process and make sure that it will look good with your specific cabinets and color.
If you have one side that’s not very visible, or small section that’s separated from everything else, that will be a good place to experiment.
Steps for touching up painted Rust-oleum cabinets
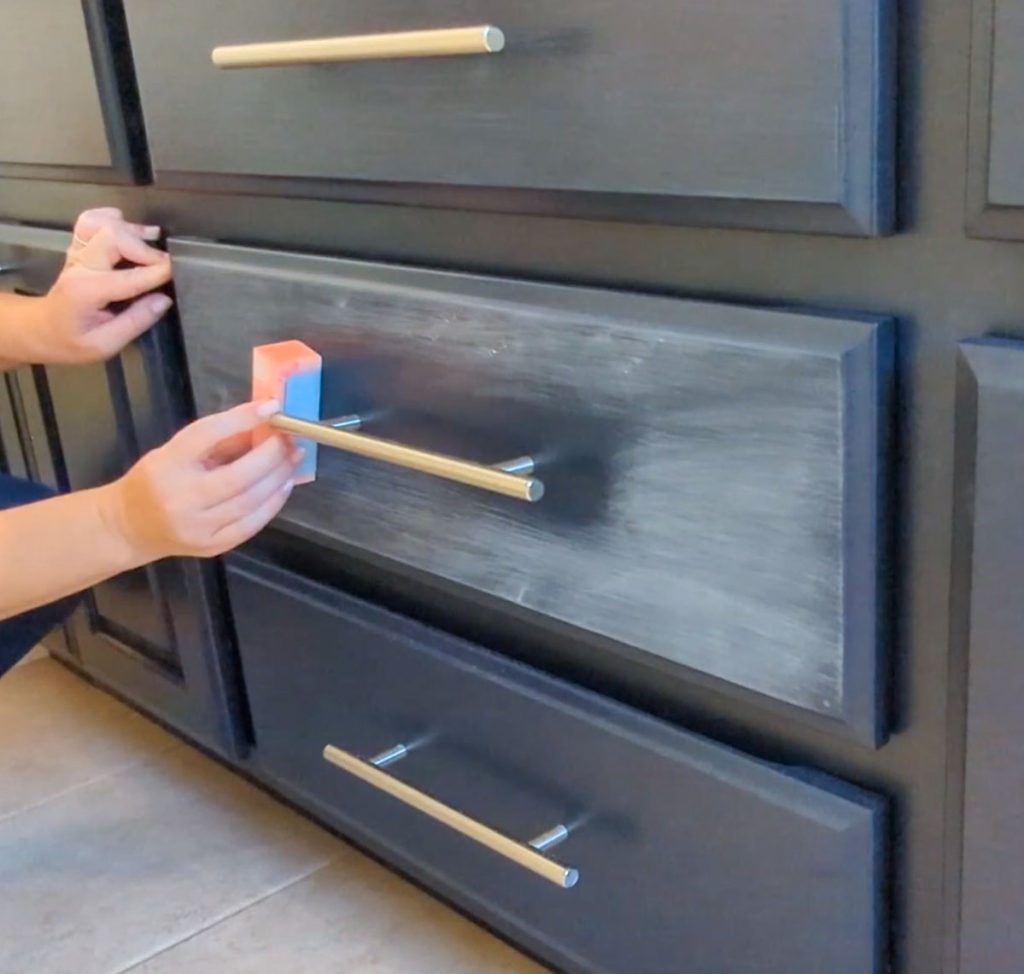
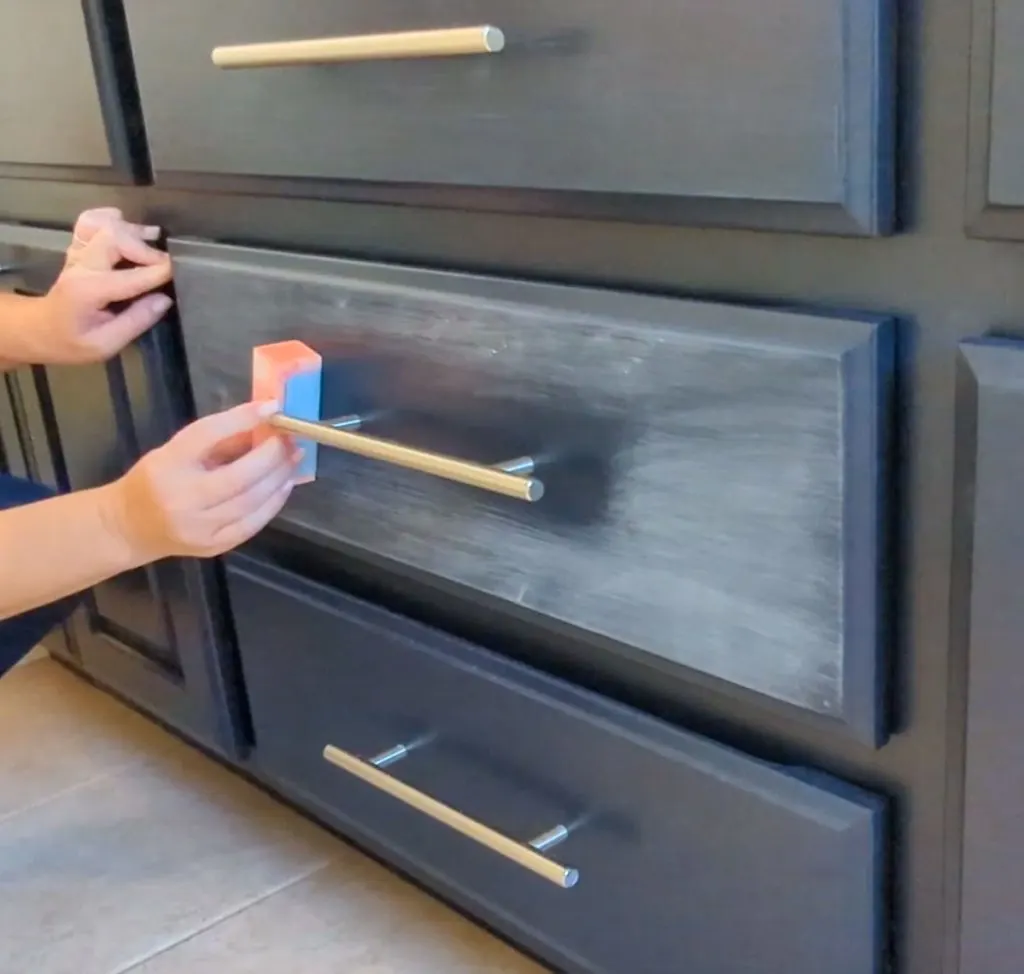
Lightly sand the whole area where a paint touch-up needs to be made. For example, the whole drawer front, a whole side panel.
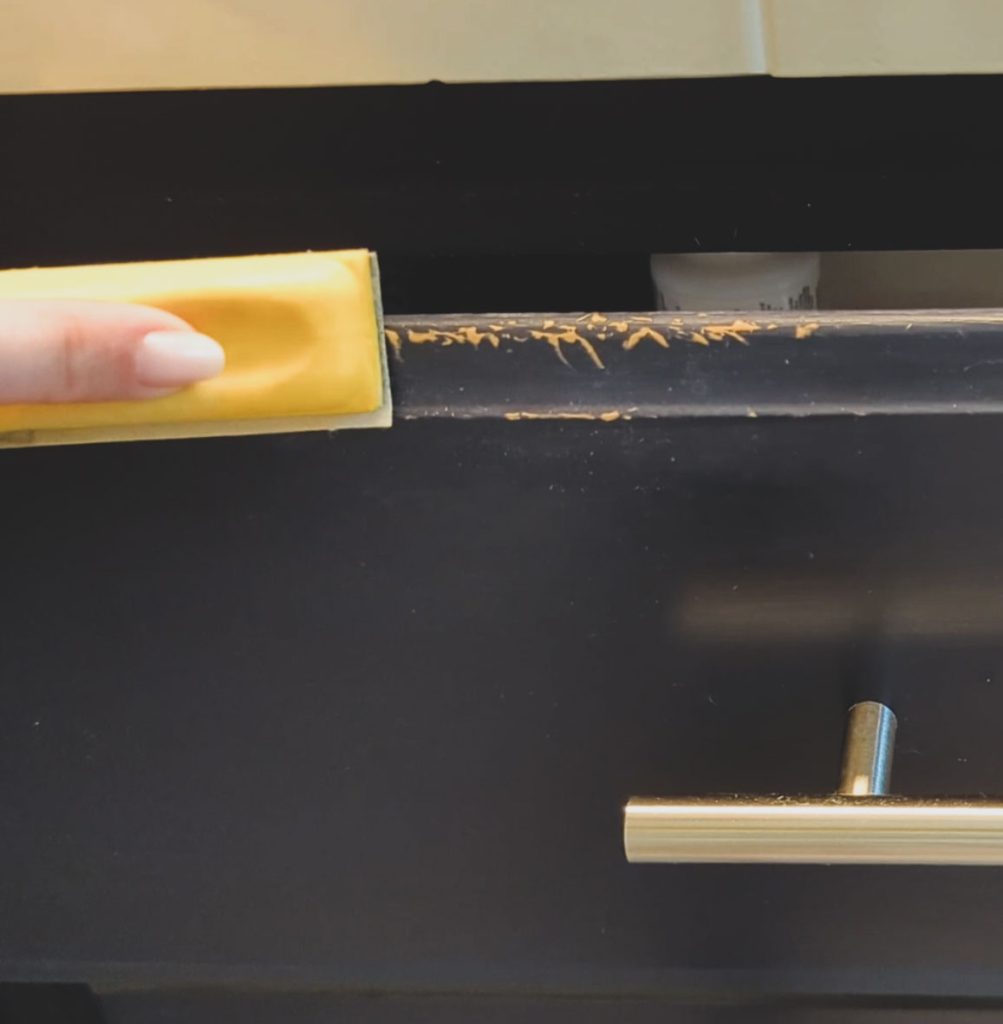

Sand smooth where any chips happened, so that the new layers will also be smooth.
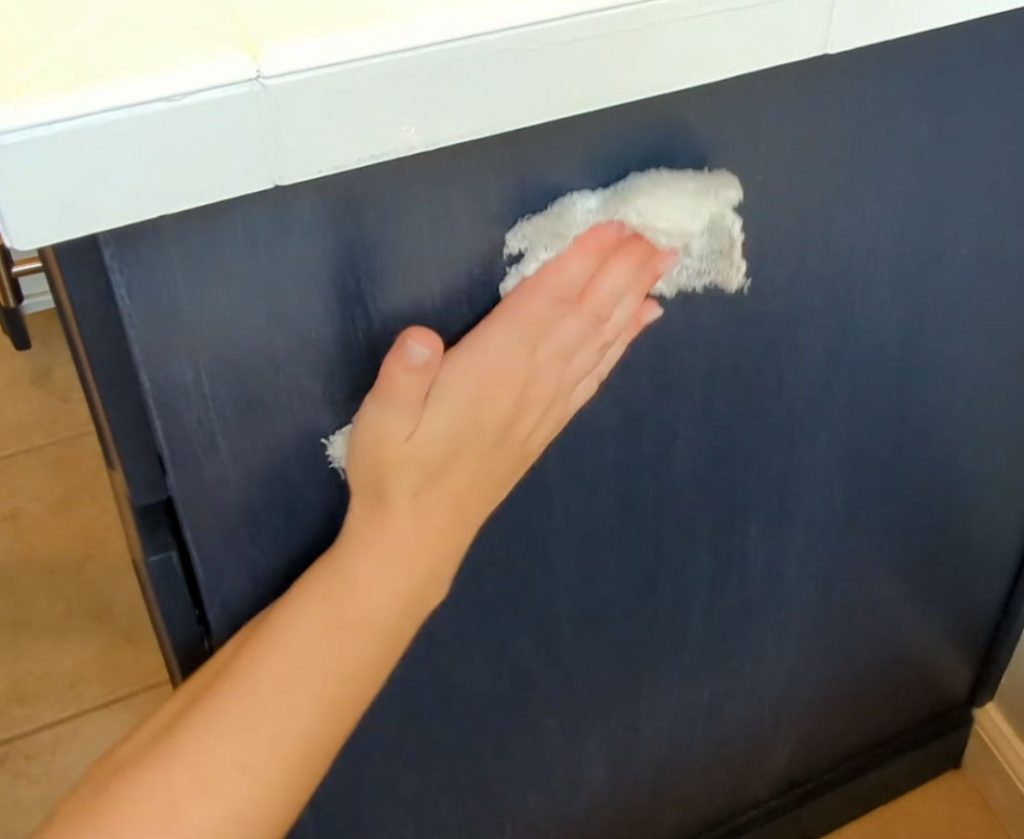
Use a lint free cloth or tack cloth to remove any sanding dust.

Paint at least two coats over the worn areas, waiting 2 hours for dry time. You don’t need to paint over the whole sanded area. Be sure to feature out the edges so there aren’t any drips.
Let final coat dry for 8 hours.
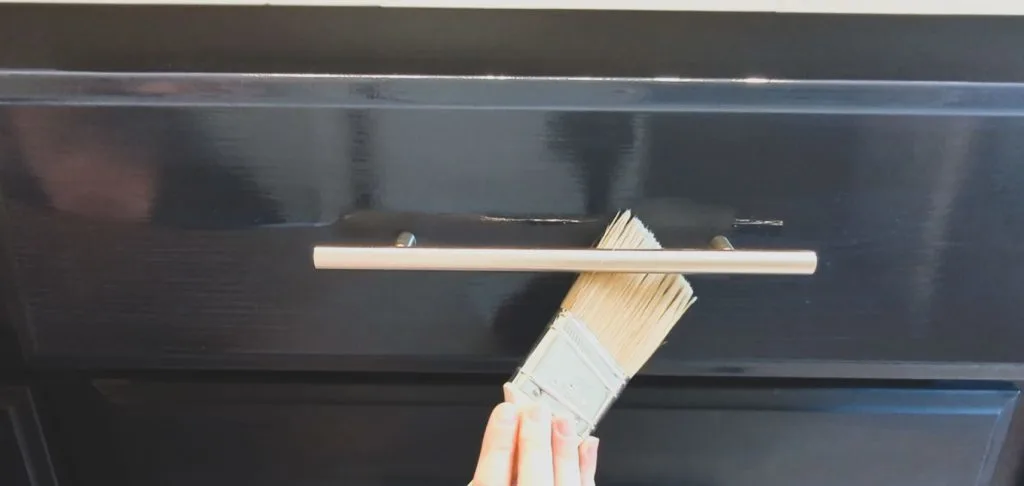
Cover sanded area with a coats of clear satin polycrylic. Work with long brush strokes, and don’t overload the brush. This helps eliminate drips.

** If you will be adding a second clear coat, wait 8 hours, lightly sand and remove dust, and repeat step 6.
Let the clear coat dry at least 8 hours before using any of the cabinets, and then over the next 24 hours it will cure completely.
This method should create a finish that doesn’t show any of the spots that were touched up with paint.
Ways to extend the life of a Rustoleum Cabinet Tranformation makeover
Here are some ways to make your painted cabinets look better for longer.
- Make sure cabinets are treated with the deglosser and well prepped. This helps the colored bond coat adhere the best.
- Install hardware to the drawers and doors if they don’t already have it. This way fingers are kept from touching the paint and wearing through the finish over time.
- Clean up drips and splashes ASAP. Wiping away a fresh mess will always be easier than waiting for it to dry. Since it will require less scrubbing, it will preserve the cabinet paint.
- When you start to notice some spots where paint is chipping or wearing away, follow the process for painting patches, and add a second polycrylic coat for extra protection.
Is Rustoleum cabinet transformation worth it?
I would definitely do my bathroom cabinets over again just like this. In fact, the kids’ bathroom vanity definitely needs this same kind of treatment. I just need to decide what color!
And is the Rustoleum cabinet transformation worth the time? I can only speak from experience of doing a bathroom sized project, not a whole kitchen – but for me it was!
I hope this gave you some tips and confidence to touch up your painted cabinets if you need to. Or helped you decide if the transformation kit lasts like you need it to.
Thanks for reading, and let me know if you have any questions!!
Read here if you prefer to learn how to transform cabinets with a paint sprayer