This was a fun video to film, and a fun project to make! One of my teenagers has already swiped the resin mushroom hair clips, so I must have created something on-trend. That’s always a good sign, right?

I find that this is a great small-scale project to help you get used to working with resin.
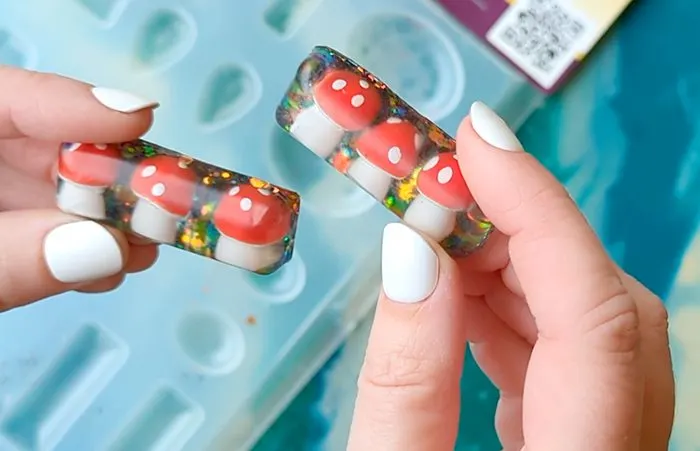
The cute plastic mushrooms are embedded in a resin mold, given a glitter base layer, and glued to a blank hair clip.
Supplies needed for resin mushroom hair clips
- Amazing Clear Cast Resin
- Small plastic mushrooms (I found these in the miniatures section of Michaels)
- Jewelry mold with two rectangle shapes
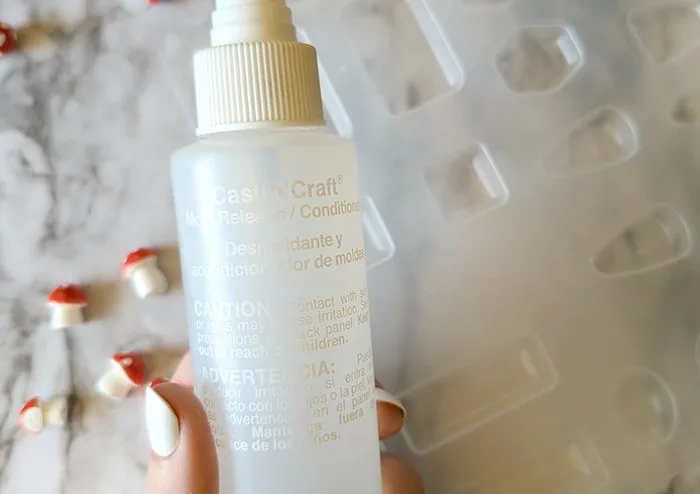
- Mold release spray
- Blank hair clips
- Color Creator glitter
- Stir sticks
- Measuring cups
- E6000
- A silicone mat is also super helpful
Prep mushroom resin clips
Check that the mold you have chosen will fit on the hair clips you have. Also, check that the mushrooms (or other filler) will fit into the mold.

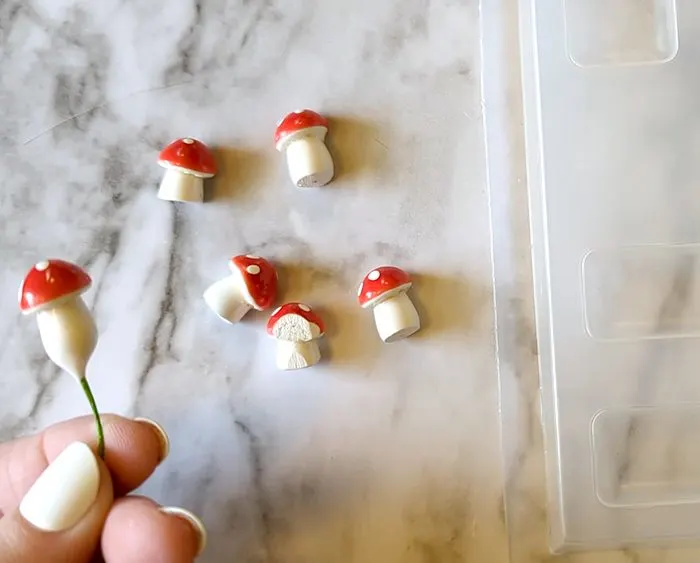
To make my mushrooms fit, I pulled out the wire attachment, sanded away the bottom to make a flat stem, and a bit of one side that would be flat and face up.
Spray the mold with mold release spray. Skipping this step can make the resin much harder to get out of the mold later.

Mix resin for hair clip molds
While the mold spray is drying, mix the resin together. This resin epoxy is equal parts, so I used 10 mL of A and 10mL of B.

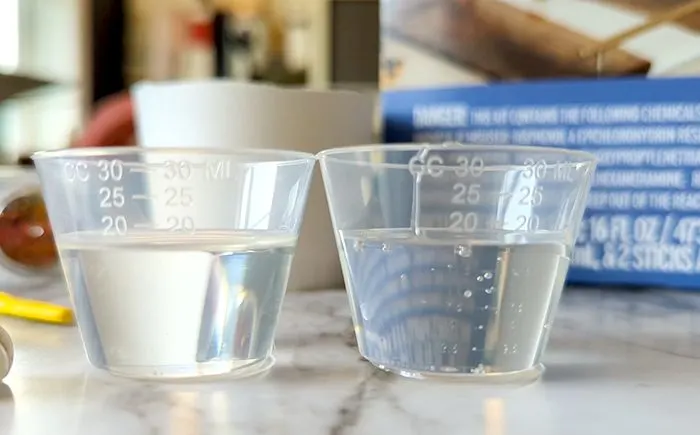
Follow these instructions for your specific type of resin, if using something different. This required a mix time of 4 minutes. Scrape the sides and bottom while mixing so that there aren’t unmixed portions.
NOTE – If using a paper cup for mixing, make sure it’s not wax coated on the inside. It can flake off and get stirred into the resin.

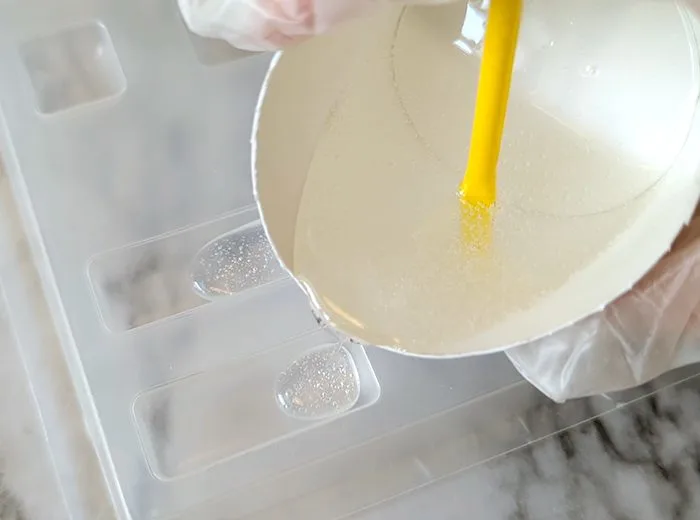
Pour resin mushroom clips
Fill the mold about halfway full and let rest for about 10 minutes. Then use a mist of alcohol or a heat gun to remove any bubbles that rose to the surface.

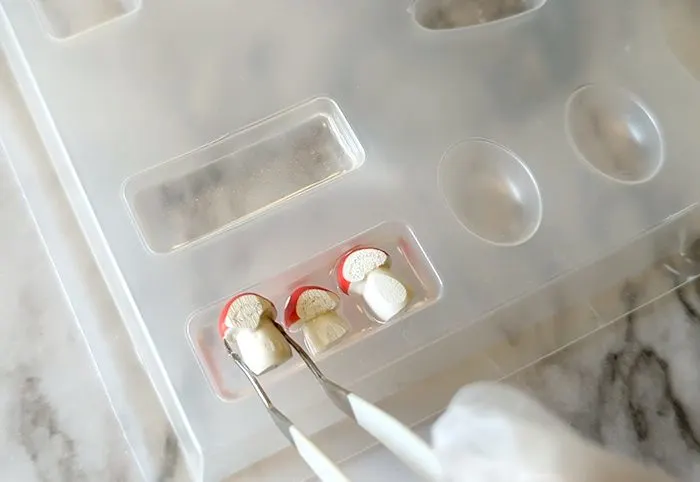
Use tweezers to place the mushrooms into the resin, flat side up (this will be the bottom side of the hair clip.)
Pour more resin on top to reach almost the top of the mushrooms.

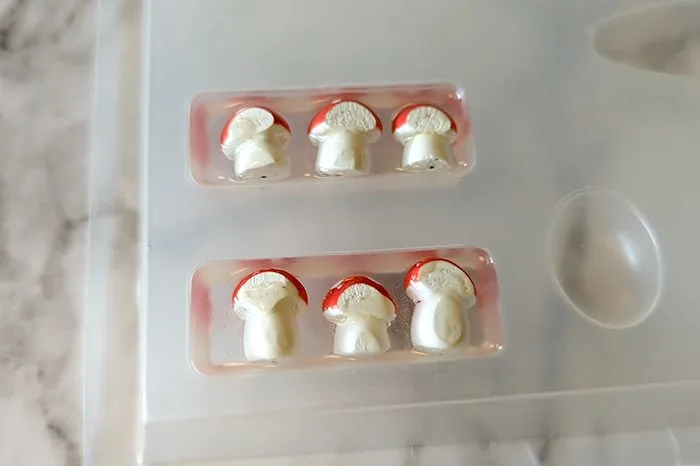
Over the next hour or two, as the resin starts to gel up, rotate any of the mushrooms back if they have started to twist.
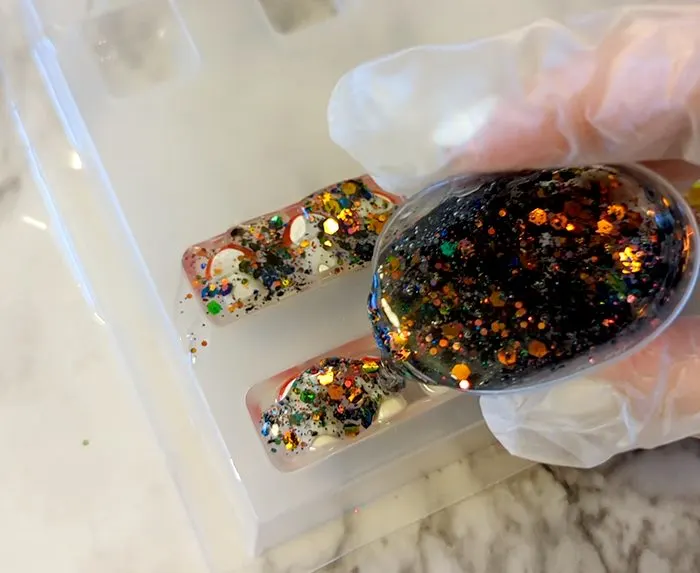
After 4 hours of curing, the last layer can be added and the color or glitter won’t mix with the first pour.

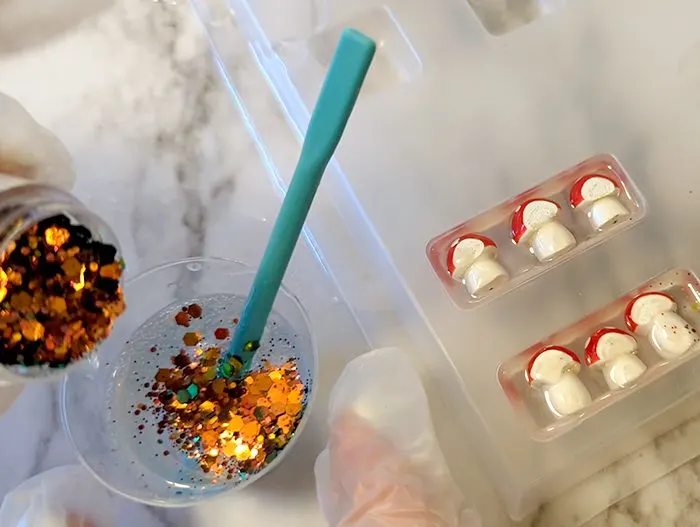
Mix 5 mL of A and 5mL of B, stir for 4 minutes, and add glitter or mica or dyes – anything you want to be the “base” layer of your clips.

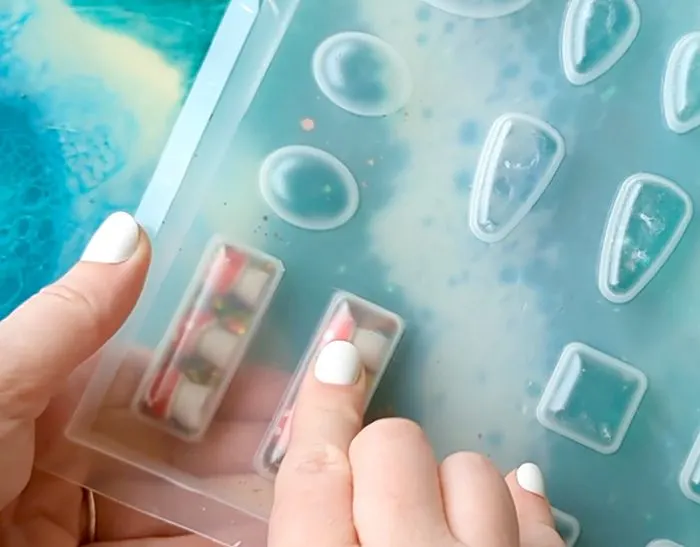
Let the resin cure for 24 hours then remove from the mold. Flip the mold upside down and push on the bottom. That helps pop the resin shape out.

Make hair clips from resin
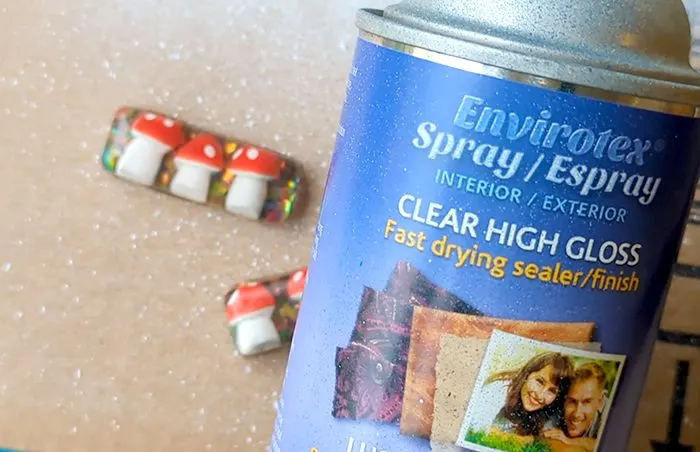
Restore the shine to the resin surface with a sealer spray like this. A couple of light coats will make a big difference

To finish the clips, glue the resin onto a blank clip. I clipped mine onto a silicone mat to make sure that my glue didn’t seep down and accidentally seal the clip closed.

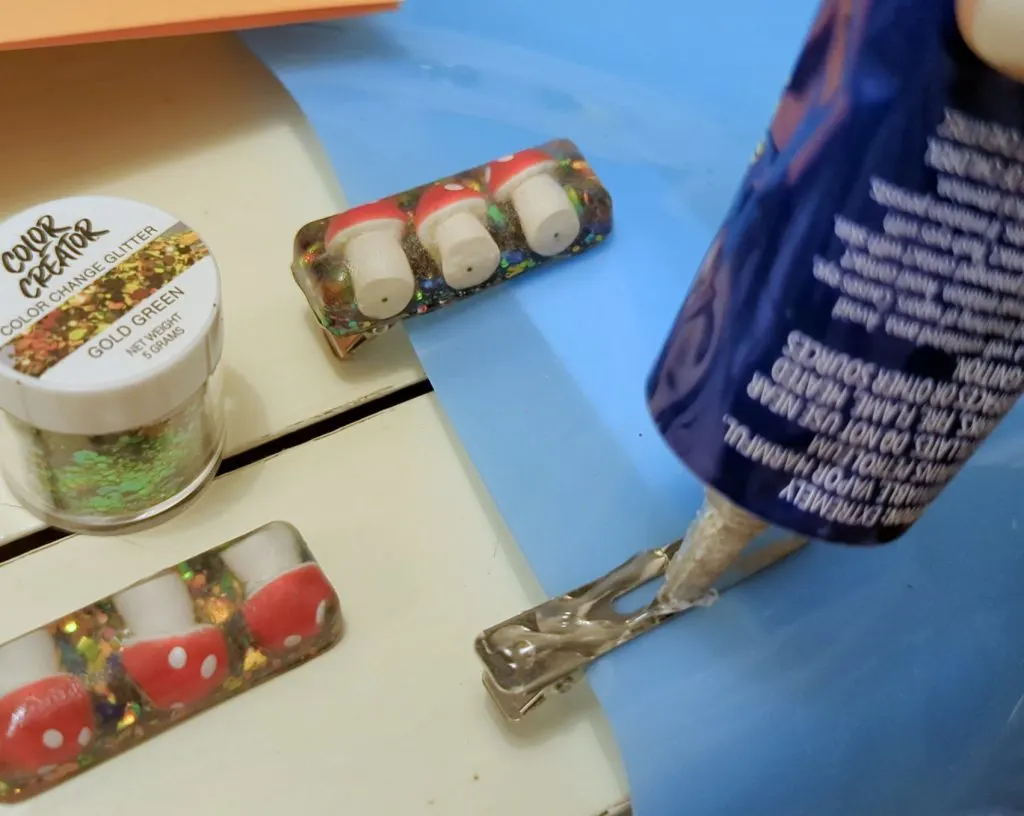
When the glue is dried, the resin mushroom clips are ready to be packaged, gifted, or worn! Who do you know who would love these?
Watch the YouTube video here if that’s more your style!
This post originally appeared on Resin Crafts Blog