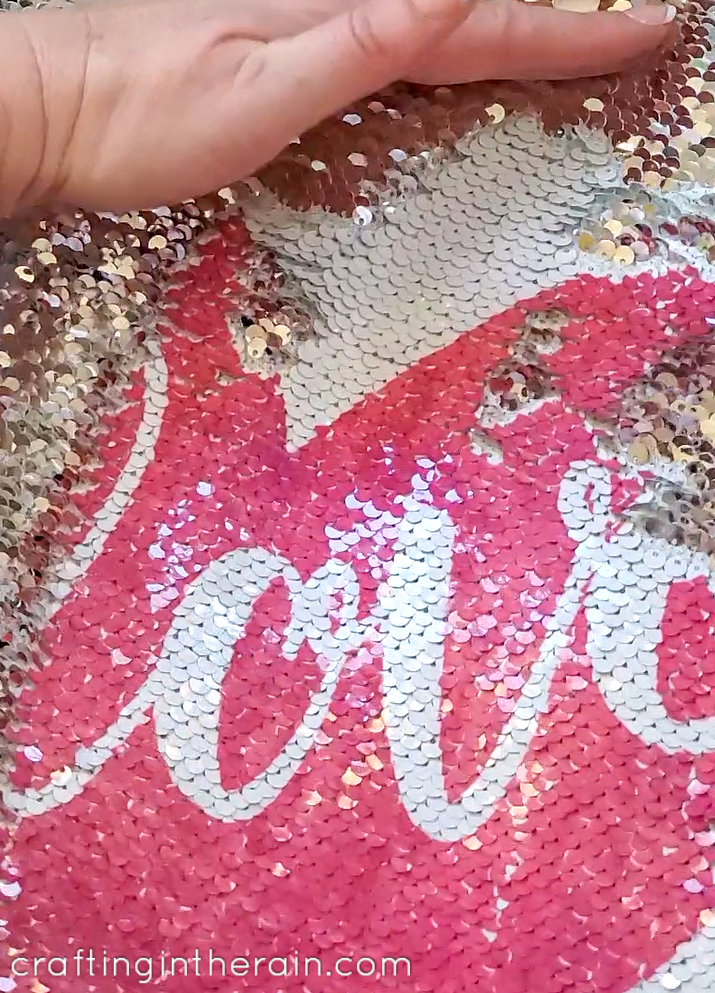
Did you know you can make an Infusible Ink Sequin Pillow? I bought this flip sequin pillowcase and designed a love heart svg to put on it, and it’s pretty magical.

Getting the design ready
Start by downloading the love SVG using this form.
This file is for Personal Use only. Thanks!
Read this post to learn how to upload to Design Space
Resize the svg to fit your pillow, and the size of the EasyPress you have. Since I was using the large EasyPress, I made my heart 9 inches.
Make sure you mirror the image after sending it to the mat.
Read this post for tips on using Infusible Ink
Supplies to make sequin pillow

Cutting Infusible ink with Cricut
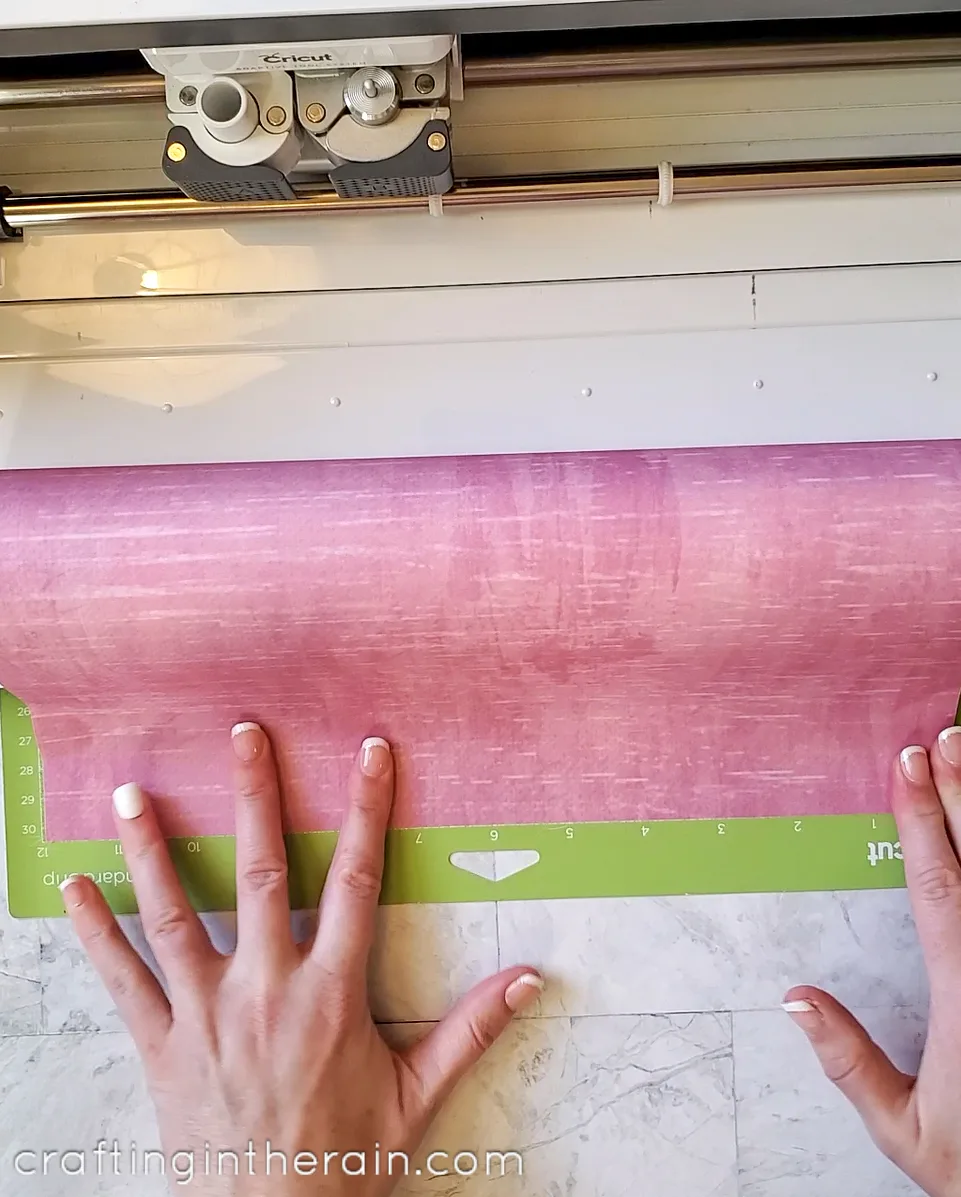
Press Infusible Ink sheet (color side up) on a green mat. When you watch the video you can see how I do this easily by sliding the mat under the machine leaving only a small sticky part out to get it started.
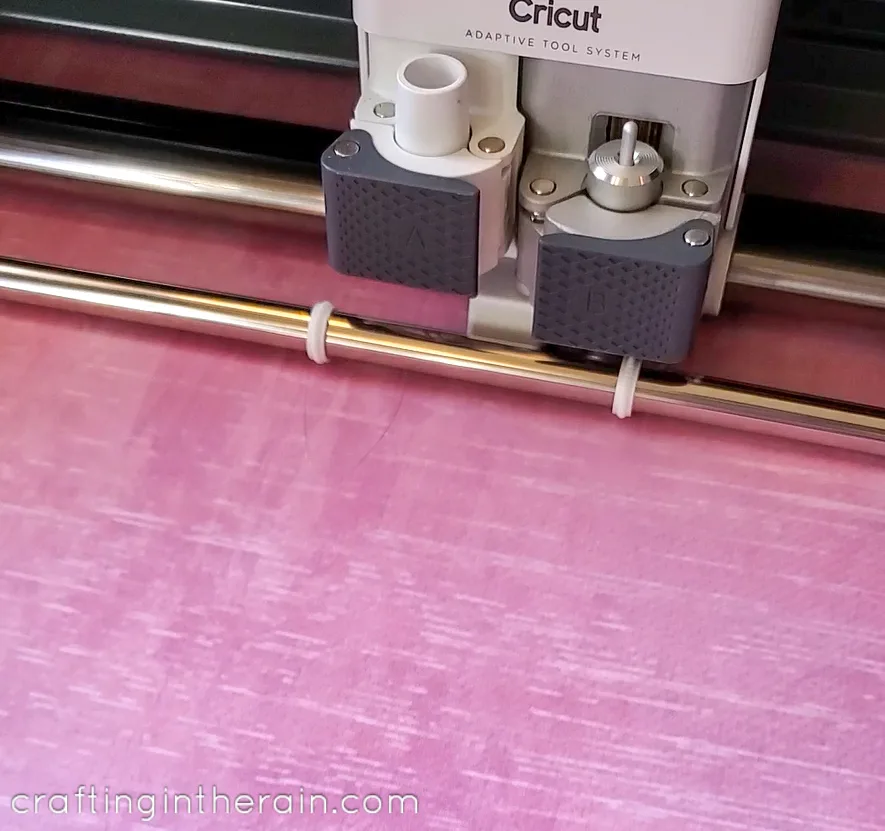
Cut using Infusible Ink setting – if this is the first time you’ve cut Infusible Ink, or it’s been a while, now would be a good time to make a small test cut first.

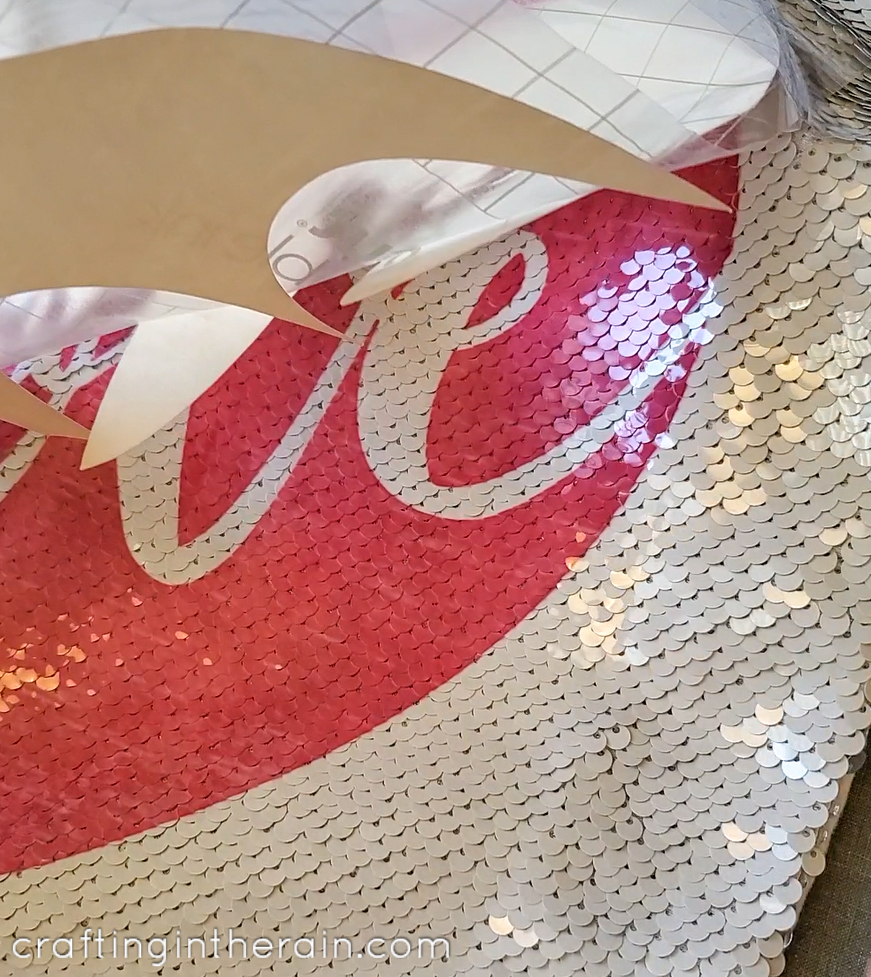
After the design is cut, remove the mat from the machine. Then roll the mat away from ink sheet and weed / pull away the extra infusible ink. Use your fingers to pull away the sheet around the outside of the heart, and the word “love.” Make sure to leave the insides of the letters!
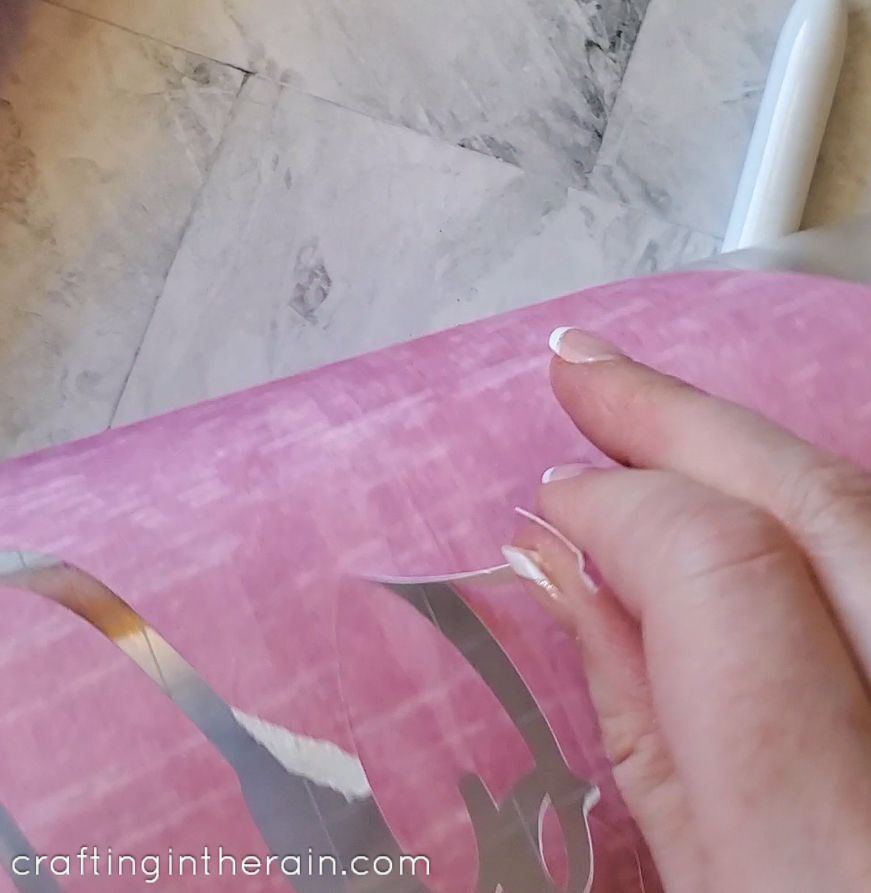

If the paper is splitting and peeling, try grabbing it with a weeding hook, then continue with your fingers.
Applying Infusible Ink to Sequin Pillow
Heat your EasyPress to 400 degrees with 60 seconds on the timer.
Lay a piece of white cardstock down on the EasyPress mat.
Smooth down the sequins in one direction – I pressed this design on the white side of the sequins.
Secure ink sheet (color side down) with heat resistant tape. Make sure it’s laying flat with no wrinkles or puckering.


Cover the design with butcher paper.
Press for 60 seconds – don’t let the EP shift around, but use good pressure to make sure all the ink transfers.
Let cool and remove paper, tape, and ink sheet.

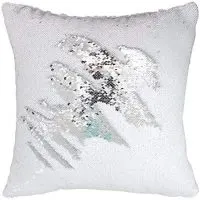
The Amazon listing for this pillow says both sides can be printed on, but I tried on the silver sequins and it didn’t take well. The color was minimal, and then it sill left a colored shadow on the white side.
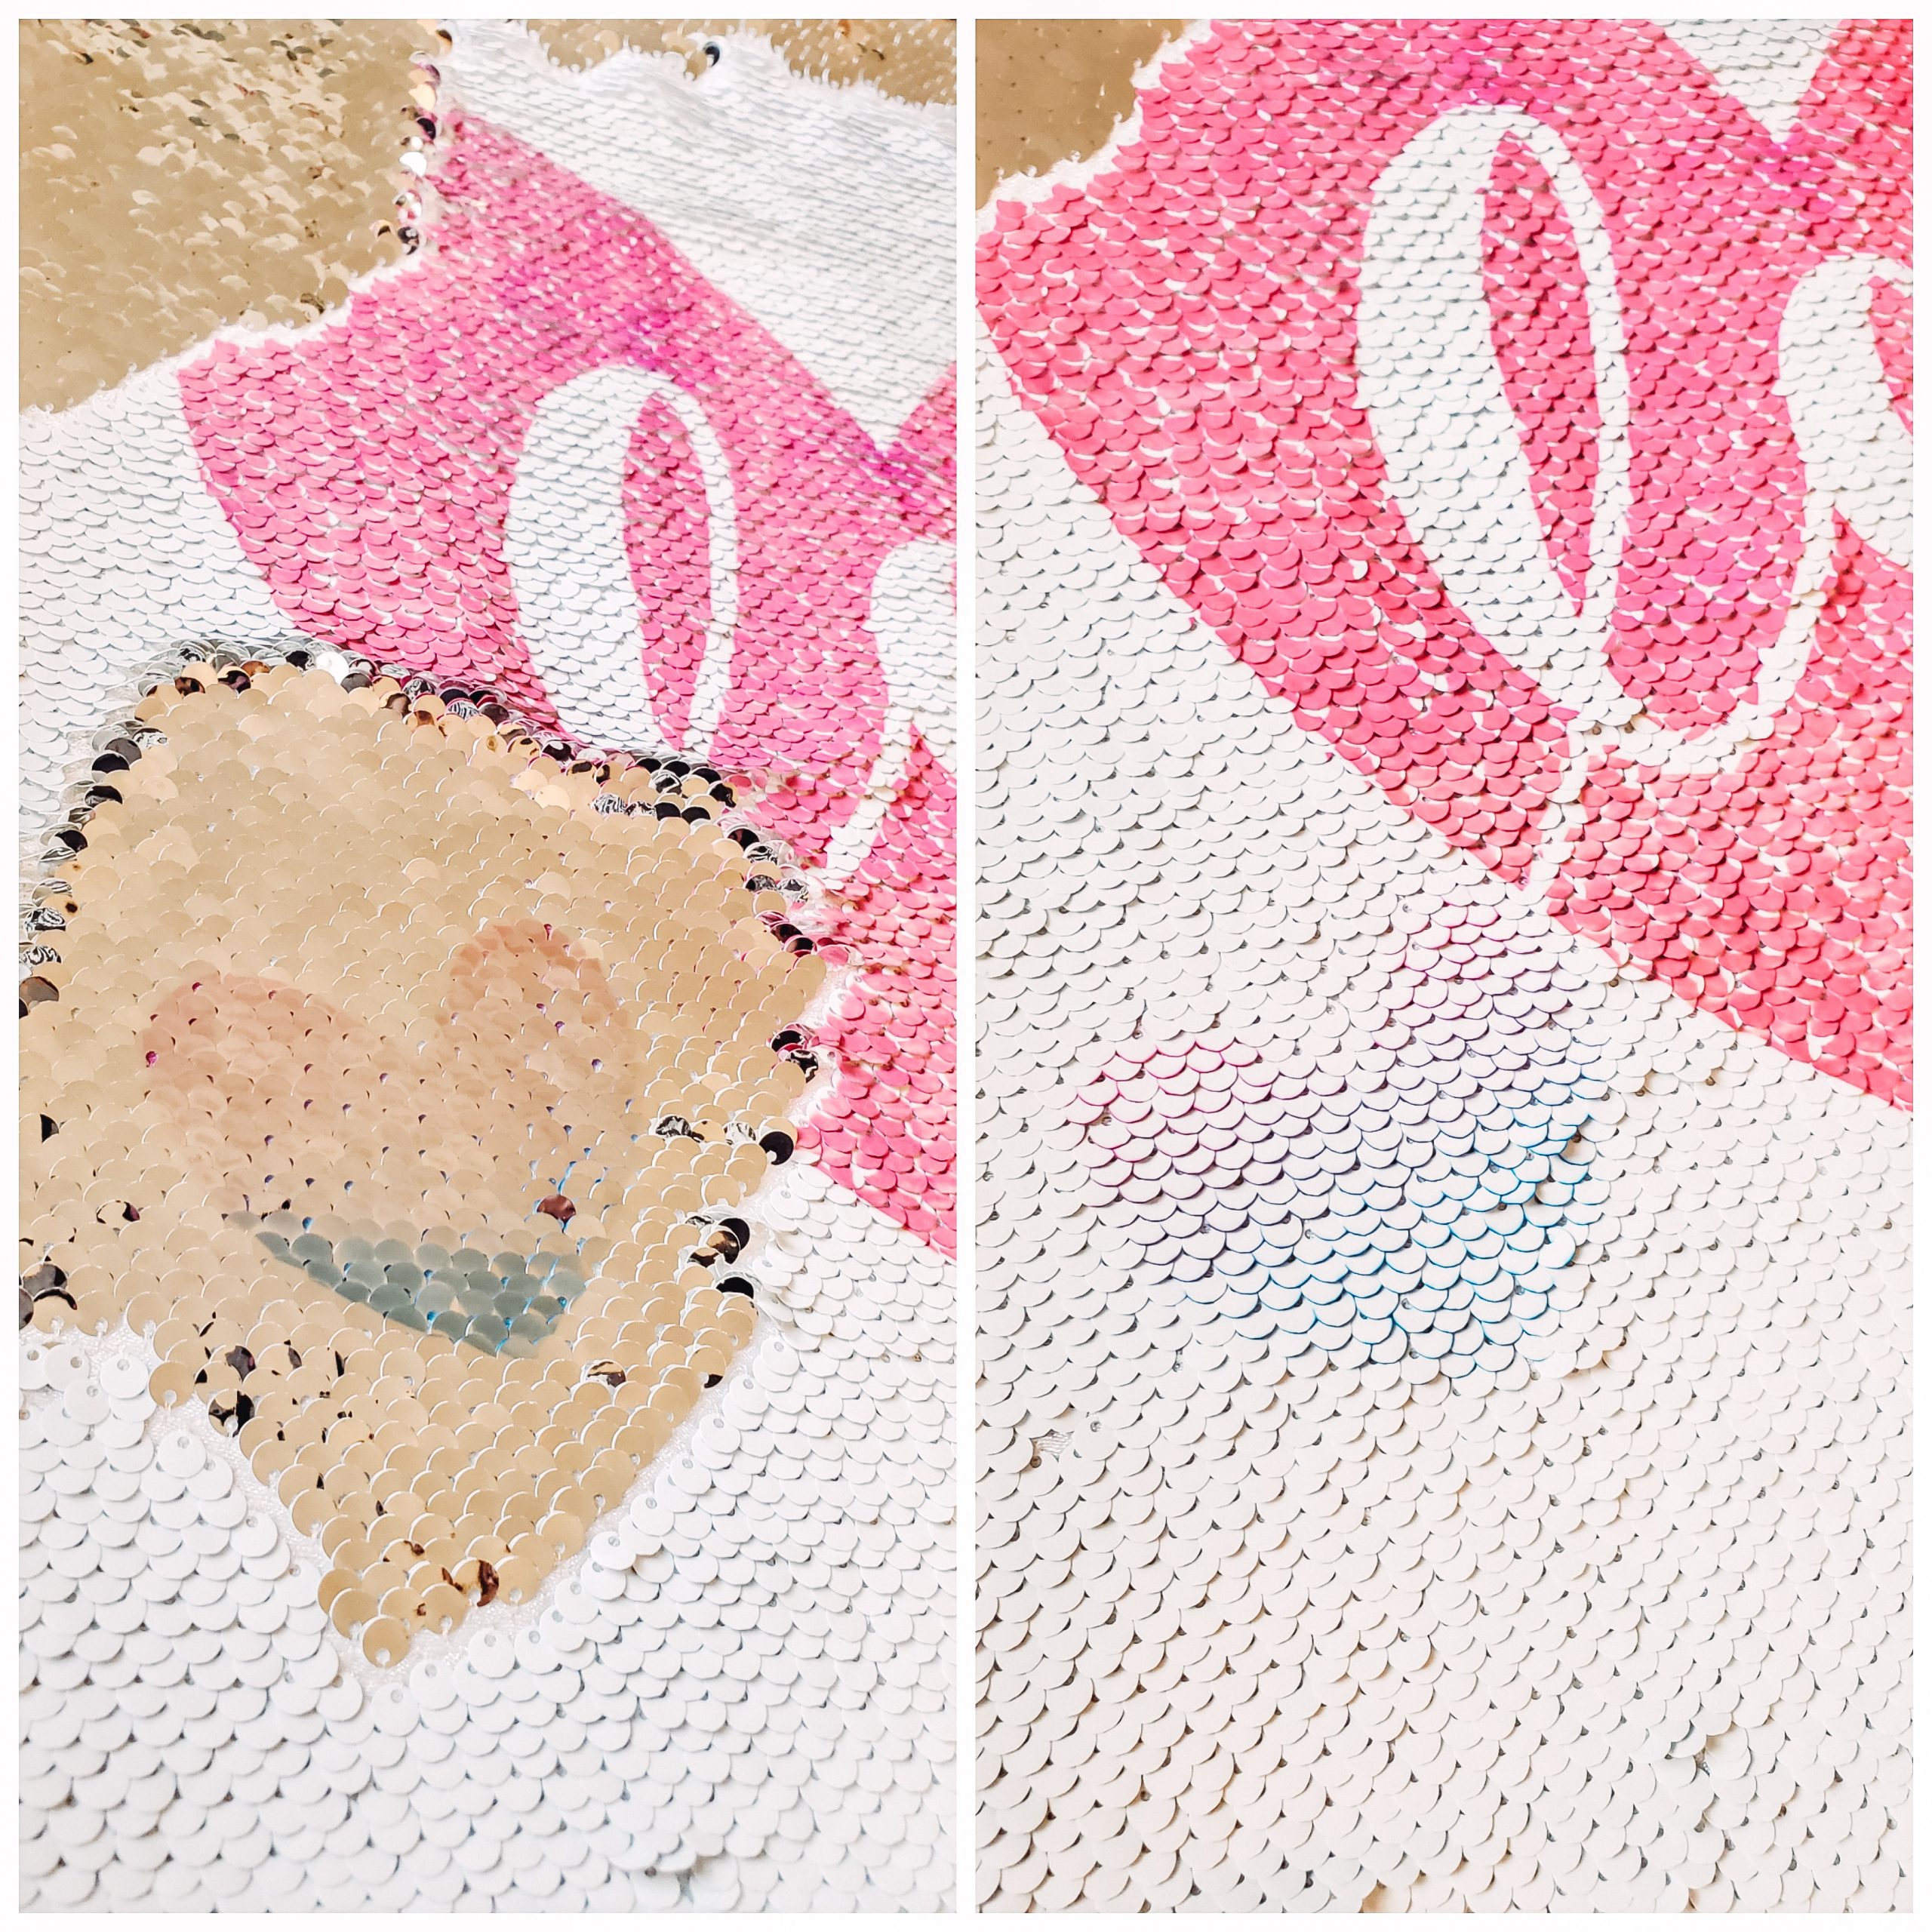

So I suggest only applying Infusible Ink on the white sequins.
Infusible Ink Sequin Pillow
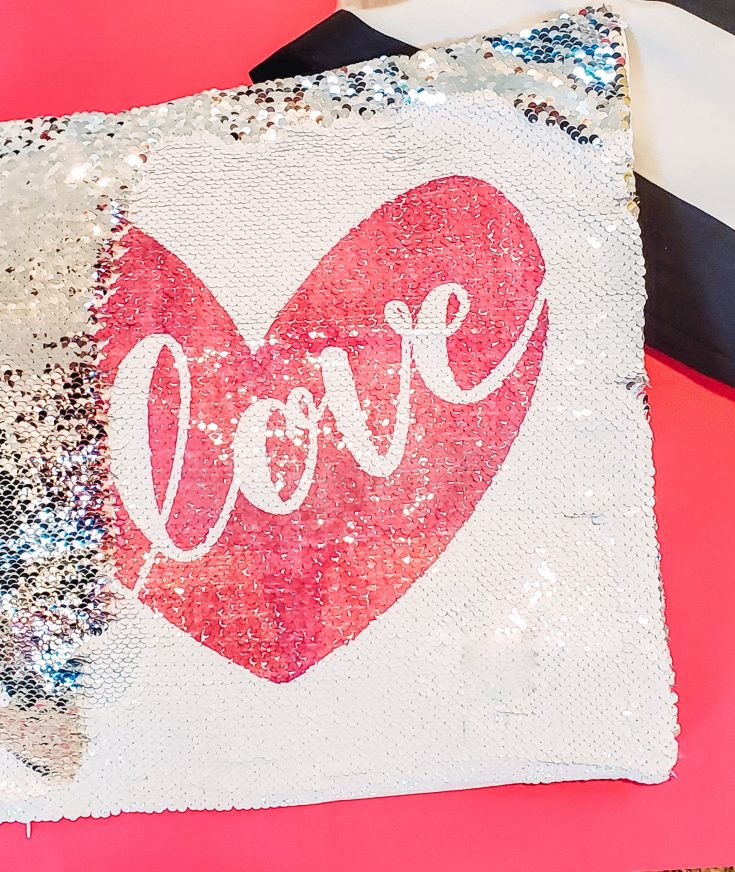
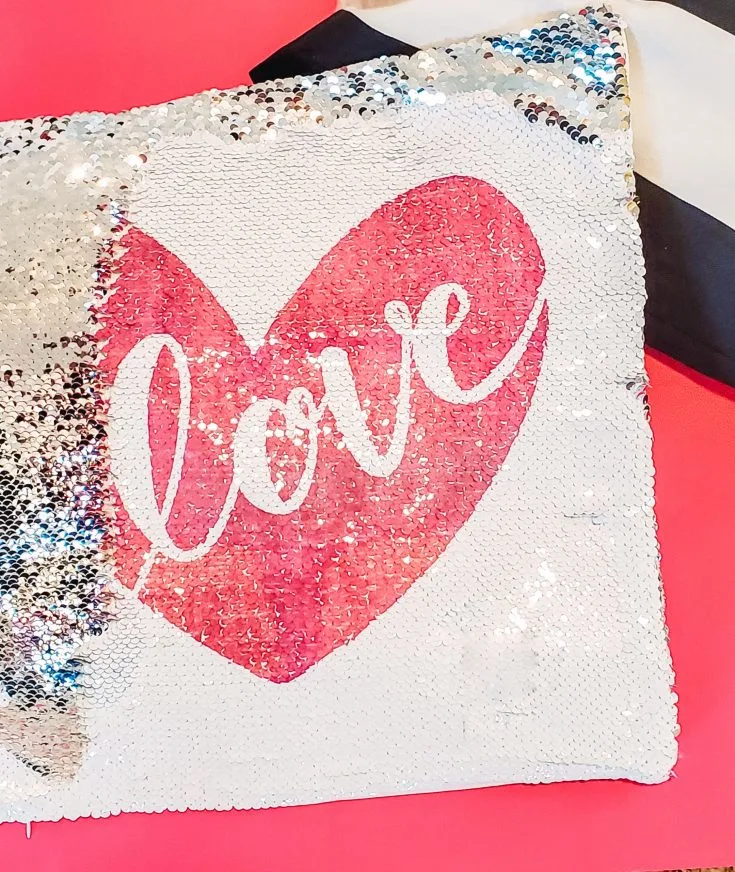
I bought this flip sequin pillowcase and designed a love heart svg to put on it, and it's pretty magical.
Materials
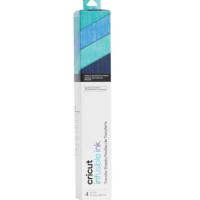
- Infusible Ink Sheet
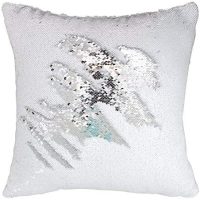
- Sublimation Sequin Pillowcase
- White cardstock
- Butcher paper
Tools
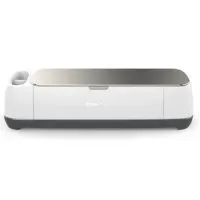
- Cricut Maker or Explore
- EasyPress
- EasyPress Mat
Instructions
1. Download free svg
2. Upload to Design Space
3. Size to 9 inches (or to fit pillow)
4. Mirror image
5. Press Infusible Ink sheet (color side up) on a mat – watch the
video to see how I do this easily by sliding the mat under the machine
6. Cut using Infusible Ink setting
7. Roll mat away from ink sheet and weed / pull away the extra
infusible ink
8. Heat EasyPress to 400
9. Lay white cardstock on EasyPress mat
10. Smooth sequins in one direction
11. Secure ink sheet (color side down) with heat resistant tape;
make sure it’s laying flat with no wrinkles
12. Cover with butcher paper
13. Press for 60 seconds – don’t let the EP shift around, but use
good pressure
14. Let cool and remove paper, tape, and ink sheet
Recommended Products
As an Amazon Associate and member of other affiliate programs, I earn from qualifying purchases.


Julia
Sunday 6th of November 2022
How did the sequin pillow hold up? Since the sequins aren’t fabric , do they hold the ink permanently ? Did it fade / rub color onto other surfaces?