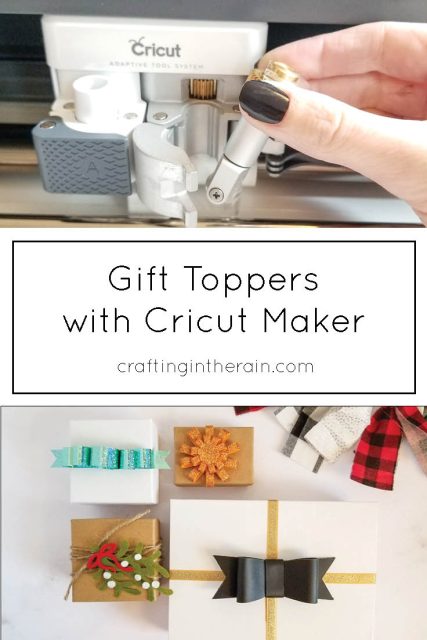
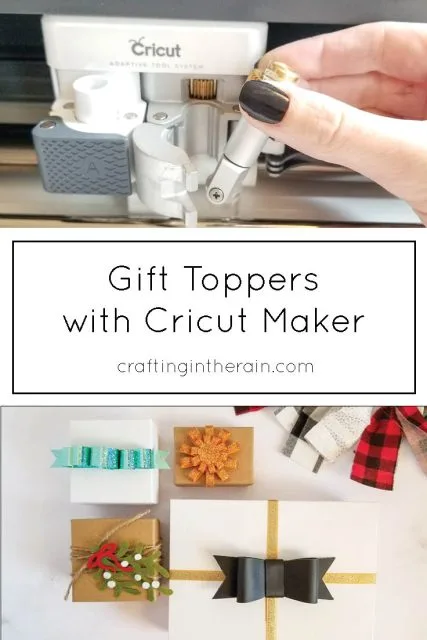
You already know the Cricut Maker is an amazing tool when it comes to making DIY holiday gifts. I’ve made things like leather earrings, zipper pouches, and of course, you can personalize about anything. But have you thought of using the Cricut Maker to make DIY holiday gift toppers too?
I used the fine point blade, the knife blade, and the rotary blade to cut party foil, felt, leather and chipboard into unique gift toppers that you can customize to your own holiday colors. (some links affiliate)

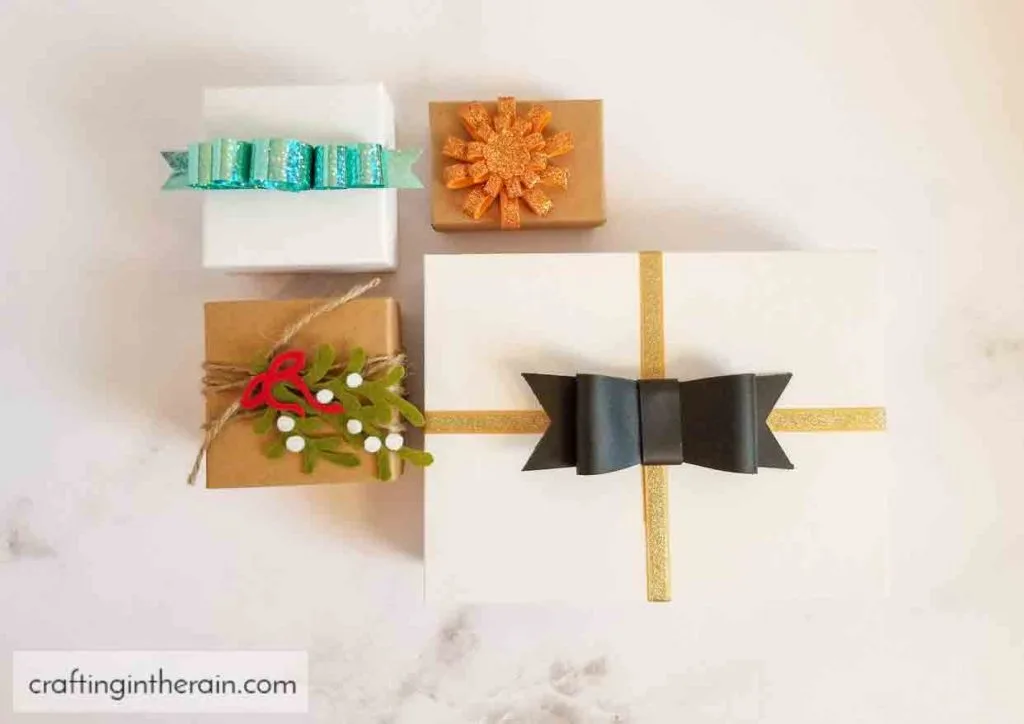
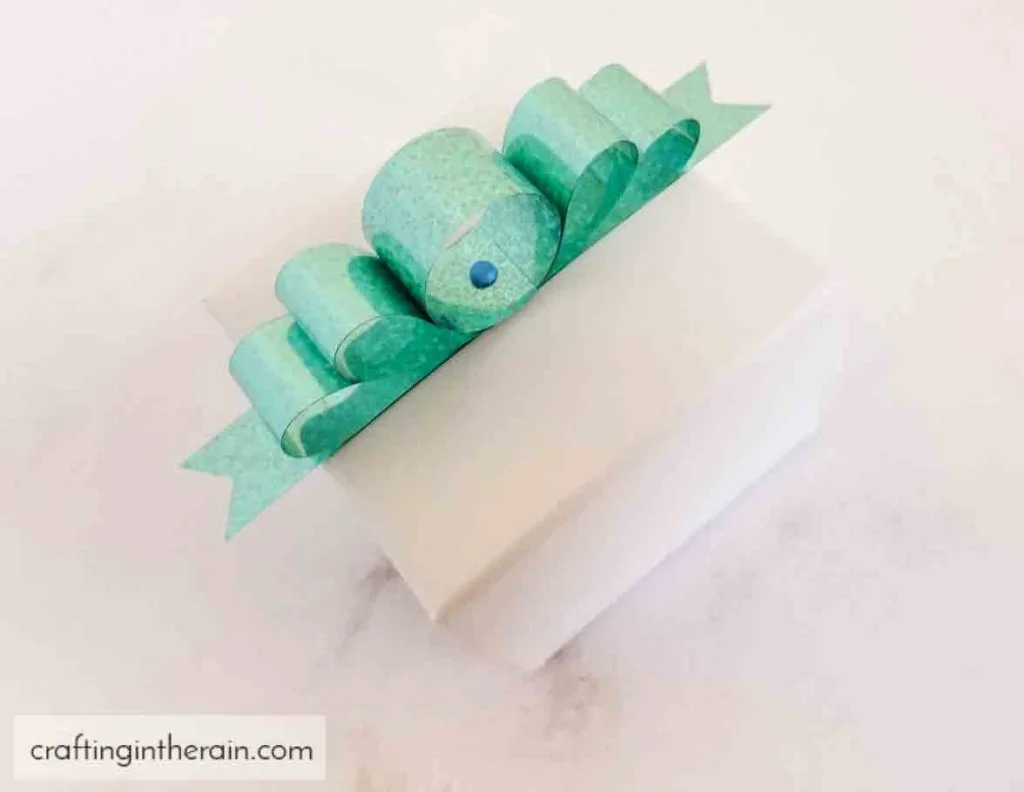
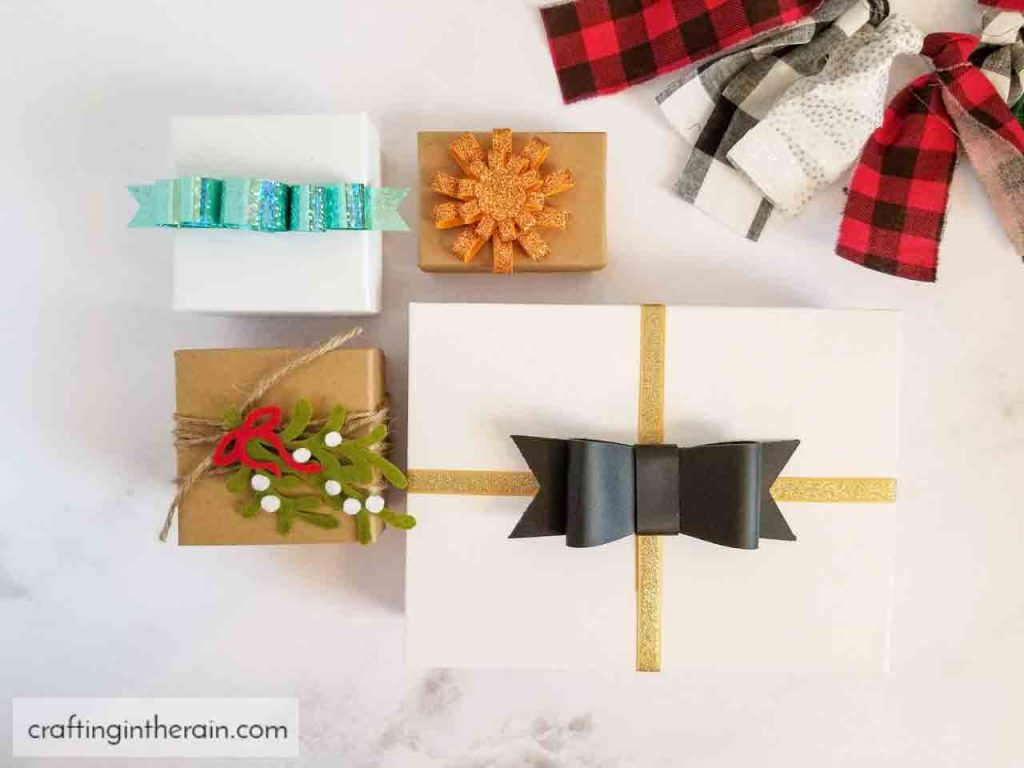
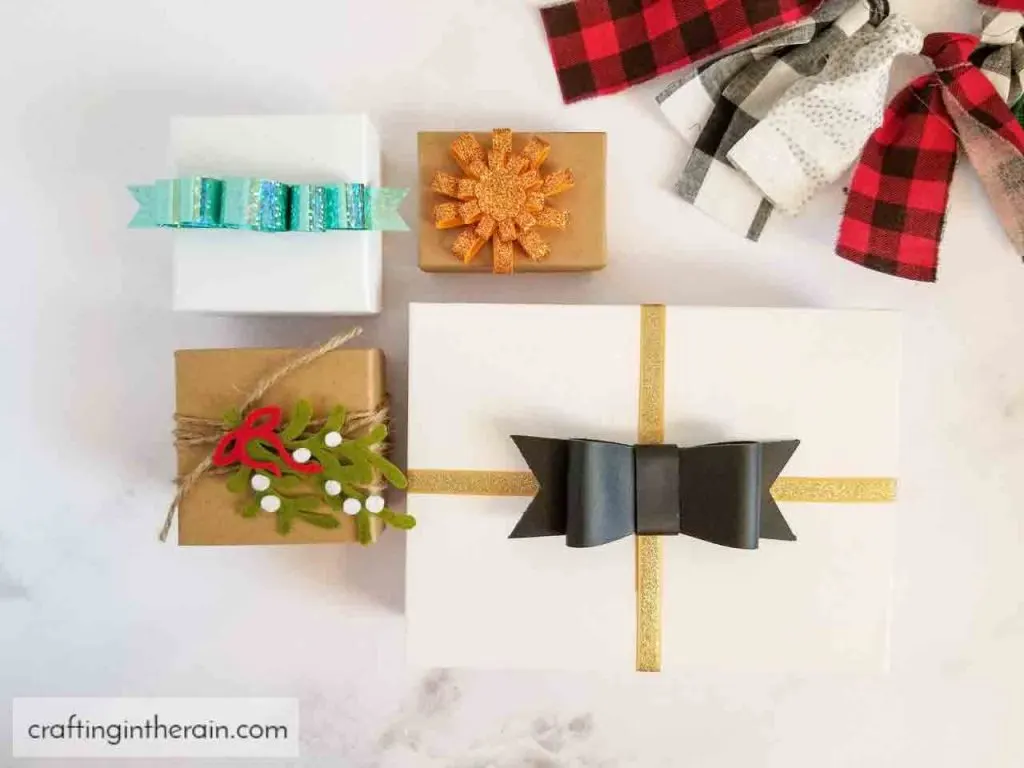
How to make a party foil bow
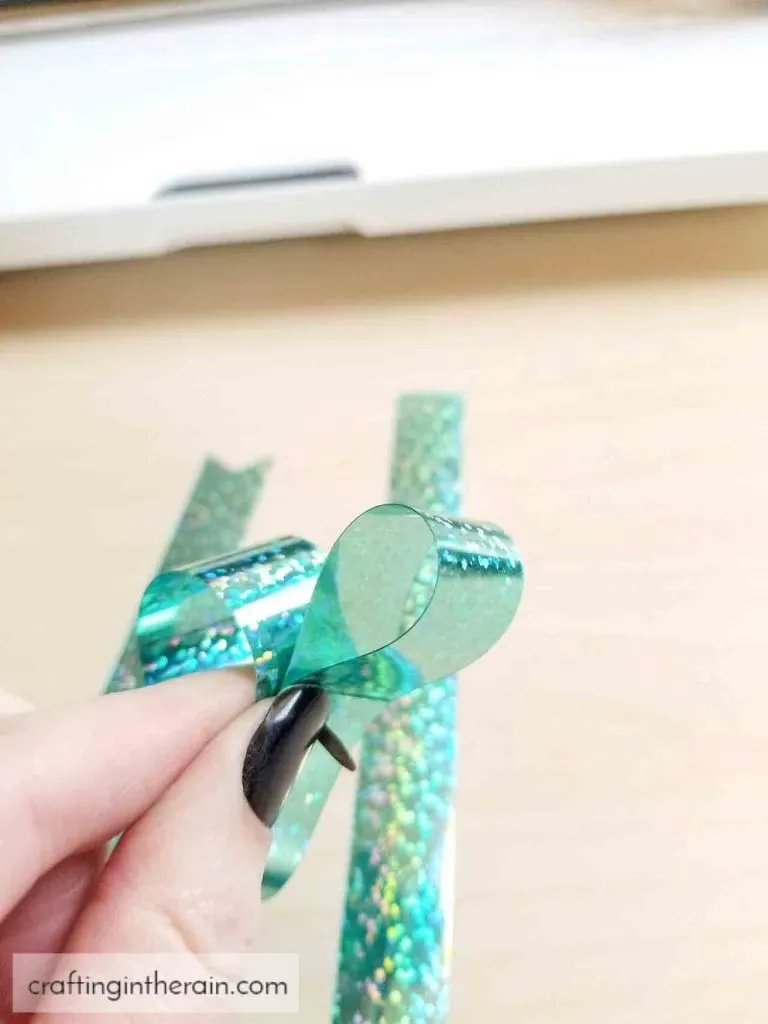
Starting with the party foil, it doesn’t have to be used only for confetti cut-outs. But I will give you this warning – I couldn’t get it to stick with hot glue or my tape runner. So I found a bow file that is held together with a brad. This was definitely the way to go!

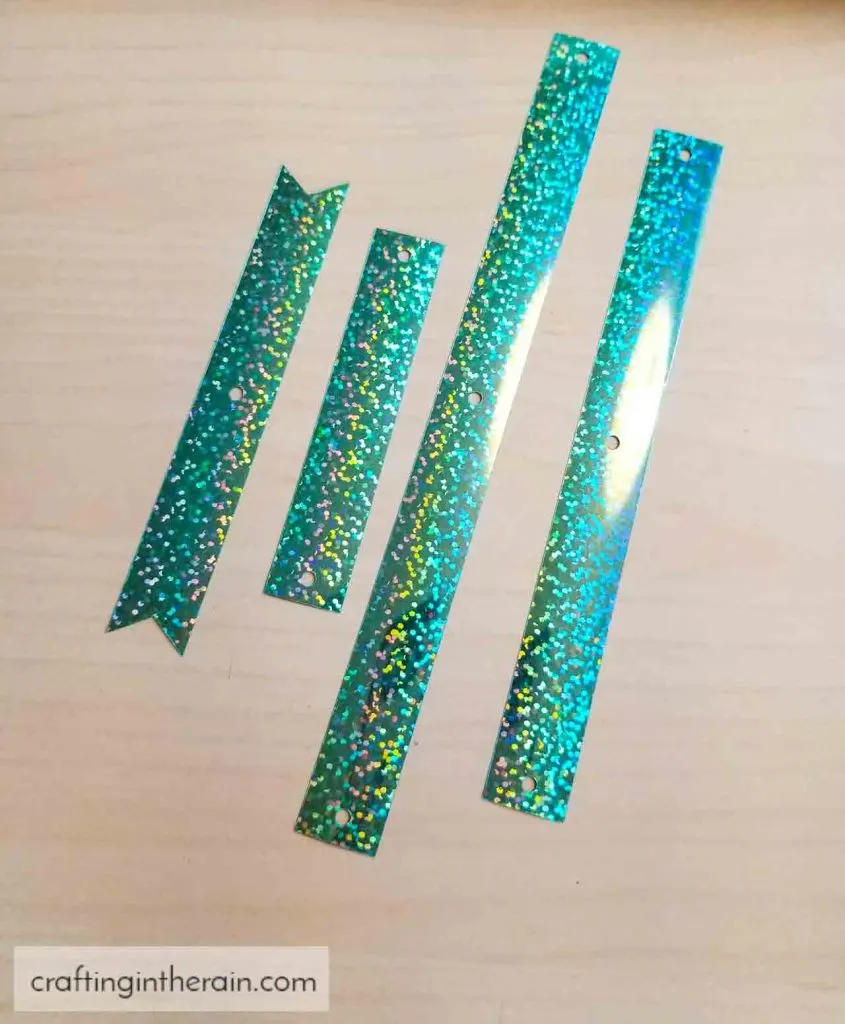
Start by securing the shortest piece with the brad. Then attach the center hole of the medium piece, and then fold over the ends.

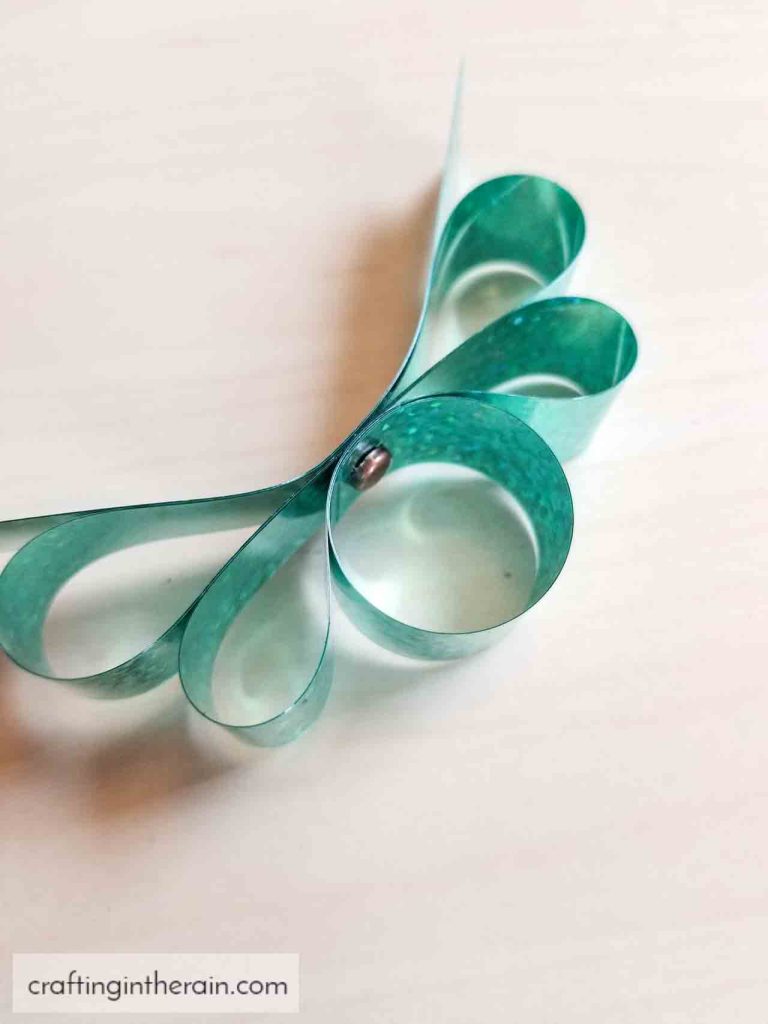
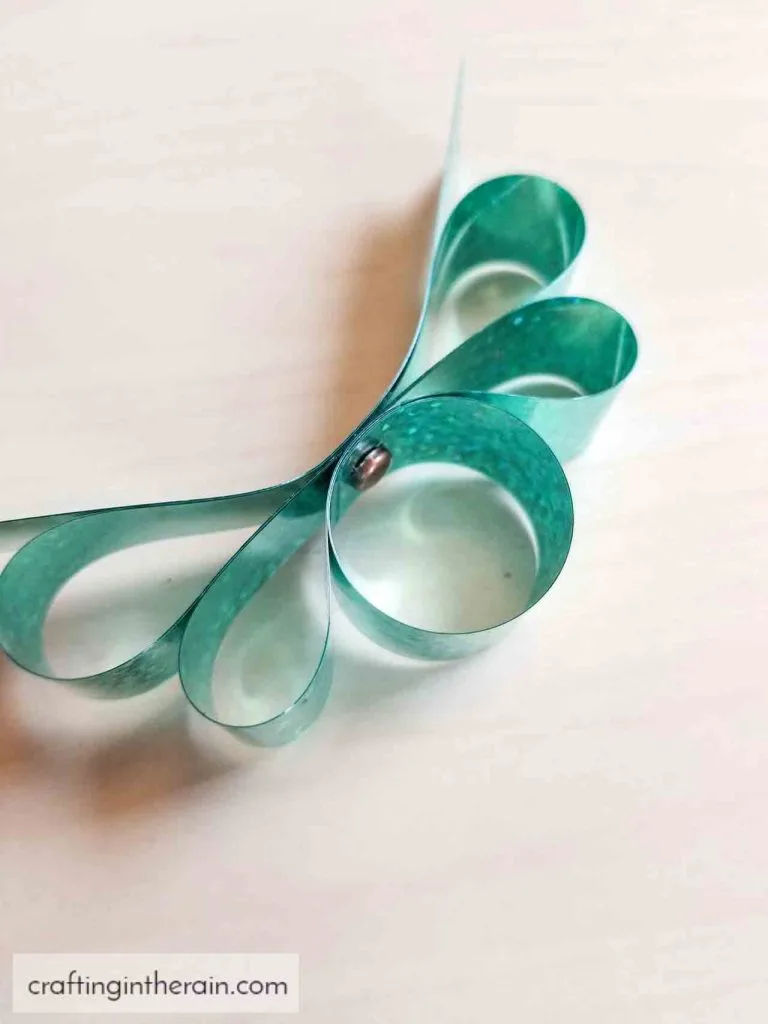
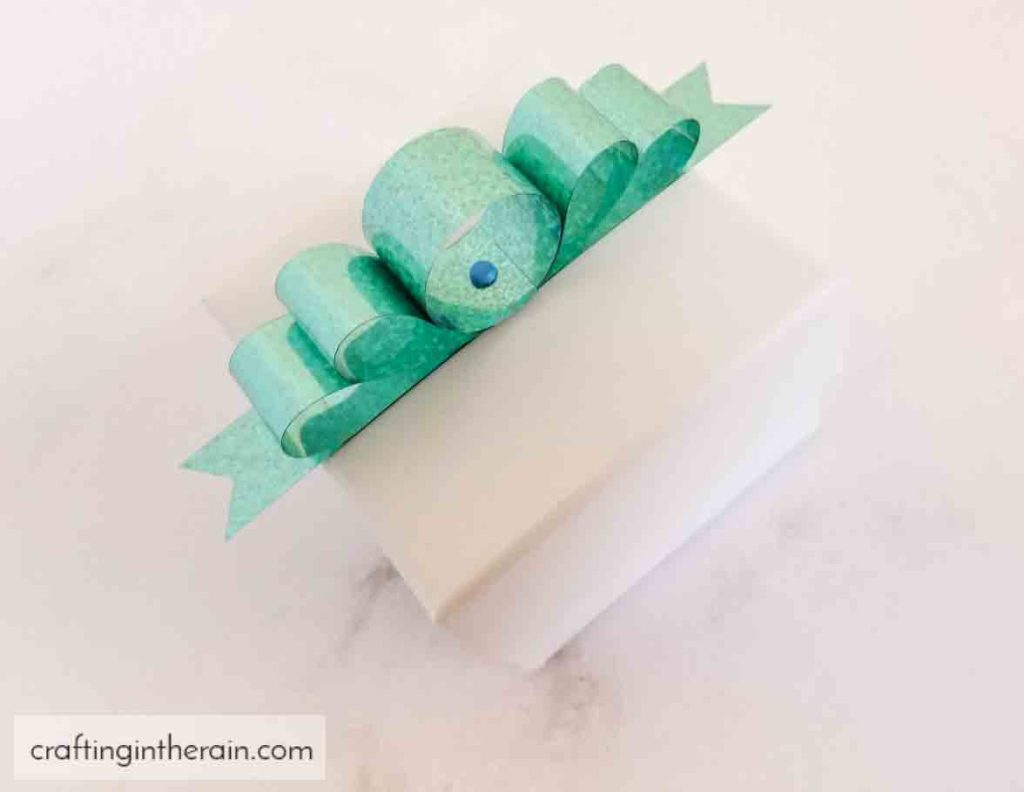
Repeat with the long piece. Finally, add the notched-end piece and open the brad to hold it all tight. Then it can be glued to the top of a present. The glue stuck to the brad enough to make it work.
Or, you could also push the brad through a piece of ribbon and tie that around the present.
Cricut leather bow
For the leather bow, I wanted the bow to serve double duty. It’s also a hair clip!

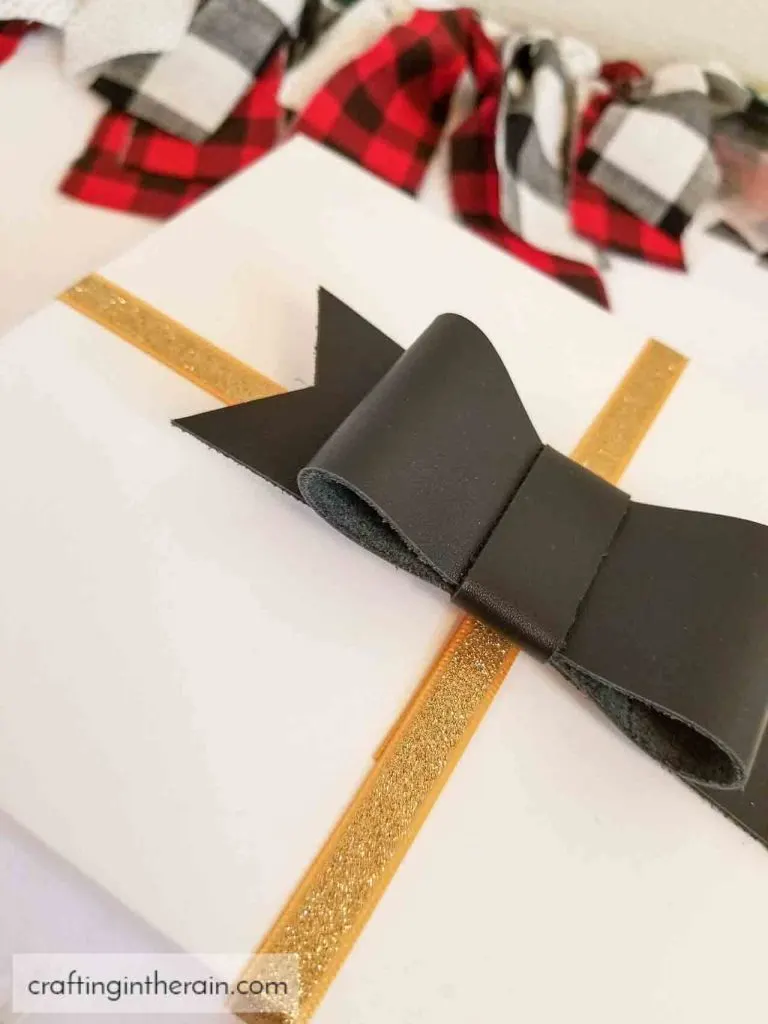
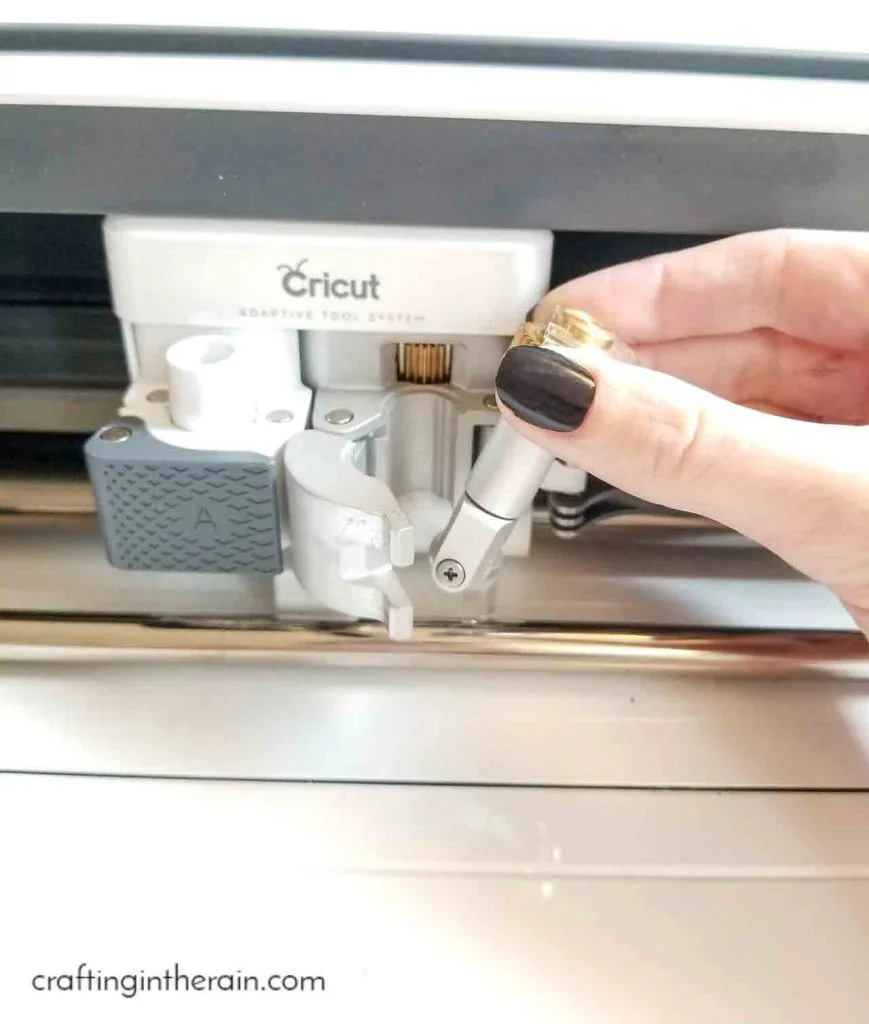
Cut the bow pieces from Cricut leather. I like to choose the “2-3 oz garment leather” setting for the Cricut leather. This way I can use the knife blade, and it works so much better than the deep cut blade, which is the default for the Cricut Leather setting.
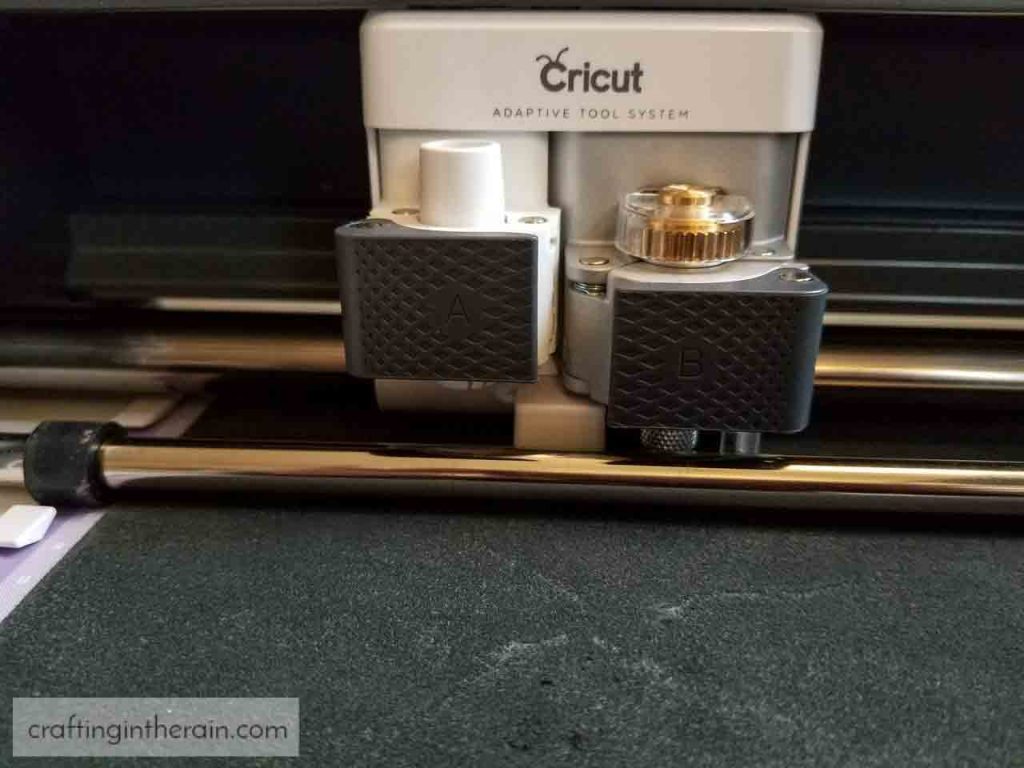
Place the leather face down on a purple mat and cut. The knife blade will make 4 passes, and then the leather pieces come out beautifully. To assemble, fold the end of the curvy piece to the center and secure with hot glue. Layer on the notched piece and wrap the small rectangle around it.

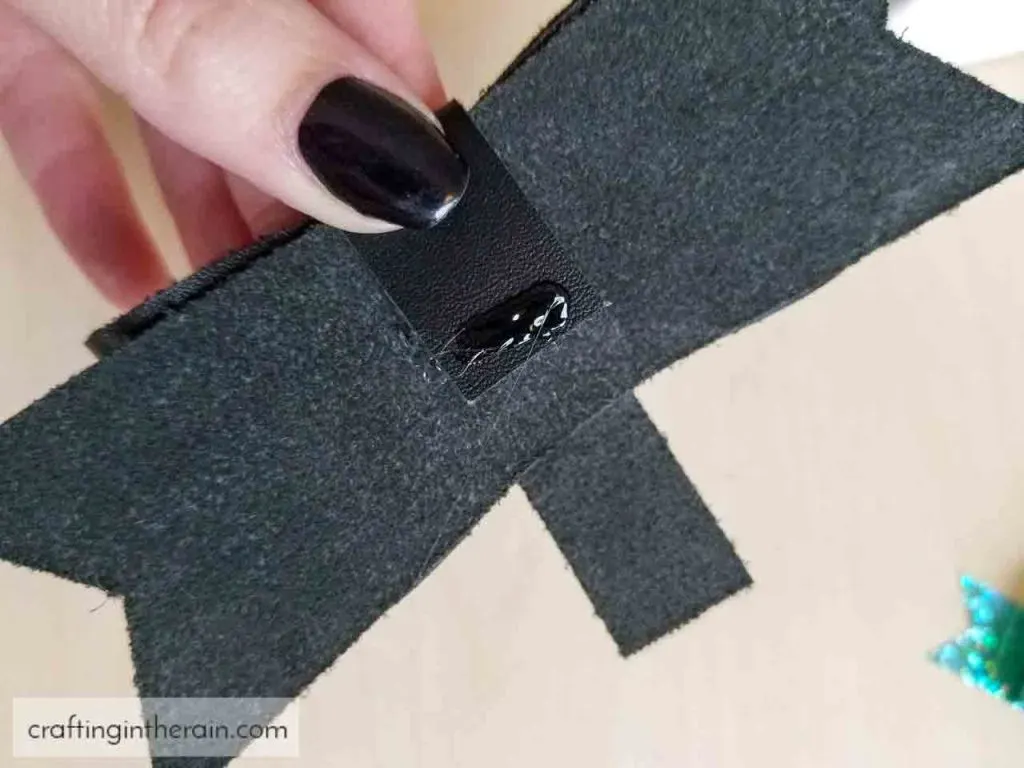
Hot glue the ends, closing the loop. Then a hair clip can slip in and attach the bow to ribbon on a present.


Felt Mistletoe

For the felt gift toppers I used the rotary blade. It cuts through so nicely because it doesn’t drag like the fine point or deep blade does. I found a mistletoe image and cut white, red and green felt. Look how detailed those pieces are!

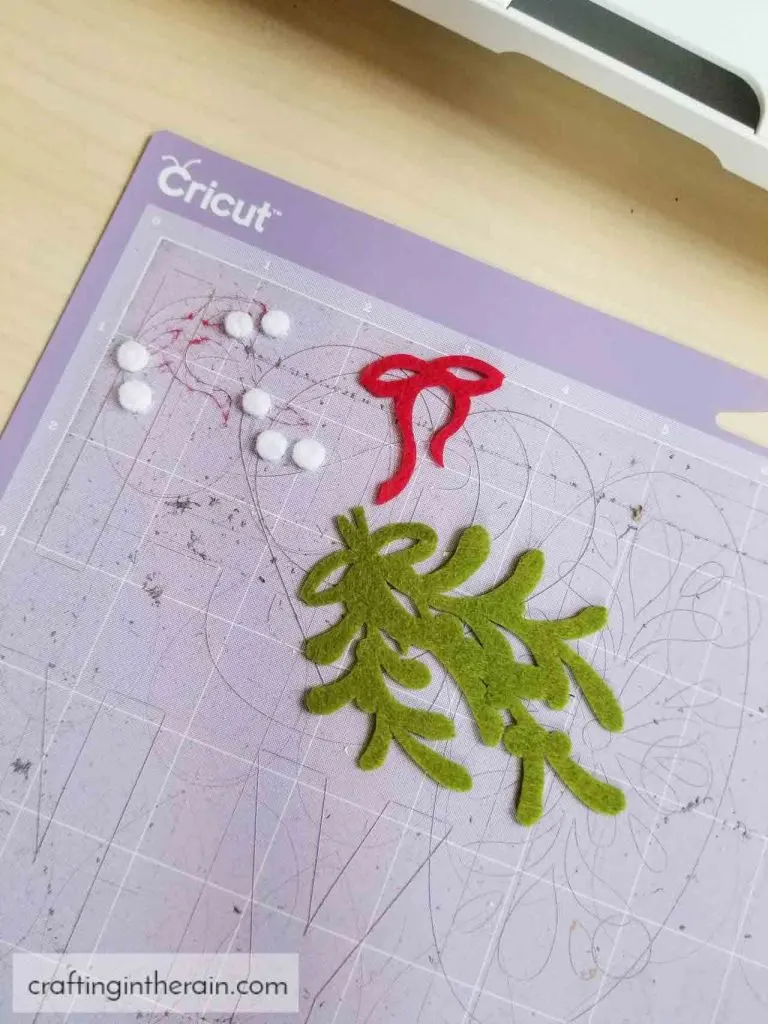
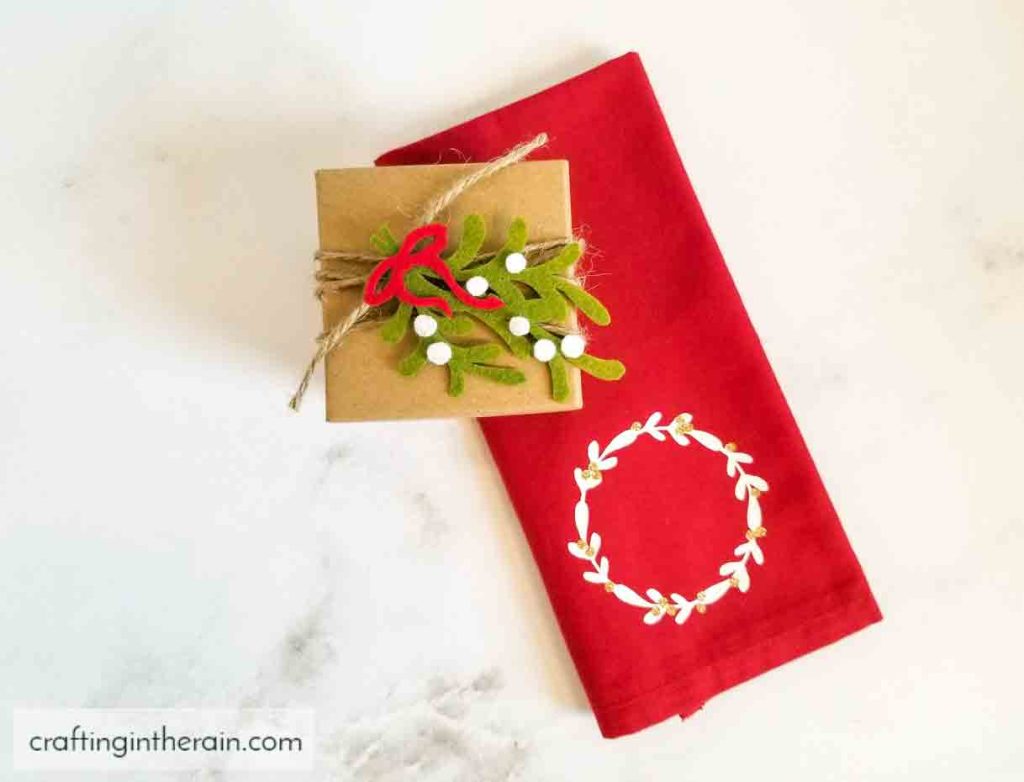
Layer them all together and use fabric glue to keep them in place. Wrap a box in twine and add the mistletoe.

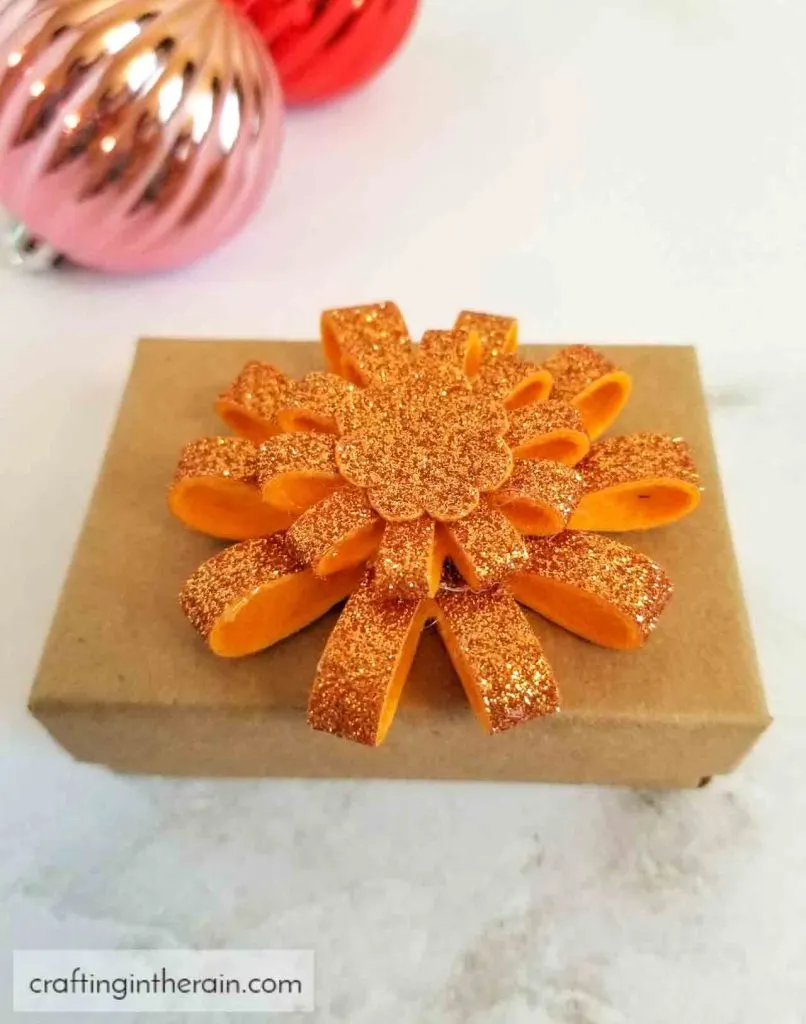
I also cut glitter felt with the rotary blade. I increased the pressure to “more” on the Felt setting. This image cuts out two starburst shapes, a circle, and a scalloped circle.

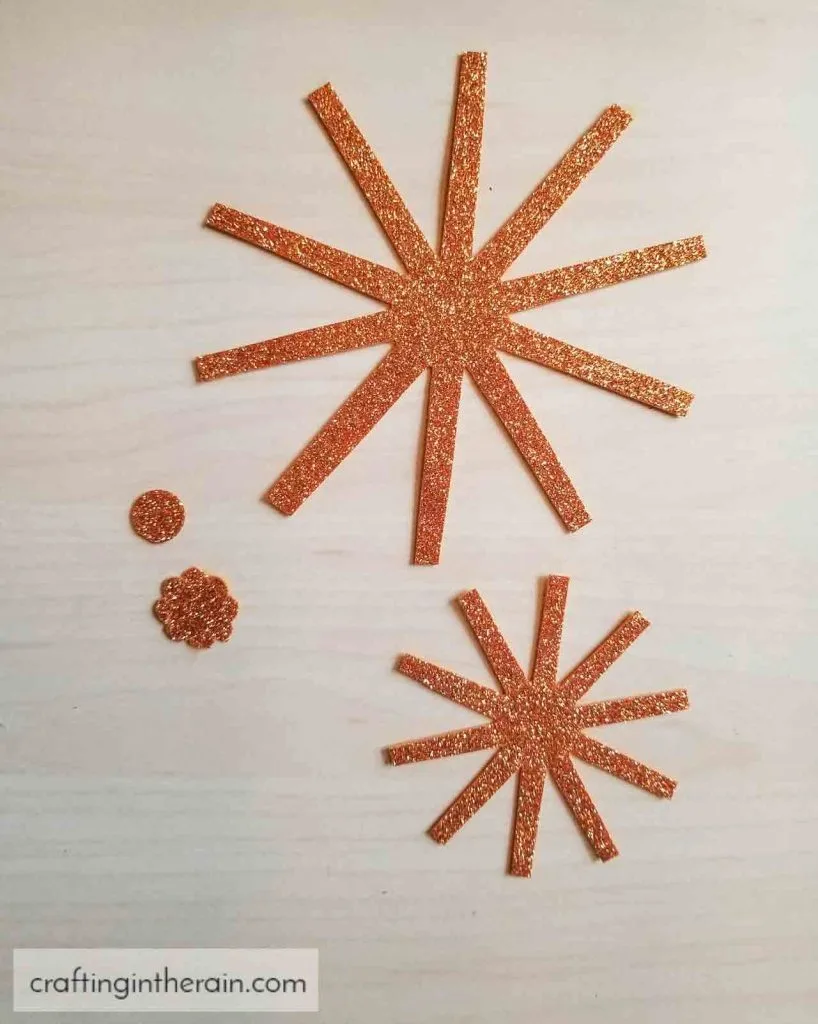
Glue the ends of the star into each center and hold in place with the circles. Then layer the two bow pieces for a sparkly, 3D addition to any gift. Since I put mine on a small box, I made it fairly small. But I think this design would look really cool as a giant bow in the middle of a box.

Add iron-on vinyl to chipboard
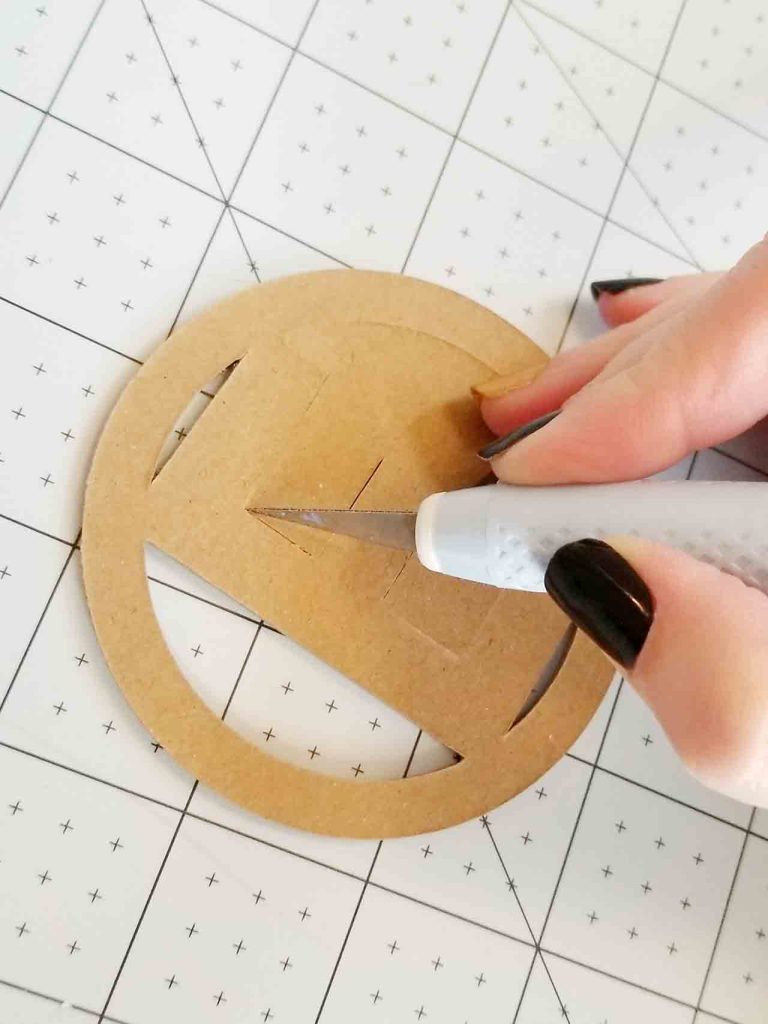
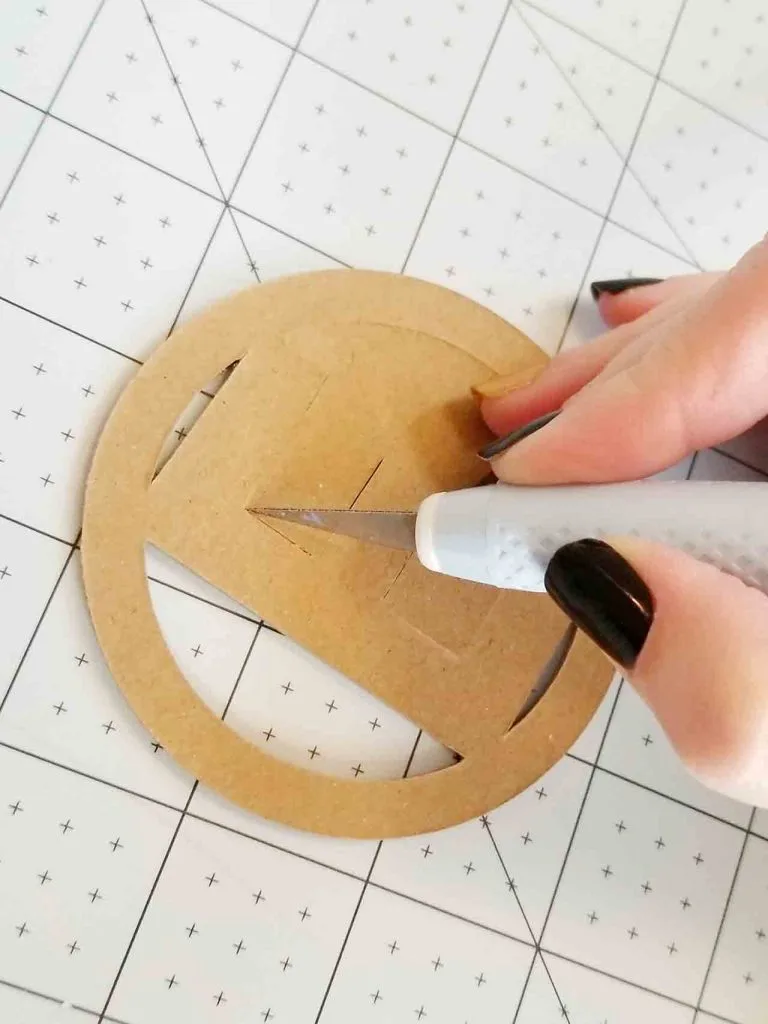
For the final project I made monogram tags with chipboard and a layer of glitter iron-on vinyl. In Design Space I centered a letter (Street Sign font, bold) into a ring and then welded them together. Cut once out of glitter iron-on vinyl and again out of chipboard. I recommend using the Cricut chipboard. It’s sturdy and high quality, so it will give the most consistent cuts. Remember that cutting chipboard takes a long time.

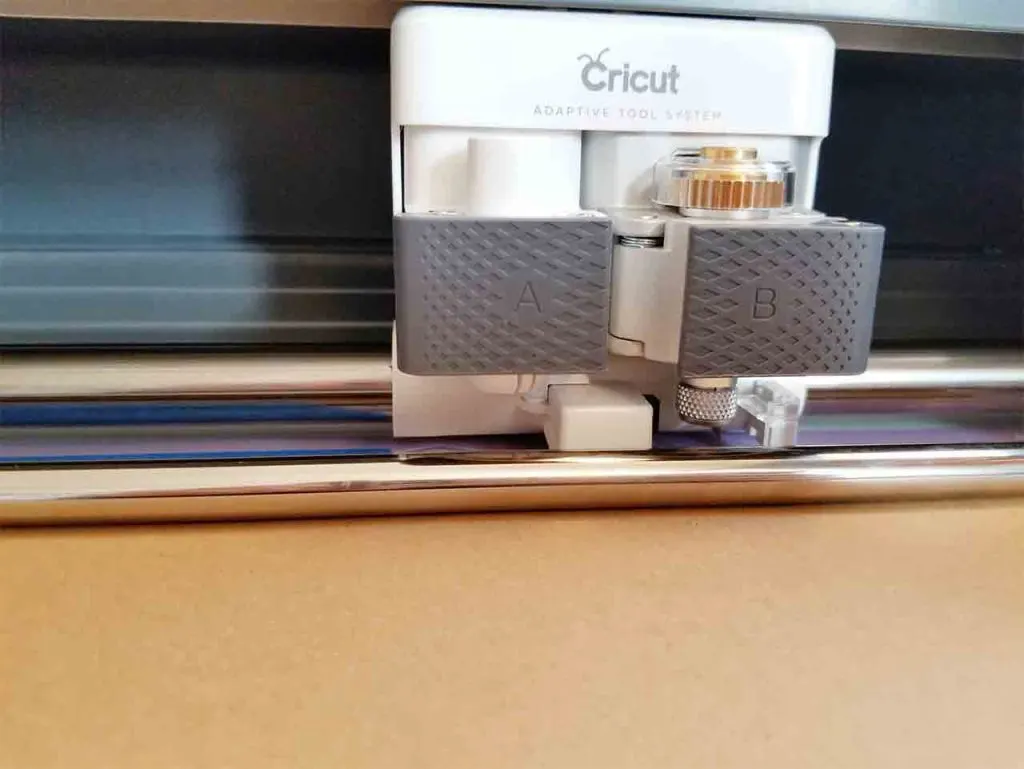
It is set for 20 passes, but I have always had to unload the mat early. Starting at about pass 8 or 10, pause the machine to check the cuts. If most of the cuts have gone through, remove the mat and finish the last tiny bit of cutting with the TruControl Knife (check the price here)
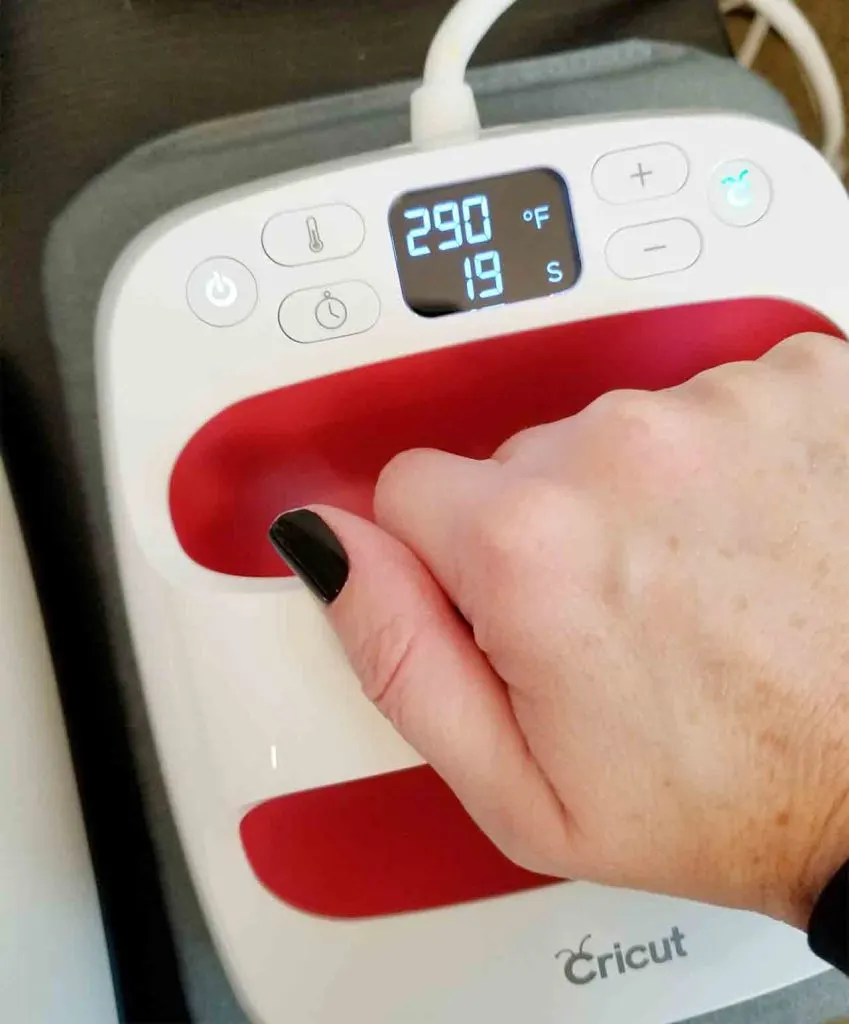
Cut the glitter iron-on (MIRROR the image) and weed the extra. Line it up exactly with the chipboard and apply with the EasyPress. (the small one is great for this project.) I lowered the temperature for applying glitter iron-on to chipboard. I set it to 290 and pressed for 30 seconds. Peel off the plastic while warm, then set something heavy and flat on top to make sure it doesn’t warp while cooling.

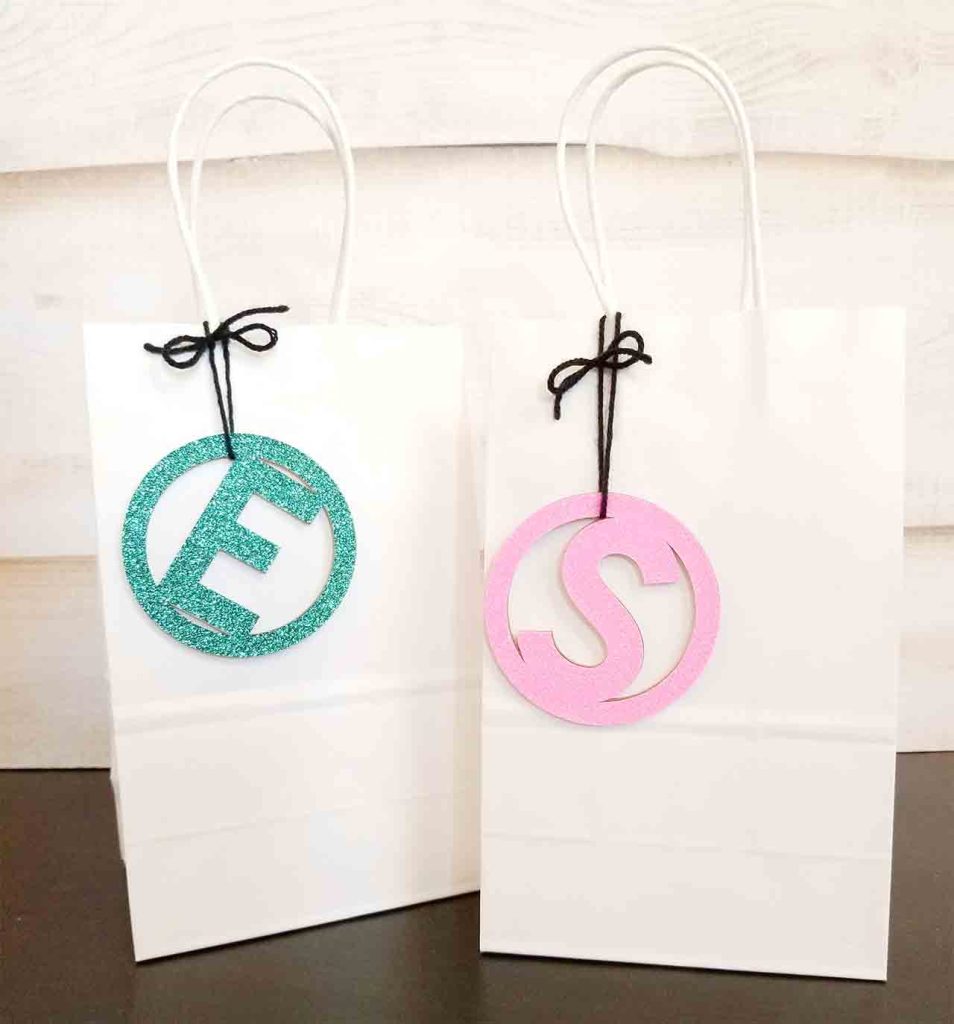
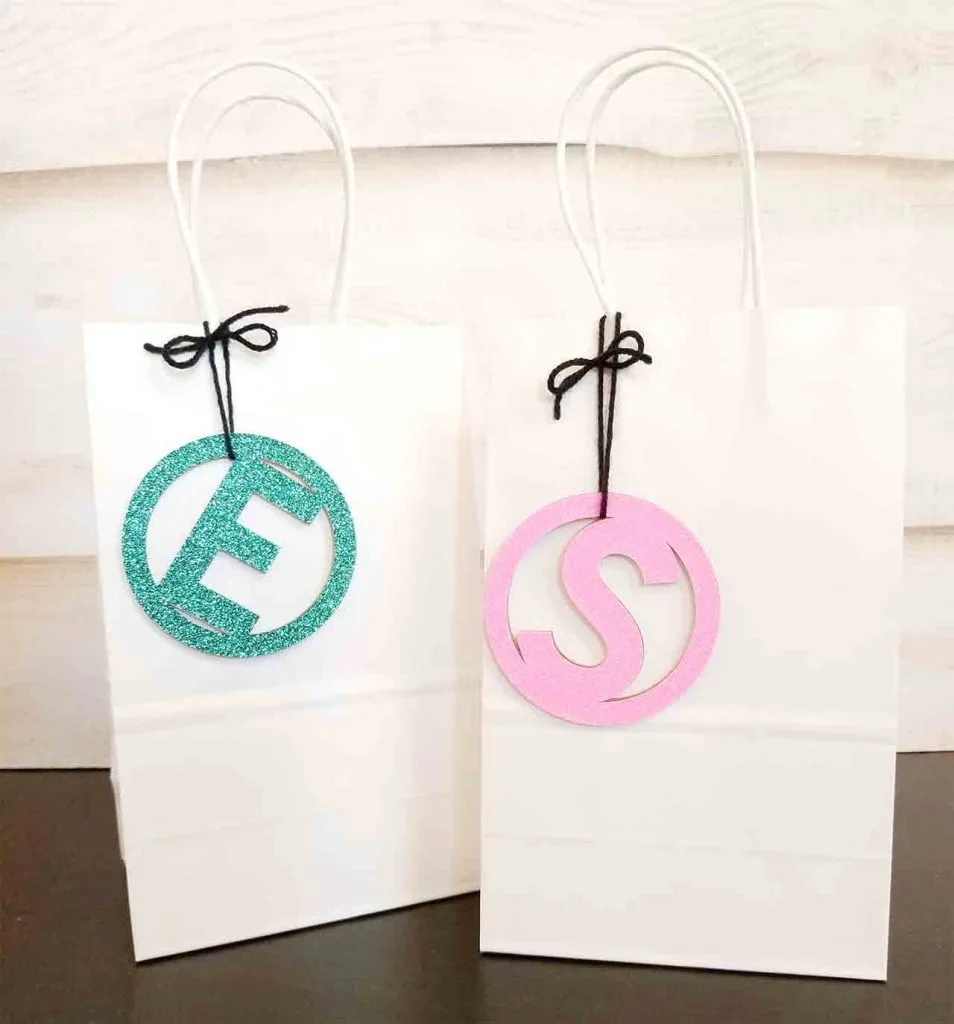
Tie the tag on to a gift bag with string or ribbon, and it can be used later as an ornament!
I really do love the additional materials that are so easy to work with now that I have my Cricut Maker. If you have made other unique DIY Holiday Gift Toppers I’d love to hear about them!
Open this Design Space file for all images I used.
This is a sponsored conversation written by me on behalf of Cricut. The opinions and text are all mine.