Just a few days ago I posted some leather earrings I made on Instagram, and I got a few questions about them. I figured it would be a great idea to address them all in one place and help you all make your own embossed leather earrings.

Cutting leather with the Cricut Explore
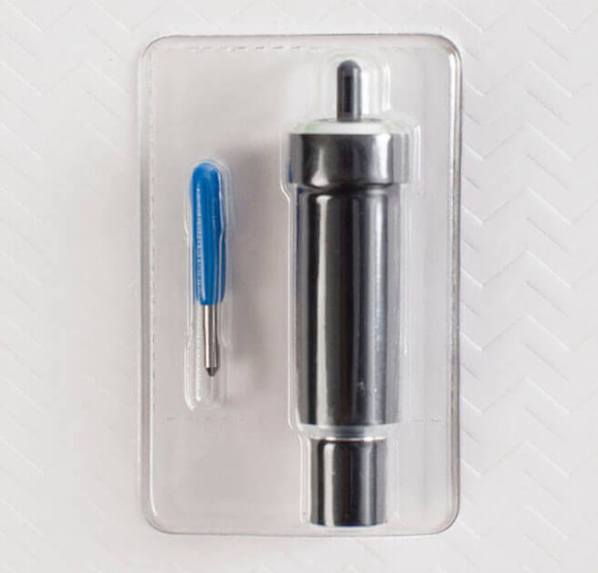
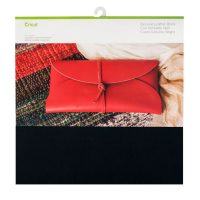
When you use Cricut Genuine Leather, you can cut it with your Cricut Explore machine if you have a deep cut blade. It’s the one in the black housing.
When you go to cut your project, search for “leather” and select either the Genuine Leather or Metallic leather, whatever you’re using.
Place it face down on a purple StrongGrip mat and mirror the image (though it really wouldn’t matter with this earring design) but I like to stay in the habit of hitting Mirror every time I have something face down on a mat.
Send it to cut and remove cuts from the mat when it’s done.
**Note, if you are cutting Cricut Faux Leather, this can be done with the fine point blade, and the hole for the hook cuts out great. Not usually so well with real leather. Read about making faux leather earrings here.
Supplies for making embossed earrings
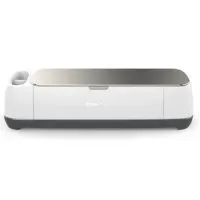
Cricut Maker
Deep Cut Blade (or Knife Blade)
Strong Grip Mat
Metallic Rose Gold Leather
Earring Hooks
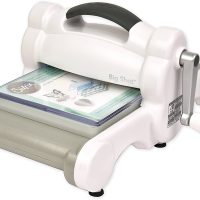
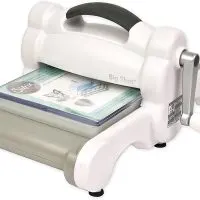
Embossing machine (like Sizzix or the discontinued Cuttlebug)
Cutting leather with the Cricut Maker Knife Blade
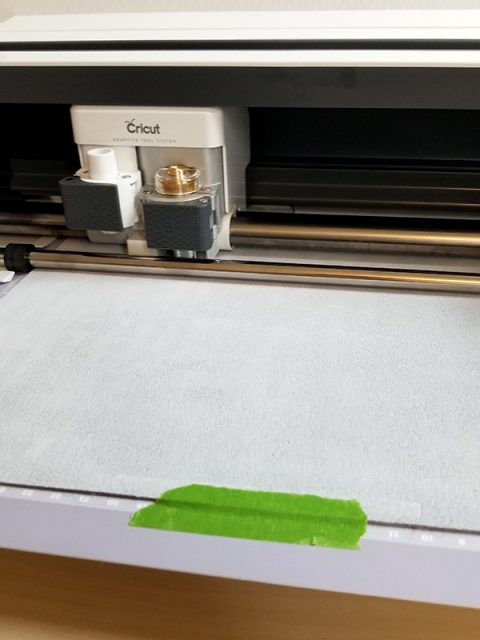
You can also cut Cricut brand leather with the Knife Blade. (learn about the Cricut Maker here) But you will choose the Garment Leather 2-3 oz setting for materials.
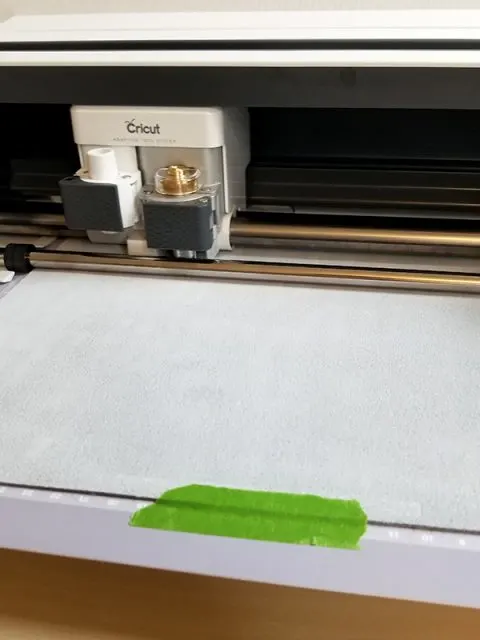
Then make sure the leather is 11 inches wide or less, and tape down the edges, and use a StrongGrip mat. This makes sure your project won’t slip while cutting several passes.
Slide all the white star wheels to the right (they will run over the 1 inch of free space since your material is only 11 inches wide.)
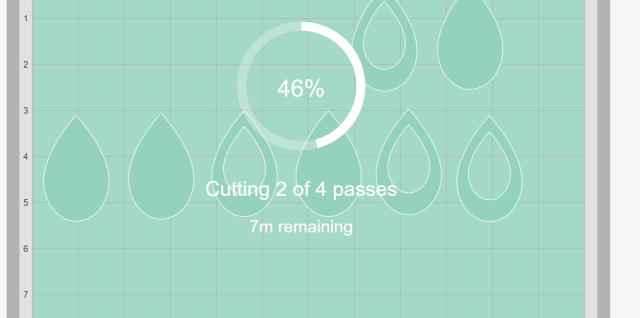
After the knife blade finishes the first pass, it will tell how many total passes it will complete and the estimated running time. I checked my cuts after 3 passes and they were all the way through, so I finished the cut early.
You will also have the option to send it for an additional pass if it hasn’t cut all the way through at the end.
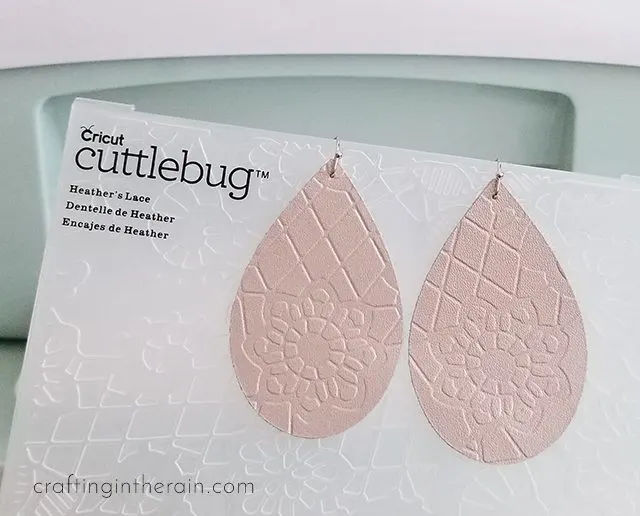
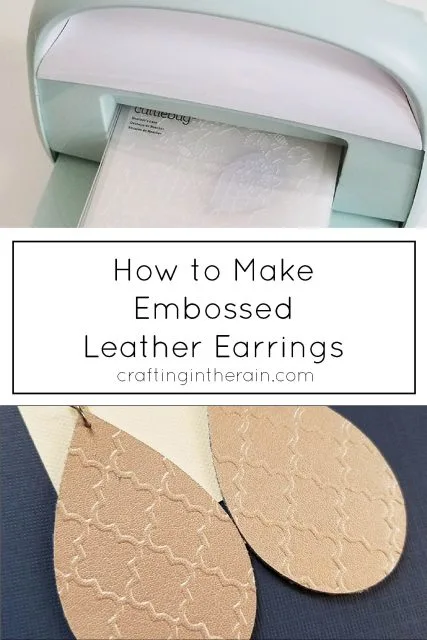
Embossing leather with the Cuttlebug

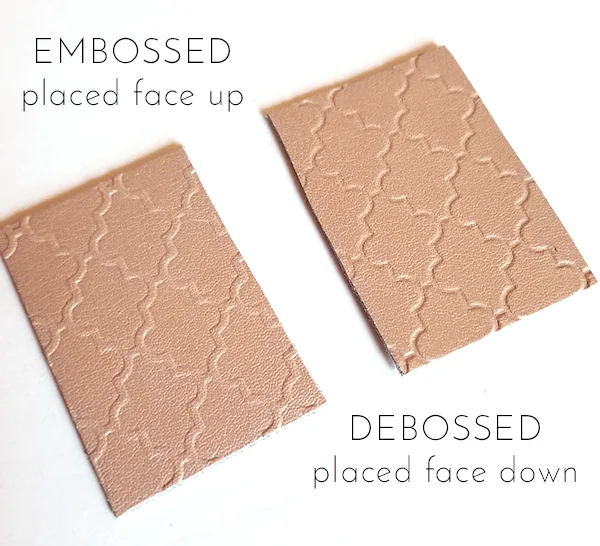
When using the Cuttlebug, you can make the designs embossed – patterned raised up, or debossed – pattern pressed in.
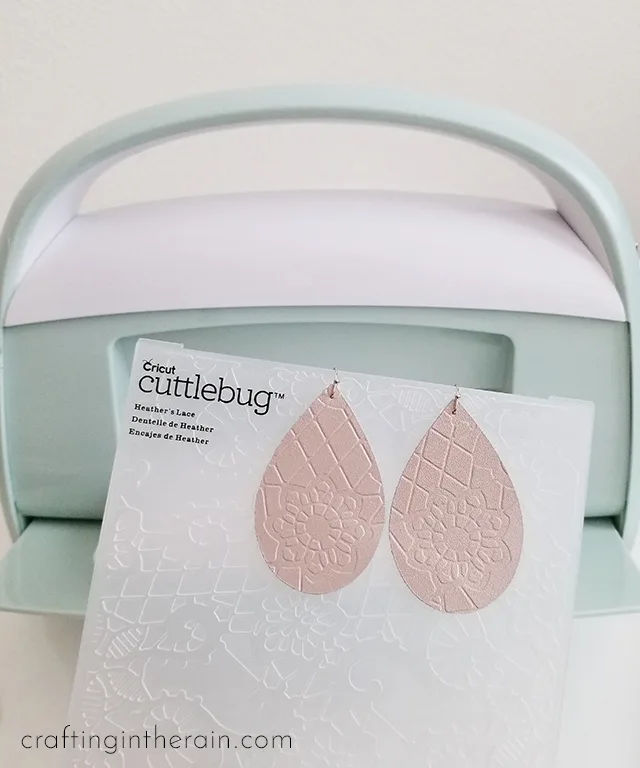
To get the embossed look, place the leather face up in the embossing folder. To create the debossed effect, place the leather face down in the embossing folder.

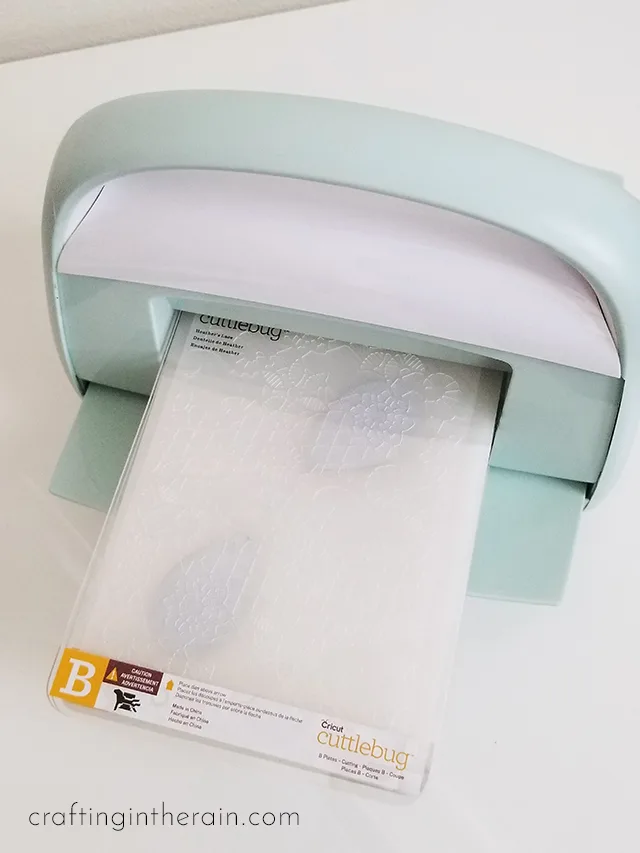
Place the Cuttlebug on a smooth sturdy surface and open the two side to lock it down. Layer plate A, then one B plate, then the embossing folder. Open the embossing folder and add the leather earrings.
Close the folder and top with the second B plate. Slide the whole stack into the opening of the Cuttlebug and start turning the handle.
When it starts to pull in, let go of all the plates – you don’t need to push it through. There will be some resistance, as the leather is pretty thick, but it goes through fine.
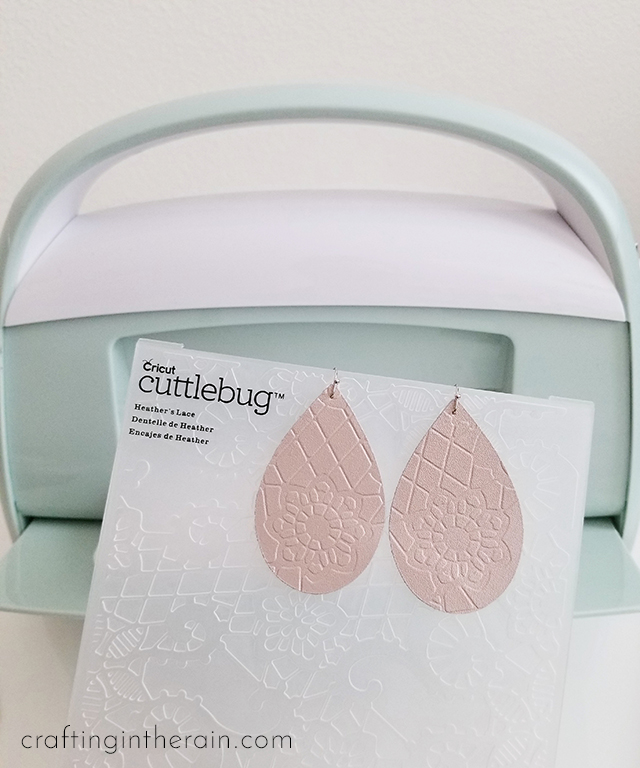
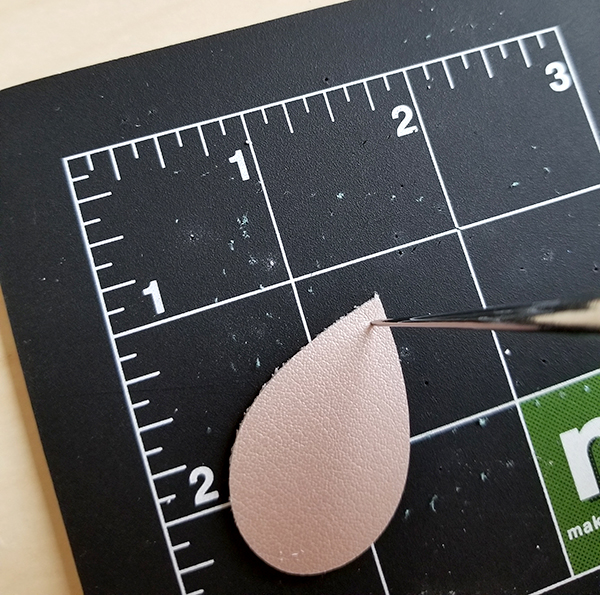
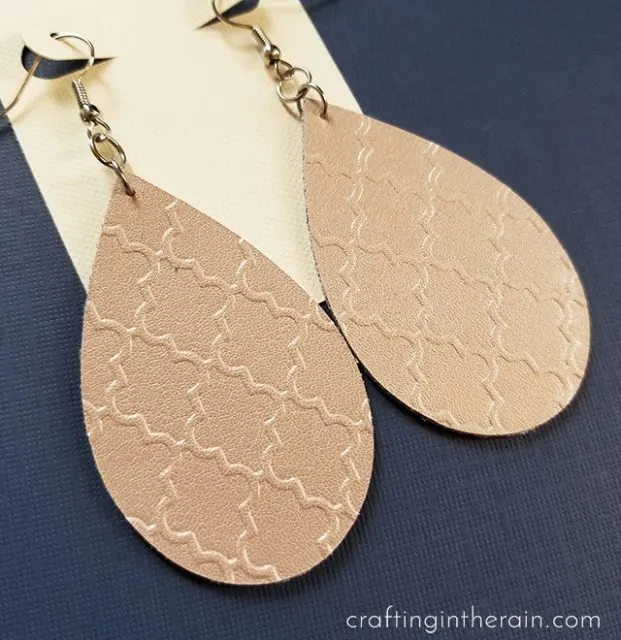
Open the folder and remove the embossed leather earrings. Poke the hook hole by hand using a needle, or a leather puncher.
Add hooks to each earring and pinch to secure.

And that’s it – your new embossed leather earrings are ready to wear! Experiment with other types of leather and other embossing folders for even more variety.
Embossed Leather Earrings
Cut leather with a Cricut Explore or Cricut Maker. Then run the leather through a Cuttlebug to get embossed leather earrings.
Materials
- Metallic Rose Gold Leather
- Earring Hooks
- Painters Tape
Tools
- Cricut Maker
- Deep Cut Blade (or Knife Blade)
- Strong Grip Mat
- Cuttlebug
- Heather's Lace Embossing Folder
- Piercing Tool
Instructions
- Place leather on a purple mat, face down, and tape to secure in place.
- Cut with the knife blade or deep cut blade.
- Sandwich cut earrings in the embossing folder.
- Stack plates according to embosser instructions and run through the machine.
- Punch hole in the top of the earring with a small awl.
- Attach earring hooks.
Recommended Products
As an Amazon Associate and member of other affiliate programs, I earn from qualifying purchases.


Valerie
Sunday 27th of October 2019
Shouldn't you wet the leather before you emboss it? Do you seal the leather after embossing and if so, how? Thank you in advance.
Norma
Friday 22nd of February 2019
Where can I find the Rose Gold leather?
Rachel
Thursday 7th of February 2019
Question for you -- will the embossing/debossing work on faux leather or upholstery weight vinyl? I can't seem to find anything on the internet about debossing vinyl.
Stephanie
Saturday 9th of February 2019
I think if it's kind of thick and stiff it will work. I know that I tried with some of the Cricut faux suede, and the embossing quickly disappeared. Hope that helps.
Katie
Tuesday 15th of May 2018
Super fun tutorial!! I can't wait to make these and grab that rose gold leather!!