I’ve had a great time using my new machine and prepping for this Cricut Maker 3 review. This post is sponsored and all opinions are my own. You’ve seen some videos and posts and Instagram sharing some features and upgrades, and today I’ll be walking you through the process of how to decorate long pants with Cricut Maker 3.
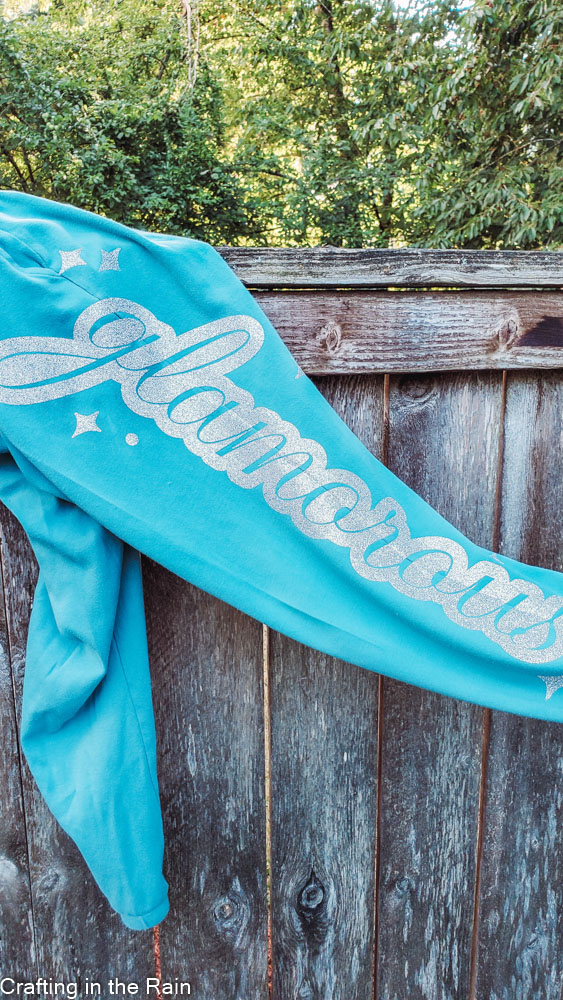

If the last year or so has taught us anything, it’s that you can never have too many comfy clothes. And I decided to dress up a pair of lounge pants because I can easily cut a long, continuous design without a mat on the Cricut Maker 3.
About Cricut Maker 3
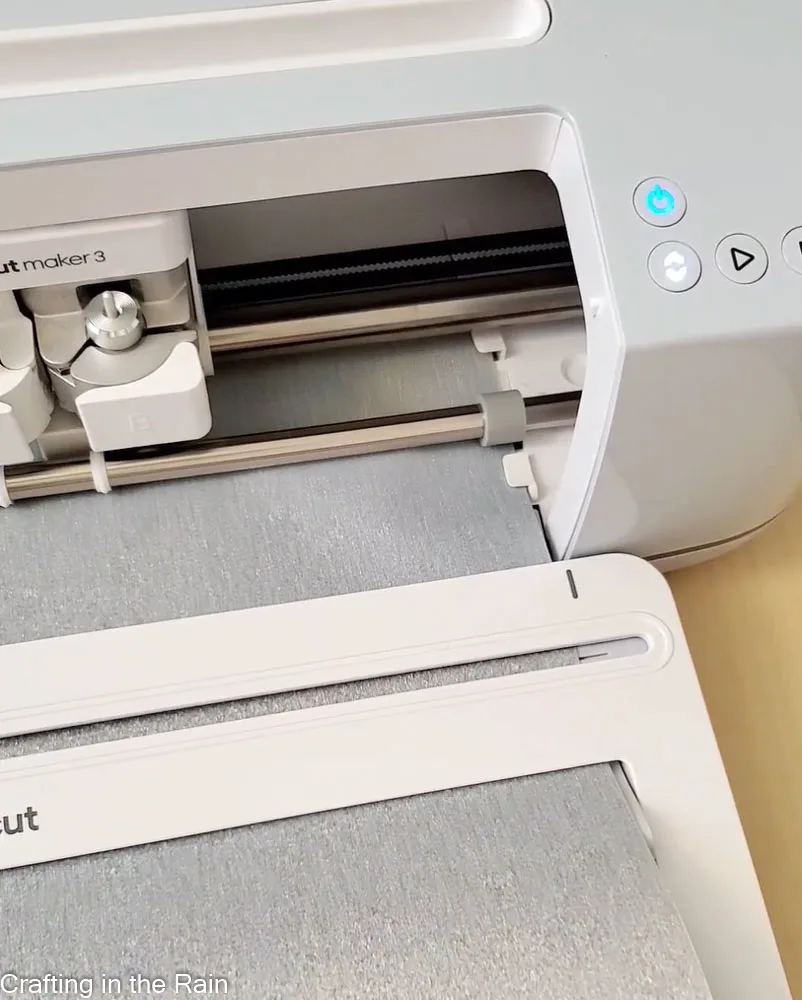
The Cricut Maker 3 opens like the Original Maker by simply lifting up the lid. The buttons have changed slightly but serve the same purposes.
There is a power button (which lights up blue when connected to a device via Bluetooth.) The load button is a two-way arrow, there’s a pause button, and the cut button has a play symbol.

Cricut Smart Materials
Cricut Maker 3 can cut Smart Materials without a mat, meaning much longer designs can be cut from vinyl or iron-on. These rolls are 13 inches wide so that the edges can be secured and advanced with the rollers that would normally grab the mat.
Smart Iron-on can cut a design 48 inches long and 11.7 inches wide.
Cricut Roll Holder
To prevent rolls from getting away from you on the craft table, the new Cricut Roll Holder sets on the open door of the Maker 3, and as the name suggests, hold the vinyl roll while feeding into the machine.
It also has a built in trimmer so you can cut your used vinyl away from the rest of the roll before weeding.
NOTE: Make sure that you make your trimming cut BEFORE hitting the unload button on the Cricut! My first time using it, I hit the unload button out of habit, and I lost track of where the end of my design was because the cuts were hard to see on the glitter iron on.
One thing extra smart about the Smart Iron-on is that it’s rolled in a way that the wrong side of the iron-on is facing up, so it’s easy to load into the machine to cut correctly. Remember to still MIRROR the design you cut on Smart Iron-On.
Ok, with some basics about the Cricut Maker 3 out of the way, measure the pant leg that will be decorated with iron-on vinyl.
Add iron-on to pants leg
Click here for the glamorous design I used. To create your own similar design with a custom word, type the word in a script font. Then close any gaps and weld.
See this post for working with script fonts in Design Space
Use the new Offset feature to create a large outline of the word. Then slice the word out of the shadow background.
If using the Roll Holder, set it in position and lay a roll on it. Then lead the end of the iron-on underneath the tabs on the machine. Press the load button, and the machine will make sure you have enough material to cut the whole design.
Like the original Maker, all materials are selected within Design Space. Smart Iron-on Glitter has its own setting, and I found that I liked the results better when I switched pressure from Default to More.
The Cricut Maker 3 will cut at 2x the speed of the original Maker when cutting Smart Material. It is so speedy! I was amazed at how fast it cut out my design that was 50 inches long.
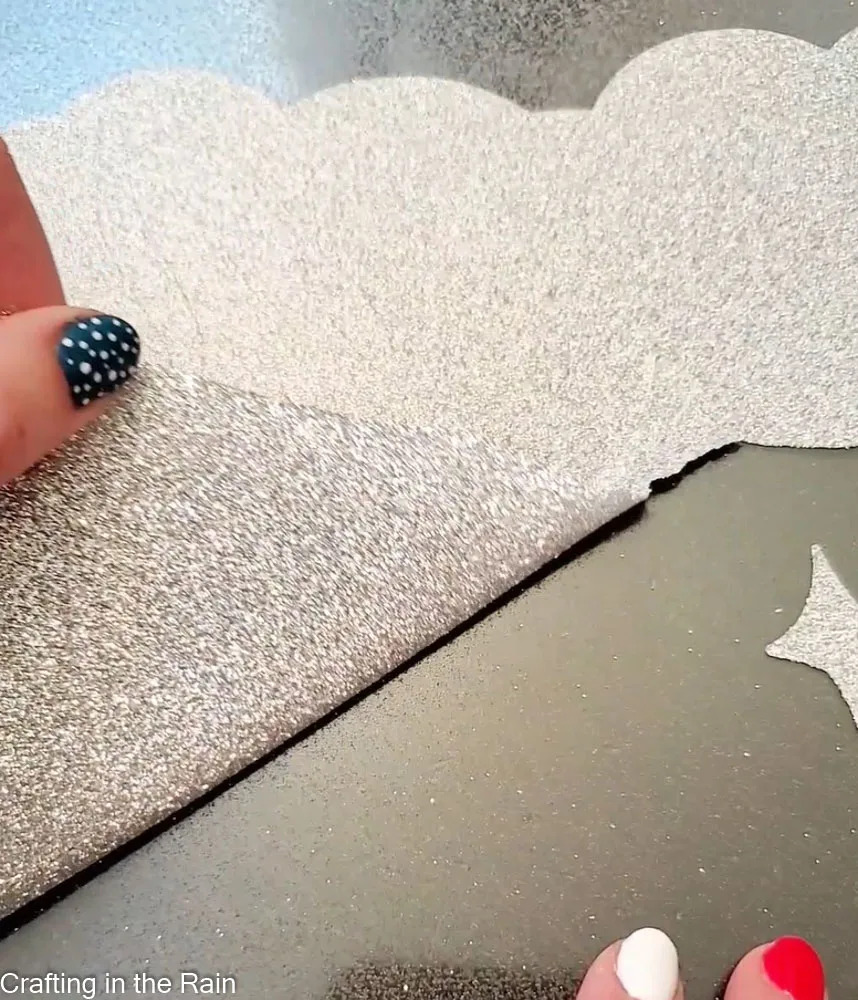
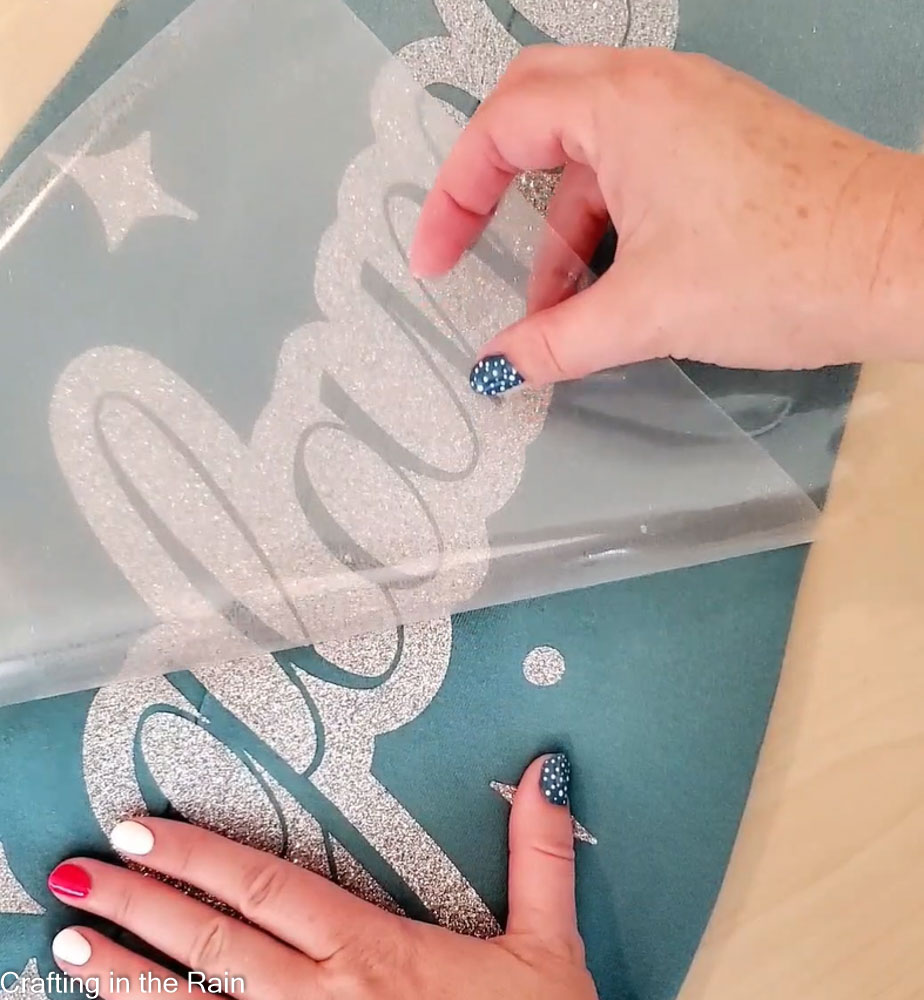
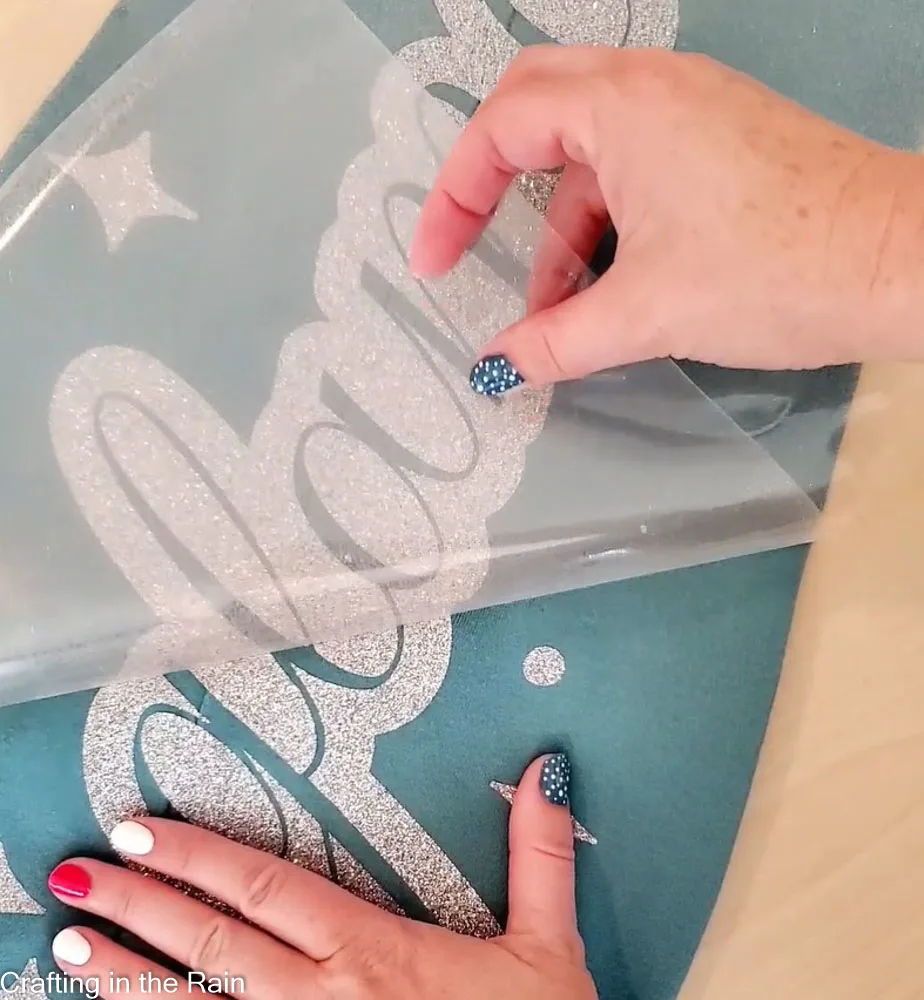
Then it’s time to weed the iron-on and apply it to the pants.

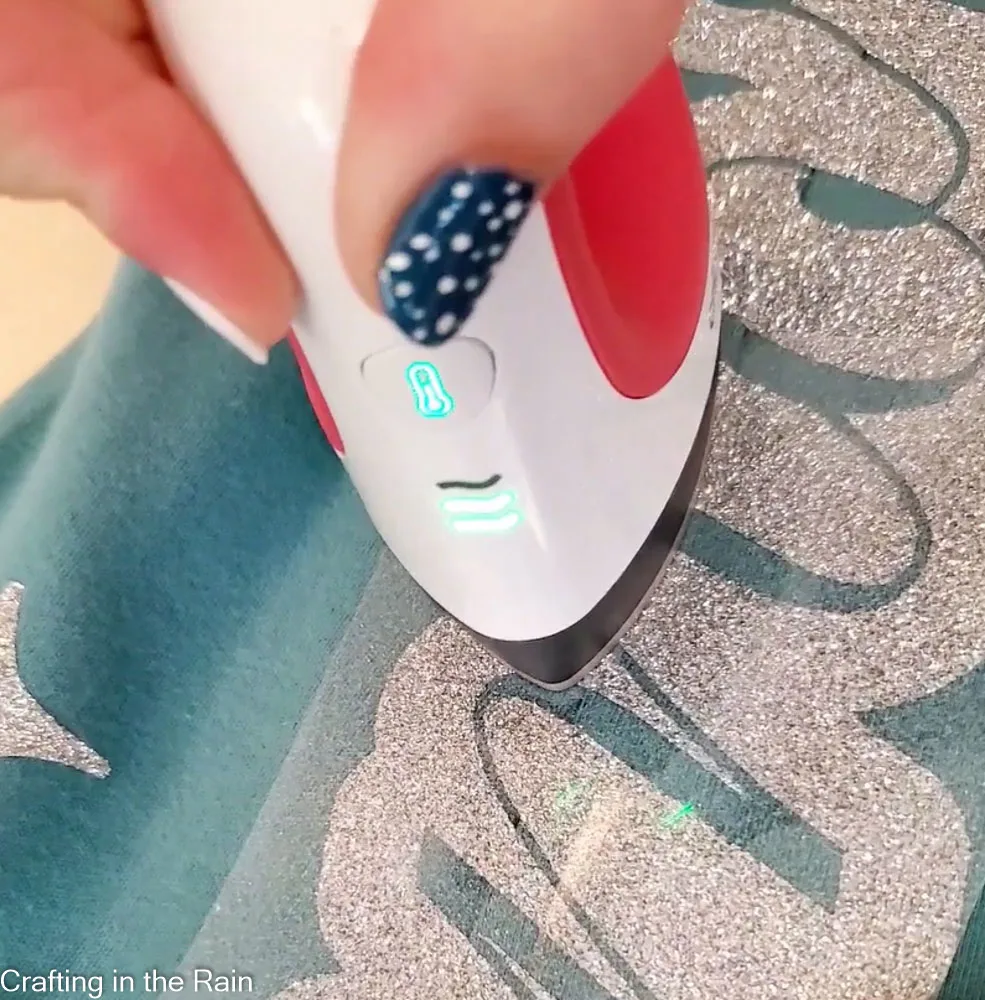
I used my original EasyPress because it was the best size to fit on the design and the pant leg.
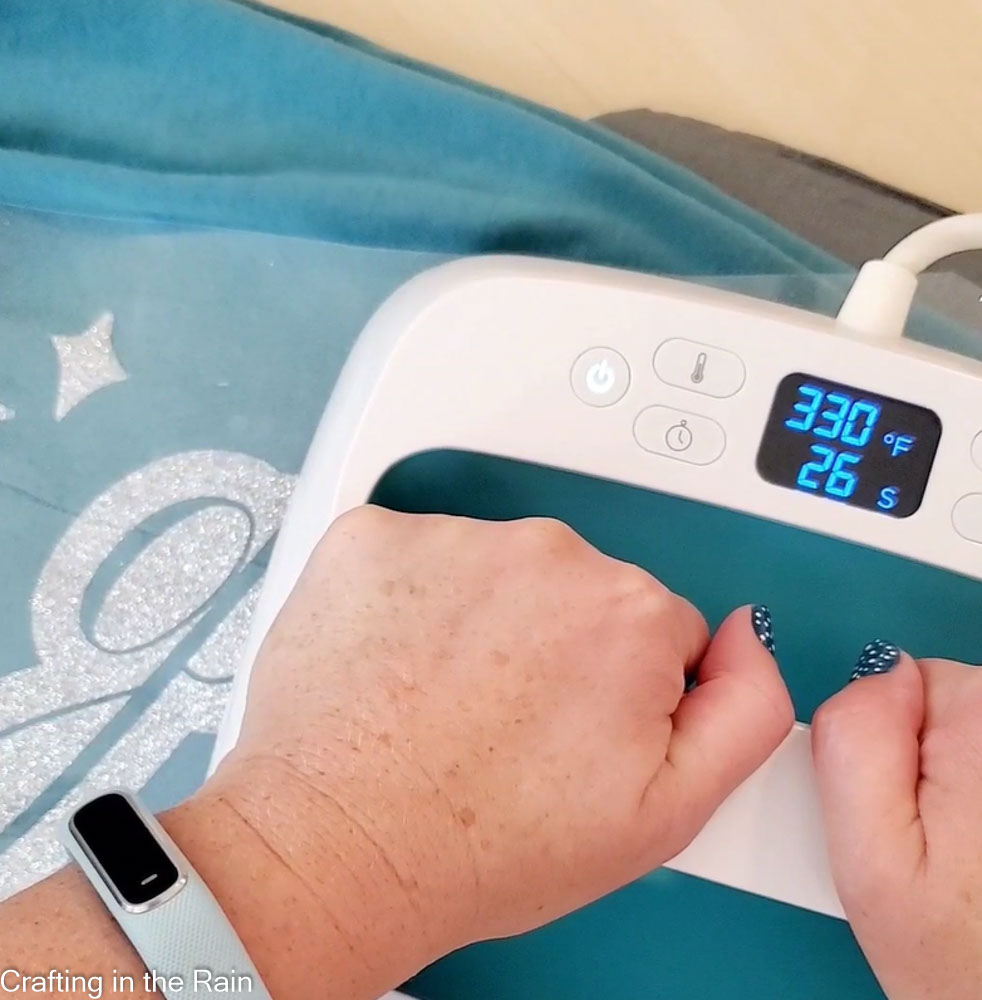

The EasyPress guide told me to set my press to 320 degrees for 30 seconds when applying Smart-Iron On to 100% cotton.
When the iron-on had cooled, I peeled away the carrier sheet and took one final step to make sure my pants were totally ready.
I used my EasyPress Mini (and a small piece of carrier sheet) to press the iron-on right down into the seam. Depending on the type of pants you decorate, there might not be a side seam and this step wouldn’t be necessary.

This would be a really fast and cute way to decorate long pants for a whole dance or cheer team. Or make yourself a new pair of leggings for every day of the week.


I really had a great time using my Cricut Maker 3 and would recommend it to anyone. Wondering if you should upgrade to a Maker 3 if you already have a Maker?
If you do a lot of production crafting and would like to cut faster, or if you cut long designs that would be much trickier sliced up, then for sure you’ll see benefits with this new machine.
Shop here for Cricut Maker 3 and Smart Materials.
Over 100 of the Best Cricut Crafts to Make and Sell!
Wednesday 6th of July 2022
[…] Pants […]