Want to DIY a bathroom drawer organizer and you’re not quite sure how to get started? Upcycle some cardboard boxes with Duck Brand shelf liner for a super classy look.

I love having organized bathroom drawers because it’s one of the first things I see in the morning and one of the last things I use at night. The biggest help is having drawer dividers so that items stay in place and don’t get all mixed up with each other.
Supplies you’ll need to make upcycled bathroom drawer organizers.
- Cardboard (have any boxes from online orders hanging around?)
- Box cutter or razor blade
- Ruler / straight edge
- Self healing mat
- Rotary cutter or scissors
- grippy EasyLiner® and Adhesive EasyLiner both in White Marble
Step 1: Clean and measure the drawer
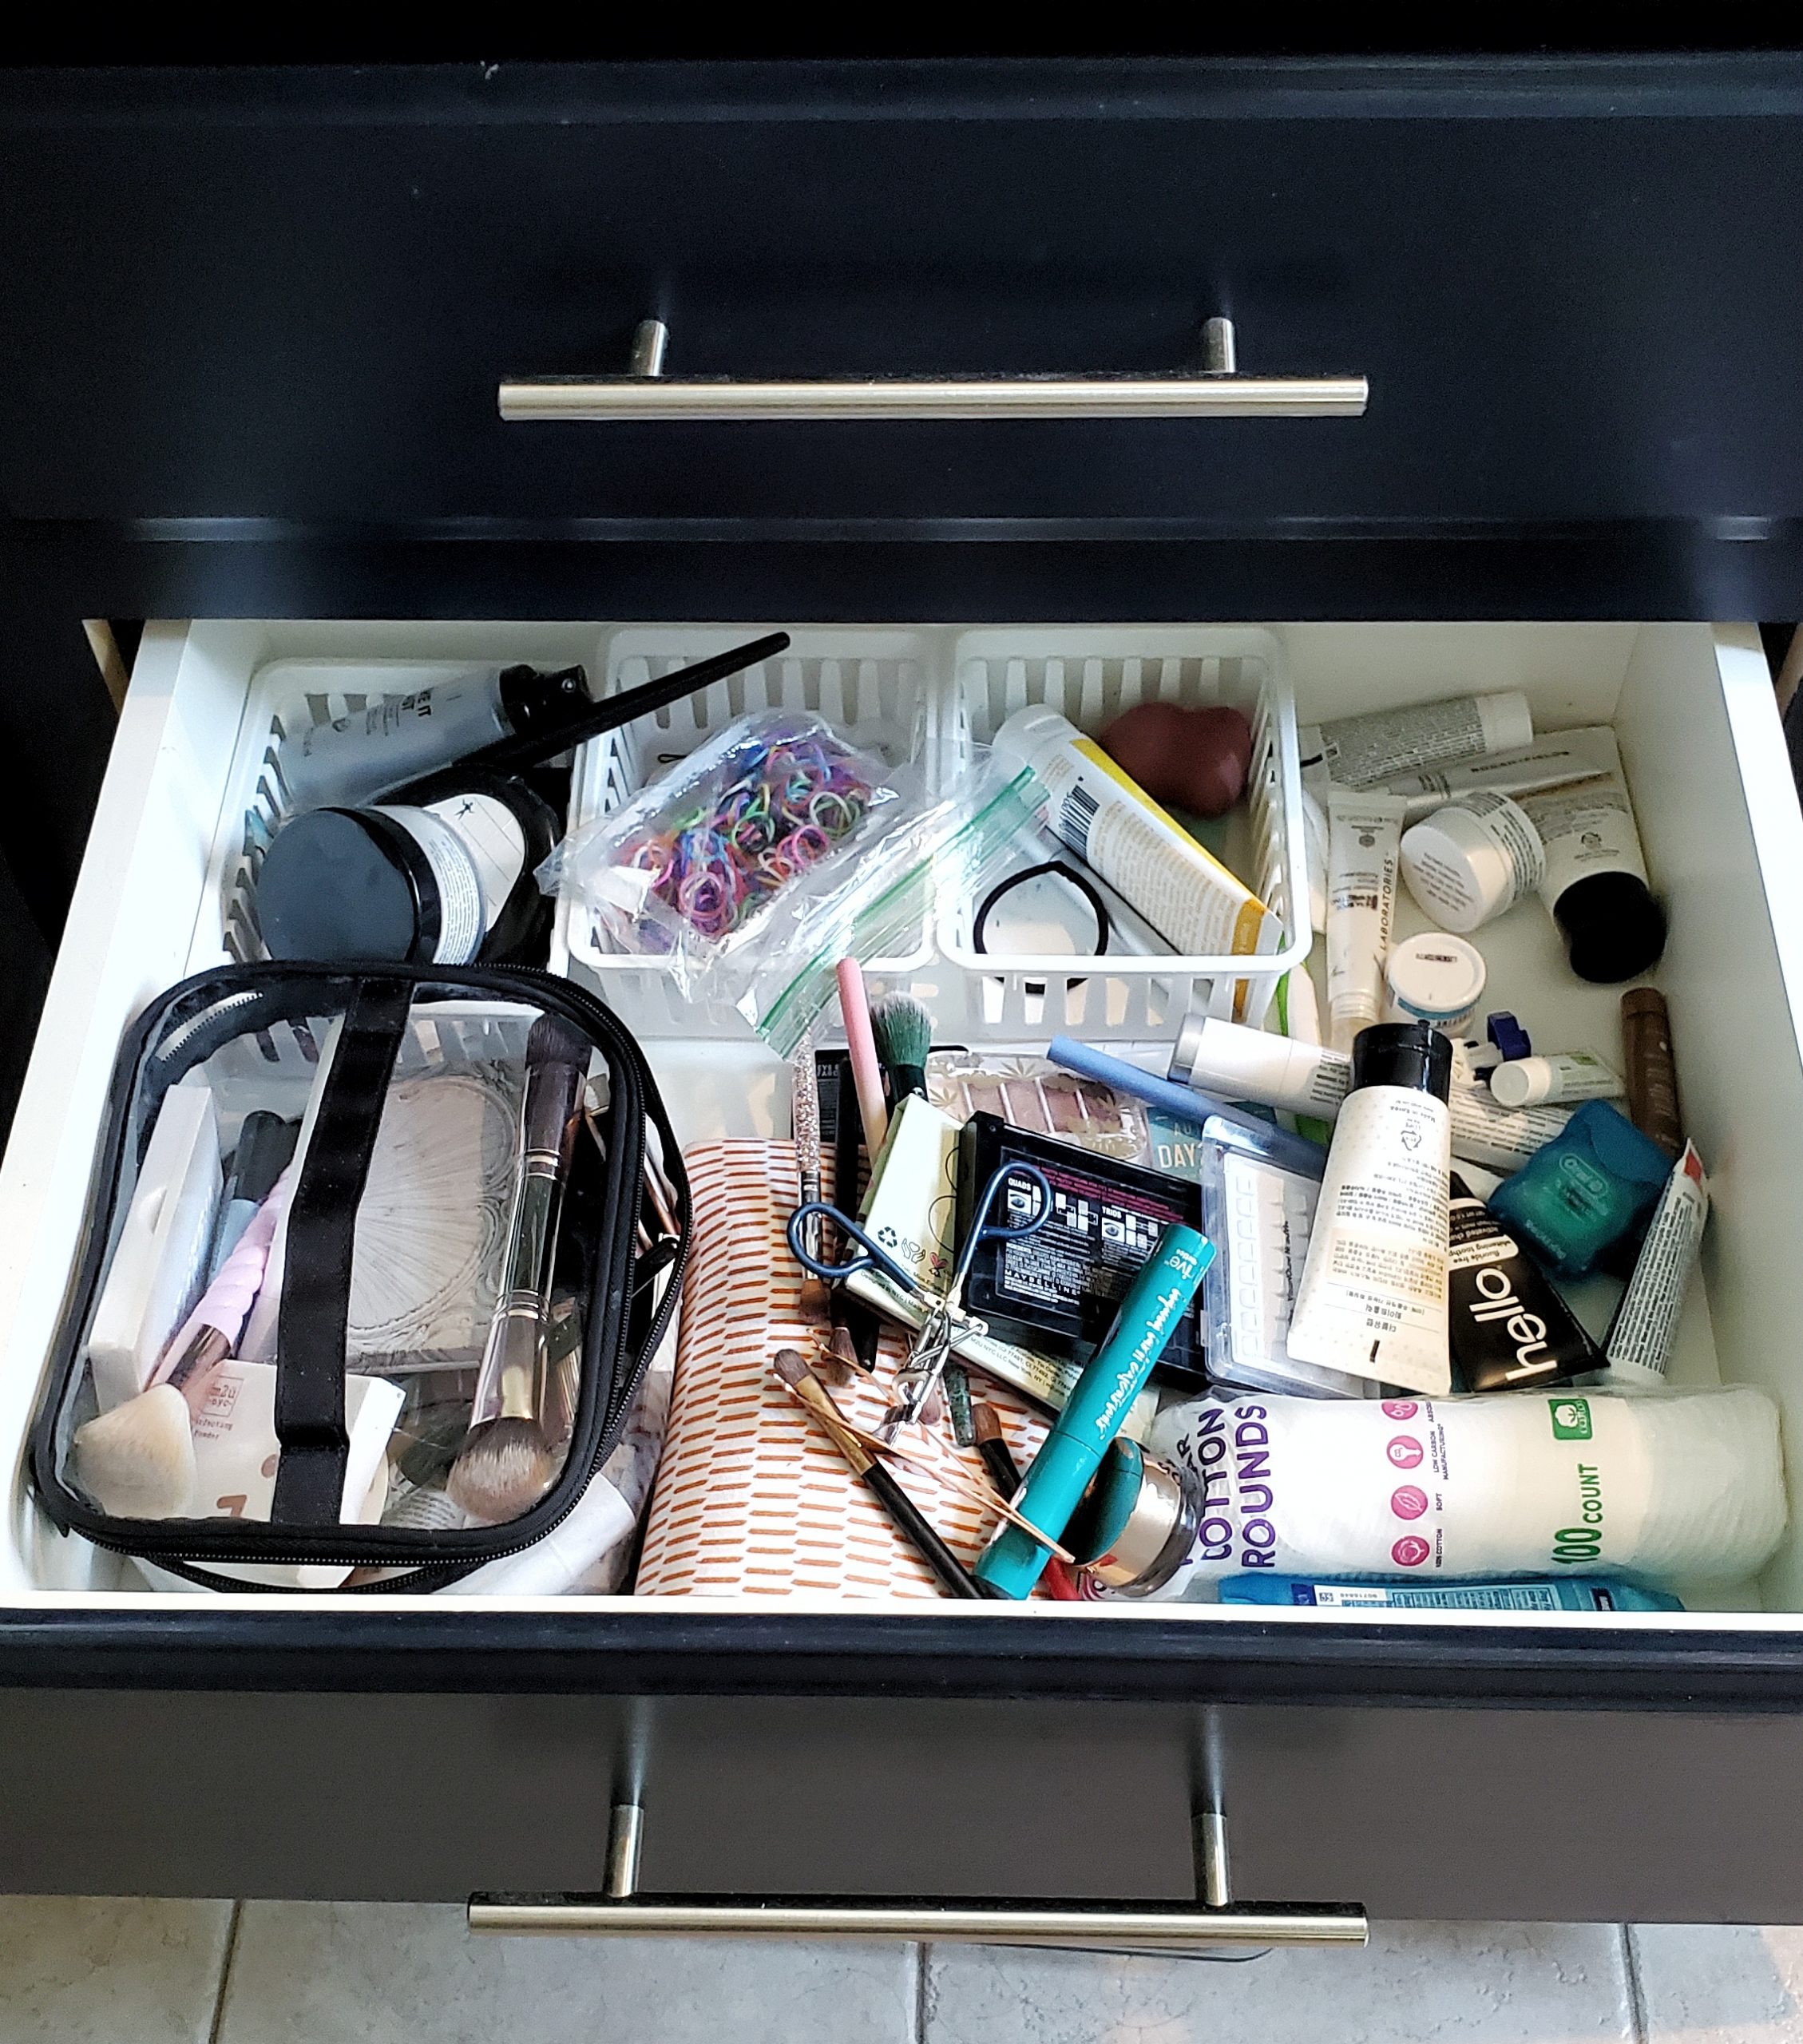
Take everything out of the drawer. Throw away any trash and set the remaining items aside to sort later. This is what my drawer looked like before I started.

Take the drawer all the way out for easier access. Vacuum and wipe the drawer bottom. Then measure the inside dimensions of the drawer.
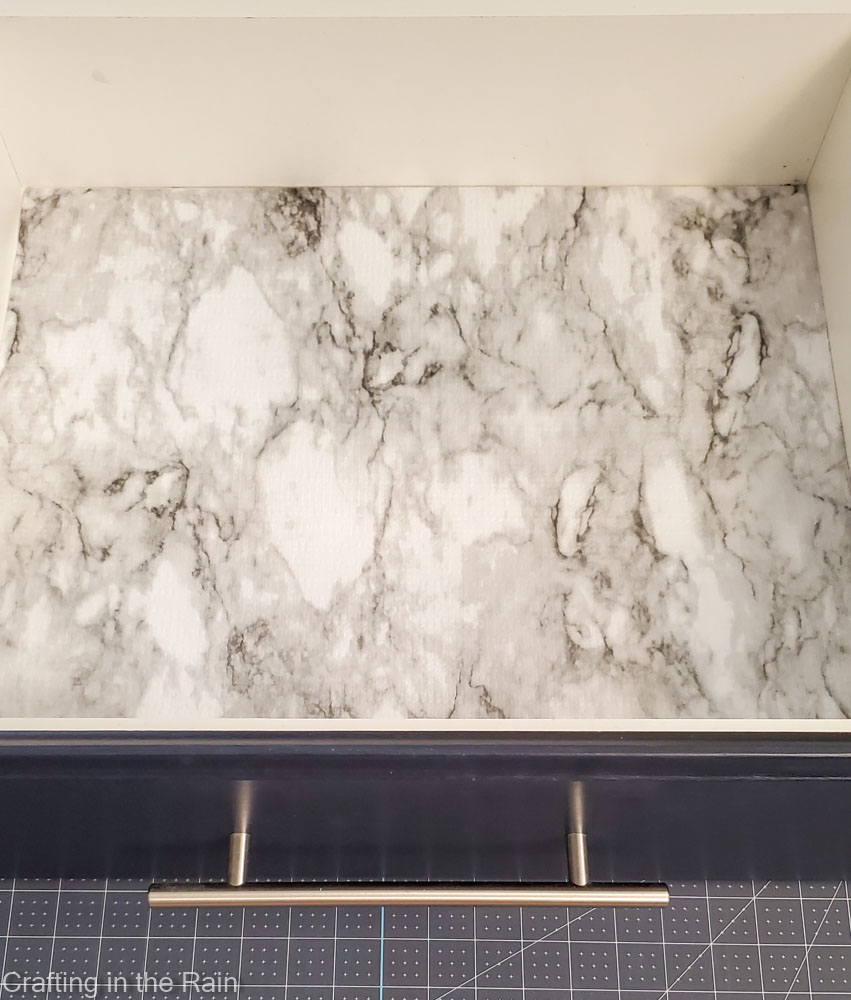
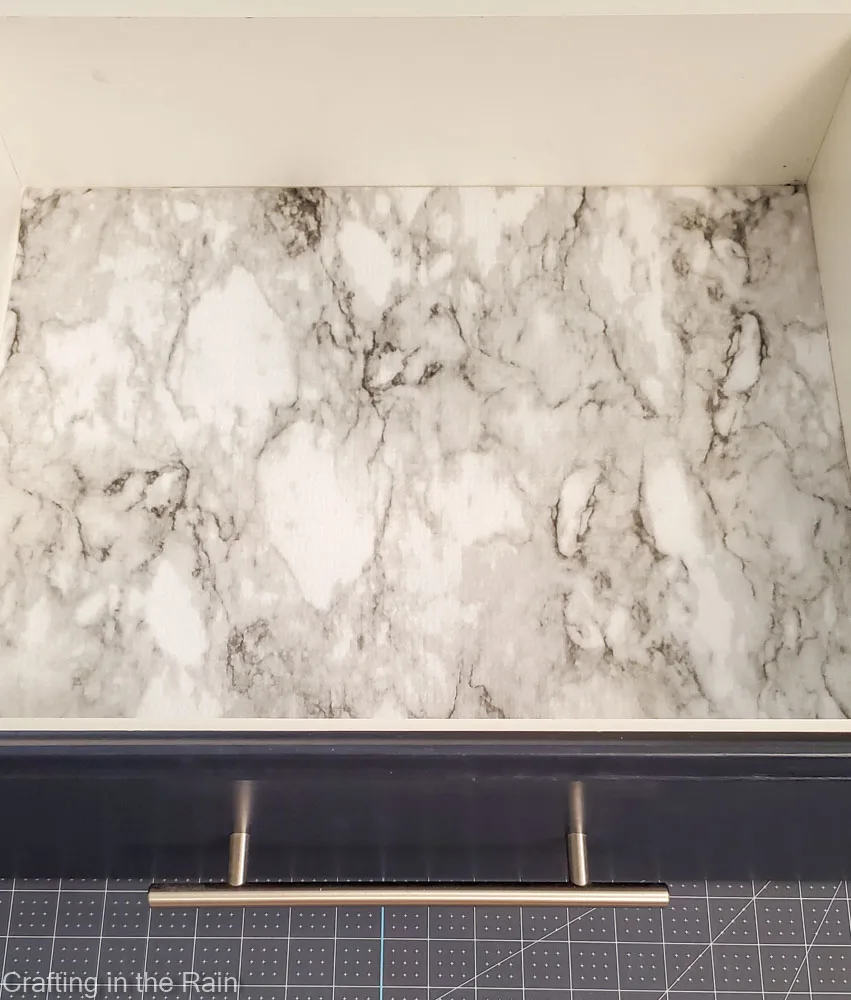
Step 2: Cut drawer bottom liner
Use scissors, or the rotary blade on a self-healing mat to cut the non-adhesive liner to fit inside the drawer. Position it in the drawer and see if any edges need to be trimmed just a bit for a nice fit.
Step 3: Make drawer dividers
Measure divider lengths
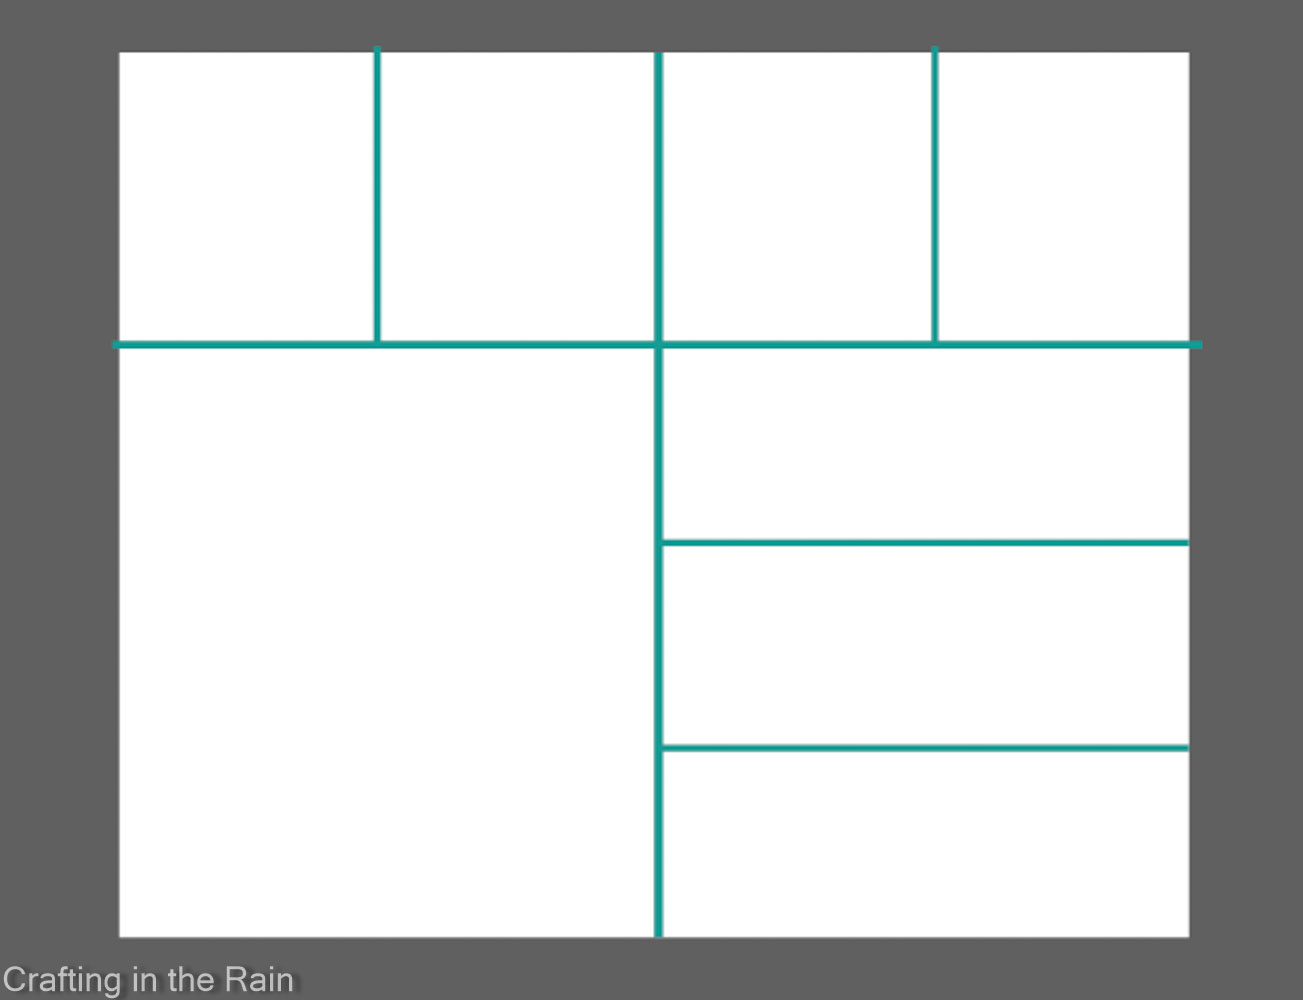
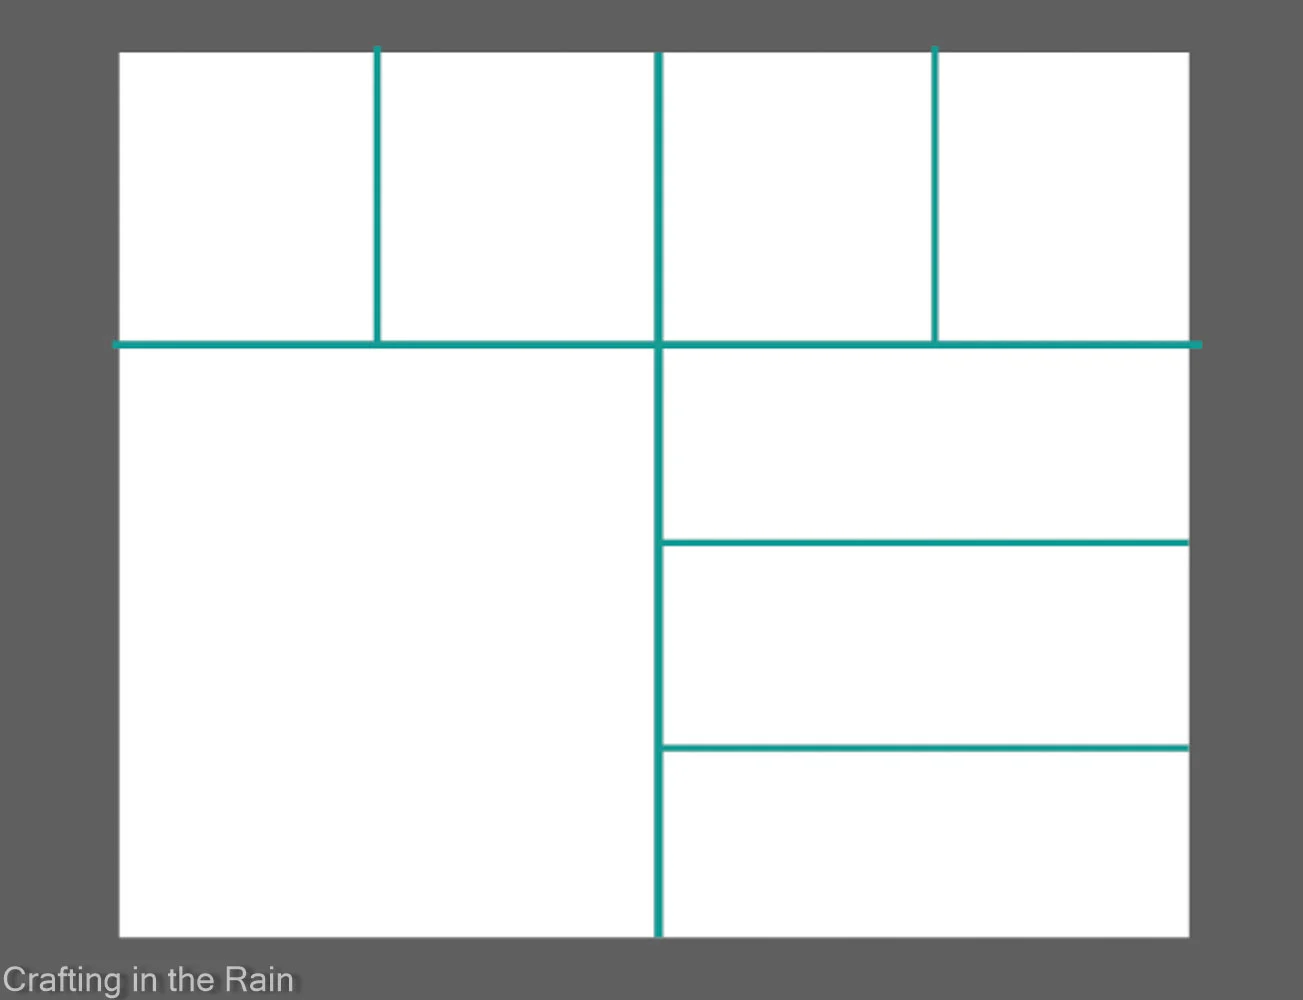
Decide how you want to divide up the space in the drawer. Include at least one divider that will go the entire width and another to go the entire depth of the drawer.
Then you can fill in those spaces with smaller dividers. Cut strips of cardboard 3 inches wide, and the lengths to match each of your measurements.

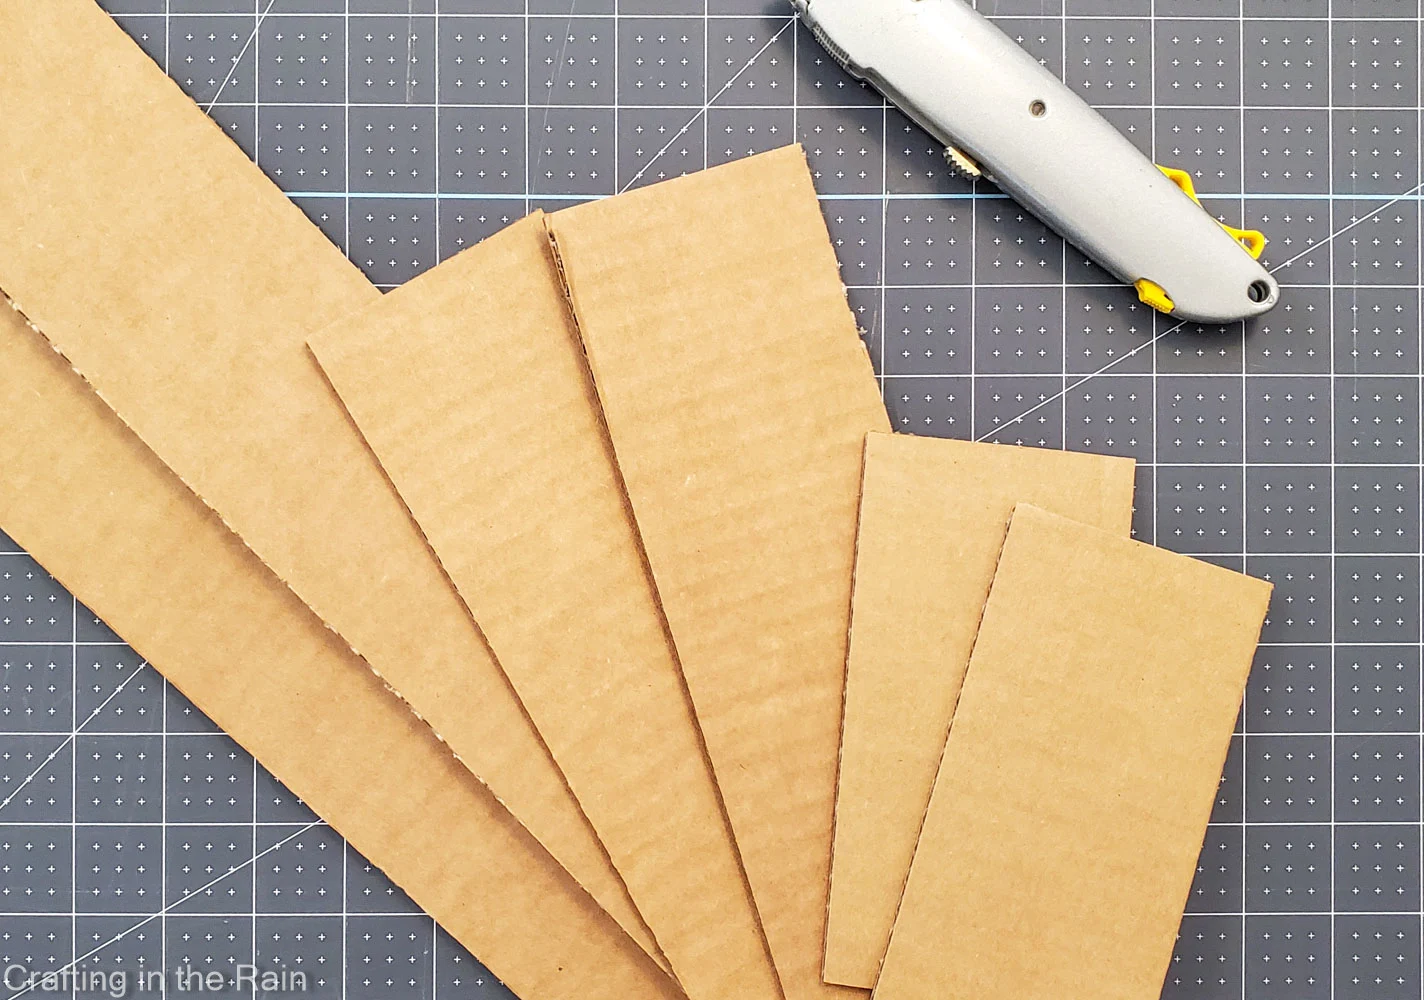
For example, my drawer is 20.25 inches wide and 16.75 inches deep. I cut one strip at each of those lengths, then 2 at 10 inches and 2 at 5.5 inches.
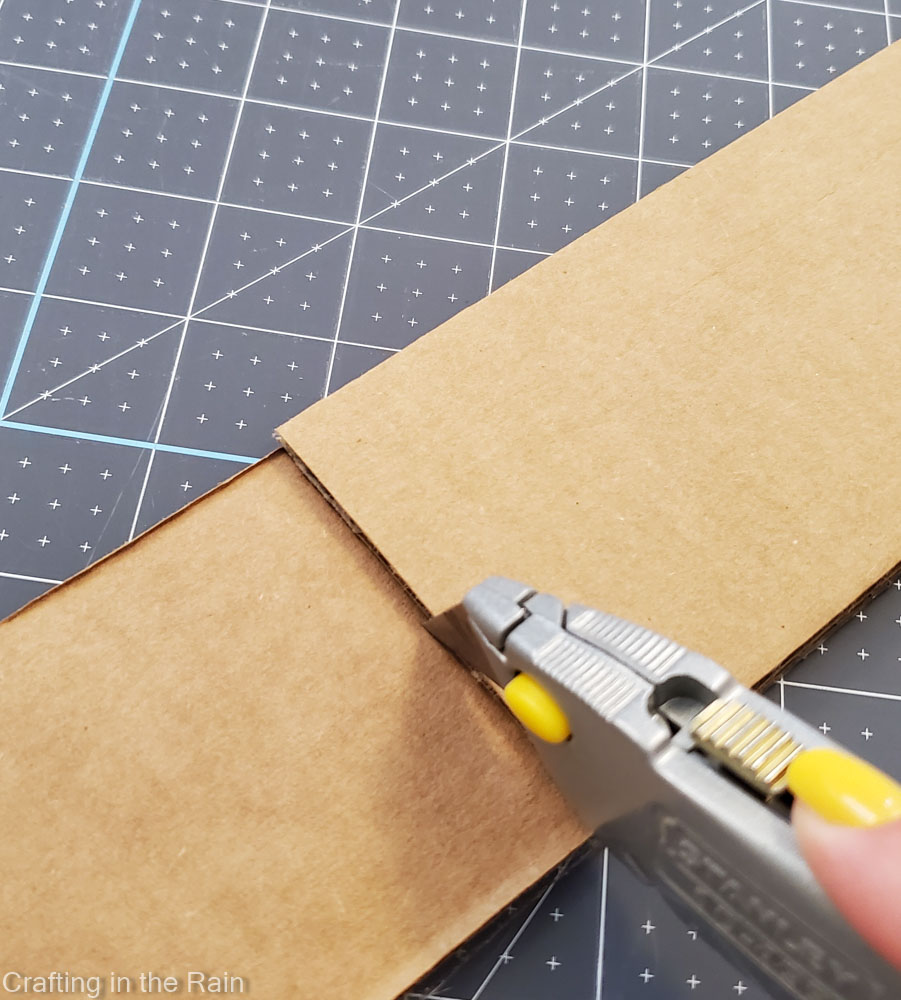
Cut notches where the two longest pieces of cardboard will intersect by lining up one of the long horizontal piece with one of the smaller ones. Repeat for the vertical long piece and short piece. The cuts should go a little more than halfway, so just past the 1.5 inch mark.

Cover dividers with shelf liner
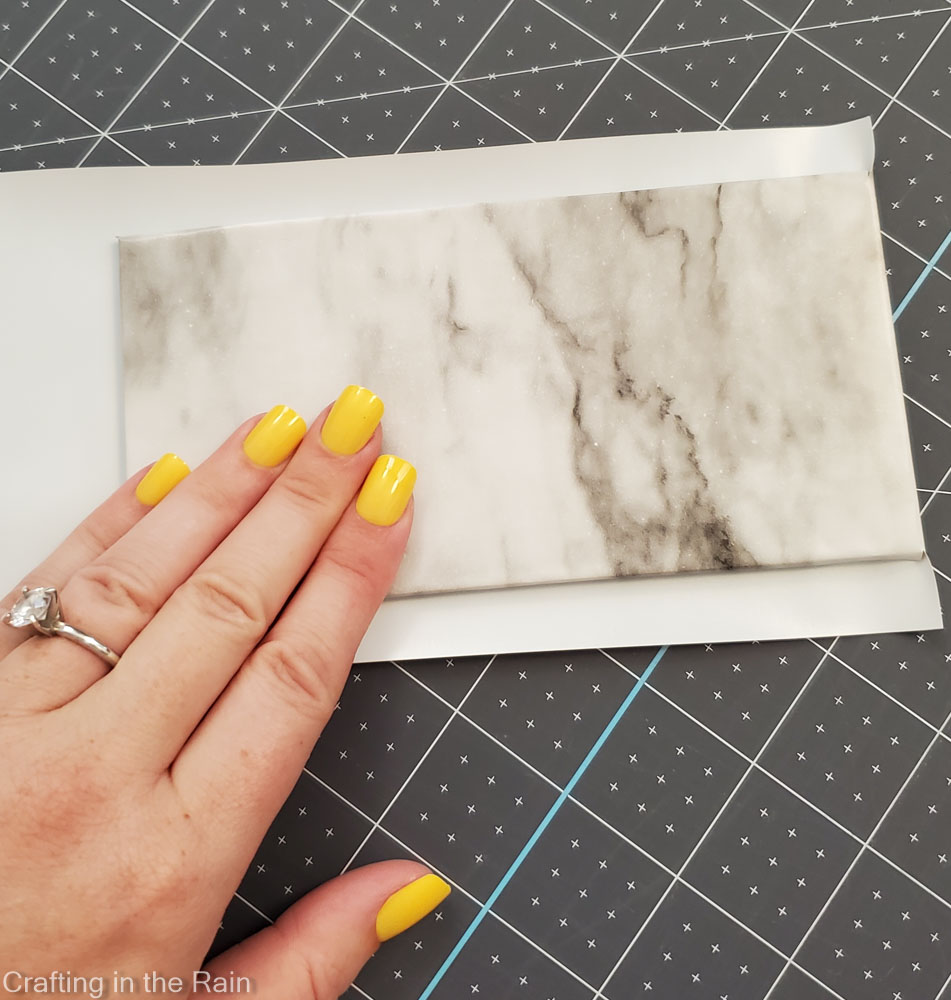
Now cover all these pieces with Adhesive EasyLiner®. I cut strips 4 inches wide so there would be some overlap to the sides.
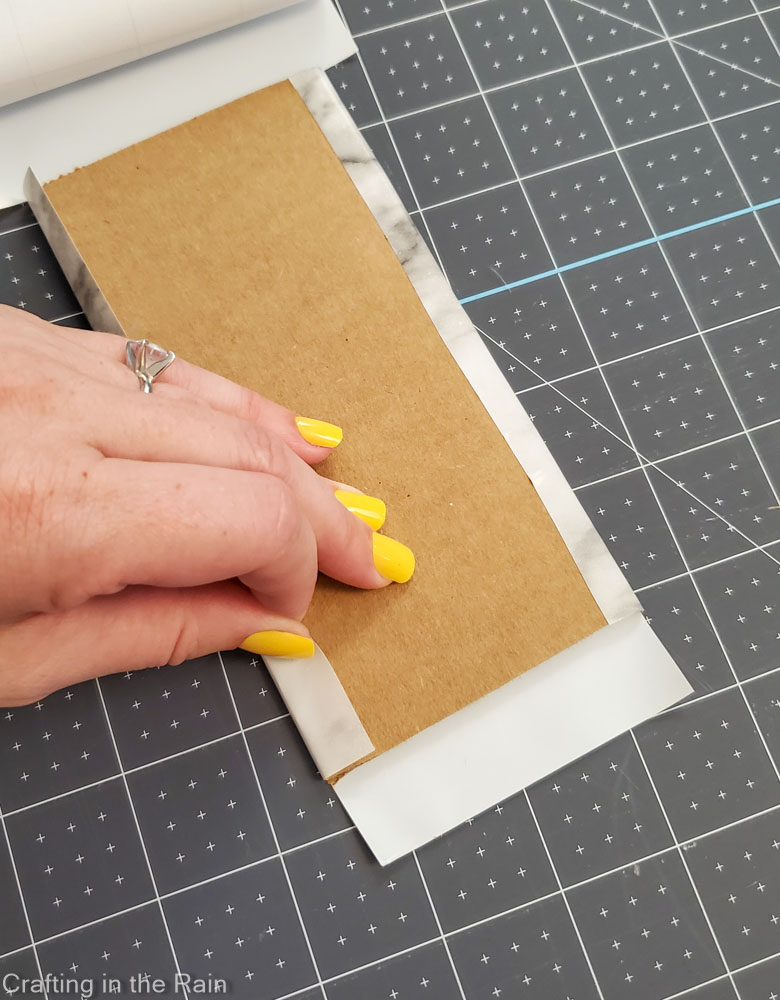

Cut the corners out so that the edge can wrap around neatly. Then cover the other side and fold or trim excess. This marble pattern works great because the seams and overlaps blend in. Cut a slit where the notches are in the long pieces.

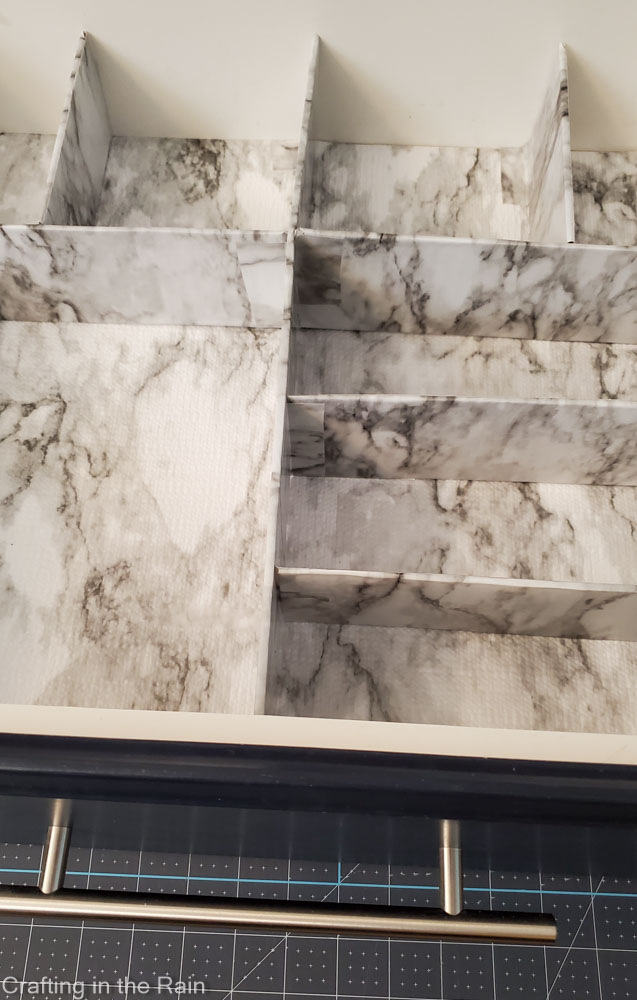
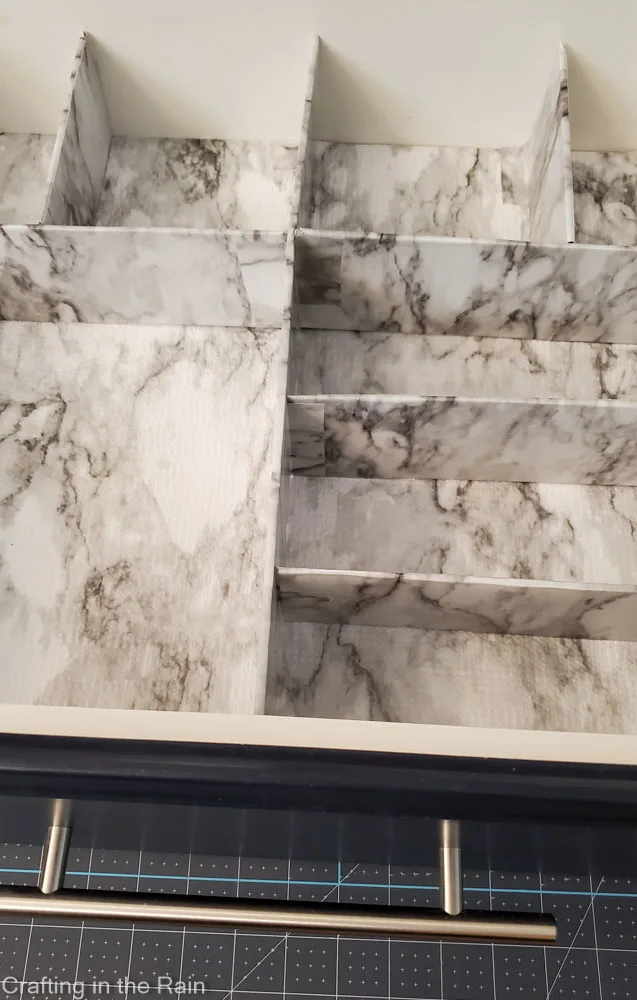
Step 4: Assemble the divider in the drawer
Slide the notches of the two long pieces into each other. Smooth out the EasyLiner as needed.
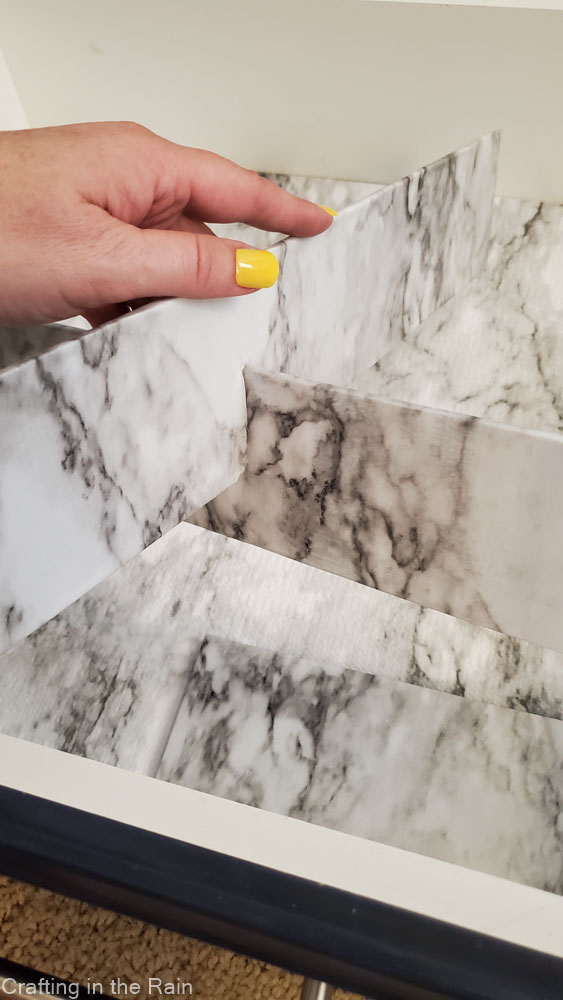

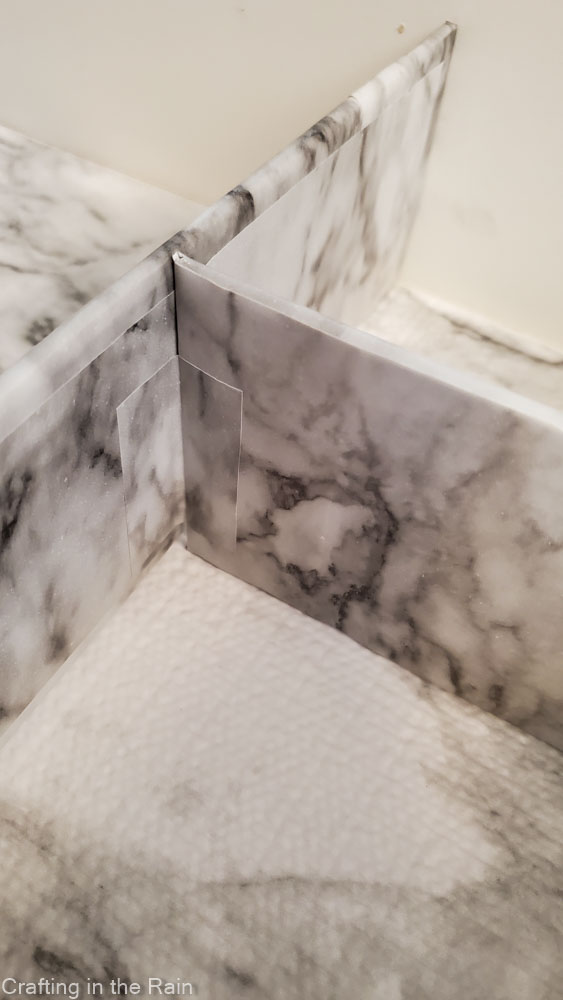
Set this combined piece into the drawer and slide the smaller pieces into position. To keep them upright, cut small pieces, about 1.5 x 2 inches, of EasyLiner to secure the inside corners where dividers meet.

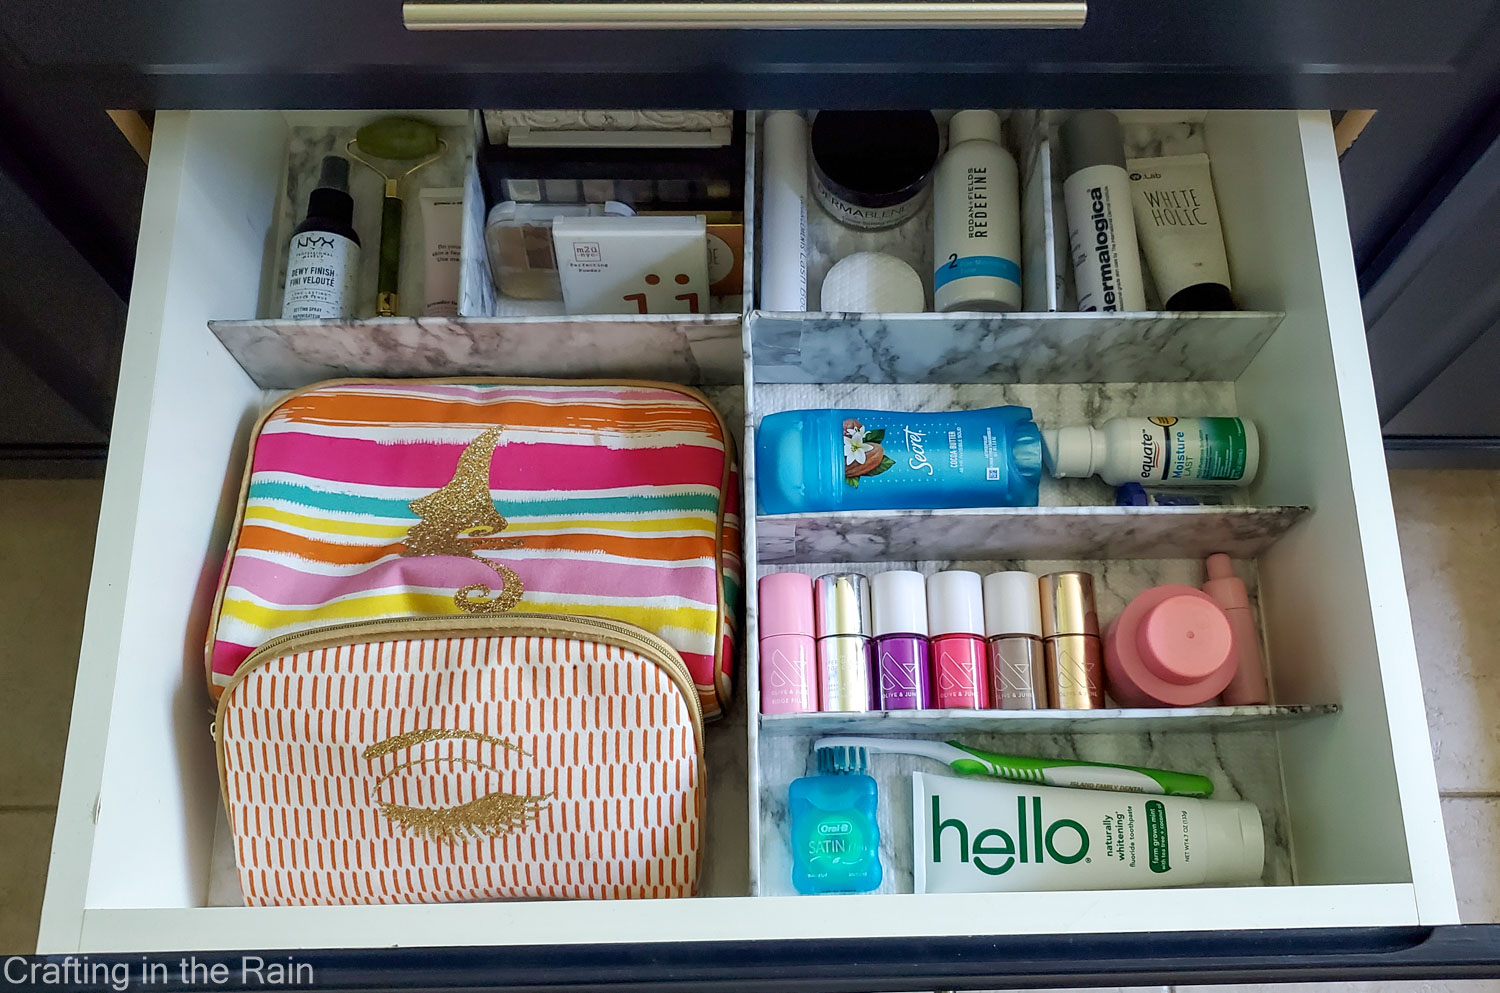
Step 5: Refill the organized drawer
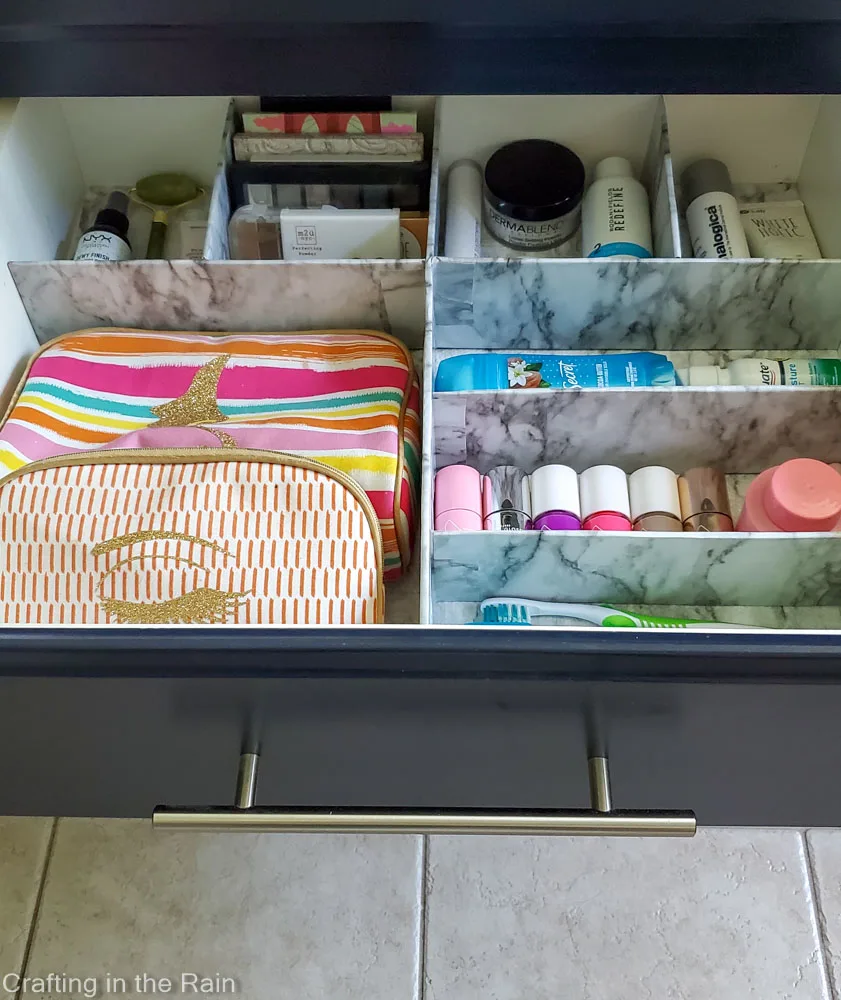
Take a second to admire your beautiful bathroom drawer organizer. Now, let’s make it useful by putting things back in!
Sort bathroom drawer items
Look at everything you pulled out of the bathroom drawer. Group similar items together. Then see if there’s anything that can be removed.
Are there duplicates that could be stored elsewhere? Are any cosmetics expired and should be tossed? What about things that maybe lived in that drawer forever, but you just don’t use?
Organize items in the drawer
Put things together that get used together. Then put frequently used items at the front of the drawer, and lesser-used things in the back. I have my toothbrush, toothpaste, and floss right up front.
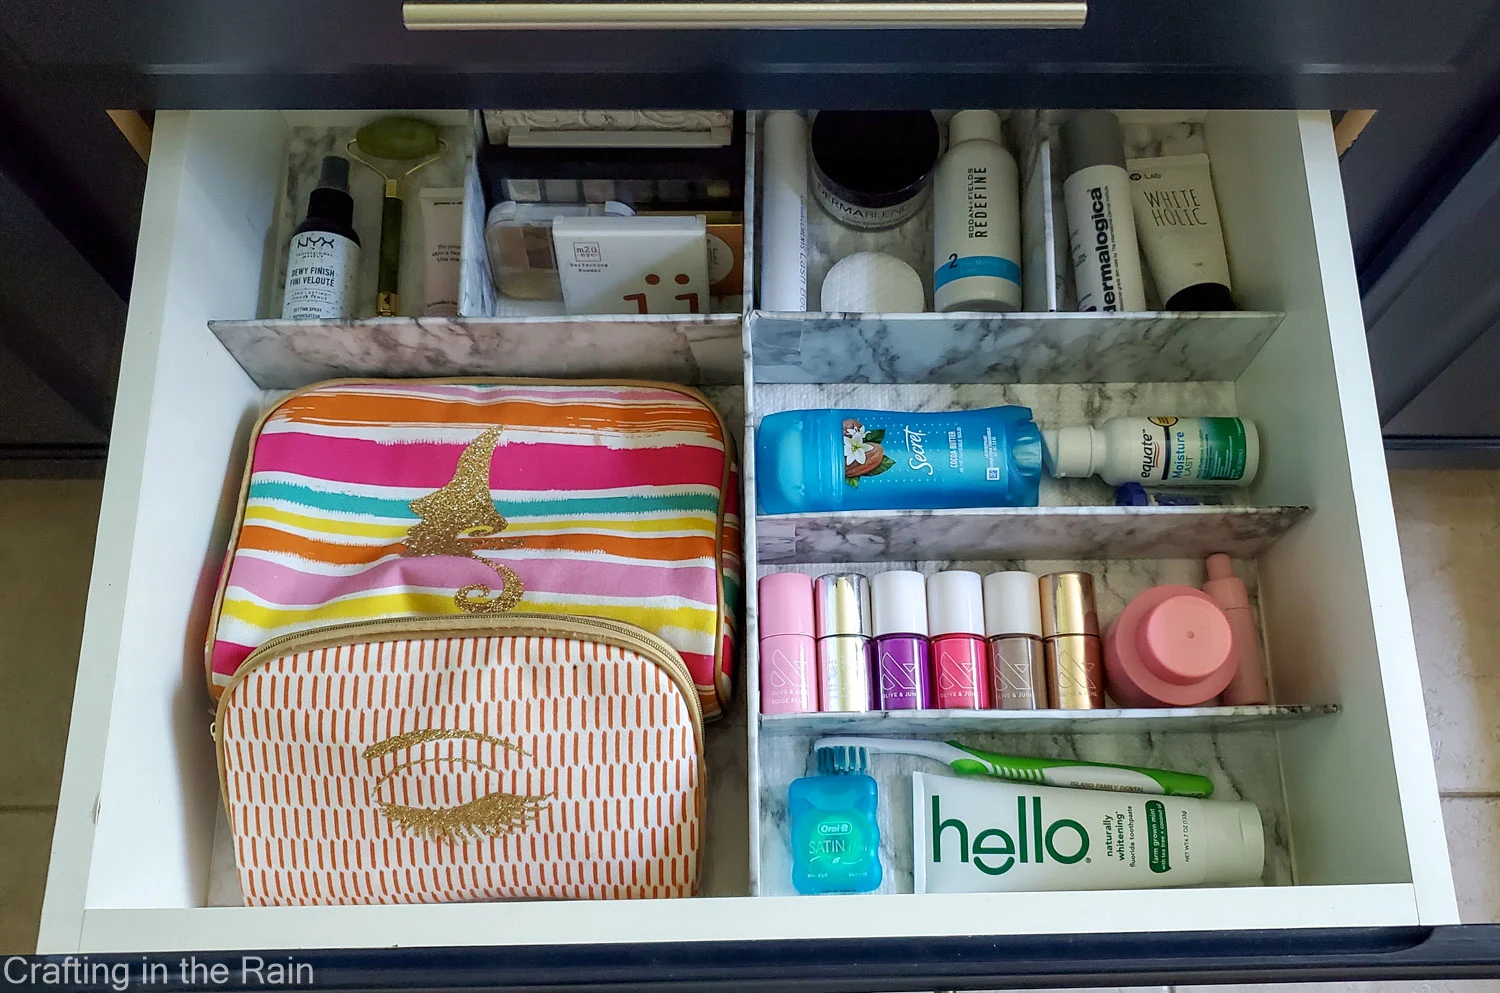
When it’s time to give the drawer a little refresh, it’s easy to lift up the divider, clean the line, and put everything back in.
I love that I could easily make this bathroom drawer feel organized and pretty with Duck Brand® EasyLiner® and I can’t wait to see it again before going to bed tonight.
And once you feel so accomplished with that one drawer, you’ll want to keep going! Repeat the process in other drawers, and tackle under the sink too.
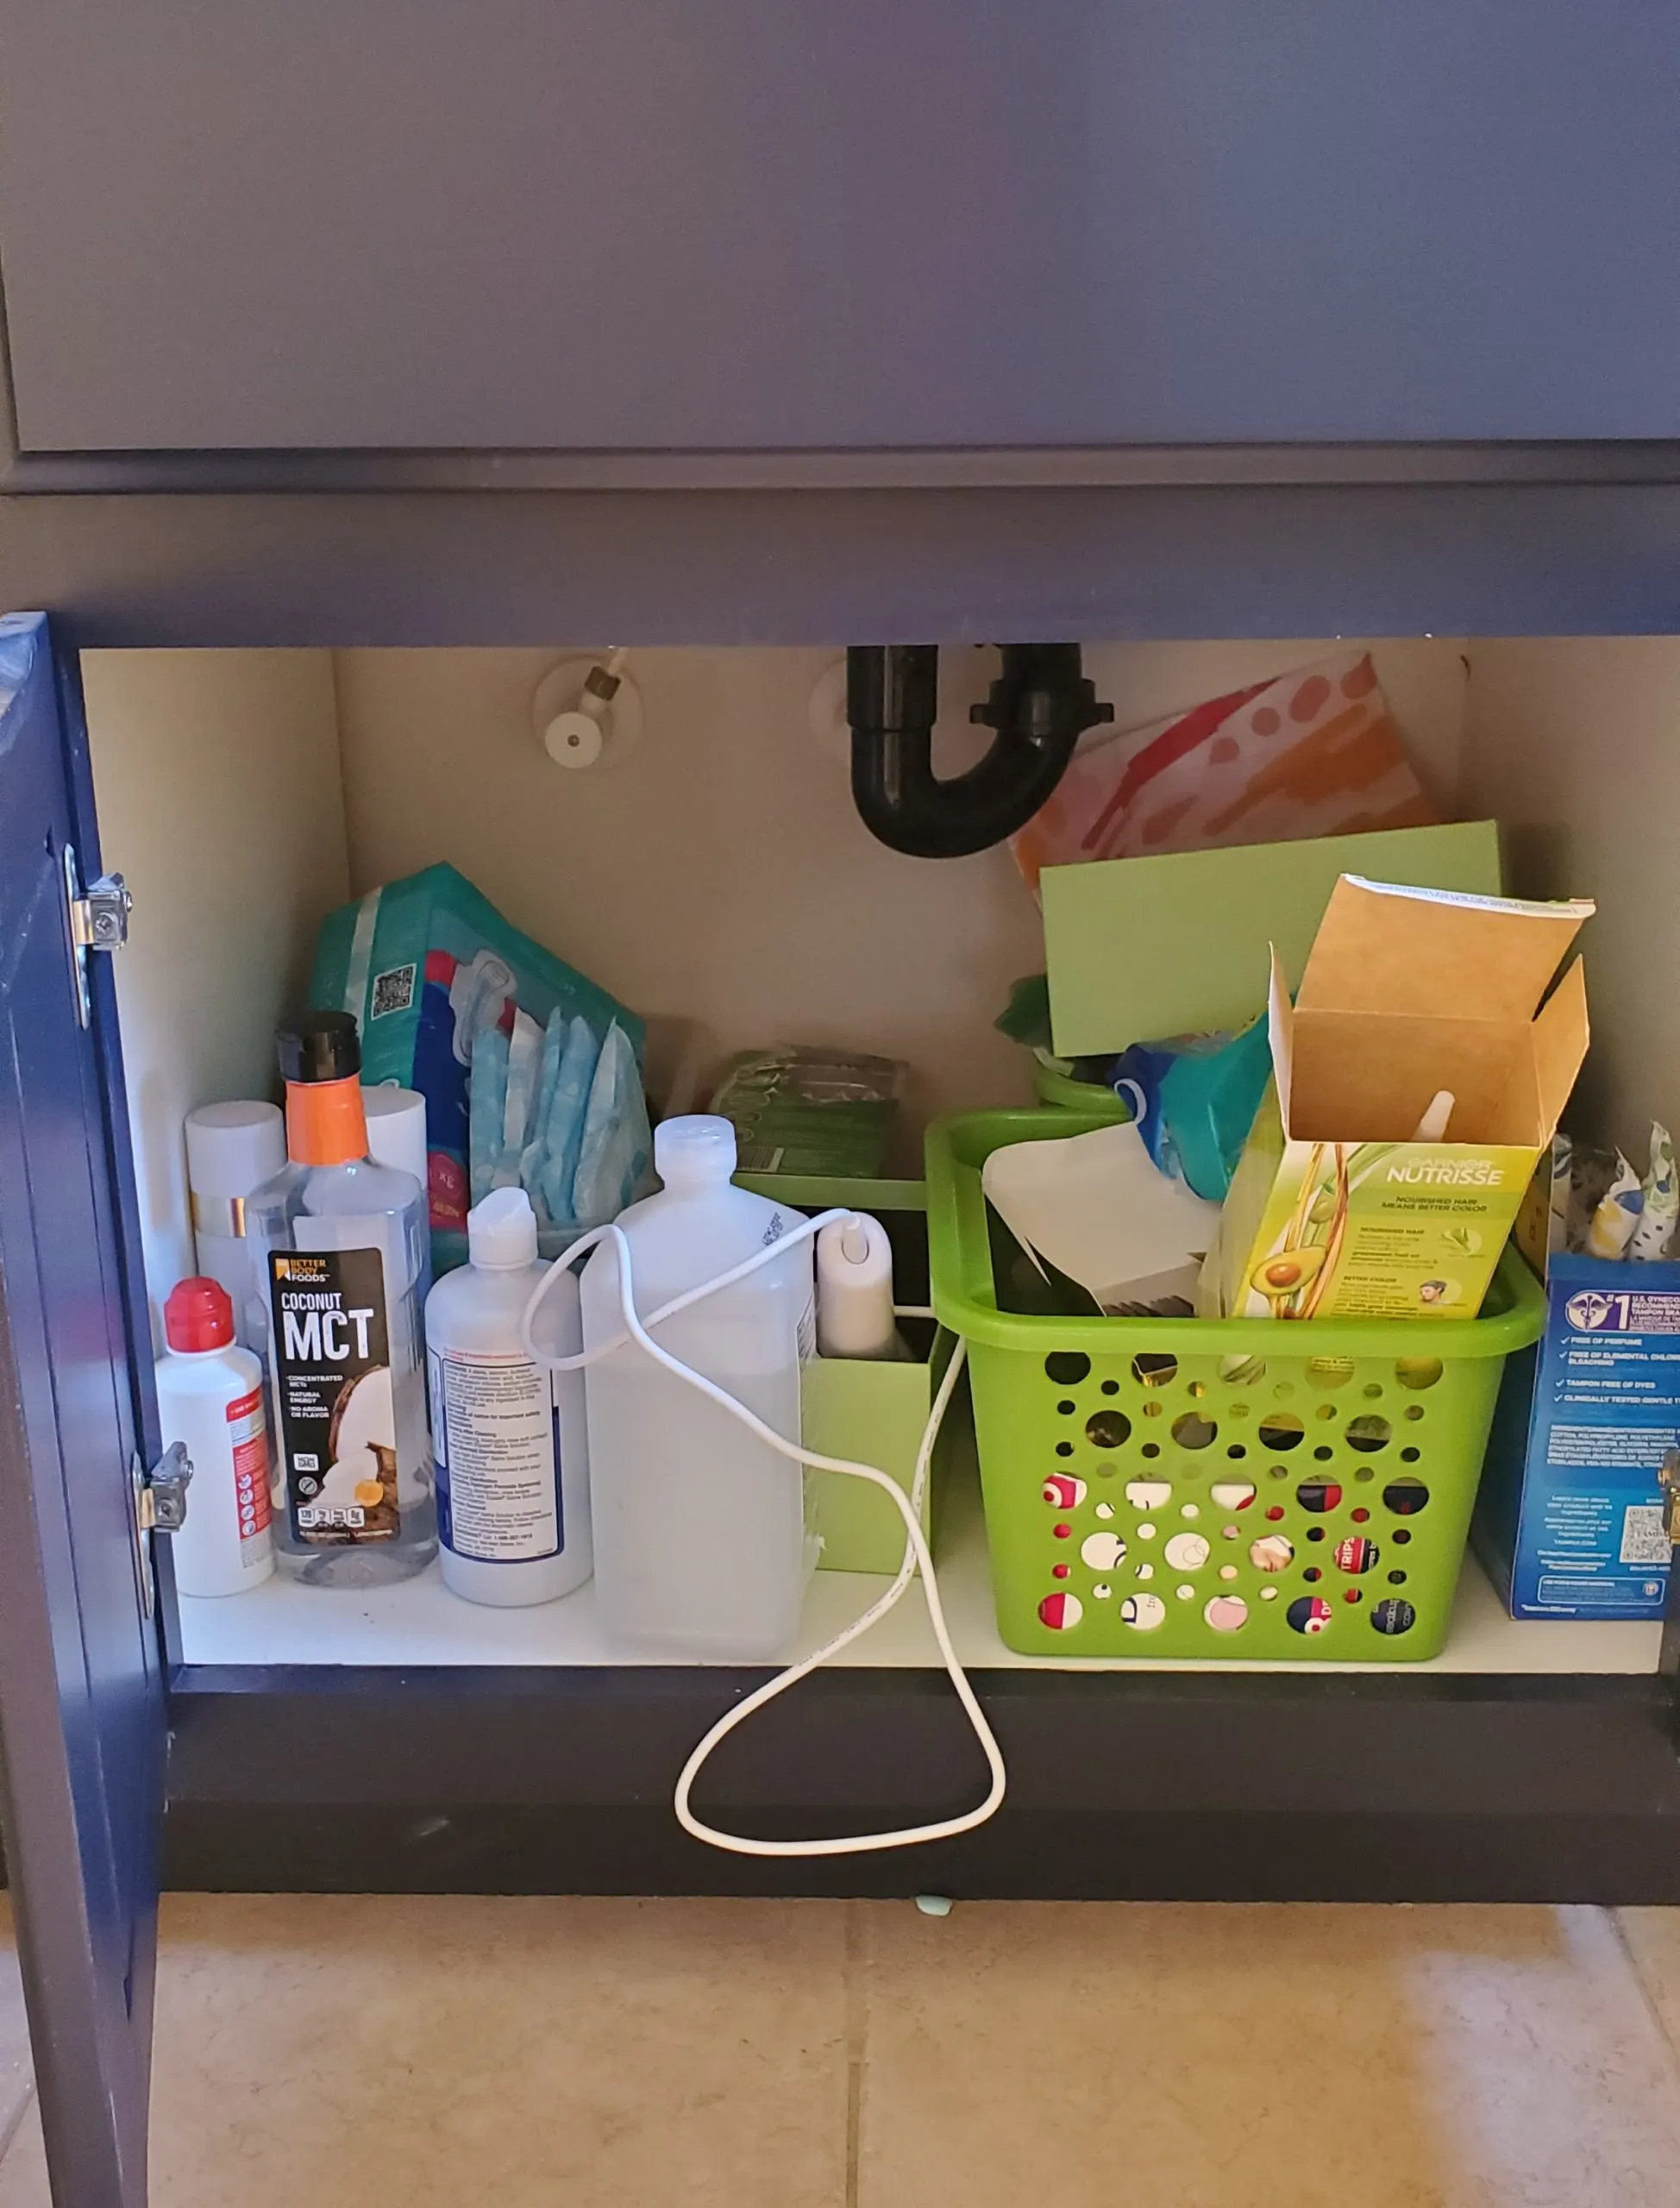
Here’s a before picture of my messy bathroom cupboard under the sink.

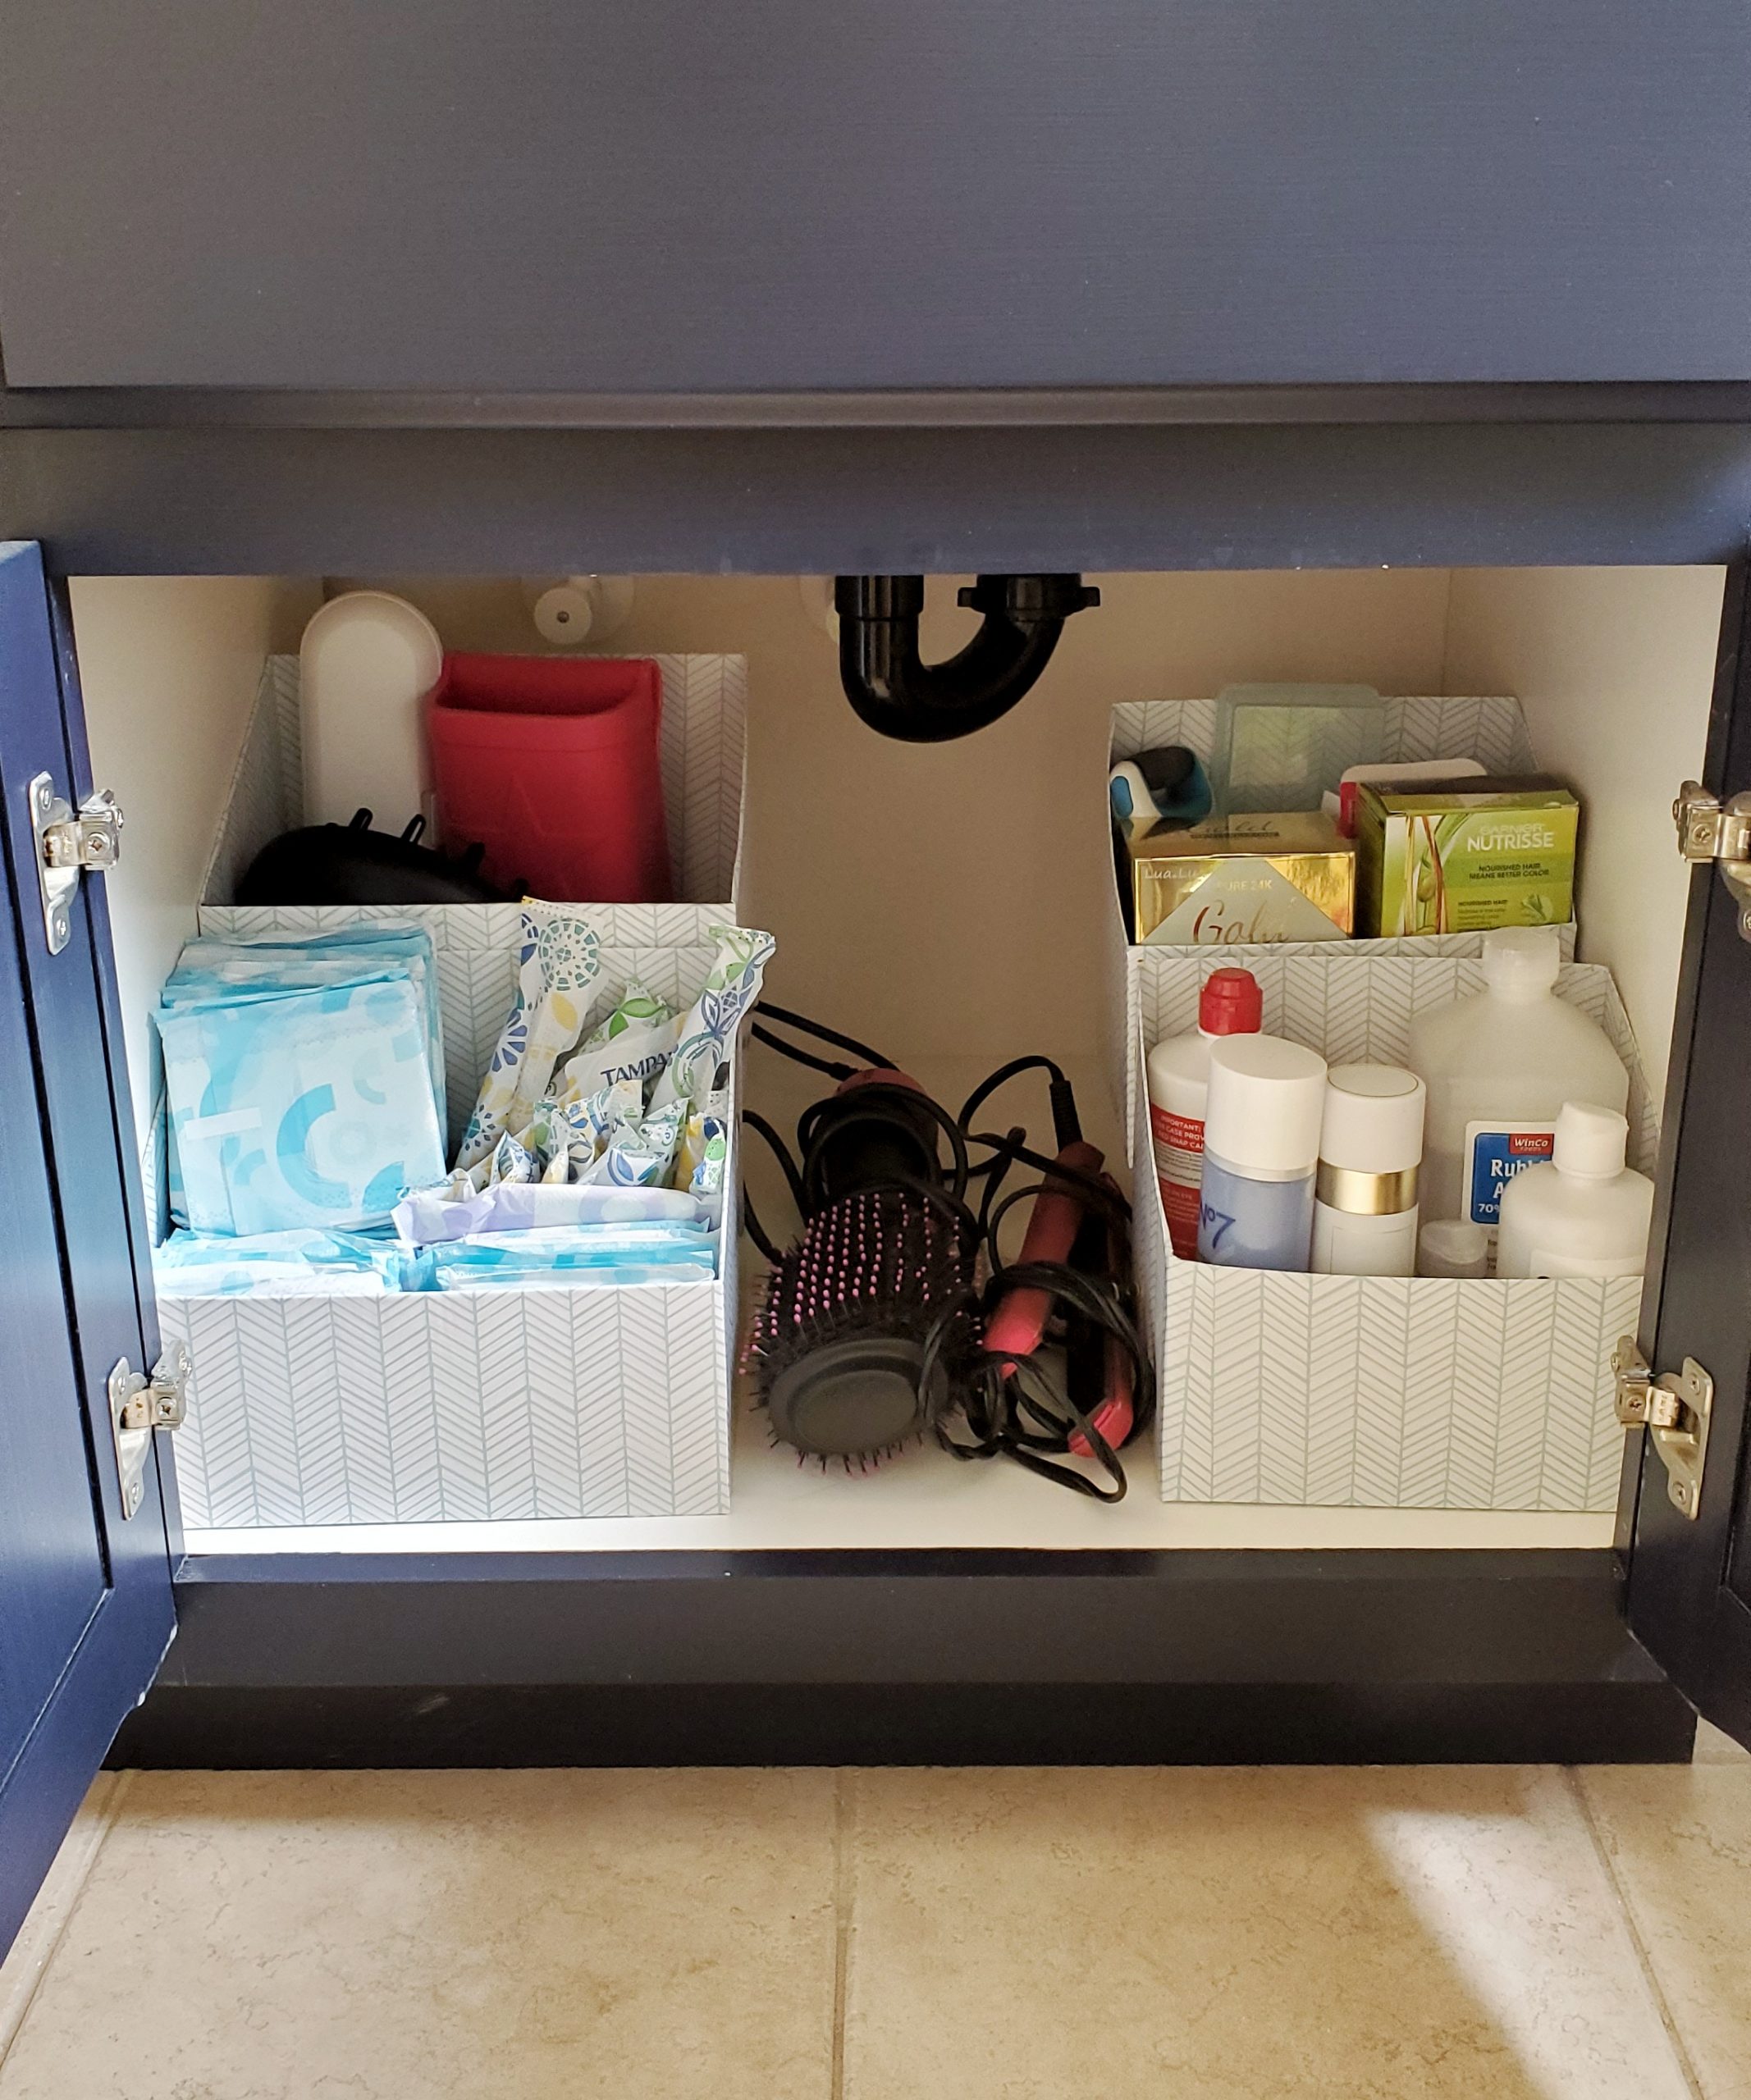
After wrapping some boxes in a different pattern of Duck Brand EasyLiner (Blue Feathers) it looks totally organized and coordinated now.

Have any questions about how to make this custom bathroom drawer organizer, or about the supplies I used? Let me know, and happy organizing!