So you’ve gotten your scroll saw dusted off, or out of the box, and you’re ready to make your first beginning scroll saw cuts. Go back and read the getting started with a scroll saw post if you haven’t yet.
Prep Scroll Saw
Wax the table with paste wax. The wax prevents rusting and also helps your material glide more easily over the surface. Be sure to use a furniture/woodworking type wax and not an auto wax with silicone.
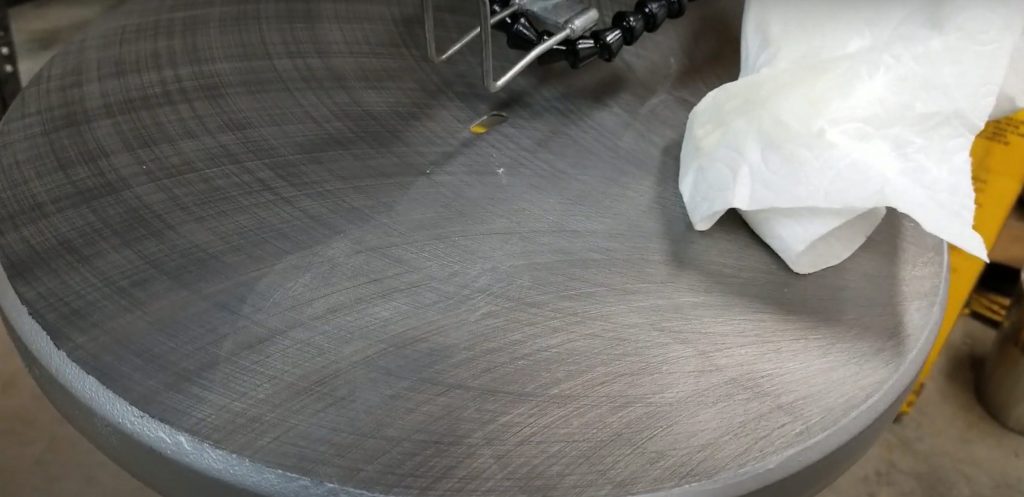
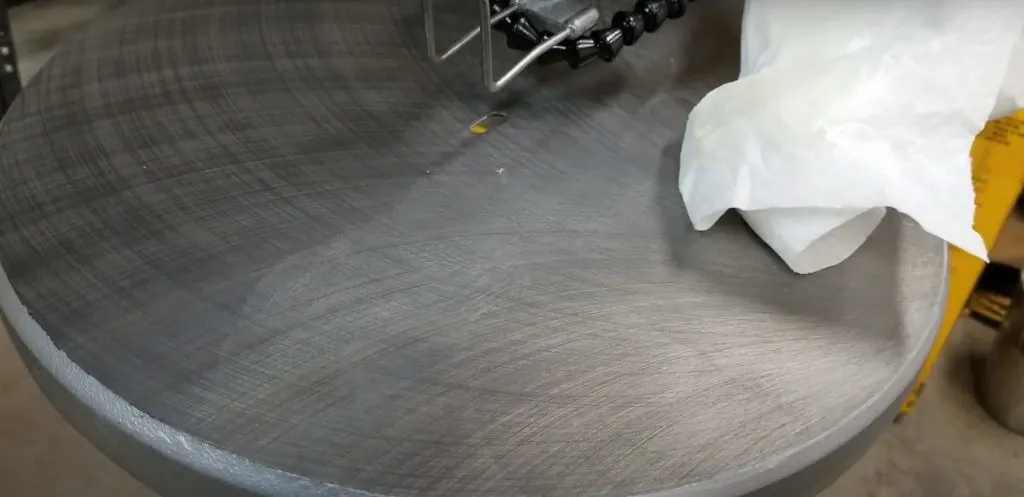
Use a paper towel to scoop out some wax and spread it over the table liberally. Let it sit for about 30 minutes and feels a bit tacky. Use clean paper towels to buff the wax in circular motions. The table should be smooth and shiny. If there are cloudy areas, continue to buff.
Install Scroll Saw Blade
Follow instructions for your specific scroll saw for installing the blade. Likely there are tightening screws for the top of the blade and the bottom, under the hole in the table.
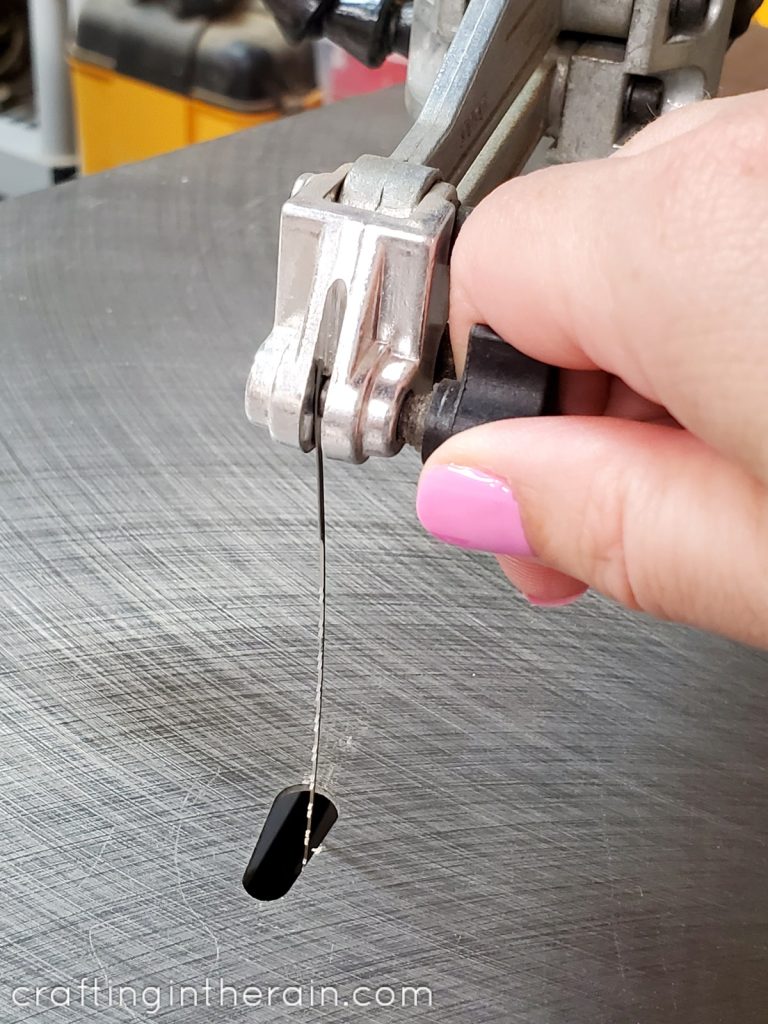
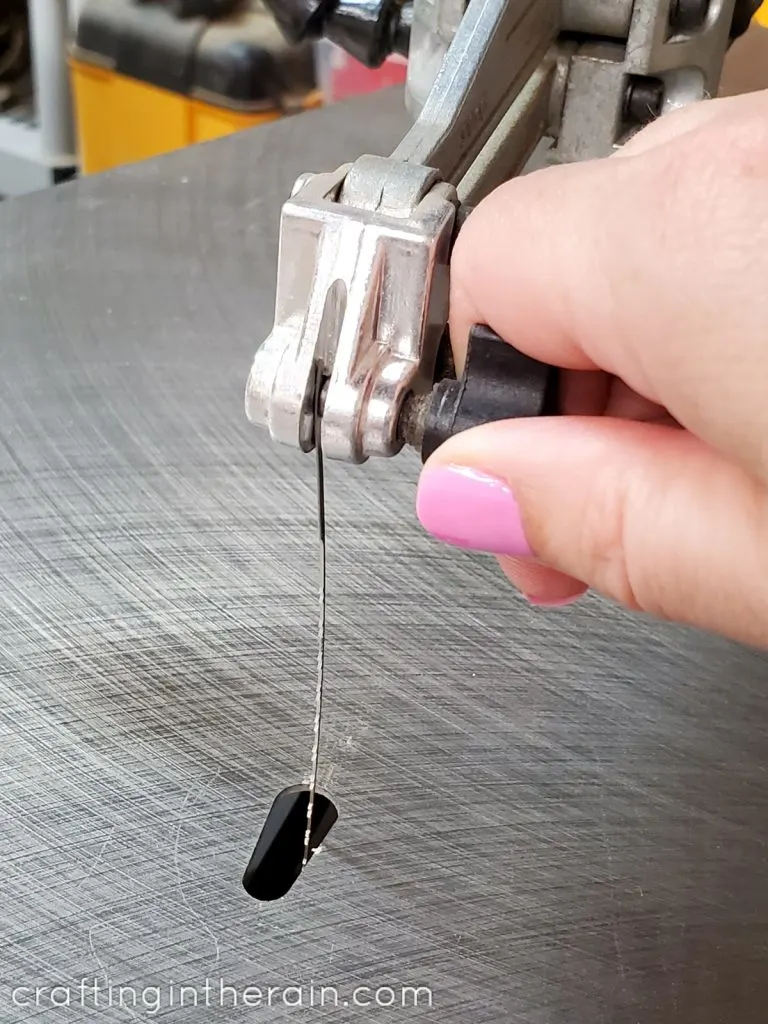
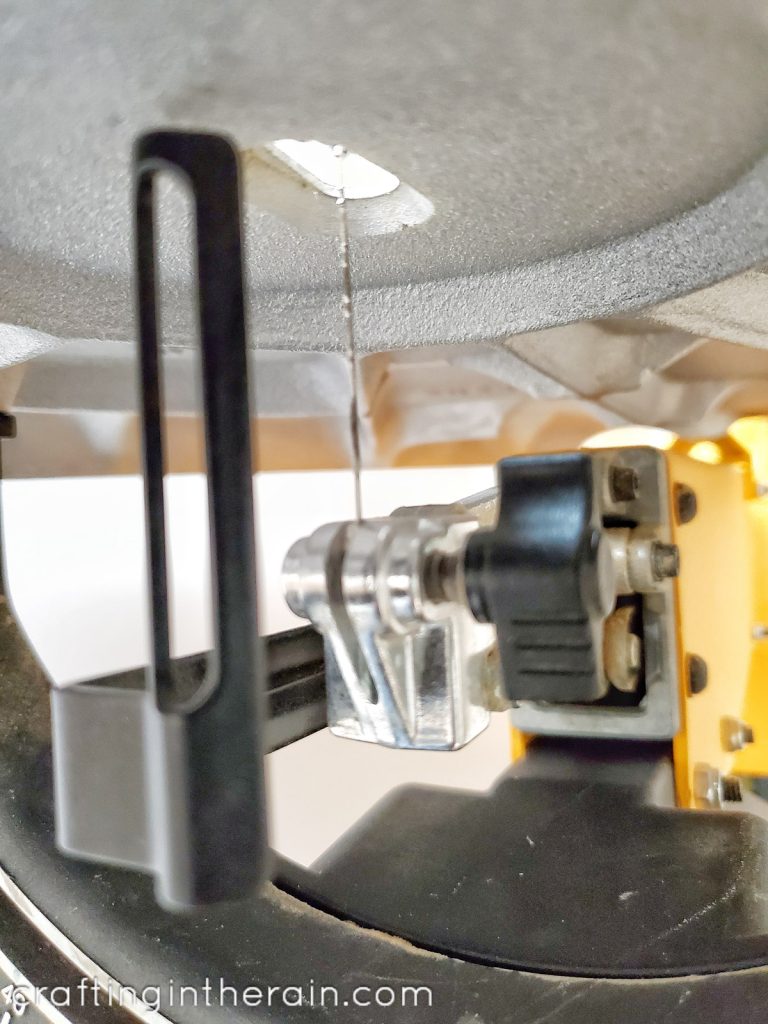
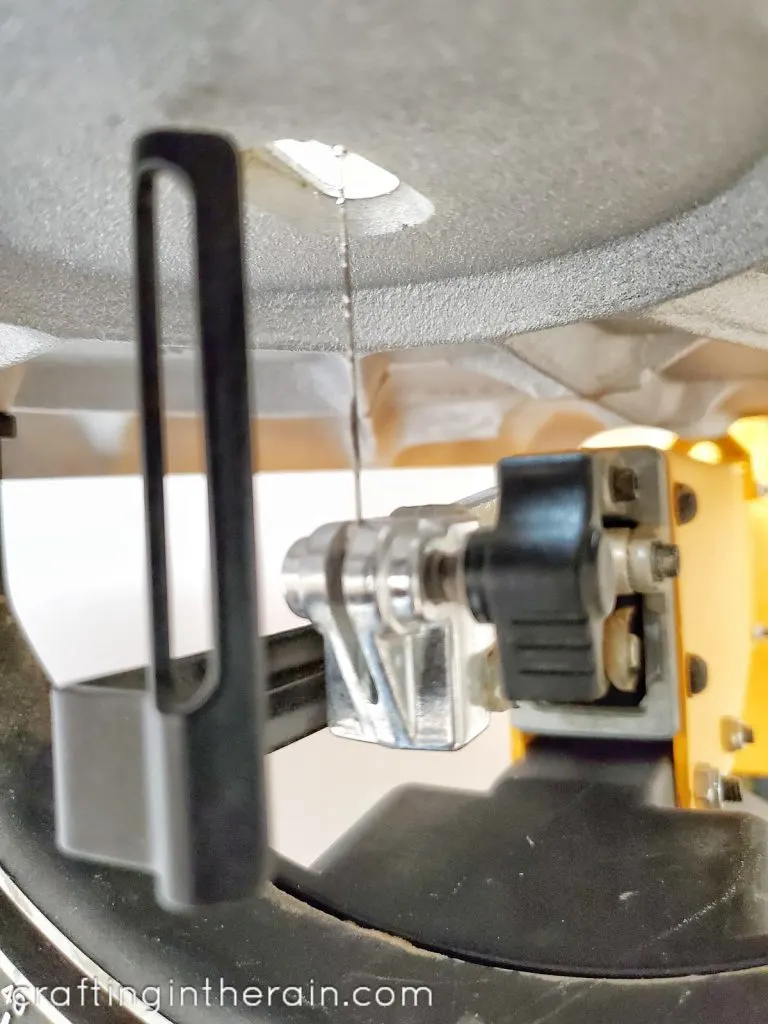
Install the blade so the teeth point down. On smaller blades, where it’s harder to see, try lightly running your thumb lightly over the teeth to see which direction drags or catches more. Or try this technique over a pant leg and look for which direction provides resistance.
Set Scroll Saw Blade Tension
Tension, or tightness of the blade is important for getting clean cuts and avoiding blades breaking.
The best way to recognize good tension is to watch a few YouTube videos. You want a kind of high pitched sound when you “pluck” the blade from behind like a string.
On my Dewalt scroll saw I usually keep the tension at 4 or 4.5.
Remember to loosen the tension anytime you’re changing the blade though!
Scroll Saw Speed
Scroll saws will usually have either a high and low speed setting, or an adjustable dial. When starting out, it’s nice to keep it at a fairly low speed while you get the hang of sawing and following patterns.
As your experience builds, you can increase the speed to get through projects a little quicker. Cutting practice lines is a good time to experiment with some different speeds too, to see how they feel to you.
Cutting with a Scroll Saw
The most important thing I learned when starting with the scroll saw was to let the saw do the work! Your job is to hold the wood down to the table, and guide the pattern line, but don’t push the wood into the blade.
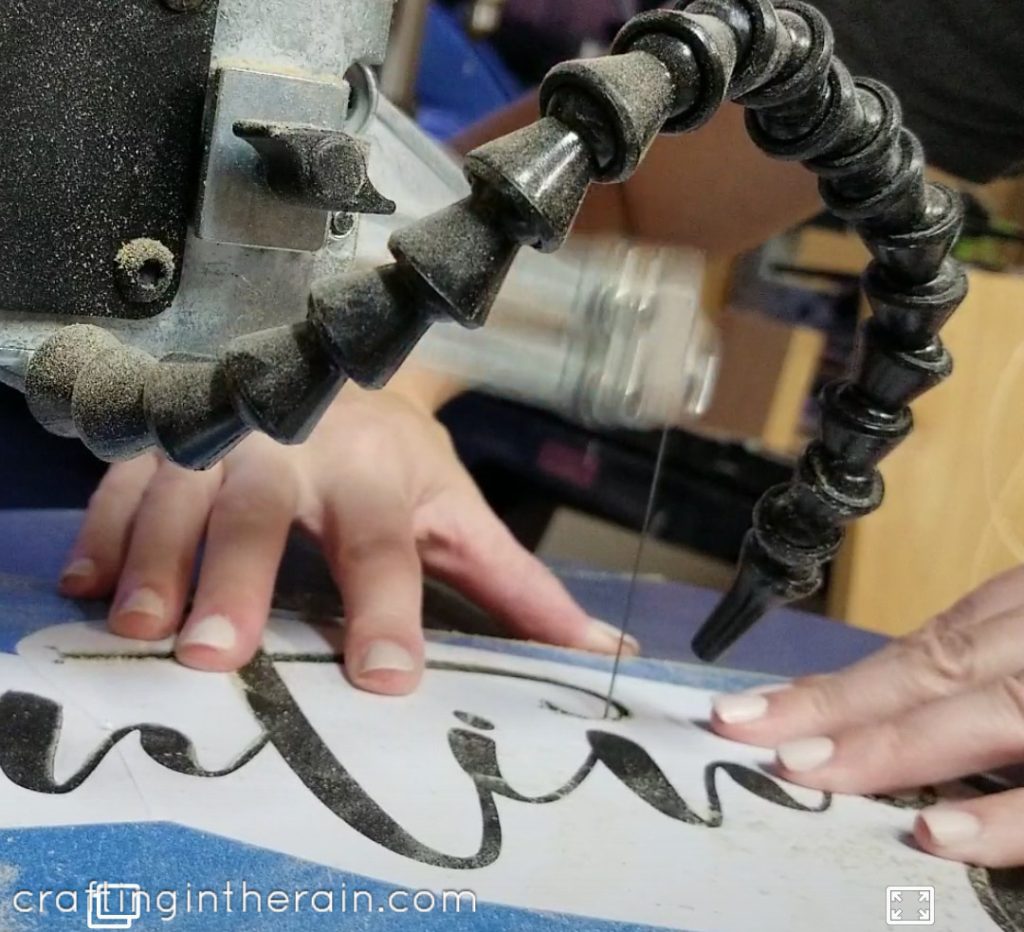
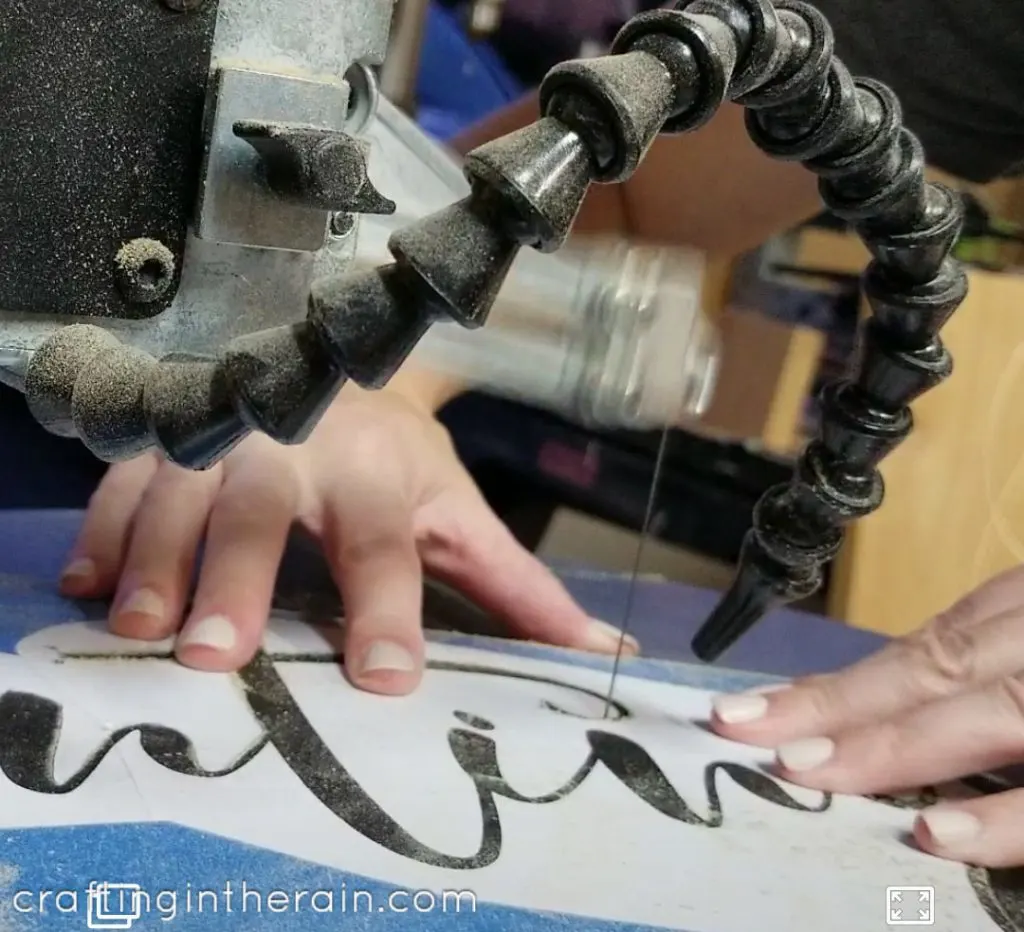
Forcing or “hogging” the wood into the blade can cause it to overheat, bend, or break. Setting the speed higher will allow the wood to be cut faster and you can guide it faster.
Scroll Saw Practice Sheets
I designed a 3 page printable template that you can just print on regular printer paper.
Use this form to get the printable PDF emailed to you


Attach scroll saw pattern to wood
MDF is mostly what I cut, but even if you plan on cutting hardwood, MDF is a great material for practicing. A 2×4 feet piece of 1/4 inch MDF is about $25 at home improvement stores. You will need to cut it down at home with a miter saw or jigsaw. OR, you can have it cut down at the store. You’ll need pieces that you can maneuver through your scroll saw.
Cut a piece of clear Contact paper to cover the MDF. Spray a light layer of Spray adhesive on the back of the pattern and press it down on top of the contact paper.
After the cuts are complete, the contact paper peels up super easily from the wood, whereas a paper pattern glued right to the wood would be much harder to remove.
On practice cuts where you’re not actually using the cut shapes, you can skip the contact paper step.
Types of scroll saw cuts
Patterns that you find or design will have these different types of cuts that all require their own practice.
Straight cuts
Straight cuts are when you’re cutting the side of a rectangle, or of a capital letter. If the blade starts to drift, it can be hard to get it back on track. On your specific saw, you may even feel like you have to guide the wood at a slight angle to keep a straight line.
Curve cuts
Curved cuts are needed on shapes like circles or on script letters. It takes practice to see how quickly to turn the material to get it to follow the correct curve line. A sharp curve needs to swivel pretty soon while a large curve will turn more gradually.
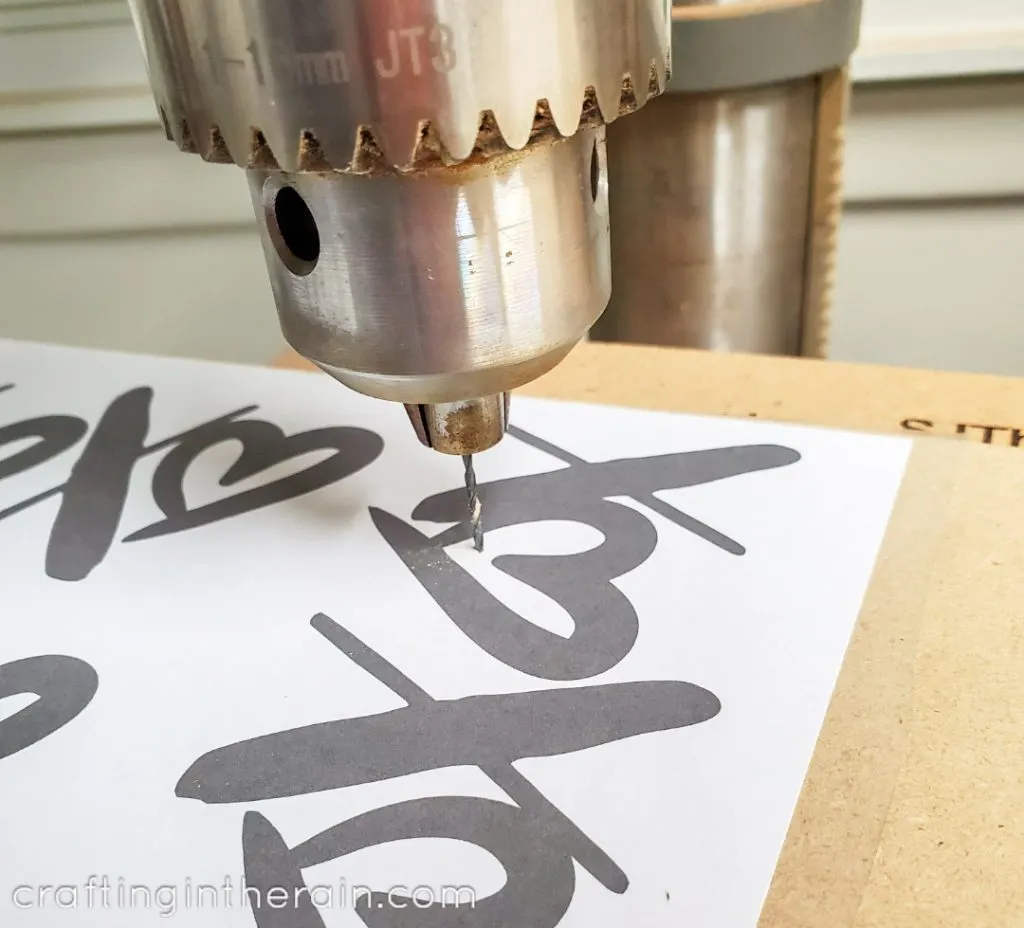
Inside cuts
Inside cuts need a hole drilled first so the scroll saw blade can be threaded through. I always cut the inside cuts first, so I drill all the holes before taking the material to the saw.

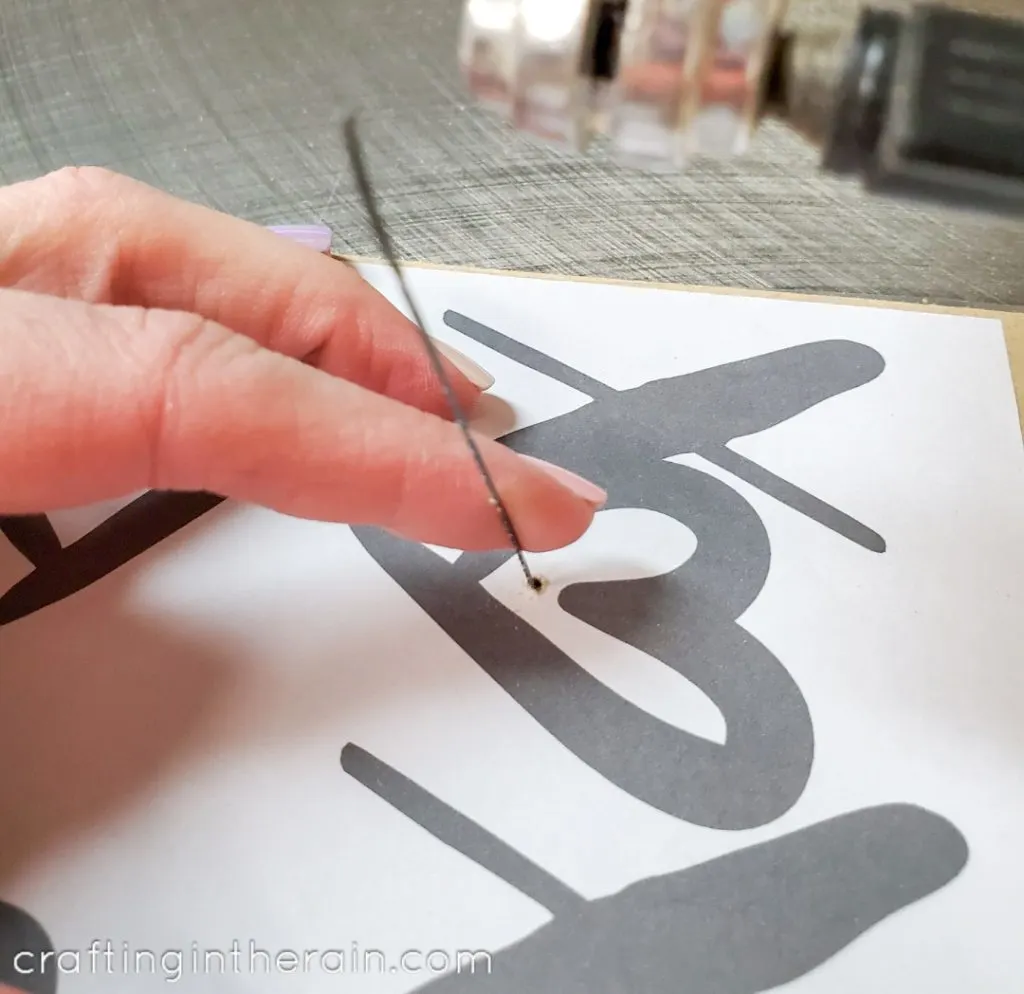
Loosen the tension and then release the top of the blade and pull it out. Thread it through the back side of the wood and then tighten it back in place. Reset the tension.

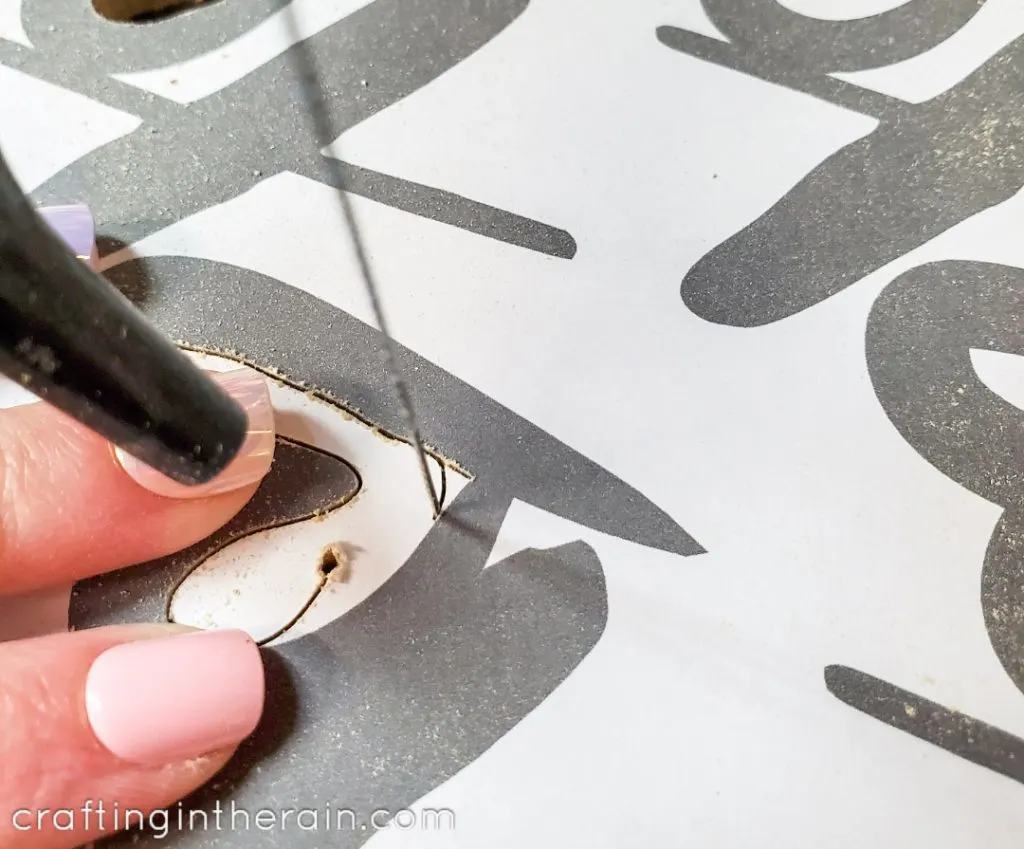
Cut out the inside shape, following the inside line. When I get to a point, I just curve past it and come back from other directions to get into the point.
When the cut is complete, turn off the machine, loosen the tension, and remove the top of the blade to take the wood off and thread it into the next inside cut.


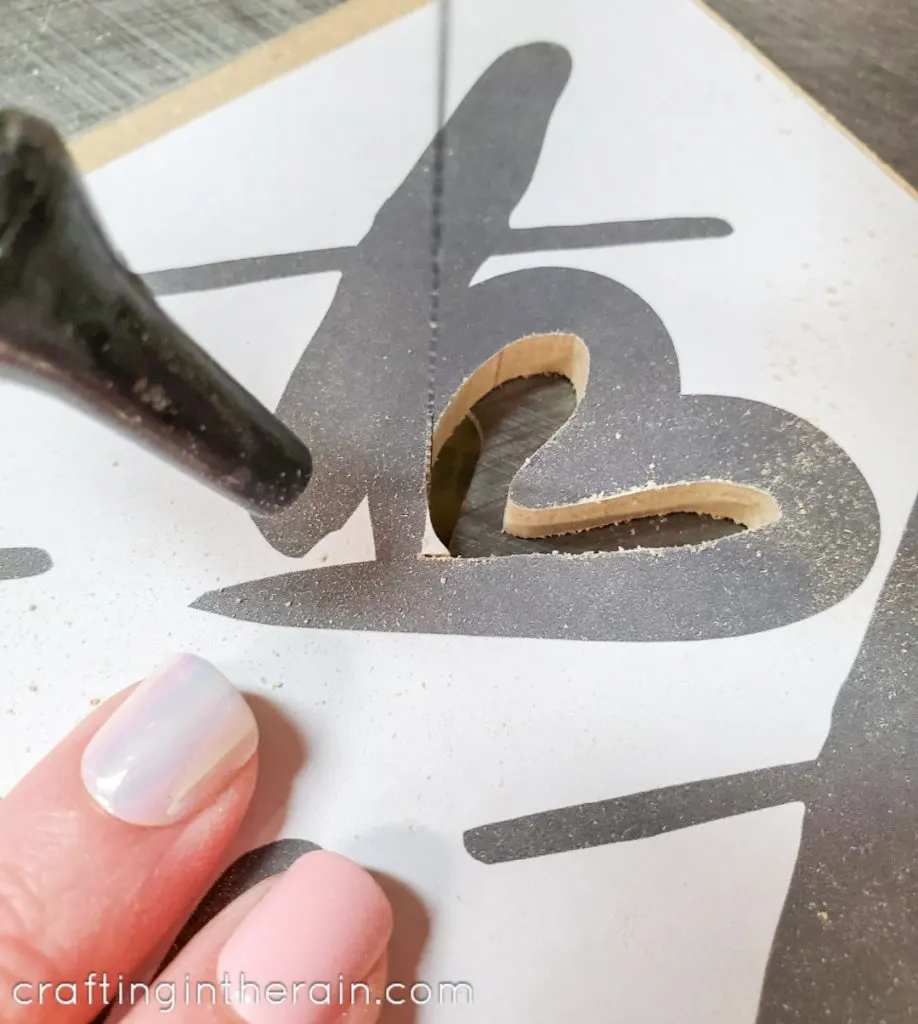
By cutting the inside parts first, you have more material to hold on to as you work. Then move to the outside cuts.
Corners
For an outside corner, I will cut straight off pass the end, then spin the wood around to make a small circle and position the blade to come right back in a straight line on the other side of the corner.
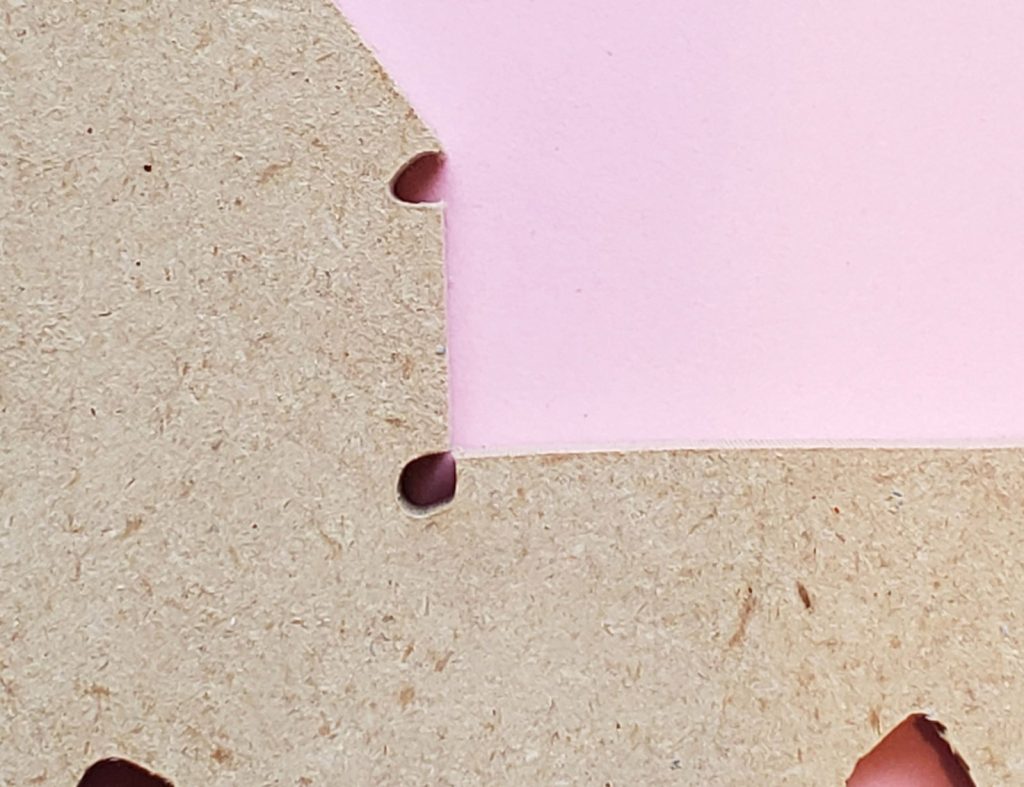
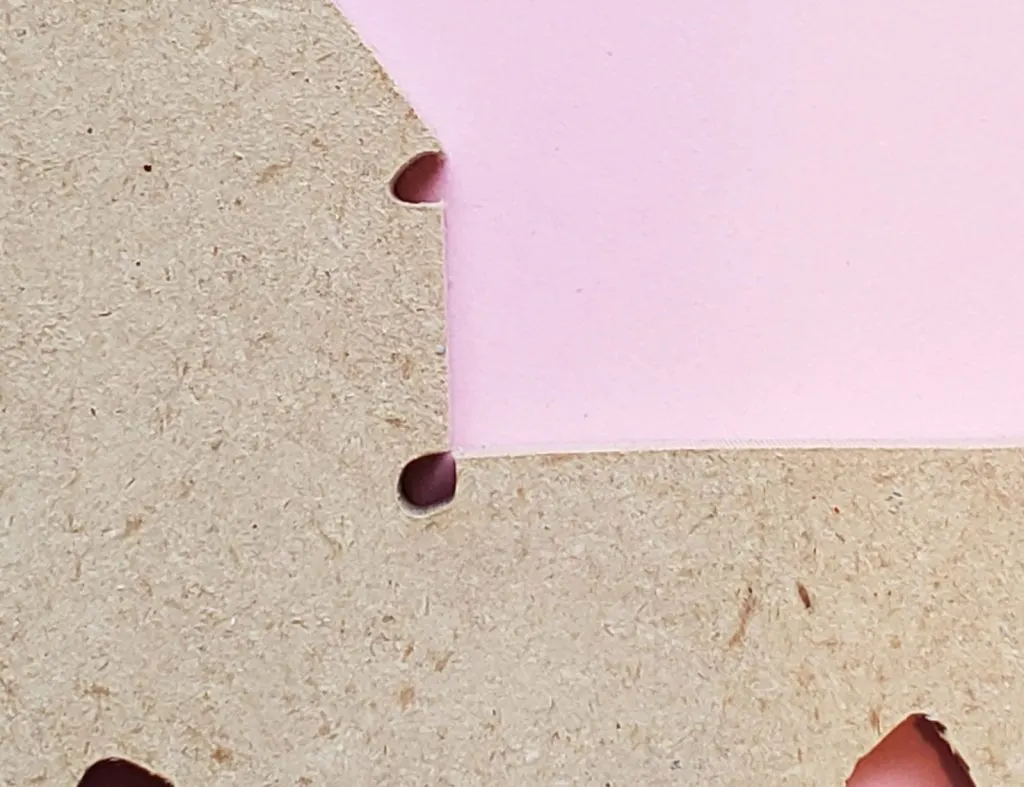
Now, this technique won’t work if you’re cutting something like a puzzle, where all the pieces need to fit next to each other when you’re done. But turning sharp or right corners like that can be practice for another day.
Beginning scroll saw projects
Once you have done a bit of practice and feel like you’re starting to get the hang of it, go ahead and jump into your first project! And remember that every time you’re cutting, it’s good practice!
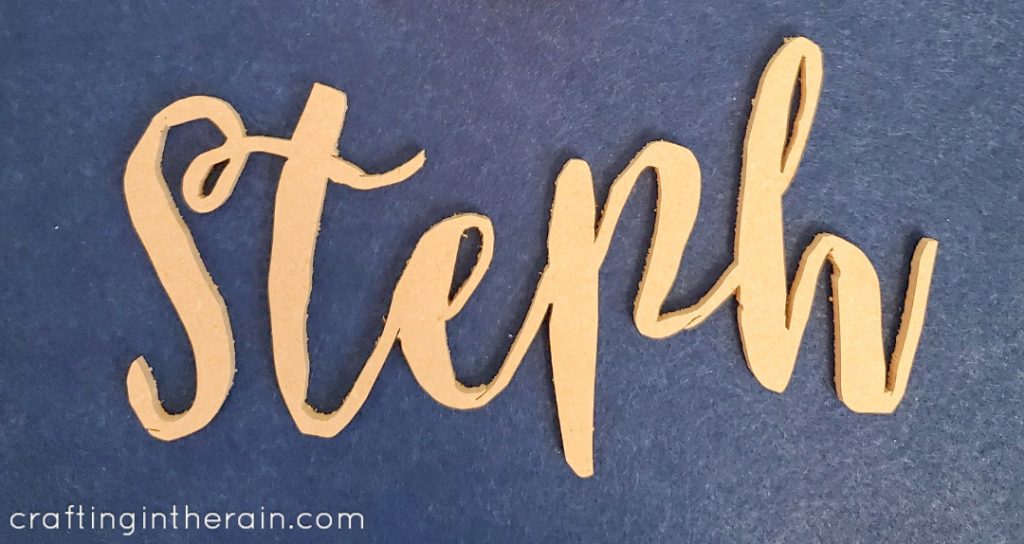
My suggestion is to start with typing out your name in a script font – size it to fill a page and print it out. Attach to MDF and practice cutting it. Then tuck it away in a drawer and pull it out to check your progress now and the. It’s quite satifying!

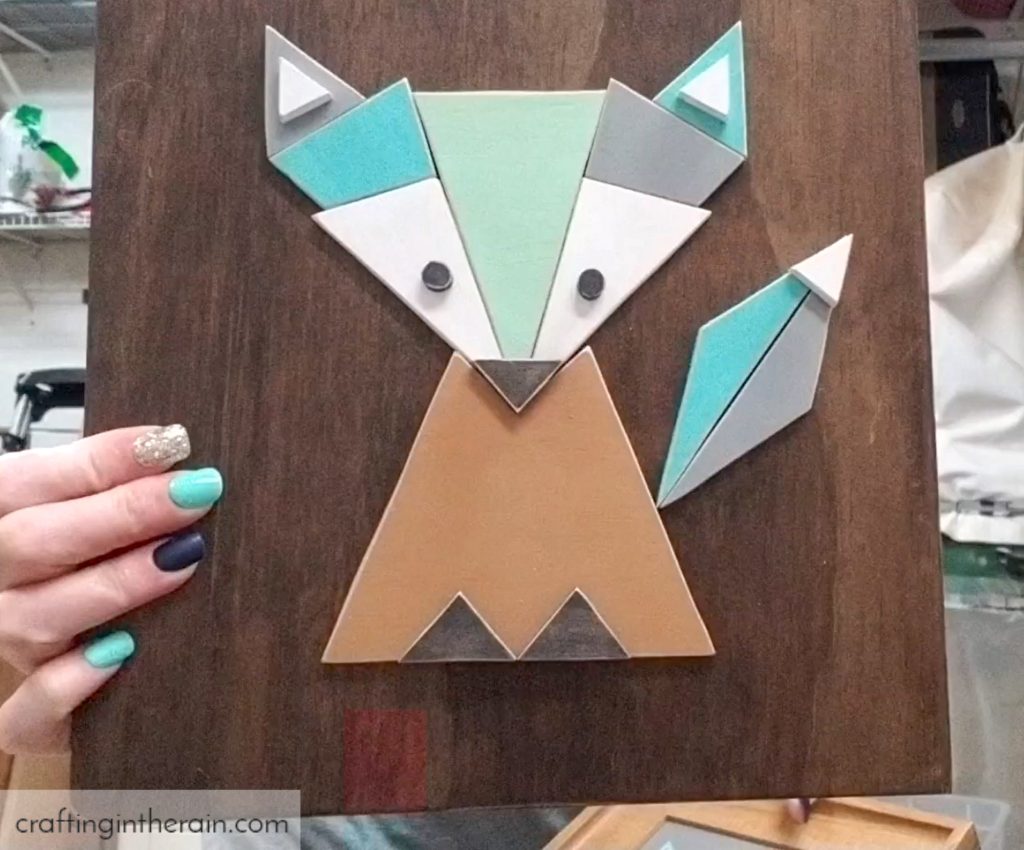
After that, start looking for or designing your own simple projects. You can make this modern scroll saw fox pattern that is just simple shapes and no inside cuts.

Type out names, or download SVGs even to print out. Look for shape outlines or draw your own. Print larger designs by increasing the design to fit on multiple pages then cut the paper to line them up on the wood.
Other things to consider when looking for beginner scroll saw projects are:
- Designs that don’t need to fit together – each piece is cut out separately, and this is particularly helpful if you mess up on a single piece and need to recut just that one.
- Shapes and fonts that can look hand-drawn. When you stray from the pattern line it’s not as obvious as if it were a completely precise design.
- Just start cutting! Each project is practice piece too.
Have fun making your first scroll saw cuts and let me know if you have any questions! Read the next post on broken scroll saw blades.
Doug
Tuesday 23rd of December 2025
Thank you for this tutorial. I have the same saw that you do , so this was especially helpful. I put my saw up on a block at an angle to make it easier to saw. This way I can sit on a stool and manage my cutting without long periods of standing. You are creative and it is nice that you are willing to share your ideas.
Terry
Friday 7th of November 2025
Very informative and easy to follow. As an experienced scroll sawyer, I like to see what other’s are doing and I found this to be exactly what a beginner needs. I do a couple of things that might be helpful: I use a wax stick for each new blade and I use circular blades for intricate work like portraits. Etc. Your point about making sure the blade teeth are pointing down is really valuable. Great article. Thank you
Alison
Tuesday 17th of December 2024
My first time using scroll saw. the wood was jumping up and down now i have read this it will help me do it again I lot more to learn thank-you it going to take me wile
LaDale
Sunday 29th of September 2024
Hello, as a brand new “newby” I would like to suggest thad you spell out your abbreviations. I looked up the MDF but not the SVGs, I guessing that I’m not the only one who doesn’t know this. Just thought it would be helpful. I am excited to try my hand at this. Fingers crossed 😀
PETER
Tuesday 16th of January 2024
WHAT TEETH PATER IS BEST TO STOP MATERIAL FROM JUMPING