These cookie cutter resin ornaments are a perfect Christmas project. Make them for gifts, personalize them with photos, or even sell them.
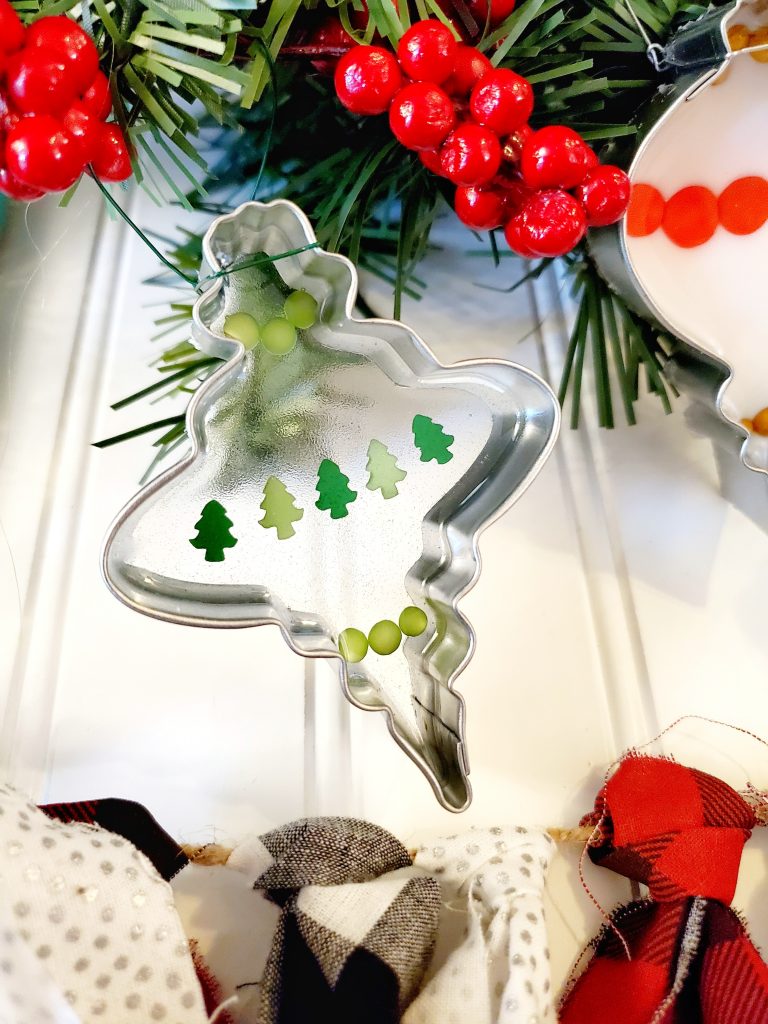

Cookie cutter ornaments originally appeared on the Resin Crafts Blog. These ornaments required a bit of patience as I poured 3 separate layers of resin in each one. But they are really pretty, so I think it’s worth it!

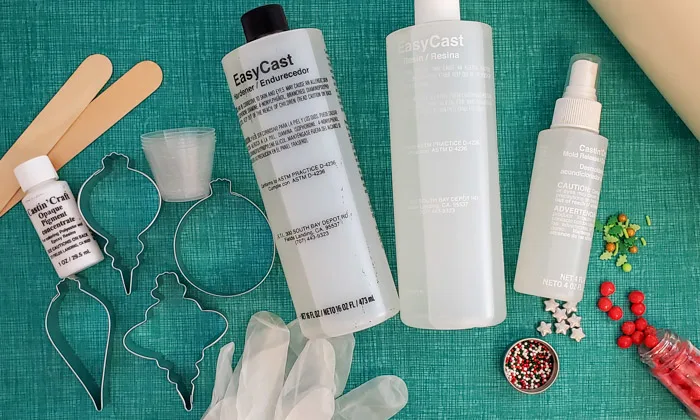
Here are the supplies you’ll need to make these resin ornaments:
- EasyCast Clear Casting Resin
- White Opaque Pigment
- Metal cookie cutters
- Sprinkles
- Mold release spray
- Contact paper
- Mixing cups
- Glue gun
- Tweezers
- Wire or string
- Gloves and eye protection
FILLING ORNAMENTS WITH RESIN
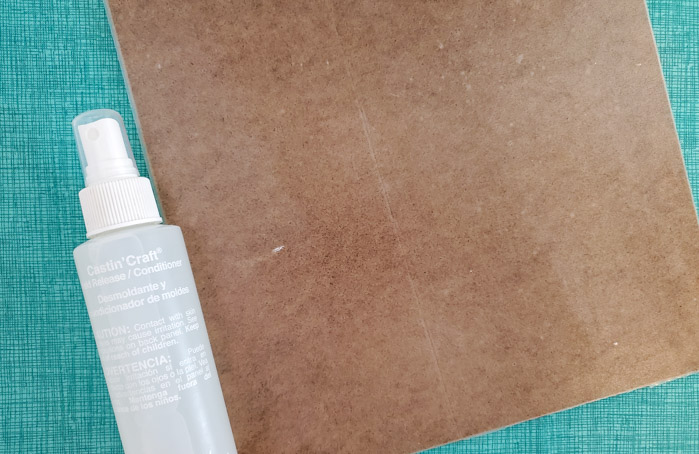
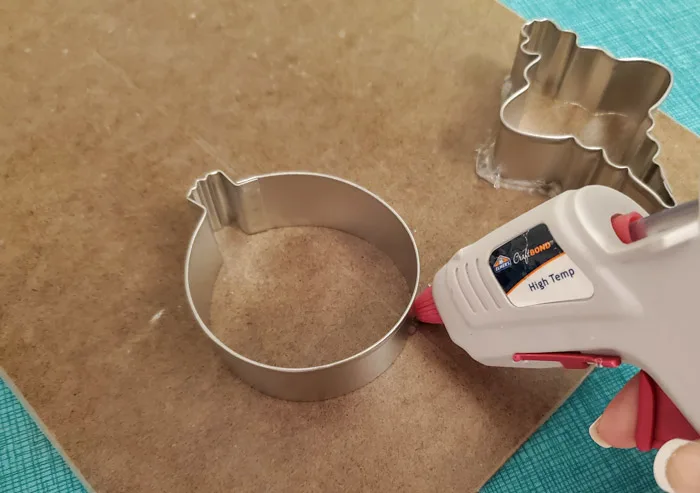
Cover a hard, flat surface with clear contact paper (I used a clipboard.) Spray the contact paper with mold release spray and dry completely.
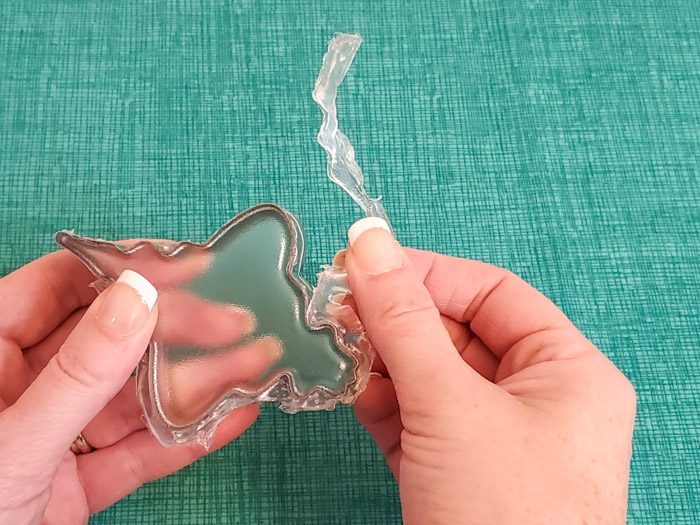
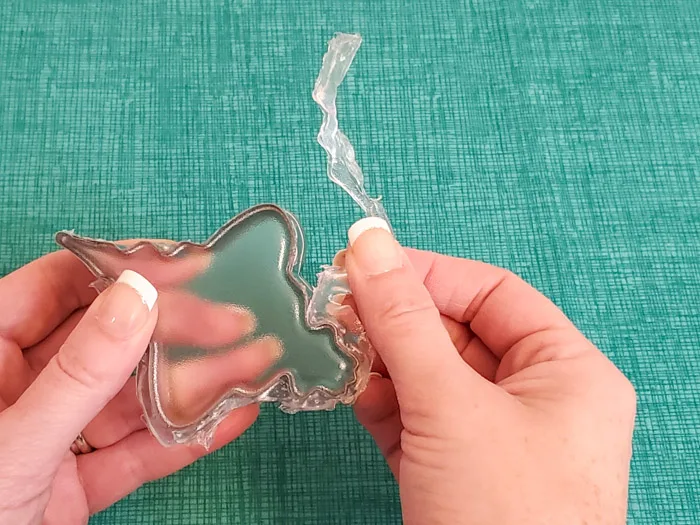
Set the metal cookie cutters on the contact paper and create a seal around the bottom with hot glue to keep the resin from seeping out.

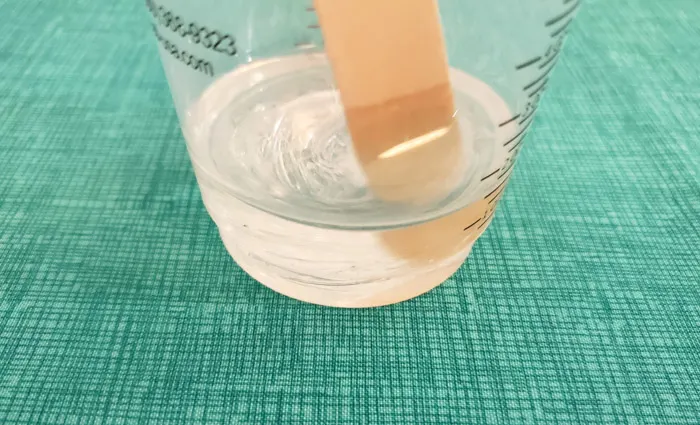
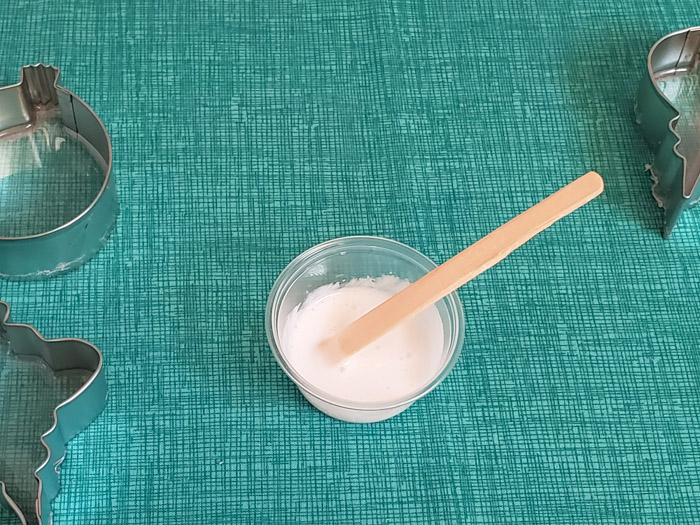
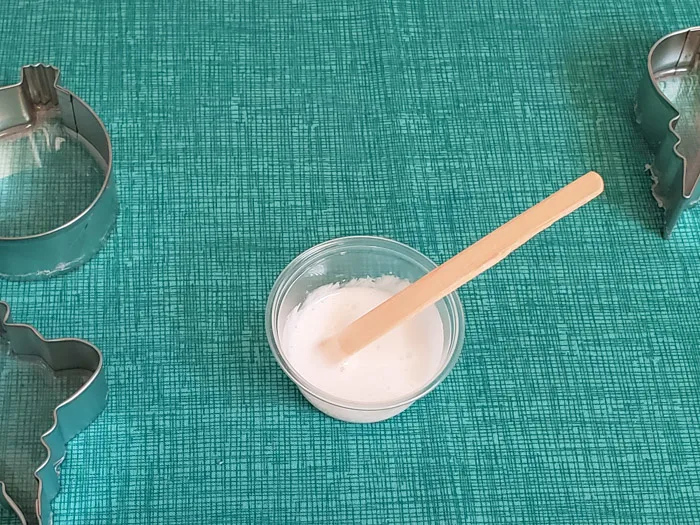
Wear gloves and eye protection. Cover your work surface to protect from spills, then mix resin according to package instructions.
Using equal parts resin and hardener, stir for 2 minutes in one cup. Pour into a clean cup and stir for an additional minute.

Pour about 1/4 inch of resin into each ornament.
After a couple of minutes, bubbles will rise to the top, mostly collecting at the sides.
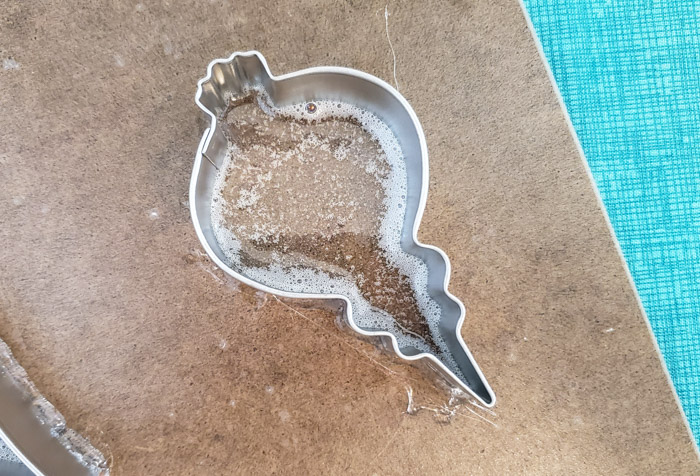

Exhale or pass a heat gun over the surface to pop the bubbles.
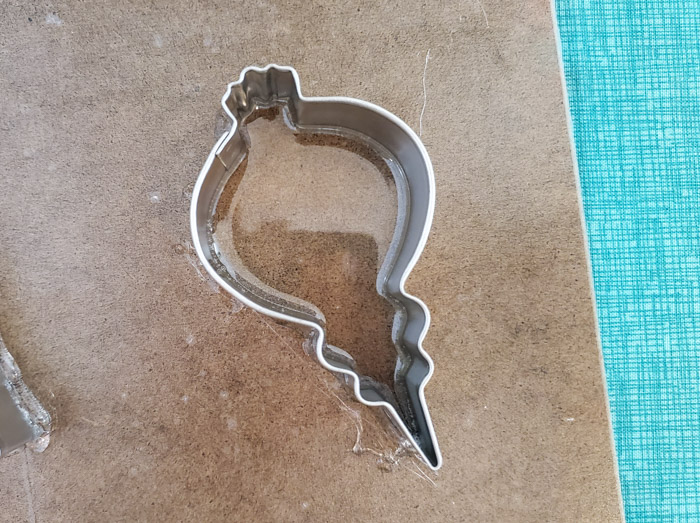

Let cure for 24 hours. Remove the ornaments from the contact paper and peel away the hot glue. Carefully use a blade if needed.
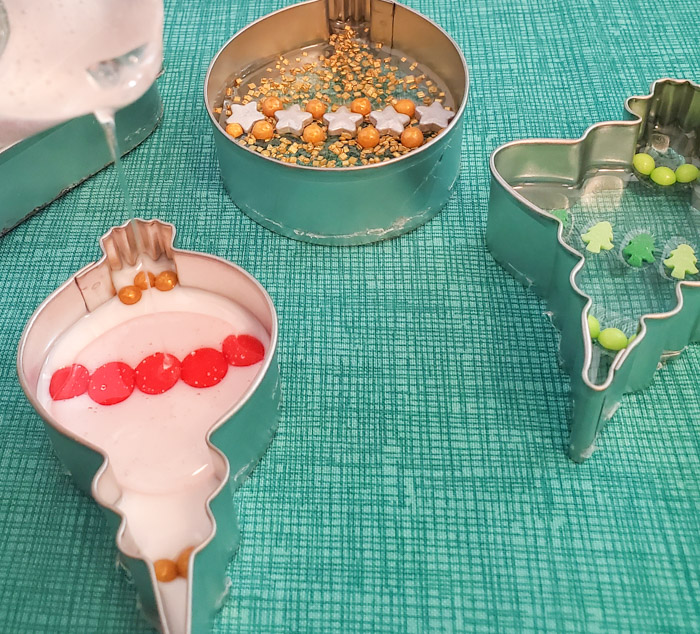
Mix more resin and pour another 1/4 inch. Color if desired with transparent or opaque dyes. I used one drop of opaque white here.
DECORATE RESIN ORNAMENTS
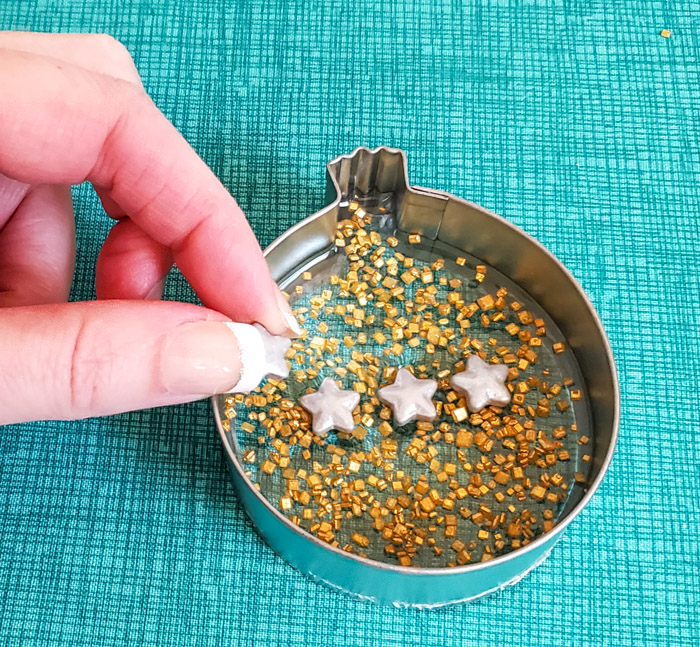
Let this layer cure for 6-7 hours. Decorate with different types of sprinkles. Since the resin will be a bit tacky, it will hold these sprinkles in place.
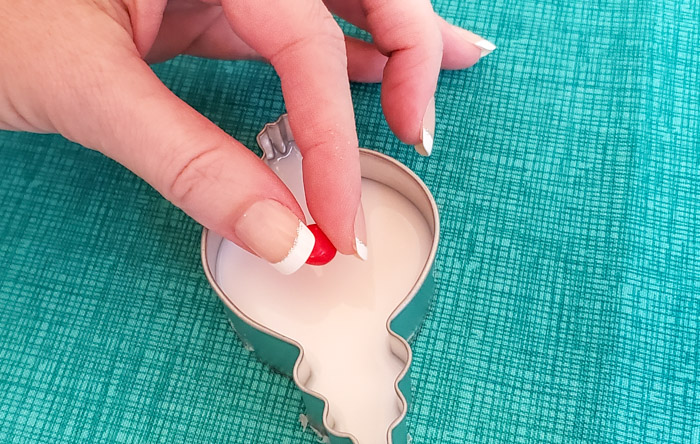
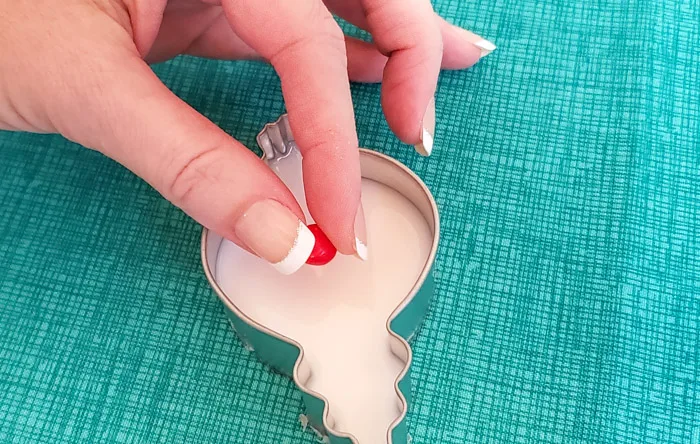
Use tweezers if needed to make sure you don’t touch the resin with your fingers.

Let cure at least two more hours and finish with a top layer of resin – just enough to cover all the sprinkles.
(A note about the red hots. They seemed to pass the tiniest bit of color to the white dye, so if I were doing this again, I would seal the red hots with Resin Spray Finish first.)

Wrap wire or tie string around the tops of the ornaments to hang. Or drill a hole in the top of the resin. Thread a thin cord through and tie in a knot. Then use a sturdy ornament hook to hang it.

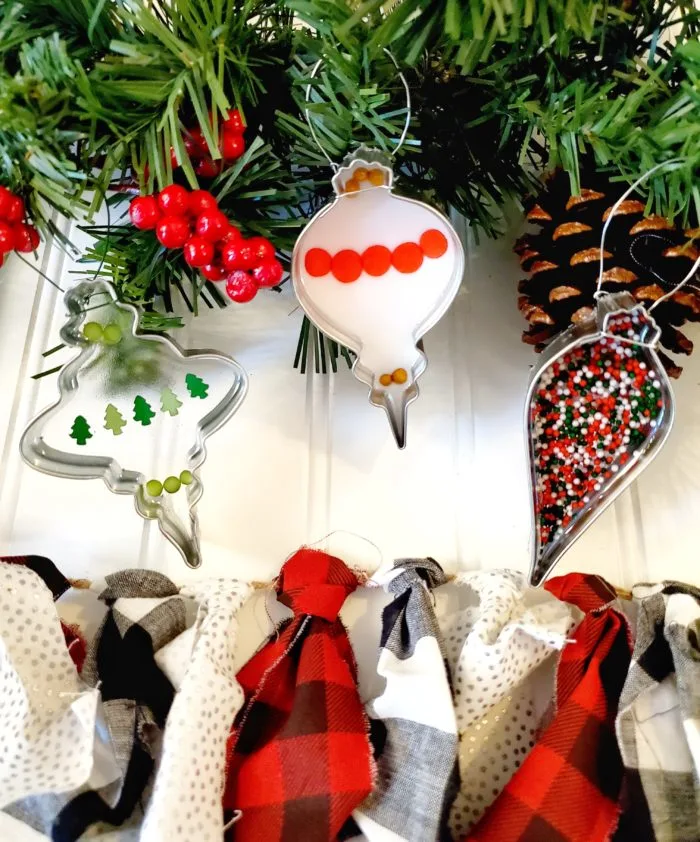
And with all the shapes of cookie cutters and types of sprinkles, the design possibilities are endless! Which resin sprinkles ornament is your favorite?
ornaments
Wednesday 17th of February 2021
Ohhh- You have such great ideas, I am having a hard time finding ornament shaped cookie cutters. I have looked online at Hobby Lobby, JoAnn, and Michael’s. Please help me!
Stephanie Maready
Wednesday 13th of November 2024
@ornaments, I found a bunch at my local thrift store. Also, go outside the box and use things you wouldn't normally think of. I think those make the most unique and special ones.
Stephanie
Sunday 21st of February 2021
I found these metal cookie cutters on Amazon!