I’ve been learning how to do my own at home gel manicure. Maybe these tips can help you out if you want to do the same!

Taking care of nails at home
I like having nice looking nails, but I’m cheap enough that I don’t want to spend all the money on regular salon trips. So I’m not a professional, but I have found some products and tips that work well for me.


How to remove gel polish
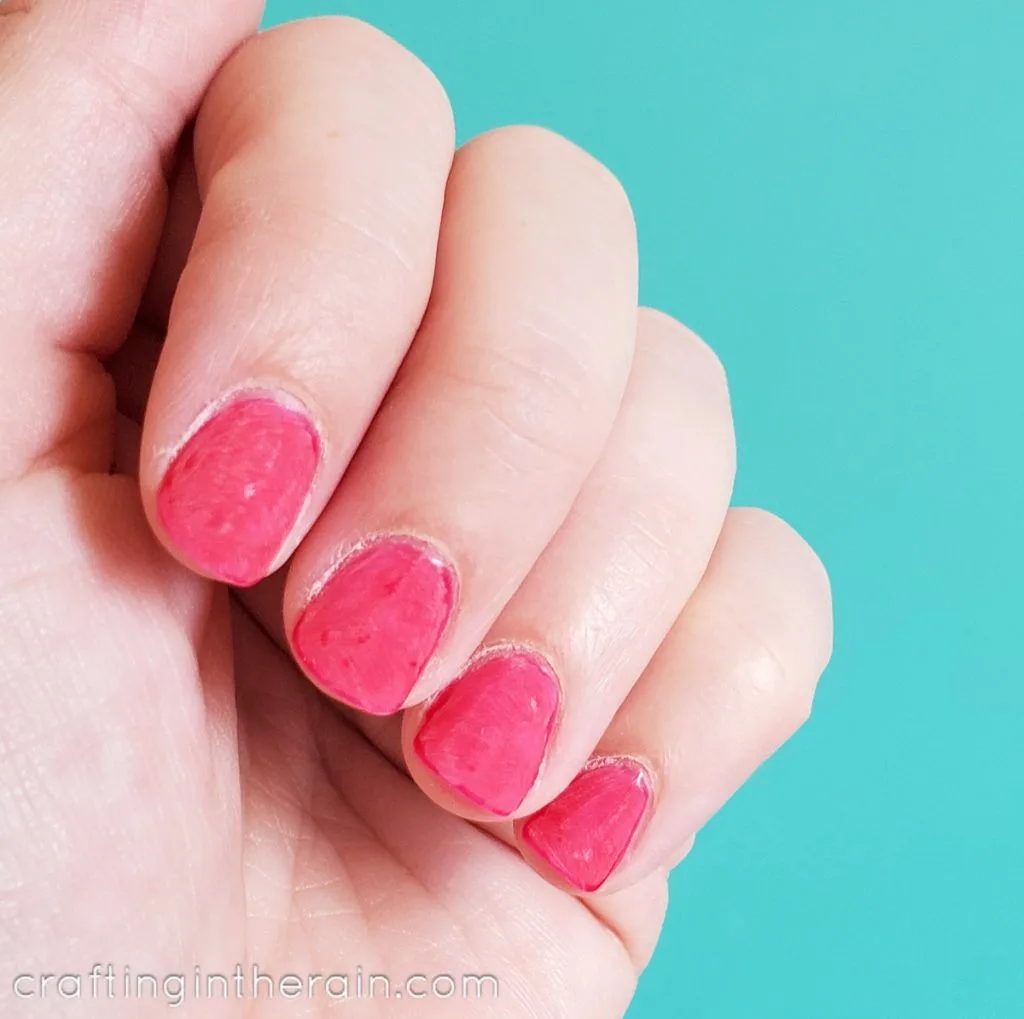
It’s important to take off old gel polish properly. Peeling off the polish can damage the top layer of the natural nail.
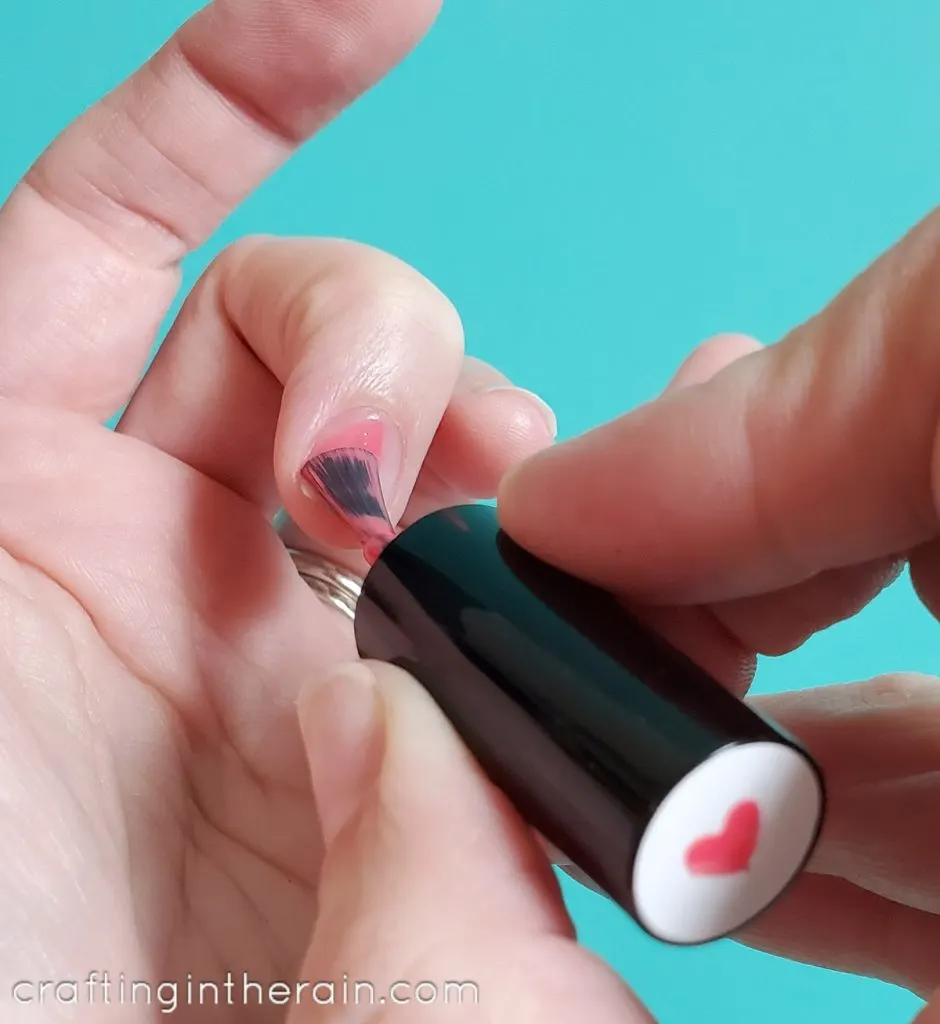
File away shine. Use a nail file to scuff up the nail polish. Don’t worry about sanding away the color, just break through the top coat so the acetone can reach the polish.

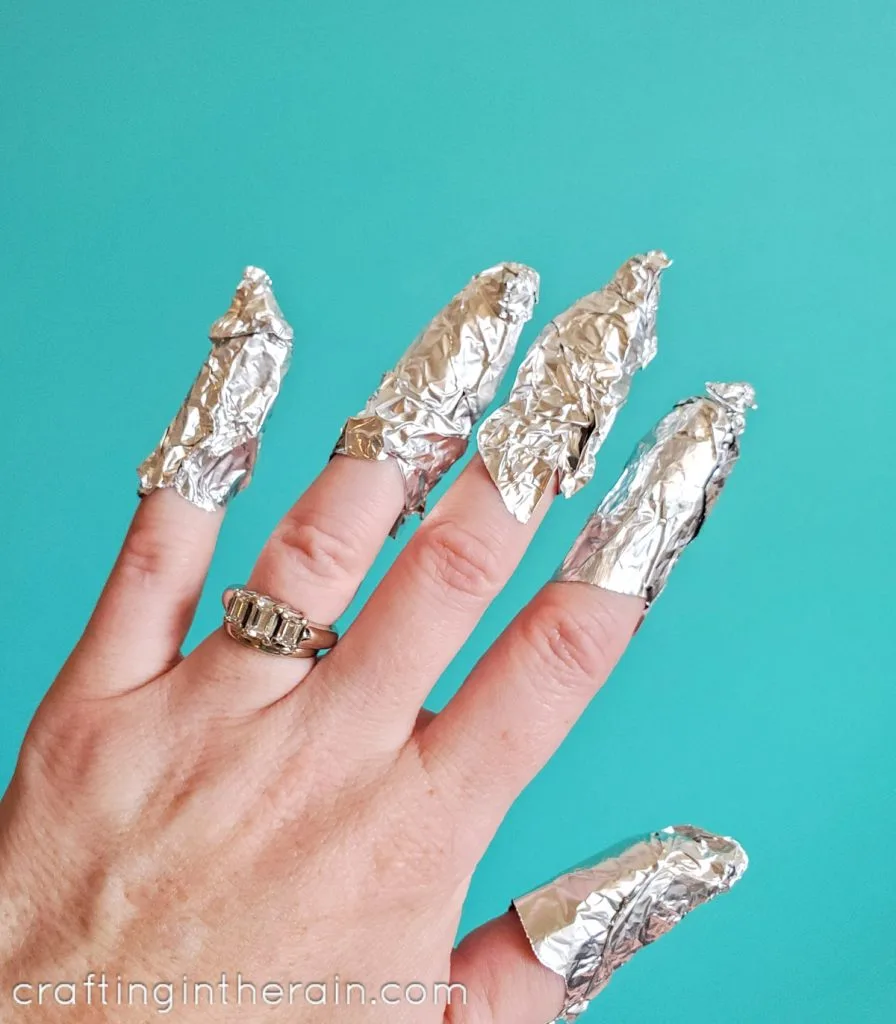
Soak nails. Wet cotton with 100% acetone, place on the nail and secure with a piece of aluminum foil wrapped around it. Leave nails for about 10 minutes.

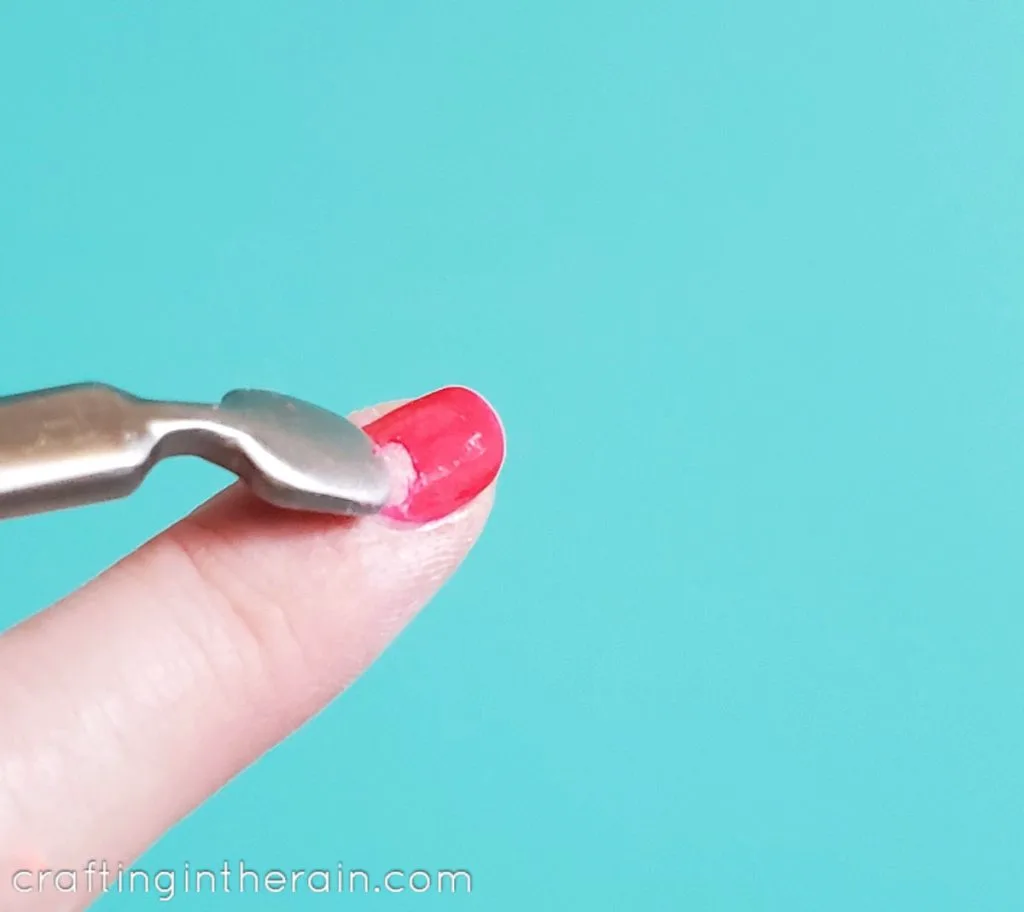
Scrape remaining polish. Use a nail scraper or wooden nail stick to remove the polish that’s lifting up. Re-soak if needed.

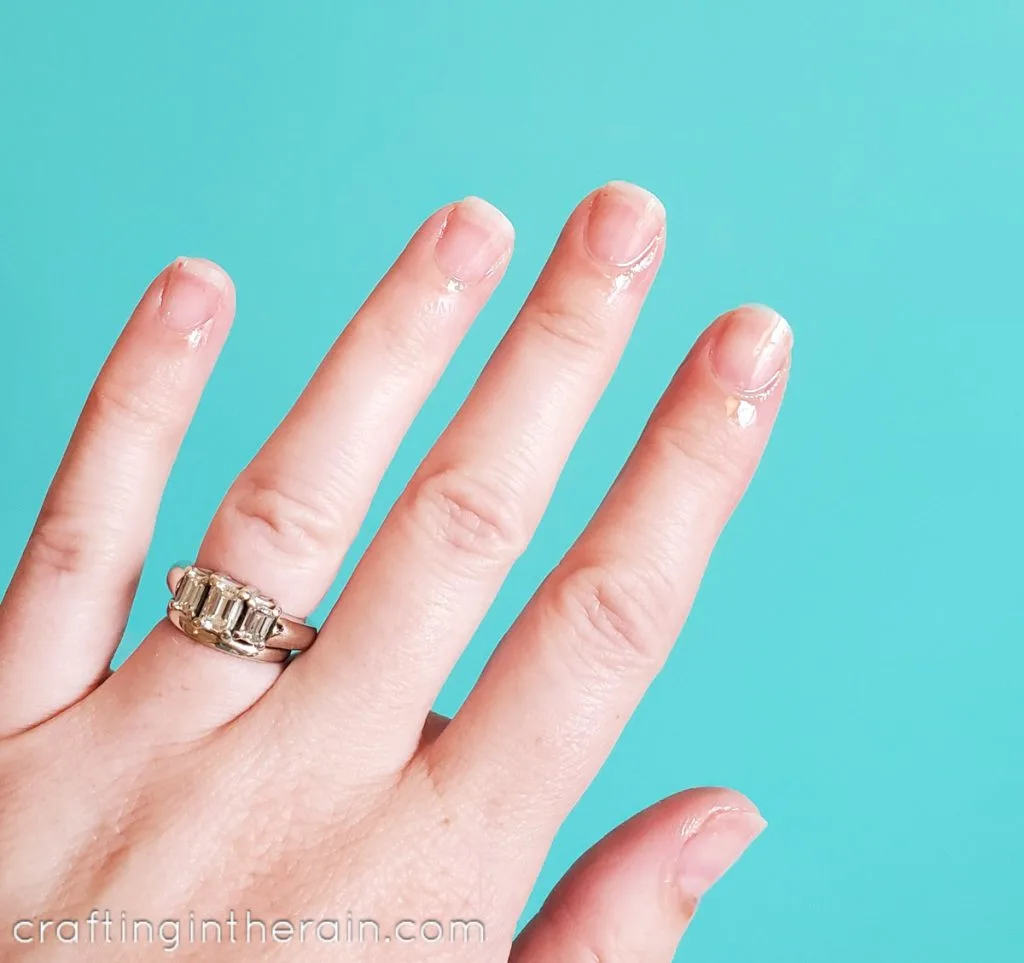
Treat nails between new polish colors
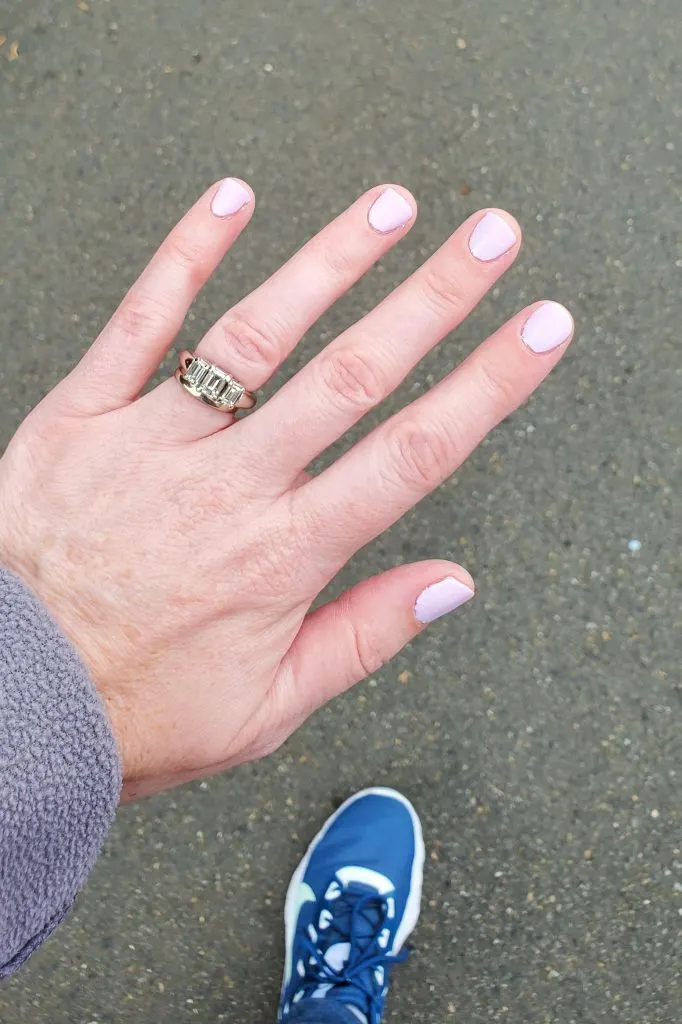
I like to give my nails a little breather between manicures. By doing my own at home, it’s easy to wait about 24 hours from when I take polish off to when I put on a new color.
If you have a collection of essential oils, you may have everything you need to make this nail oil treatment.


Or you can apply cuticle oil or nail strengthener. Massage well into nail and cuticle at least twice before painting nails again.

Painting gel nails at home
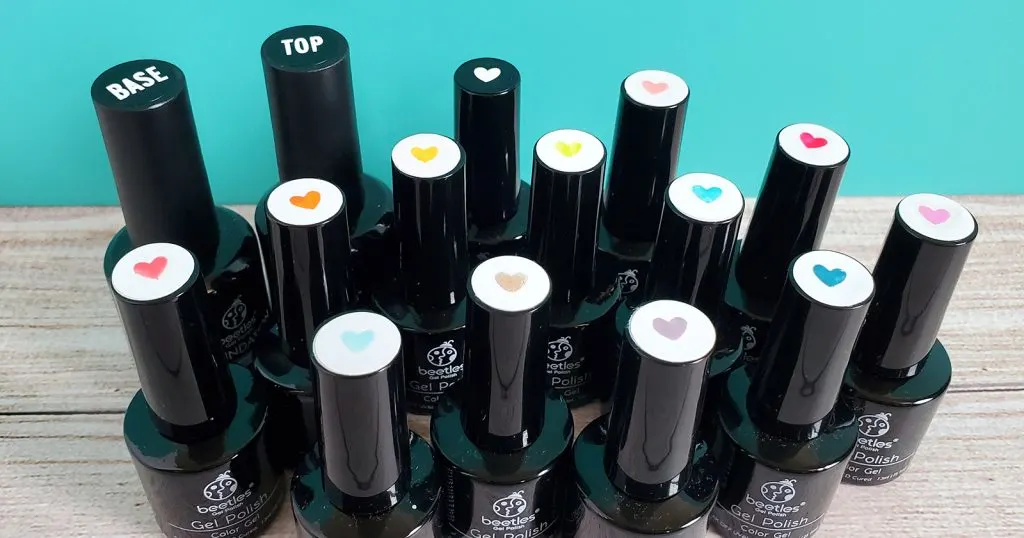
Supplies for at home gel manicure
Nail prep
While I am doing these steps I fill a bowl with an inch of warm water and set the polish bottles in it. It helps each coat nice and smooth.
These first couple of steps are the most important for creating a long-lasting at-home gel manicure.
File and buff nails. I keep my nails fairly short because if I don’t, they break more easily. Then I swipe a buffing block over the tops a couple of times.
Nail dehydrator. A quick application of nail prep dehydrator removes any oils that may be on the surface of your nails, preventing a good seal of the base coat.
Brush off nails. With a cotton ball, wipe any remaining dust from nails.
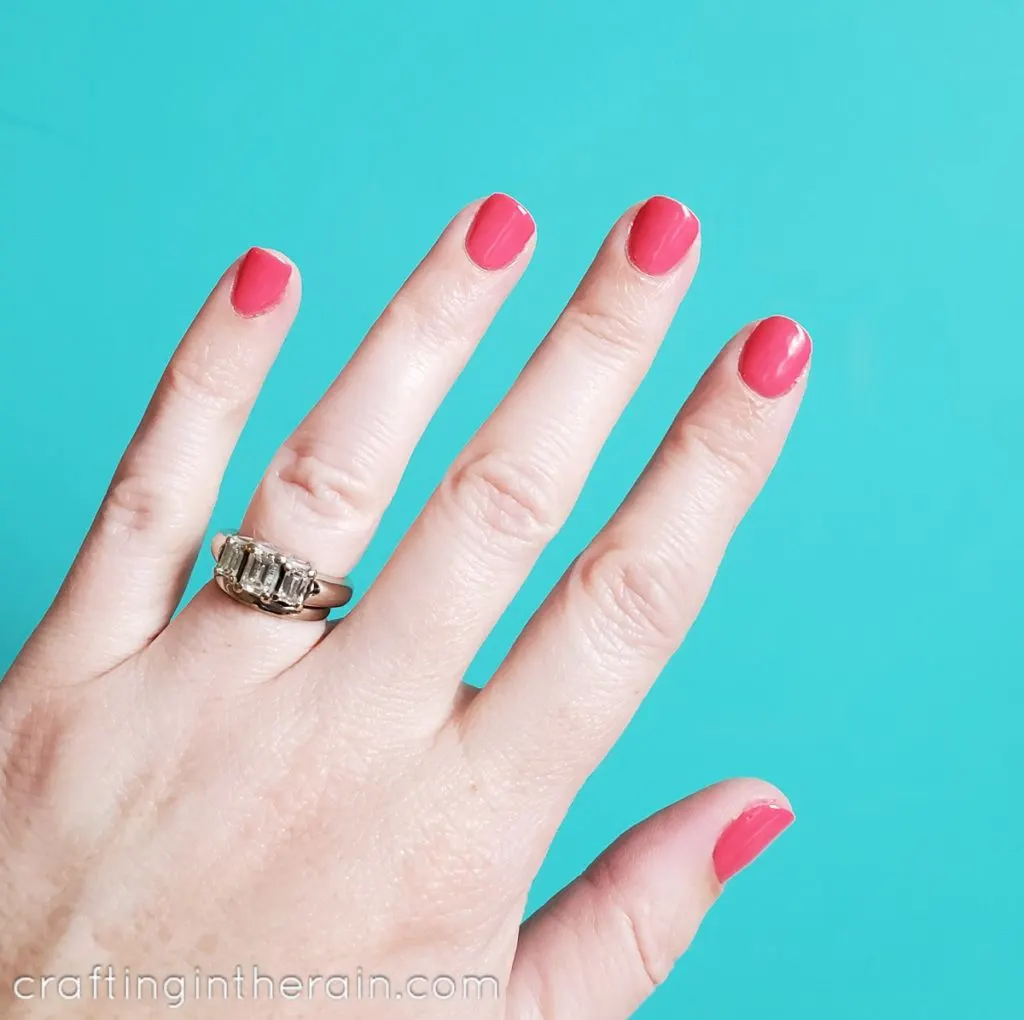
Base coat. Apply a single coat on the nails of one hand and cure for 1-2 minutes (read the instructions of your lamp and polish.) I use a Sensationail lamp and Beetles polish, so I do 2 minutes.

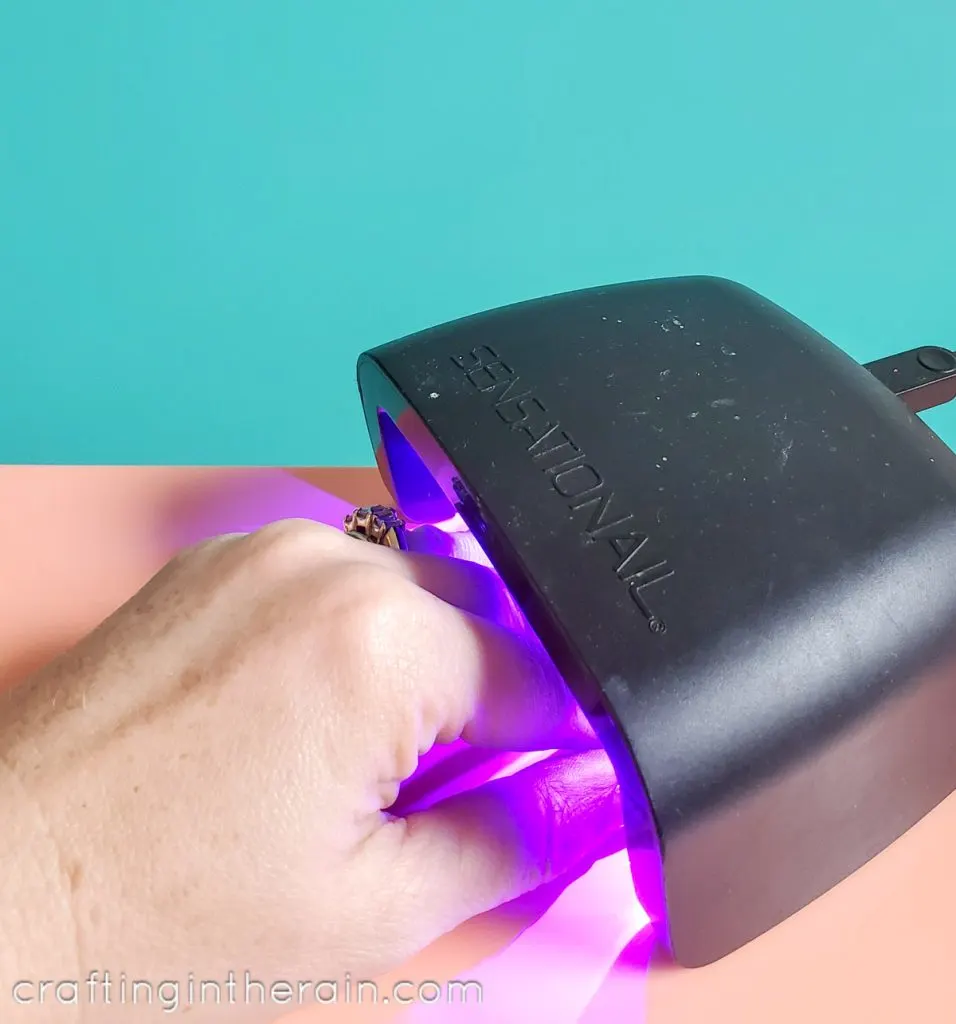
Complete the base, color, and top all on one hand before switching to the other hand. All layers will be slightly sticky until the top coat is cured.
Apply gel coats
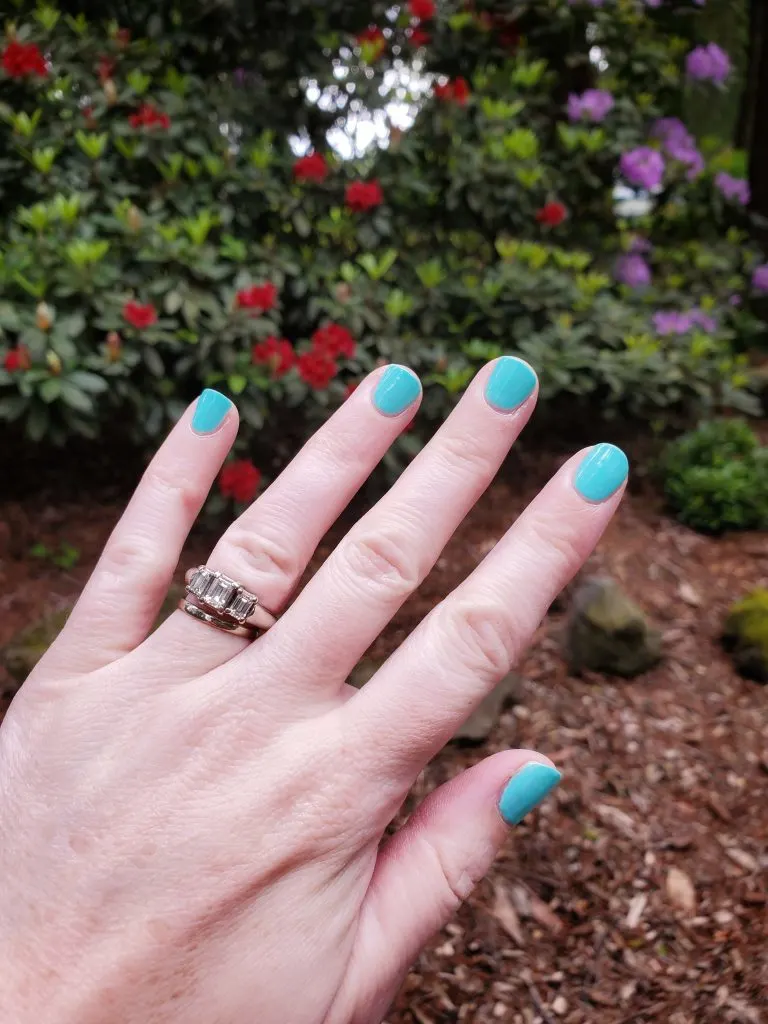
Now it’s time to add the color. Depending on how deep I want the color to be, or how opaque it is, I put on 2-3 coats.
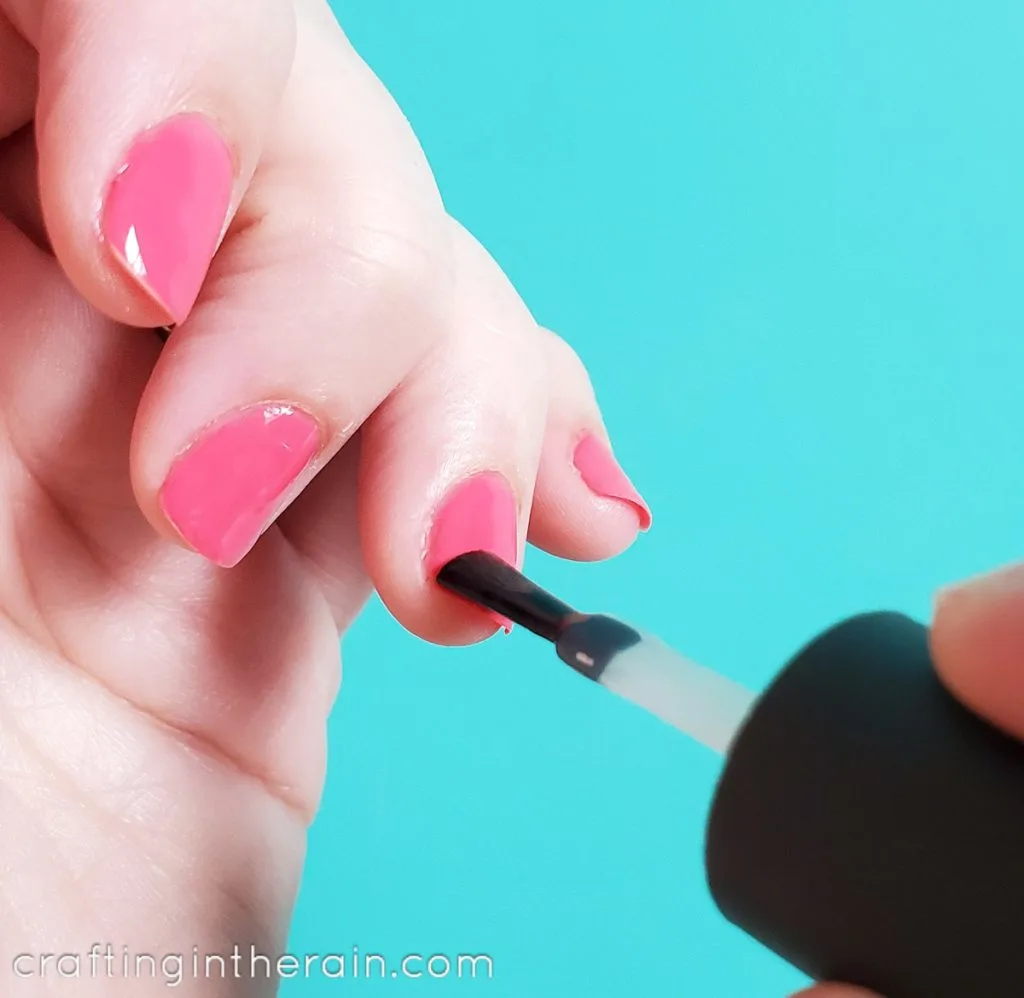
First color coat. Apply polish to nails being careful to not brush it into the cuticles. It’s better to leave a little extra space than to smudge it into the cuticle.

I start one stroke in the middle, then carefully guide the edge of the brush down each side. Cure for 1-2 minutes.
Apply second coat. Repeat the polish and curing process.
Top coat. I love the Beetles top coat because when it’s cured, it’s ready. There’s no need to wipe this top coat. Brush it on evenly over the color and cure 1-2 minutes.

If you have a lot of fun with nail colors like I do, this nail polish organization will be helpful too!