Sending mail can be almost as much fun as receiving it when you dress up the envelope with address labels with Cricut.
*Check out my Sticker Class here if you want to get even more detail about print then cut stickers, getting the best quality, and troubleshooting.
See my favorite sticker supplies here.
Create label in Design Space
Address labels are easy to make in Design Space. Common sizes for a return address label are around 2.6 inches wide by 1 inch tall.
Print then cut address labels
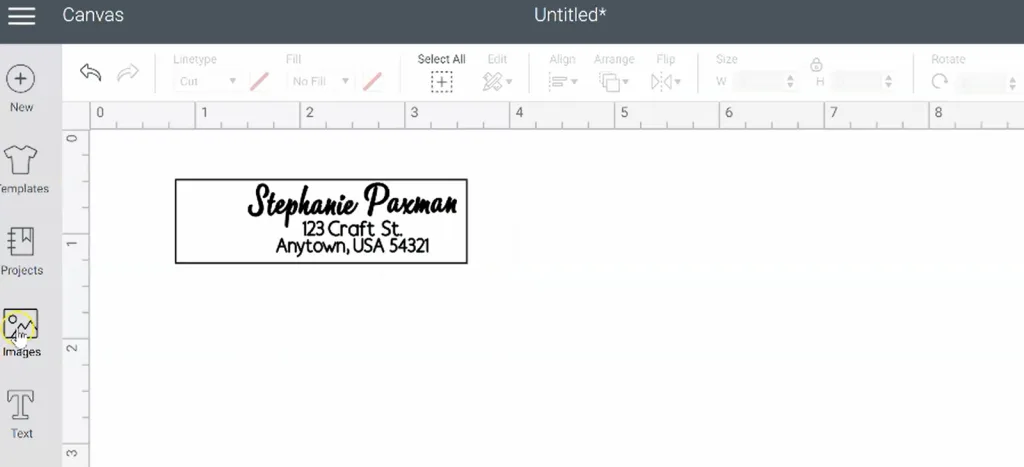
Start by creating a rectangle that’s 2.8 inches wide by .8 inches tall.
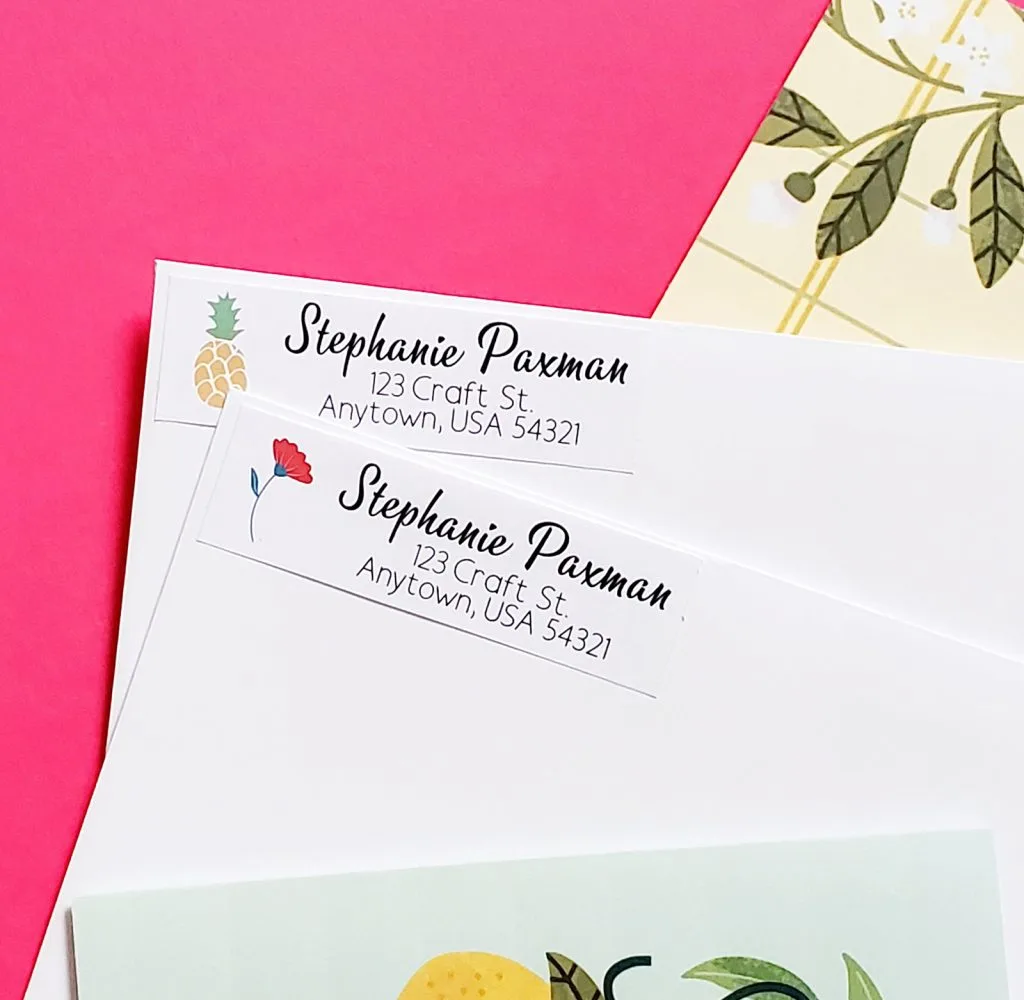
Type 3 separate text lines. The first is your name. The second and third are your address. By keeping them as separate lines, they will be easier to space properly.
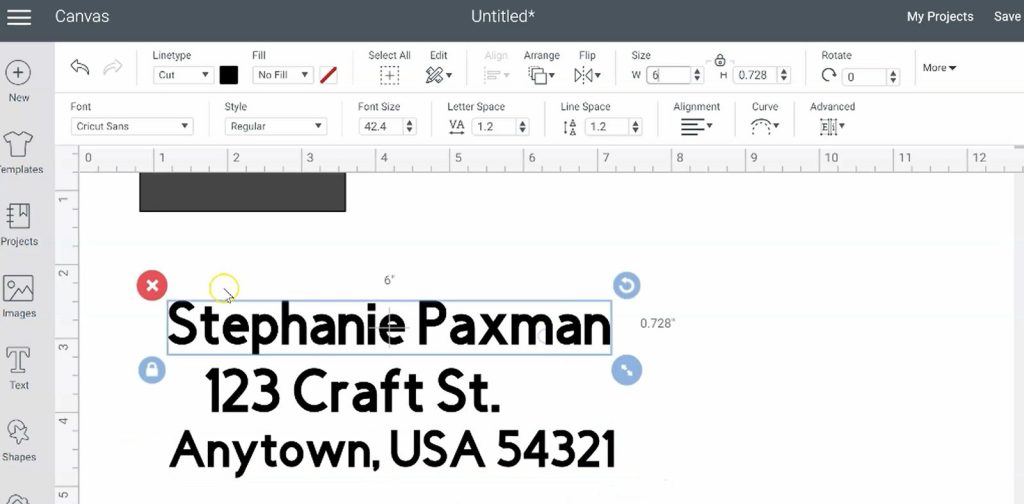
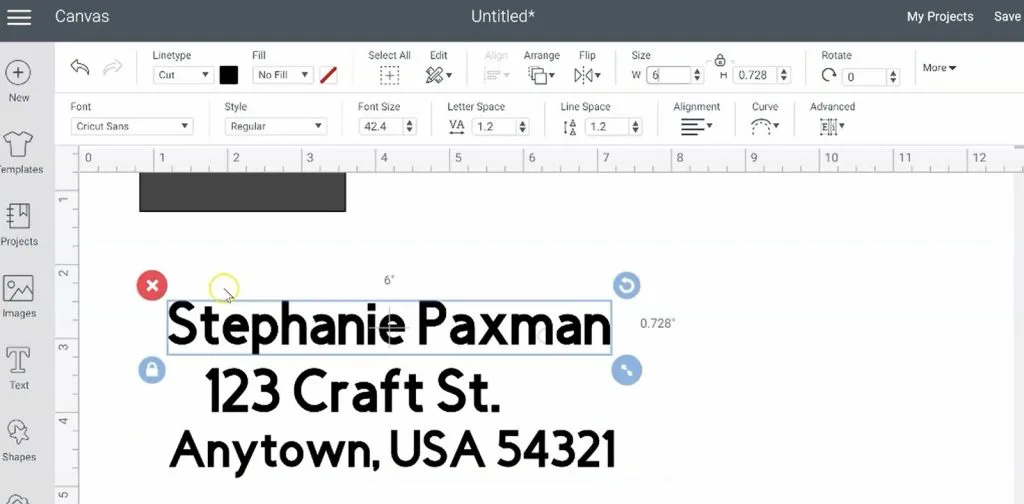
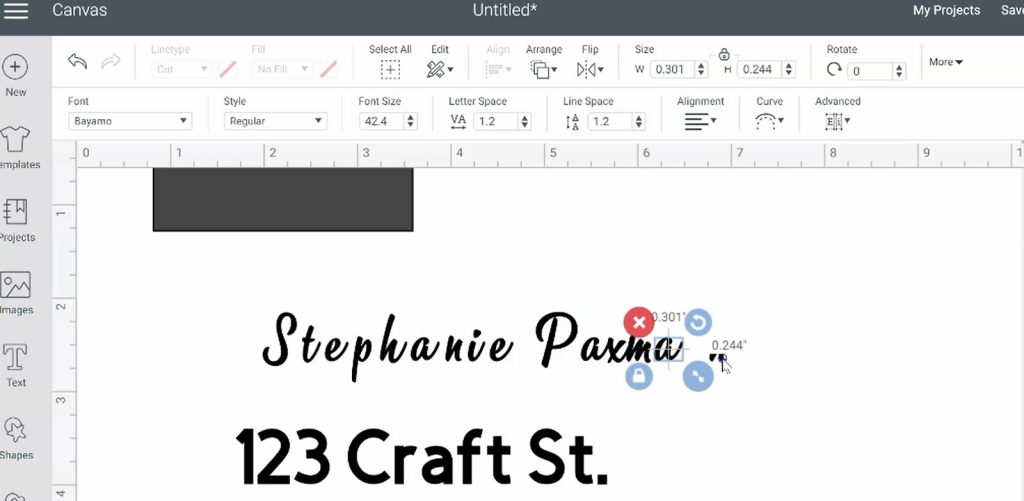
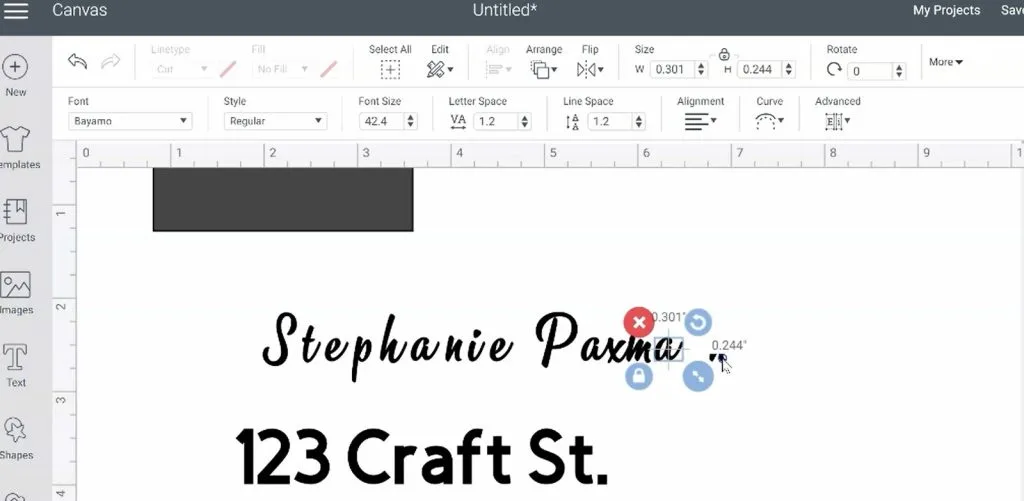
Choose a font for your name. Feel free to make your name a different font and slightly larger size than the address lines.
Fonts of the address lines should be something easy to read.
Isolate each line to letters to fix any spacing issues – see this series of posts about using text in Design Space for lots of help with that.
Attach each text line separately, then fit them in the box.

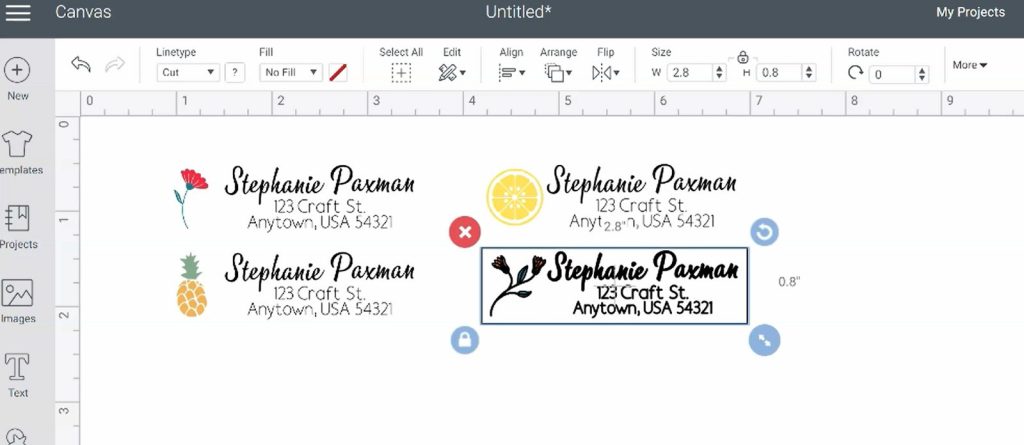
Add images to address labels
Find images you like in Design Space, or upload your own images. Size and place them inside the label rectangle also.
With the labels all designed, it’s time to make them printable. Select a rectangle with everything in it and click Flatten. Repeat this will the other label designs.

Place a new rectangle on the canvas and size it to 6.75 wide by 9.25 tall. Duplicate the labels and fit as many as you can inside the new rectangle – this is the available area for printing from Design Space.
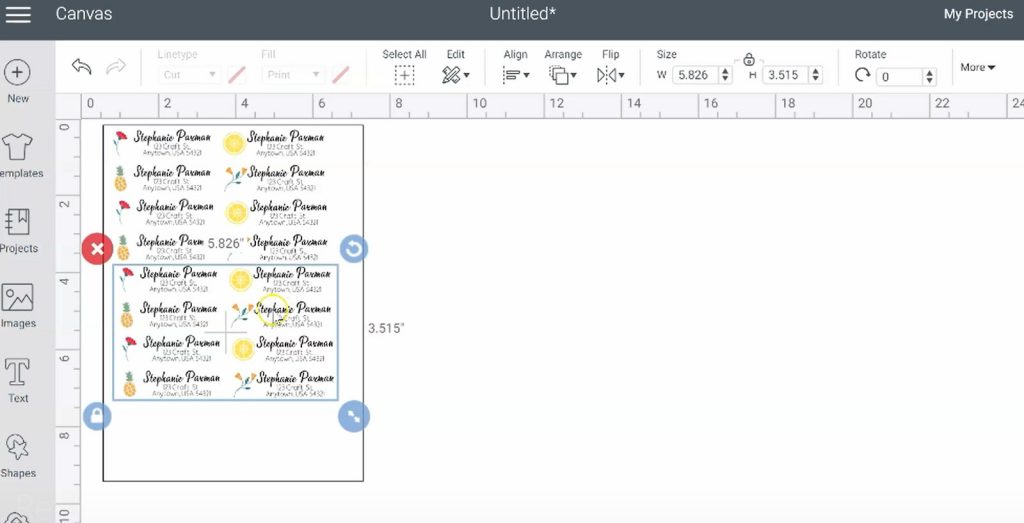
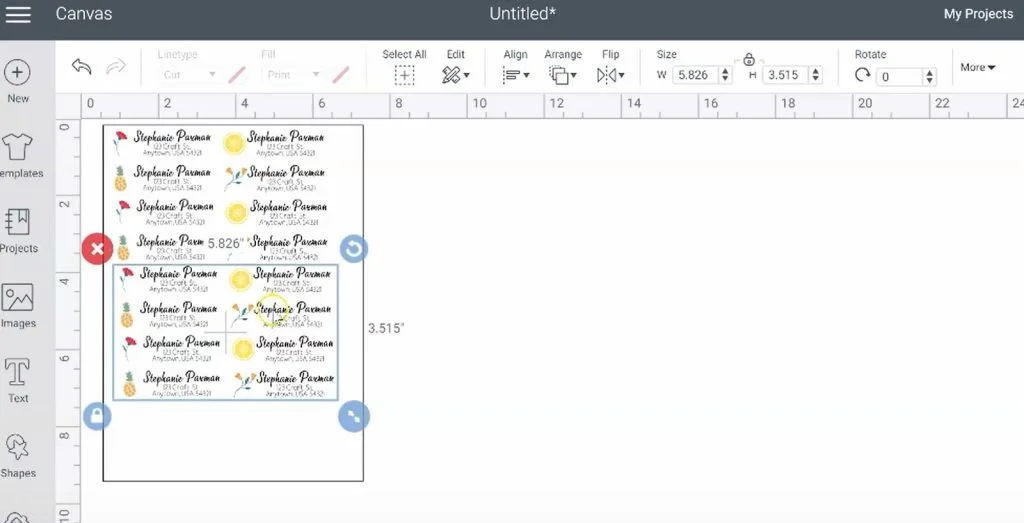
Then delete the large rectangle.
Save the project now so you don’t lose any work if the printing step stalls out.
Print then Cut supplies
- Full sheet sticker label paper (this is matte, shipping label sticker paper – it’s perfect for single use stickers that don’t need to be waterproof. It’s also great for planner stickers because you can easily write on it.)
- Cricut
- Printer
Print and cut return address labels
Load a sheet of printable vinyl into your printer and follow these Cricut print then cut instructions.
Cut the labels on the Cricut and they’re ready to use!

Use this same technique to make address labels for the recipient too, just using a larger size rectangle. This is especially useful if you have anyone that you regularly send cards or letters to.
Think how cute custom return address labels will be on your Christmas cards or invitations!