I’m happy to be joining in this week for the Cricut Summer of Flowers! Click the picture to visit all the hosts. I decided to make a crepe paper peony tutorial and add the flower to one of the wood signs I just made.

Have you made any crepe paper flowers before? I’ve been kind of intimidated by them in the past. I think because they look so realistic, I assumed they must be really difficult. But honestly, they’re not! Plus, the more I play around with making them, the easier it is of course. (some links affiliate)
Supplies:
Crepe paper (or this peony kit)
Crepe Paper Flowers book
1 inch foam ball
Glue gun
Cricut Maker
Pink fabric mat
If you have the Lia Griffith crepe paper flower book, you will get a code to download the flower template. You could also search for this image in Design Space. #M87C8001 will give you similar cutouts to make a peony similar to this one.

Cut out the petals from one of the pink crepe paper colors. Make sure that the grain of the crepe paper goes up and down – the top to bottom direction of the petals.
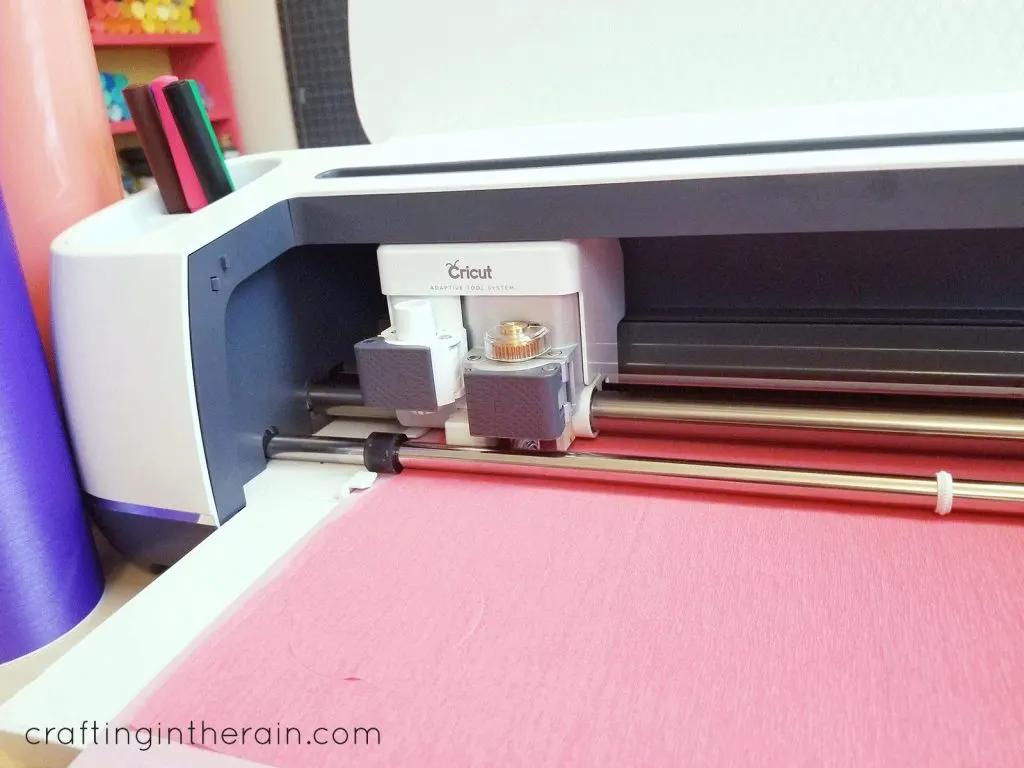
Use the rotary blade in the Cricut Maker and search for the crepe paper setting. It cuts out the paper beautifully. Cut the leaves from green and the rectangle from yellow. Be sure that the grain goes the short direction on the rectangle.
Read more about the Maker Rotary Blade here
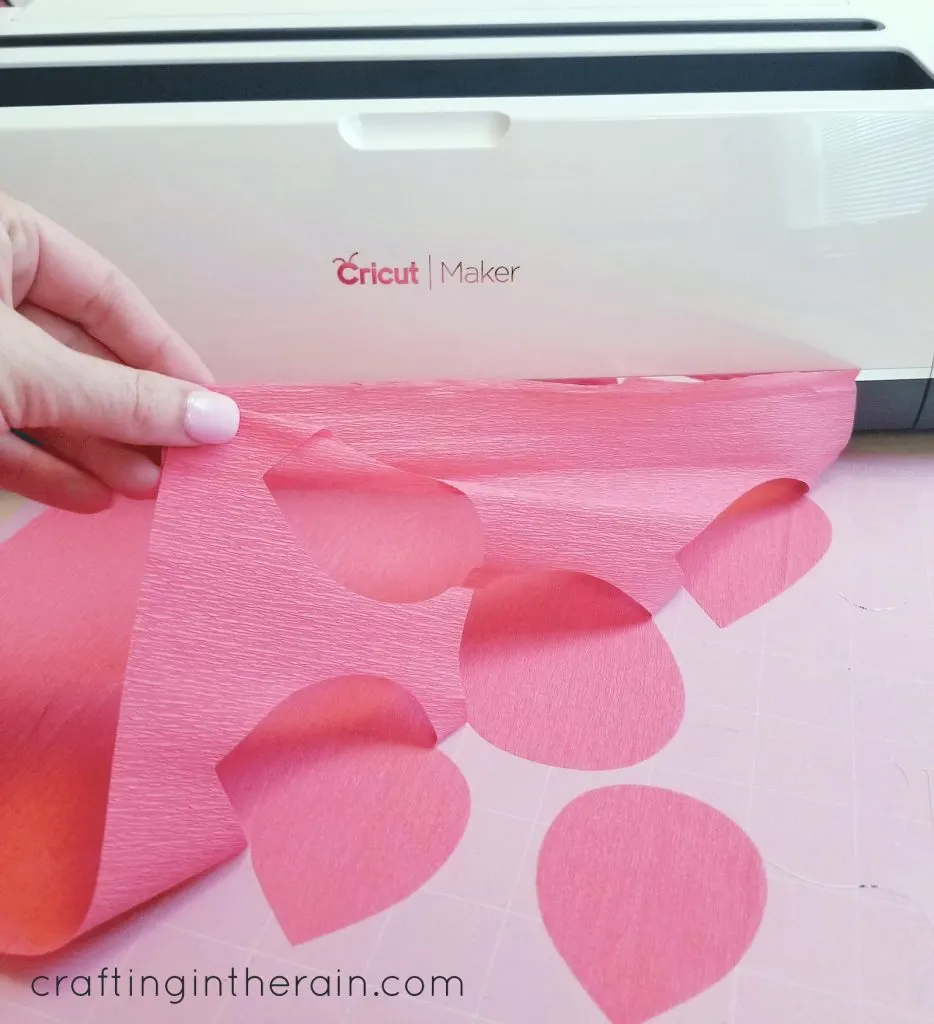
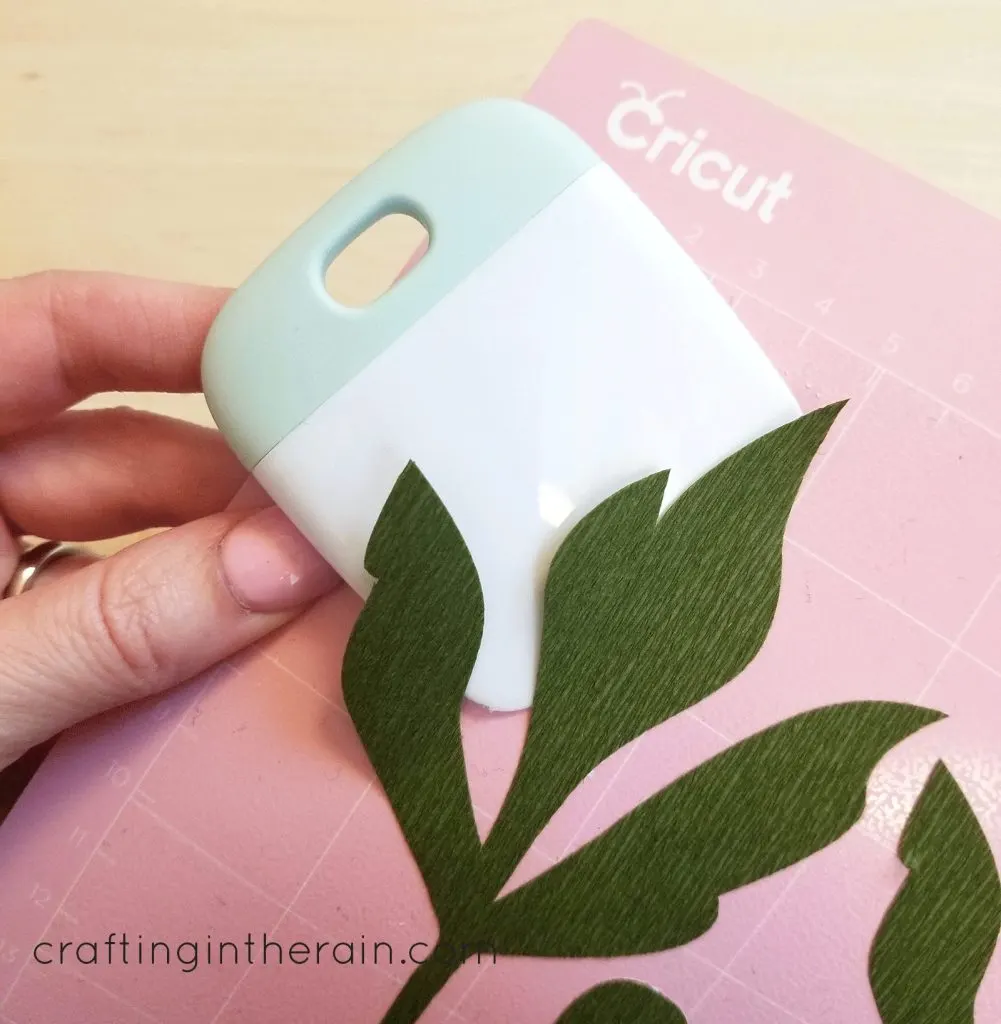
Peel away the extra paper, then use a small scraper to lift up the flower pieces. You don’t want to stretch them out of shape.
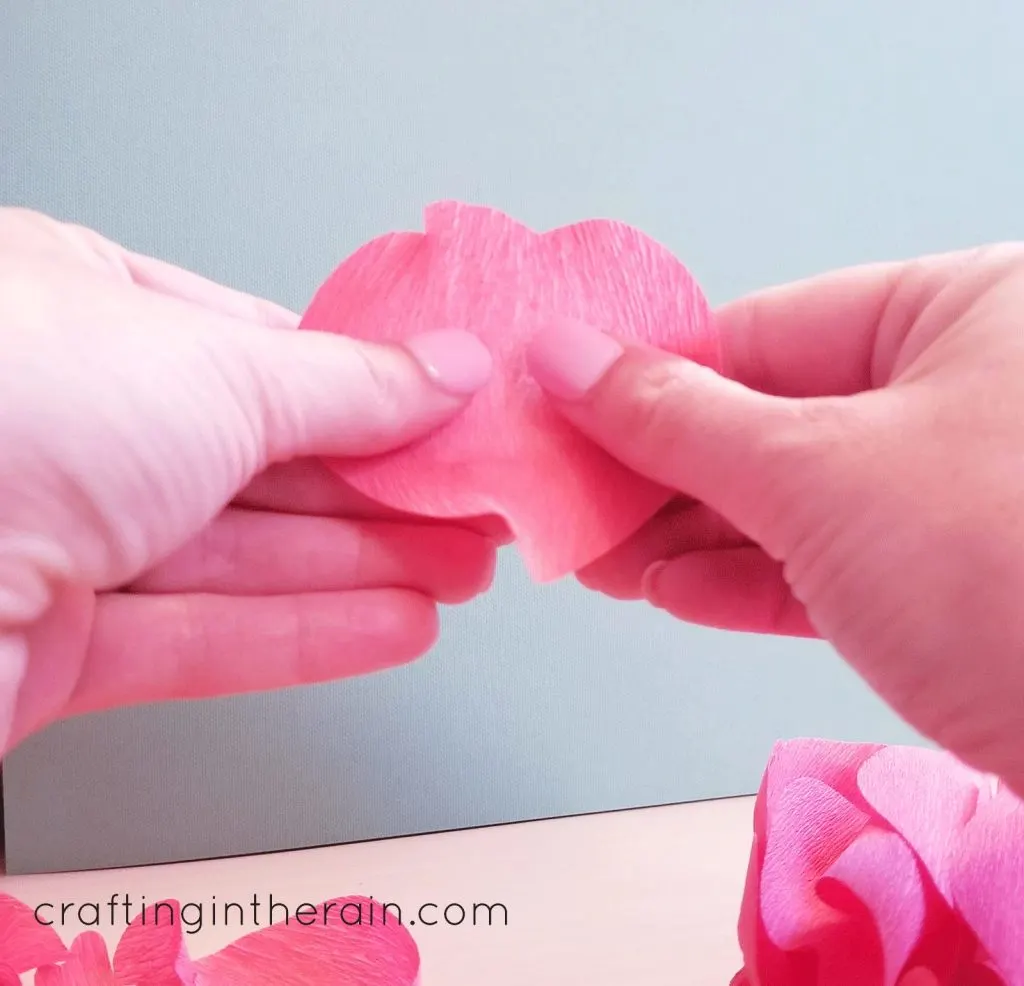
Once all the pieces are cut, gently stretch the centers of each petal piece with your thumbs. Stretch the edges of the wavy petals a little to give them a bit more ruffle, but don’t stretch the edges of the smooth petals.
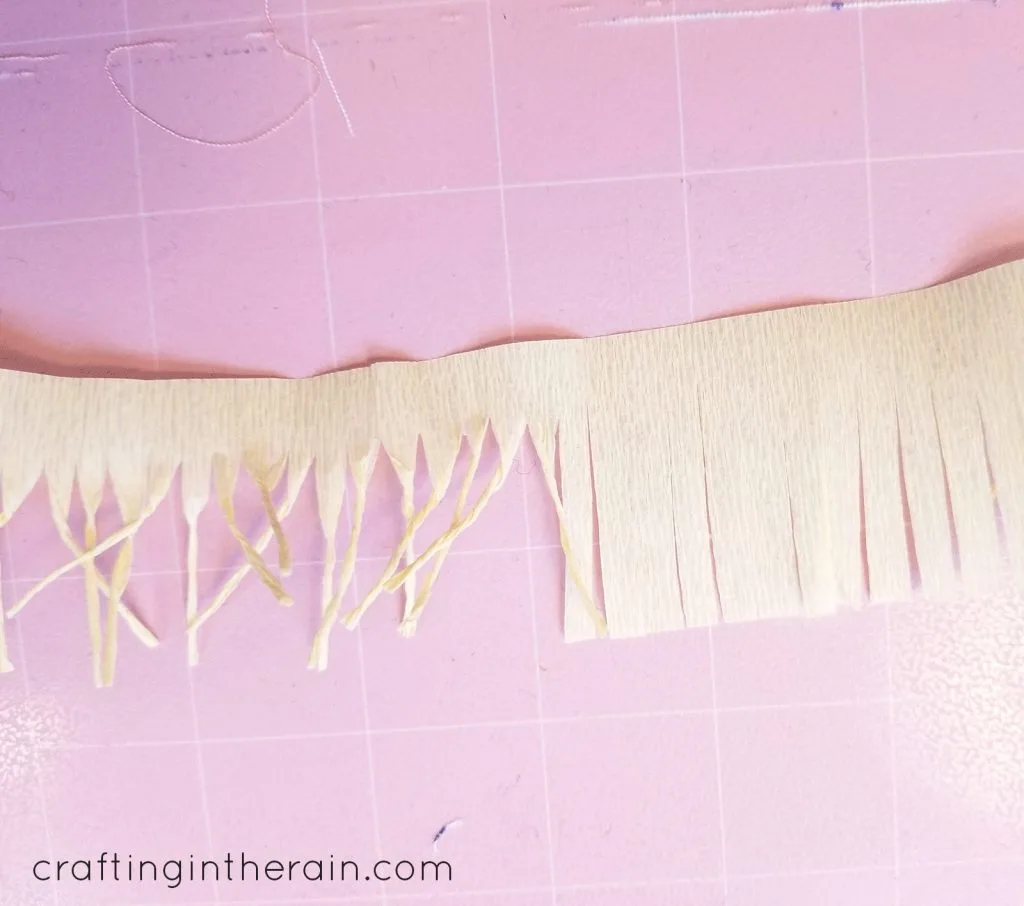
With scissors, cut fringe lines in the light yellow rectangle. Leave some space at the bottom so it’s not cut all the way through. Twist each cut fringe piece.
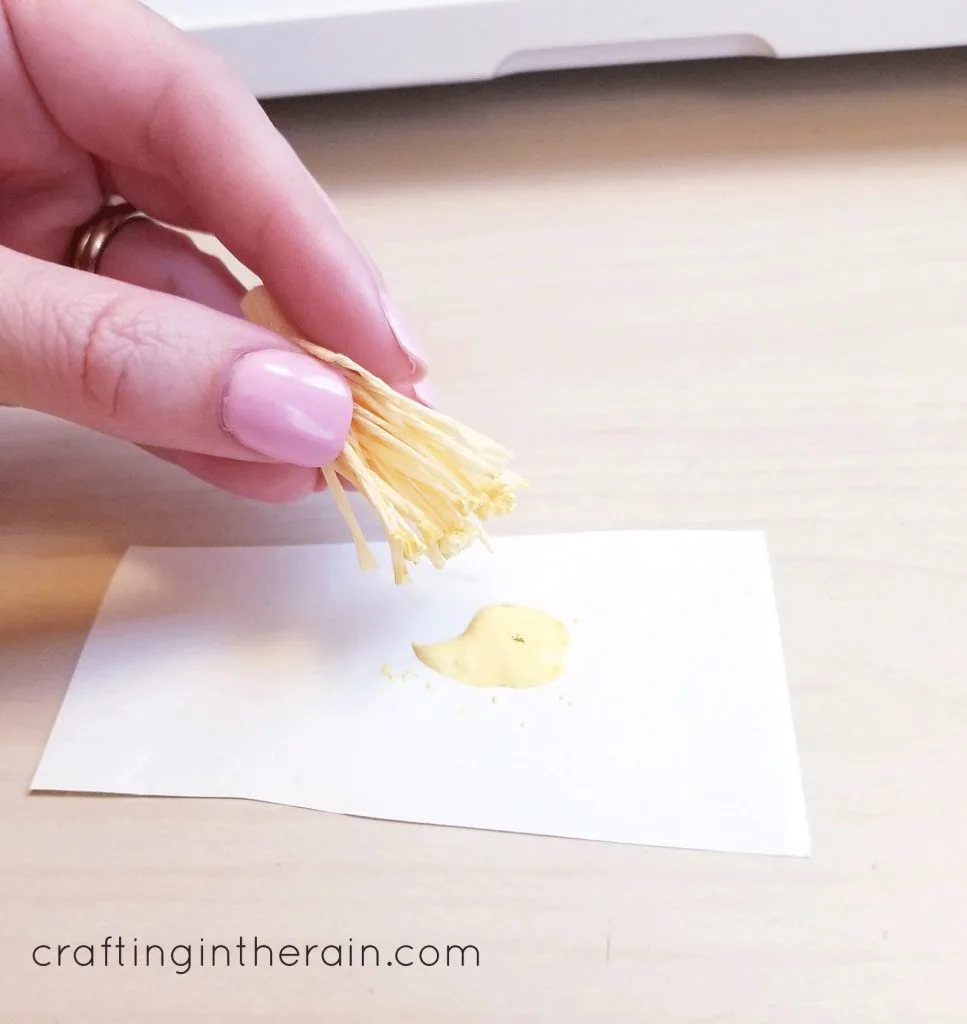
Roll and dip the ends into some yellow paint. Unroll and let dry.
Start the flower by wrapping and gluing the pink circle of crepe paper around the foam ball.
When the yellow paint is dry, roll the fringe again and glue to the top of the covered ball.
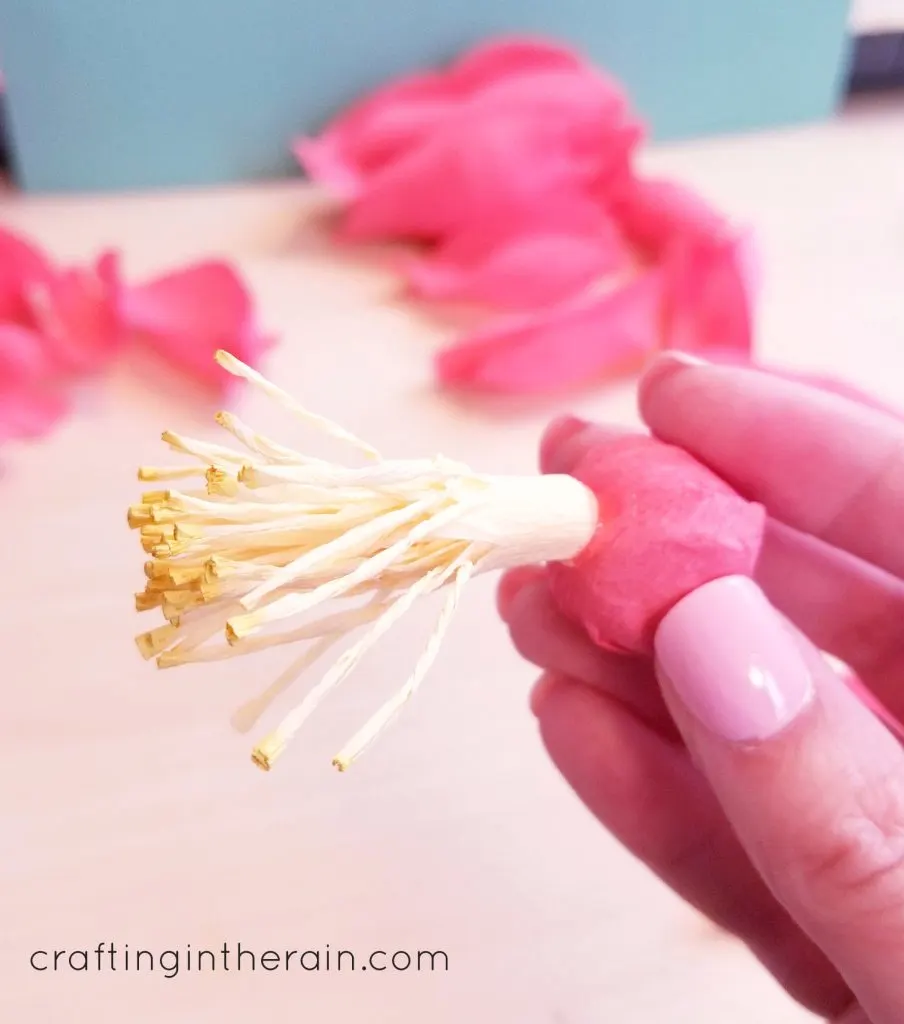
Glue the wavy petals first, spacing in thirds around the bottom of the ball.
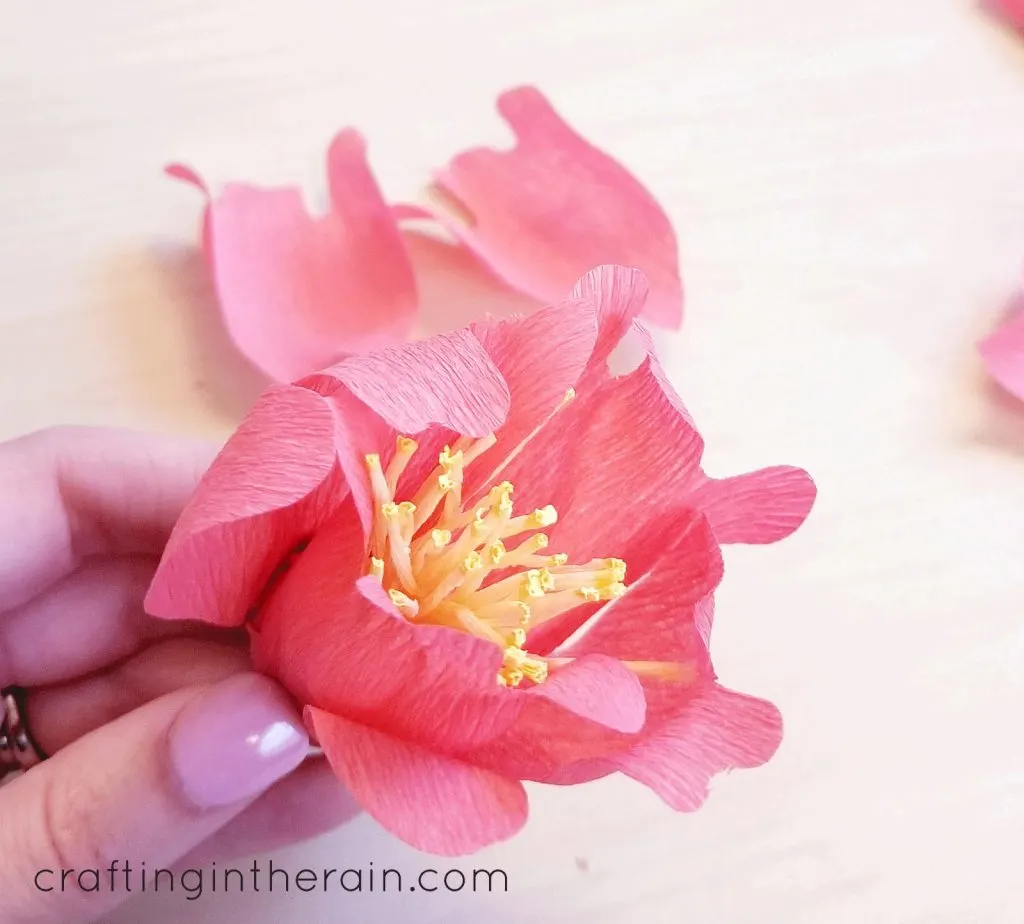
Then start layering the larger petals, continuing to rotate their location around the ball.
The final step is to glue on a leaf or two.
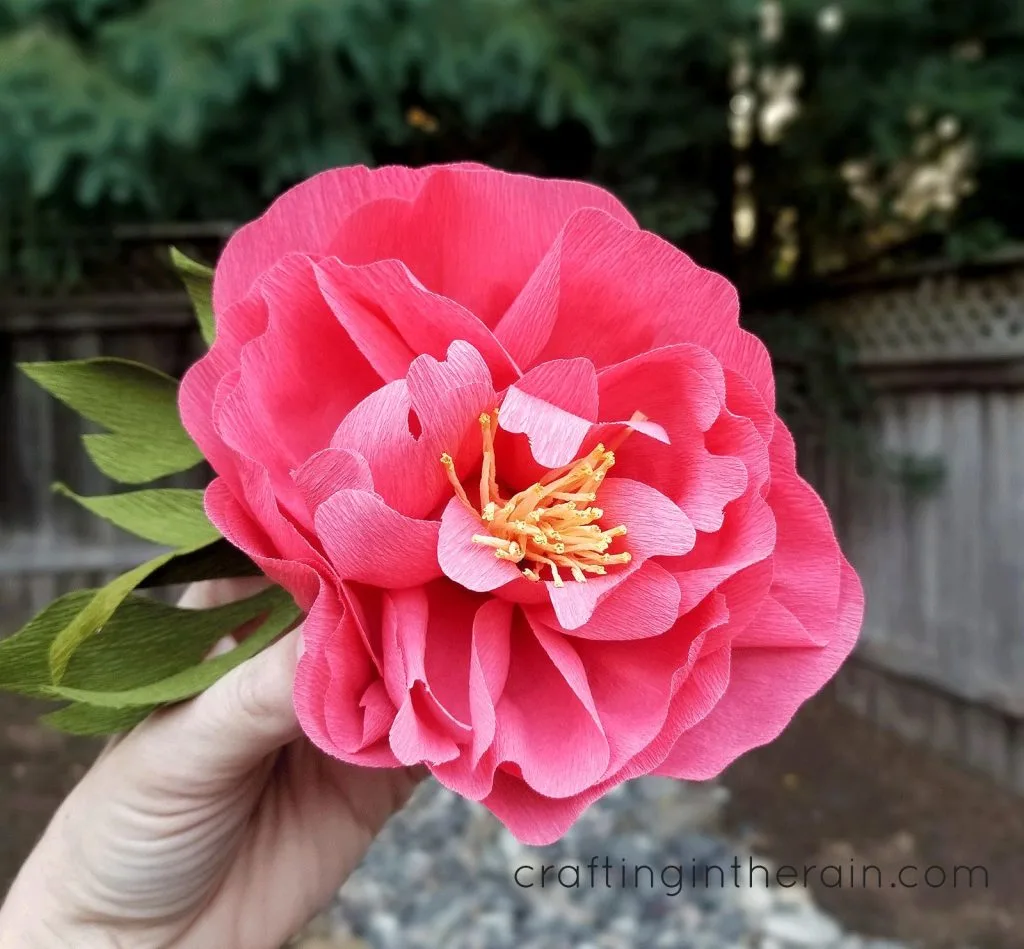
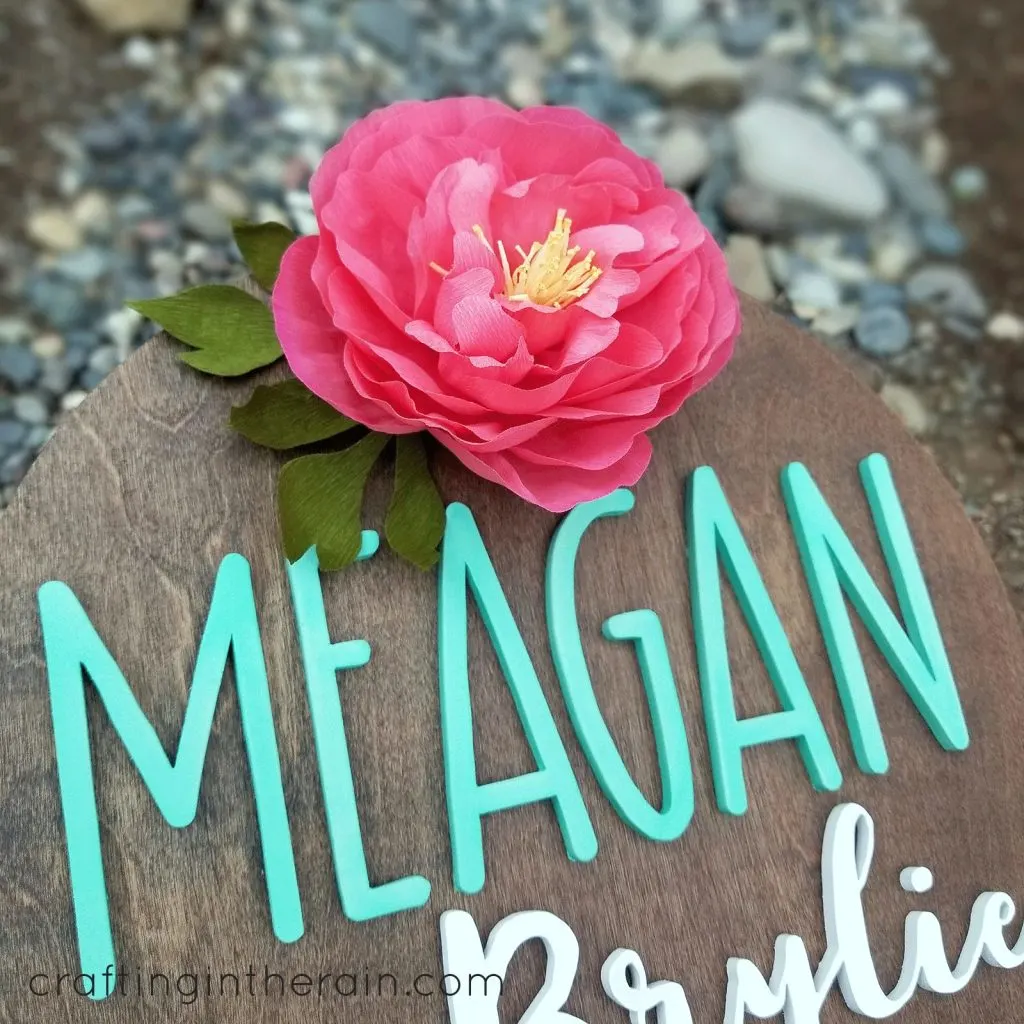
I added this flower to the wood name sign I made, and I think it’s the perfect finishing touch!
9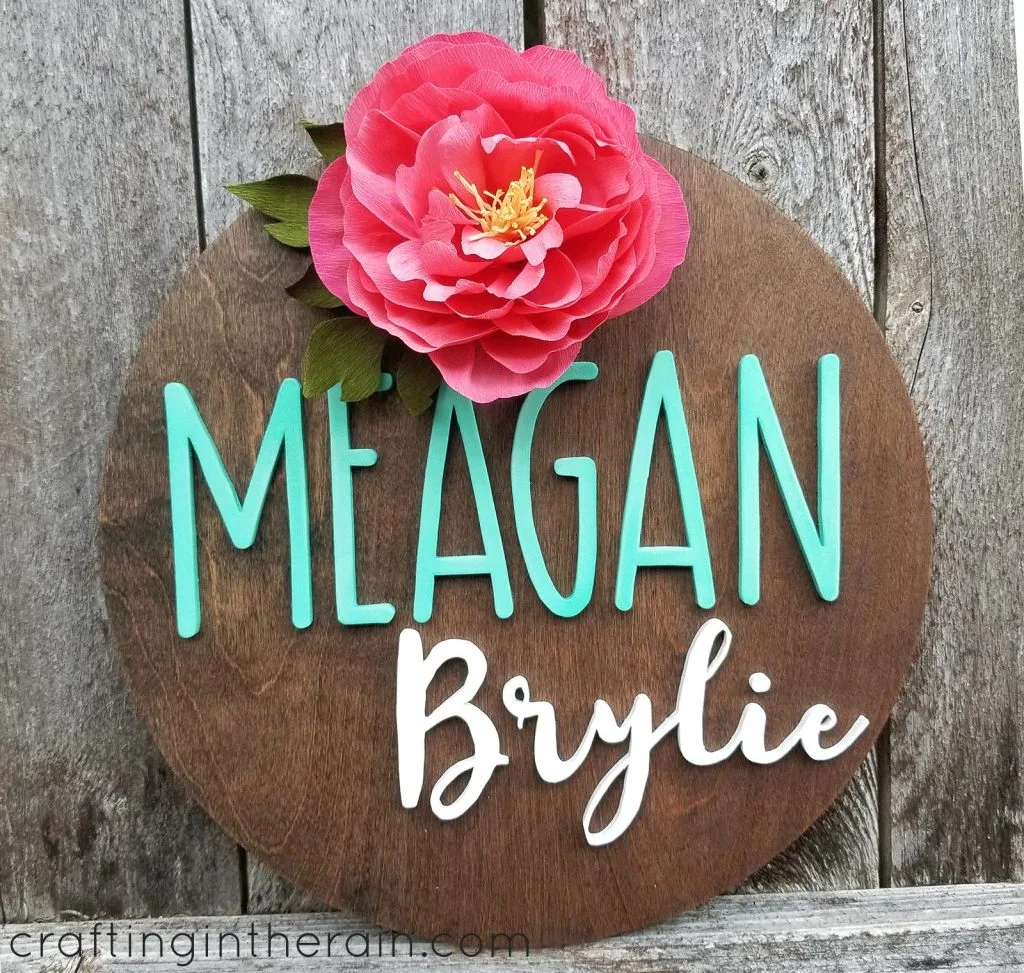
You can watch Lia assemble the flower here too.
I also love the crepe paper ranunculus I made a while ago too.
I hope you’ve liked this crepe paper peony tutorial. But if crepe paper isn’t your thing, you can still check out all these other ways to make flowers with your Cricut machine. Watch all week for posts to be added to this link up!
And before you go, be sure to enter this giveaway for an amazing prize pack of Infusible Ink goodies and Cricut supplies. 7/22 to 8/4 MST — open to USA AND CANADA residents 18 and older.

Cricut Flowers: Over 40 Ideas for Your Machine - Angie Holden The Country Chic Cottage
Friday 16th of May 2025
[…] DIY Fabric Flowers Cut with a Cricut Machine I love the fabric flowers adorning the front of this painted mason jar vase. Grab your Cricut machine and get ready to make this spring craft idea in minutes! Read More Paper and Resin Succulent Frame Tutorial Make your own succulent frame out of paper, resin, and a wooden frame using this fun tutorial! Read More Fun Fall Cricut Home Decor Repurpose an IKEA easel into a fun fall home decor piece using this sunflower SVG! Read More Gold and Wood Reverse Canvas If you love Emerson quotes and flowers, this reverse canvas is for you! Using your Cricut machine, adhesive foil vinyl, and a wood canvas, you can make this fun piece in less than an hour! Read More Felt Pinwheel Flowers Learn how simple it is to make a felt pinwheel flower with your Cricut machine that can be used in a variety of craft projects! Read More Crepe Paper Peony Tutorial Did you know that you can put crepe paper through your Cricut machine? Well, you can! Learn how to make your own crepe paper flowers using this tutorial! Read More […]
Jessica
Thursday 25th of July 2019
This Giveaway is perfect! I was just talking to my mom about how great it would be to have a Cricut Press. Plus I have been dying to try out the infusible ink!!
Sheila
Wednesday 24th of July 2019
My daughter has 3 pregnant friends, all due this fall (September - November) so I am excited to start making onesies and other baby gifts!
~RG
Wednesday 24th of July 2019
I've been a follower of Lia Griffith as well. Love her work! Thanks for sharing & for the giveaway. I've always wanted to get a Circut. Looks like you can do so many things with it.
Jessica
Wednesday 24th of July 2019
I've never cut crepe paper with my Cricut. These flowers are so gorgeous! Thanks for joining in the Summer of Flowers event!