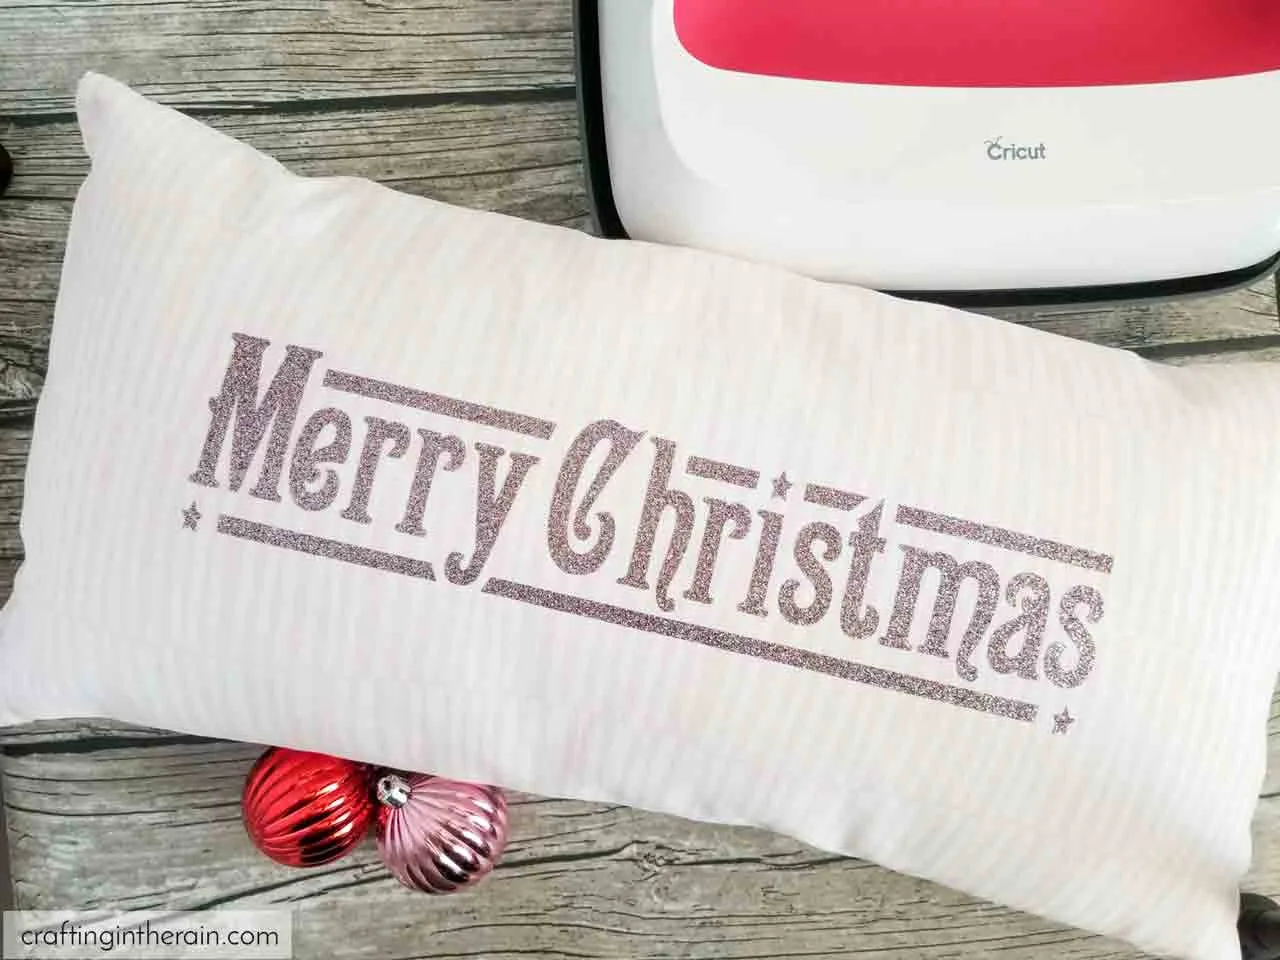
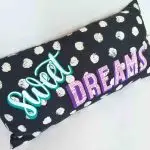
November 1st means it’s time to start Christmas crafting, right? Then you can decorate right after Thanksgiving (or before, no judging here!) One of the easiest things you can make is a Christmas pillow with the large Cricut EasyPress 2. You don’t even have to make the pillow! Just add iron-on vinyl to an existing pillow – so fast and easy.
Difference between Original EasyPress and EasyPress 2
First, let’s talk about what an EasyPress can do and how the EasyPress 2 is new and improved from the original. *Note – if you have an Original EasyPress, it still works! The settings listed in the EasyPress settings guide are still the same, and you will still get fantastic results with all your iron-on projects. (some links are affiliate)
But why not still improve, right? We already know the EasyPress works better than an iron. You can set the temperature, the heating plate is more evenly heated, the heating plate is larger, it comes with a base for safely storing, and there is a timer as well as an auto-turn-off feature after a period of no use.
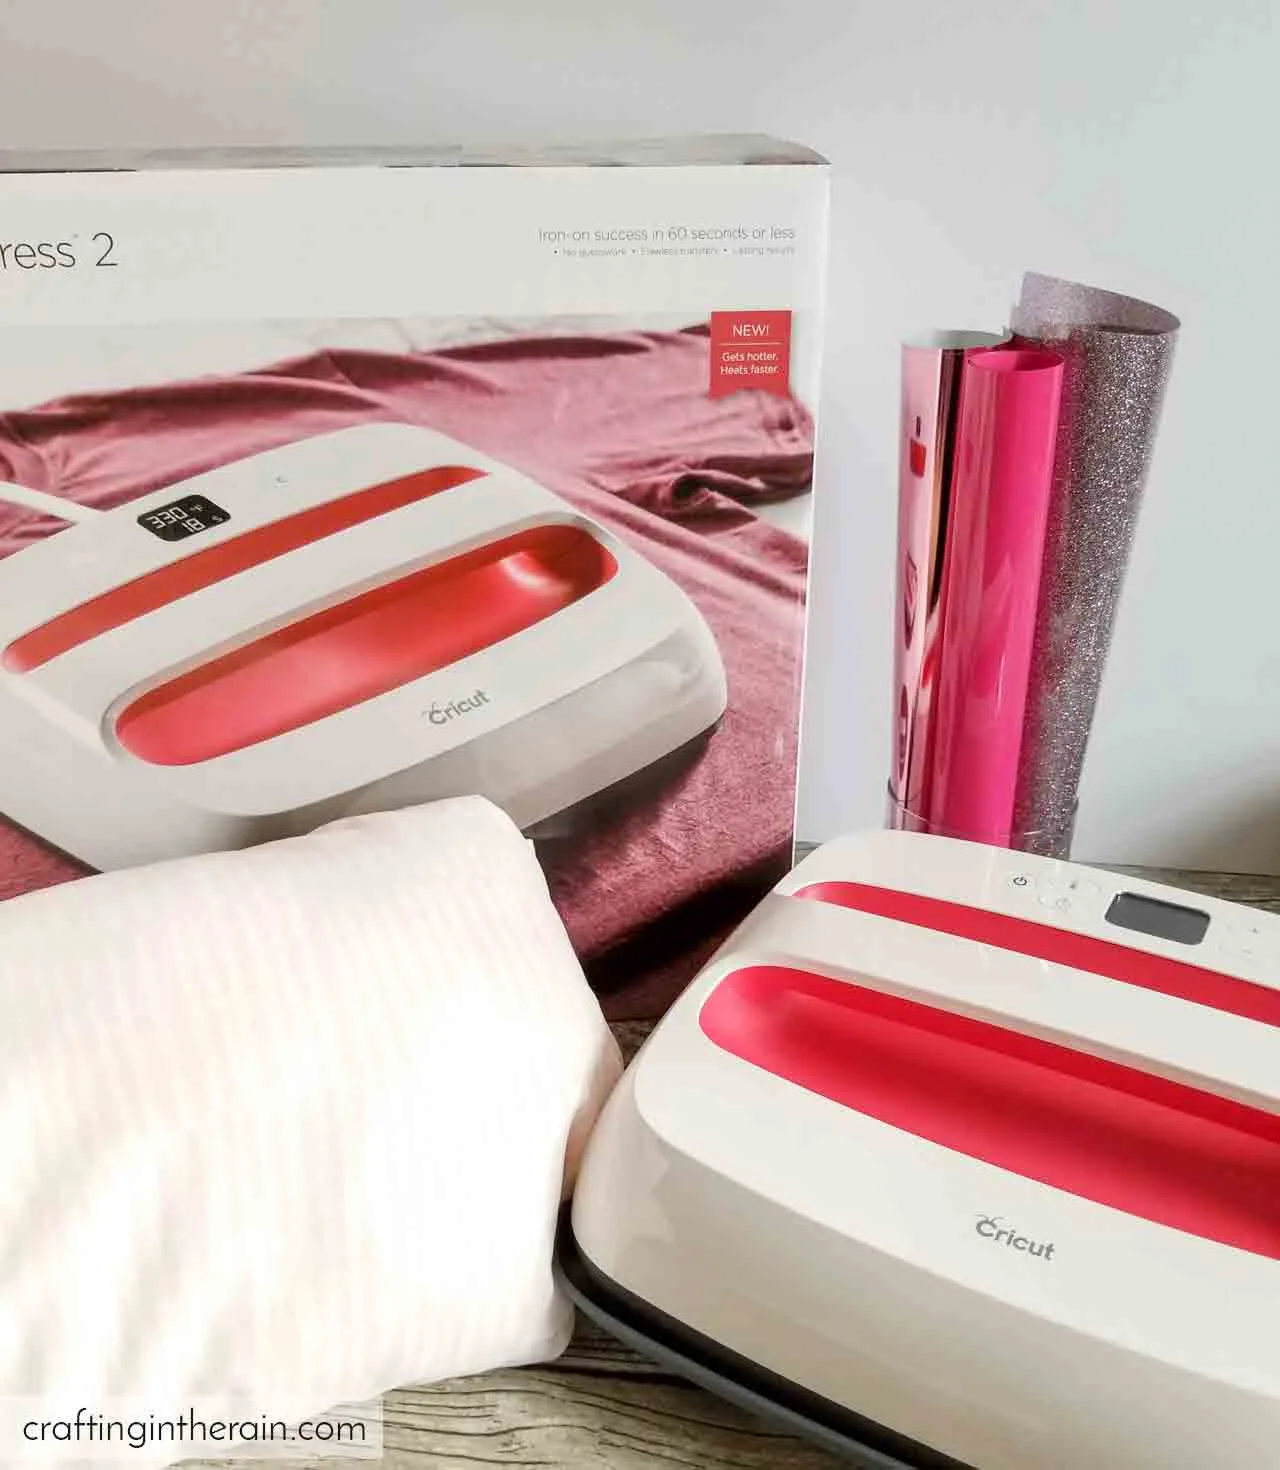
The EasyPress 2 kicks it up a few notches with different sizes! The small is 6×7 inches and is perfect for making baby bibs or onesies. The medium size is the same size as the original at 9×9 inches. It is great for kids shirts, small bags, and ironing on to paper projects. The large size is 12×10 and works wonderfully for pillows, large bags, large shirts, and other decor items like curtains or table runners.
The Cricut EasyPress 2 heats up in 60 seconds or less. So that means I’m not wasting any crafting time sitting around for it to come to temperature. It also makes it really easy to change the temperature during a project if I’m using multiple materials.
The timer on the EasyPress 2 does still make a beep. Some people had questions about that at the Cricut Mountain MakeaThon in the summer. I think those rooms were just so noisy with people working and talking that we couldn’t hear it. But here in my craft room, I can hear it just fine, so don’t worry!
If you were only going to get one size, I would recommend the 9×9. You can still make smaller projects, and with larger ones, you just might have to reposition to keep pressing the design once or twice. I would also recommend the available EasyPress mats. They have just the right layers designed to keep moisture out of your project, direct heat to the project, and protect your work surface.
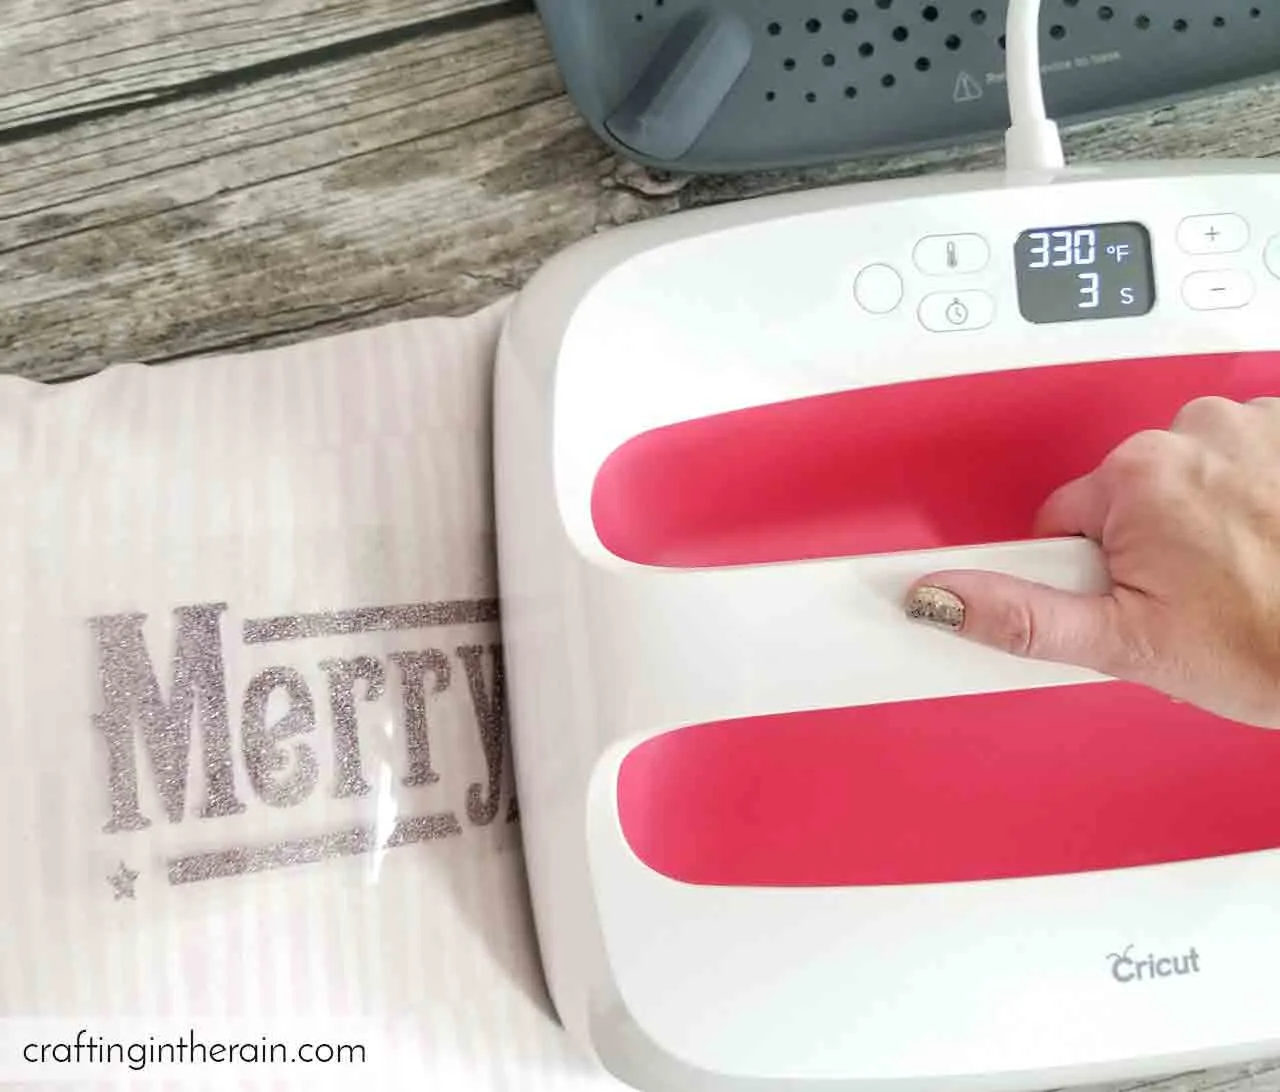
But since I used the large Cricut EasyPress 2 for this project, let me share what I loved about it. I could press my whole pillow in just one or two passes. It would have taken 3 or more passes of the small EasyPress. I also used 3 different types of iron-on: Everyday, Foil, and Glitter. Each of these types requires a different temperature setting, and I could quickly and easily change between each one to get the best result. Also, it’s not as heavy as you might think. I was able to easily move it around – so even the large EasyPress is totally portable.
Add iron-on vinyl to a pillow
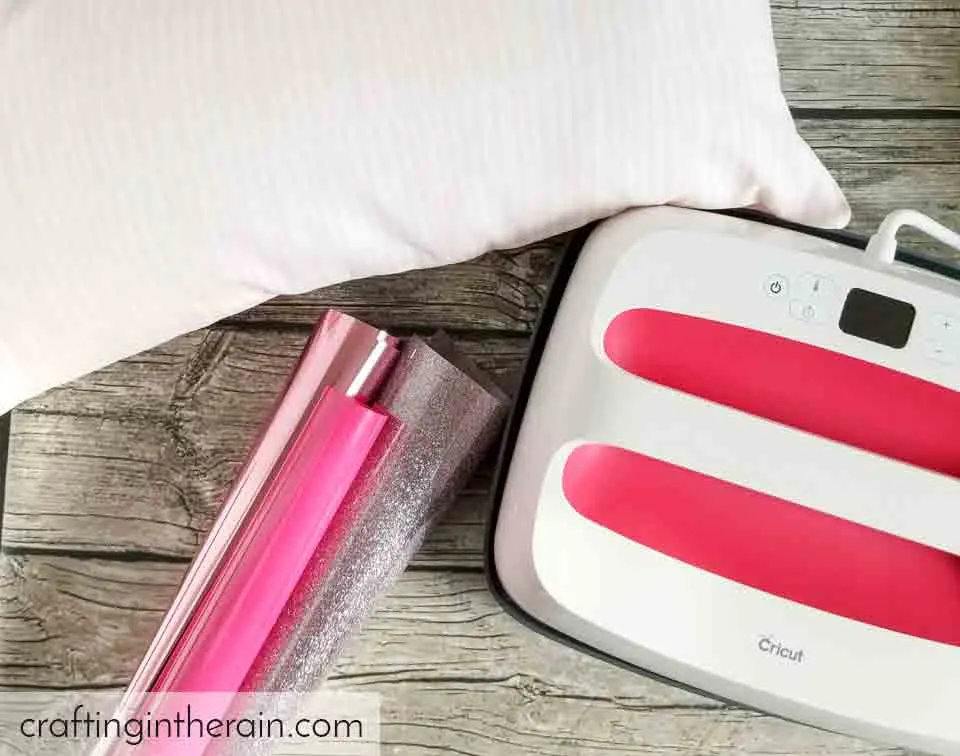
Here’s what I used to make my reversible Christmas pillow:
Ikea pillow (VENDLA)
Iron-on vinyl (everyday, foil, glitter)
Large Cricut EasyPress 2
Cricut Maker (or Cricut Explore would work too- those links are great bundle options!)
This Cricut Design Space file
Cut the iron-on vinyl face down and with image mirrored.
Weed out extra vinyl and position on the pillow.
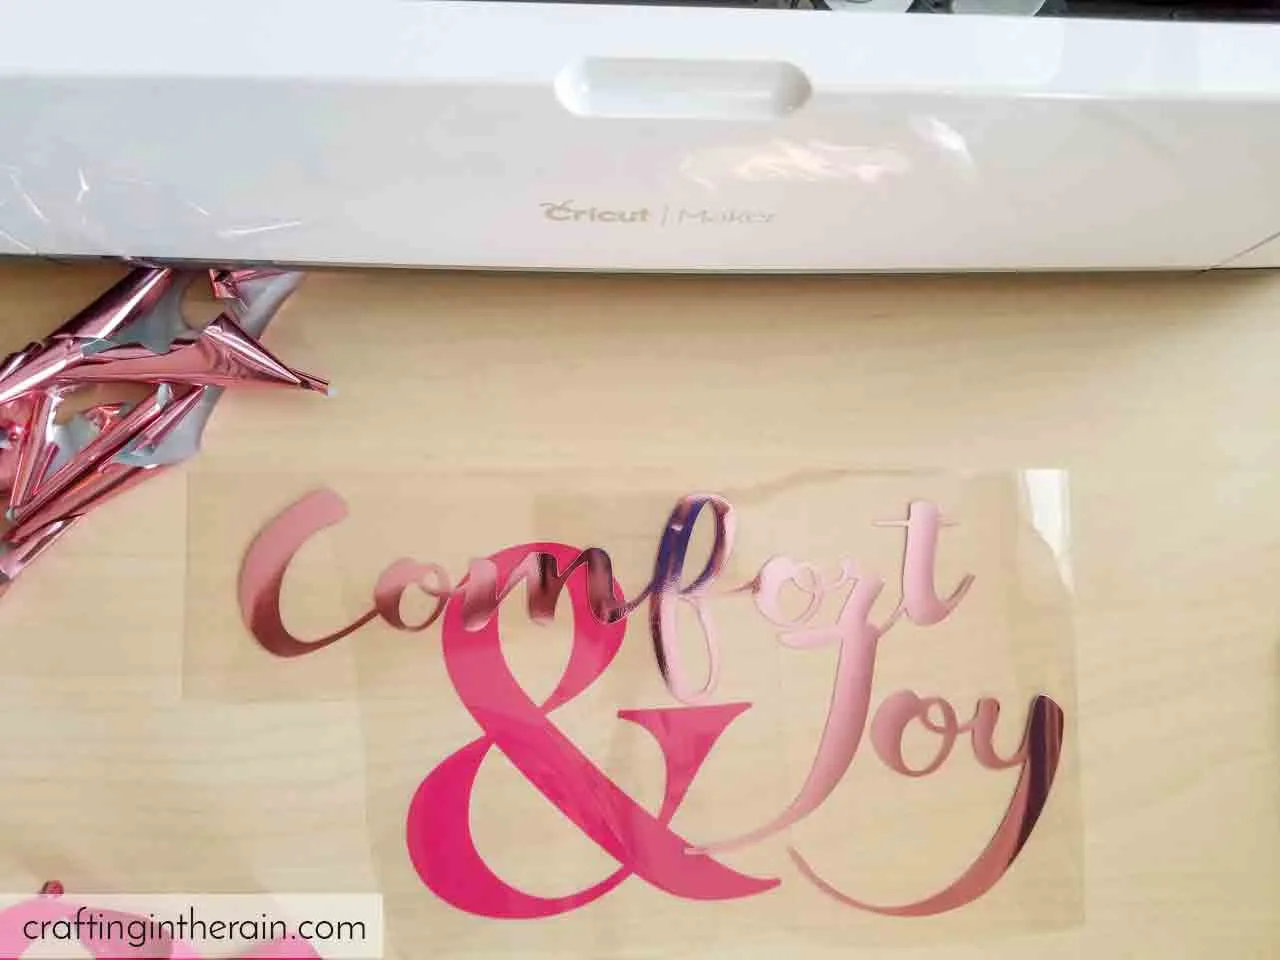
Use the correct temperature setting for each type of vinyl.
Peel off the plastic carrier sheet and enjoy the pillow!
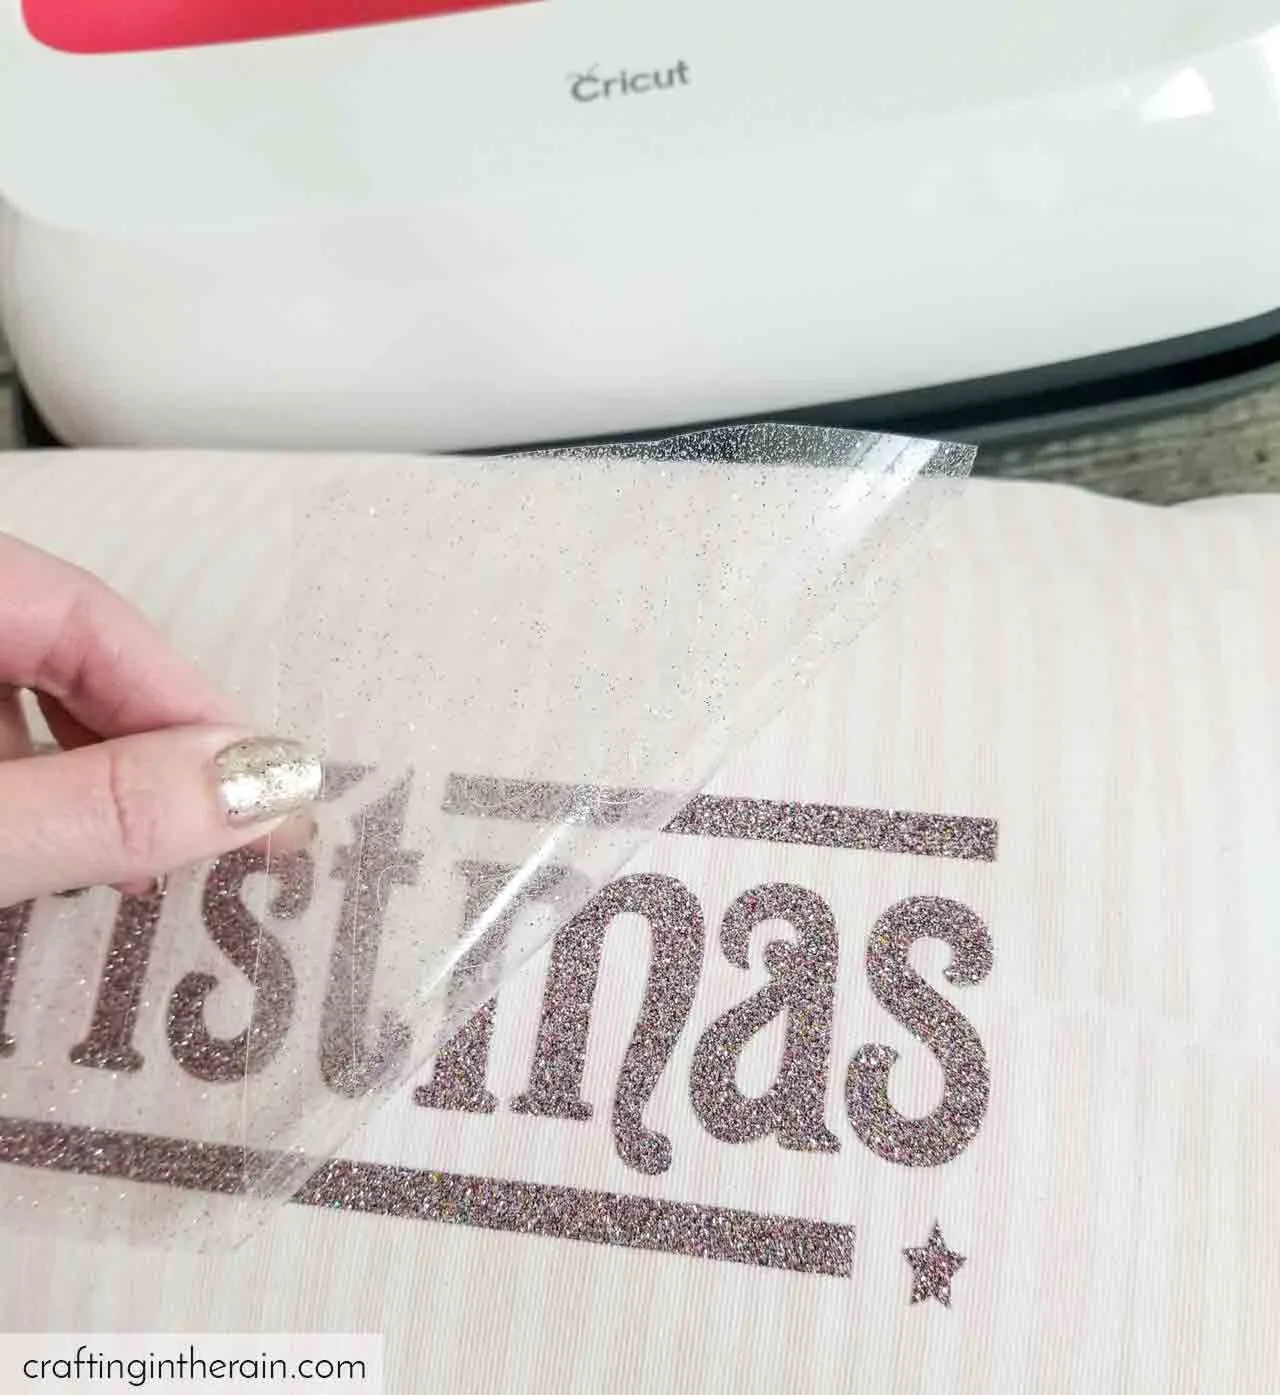
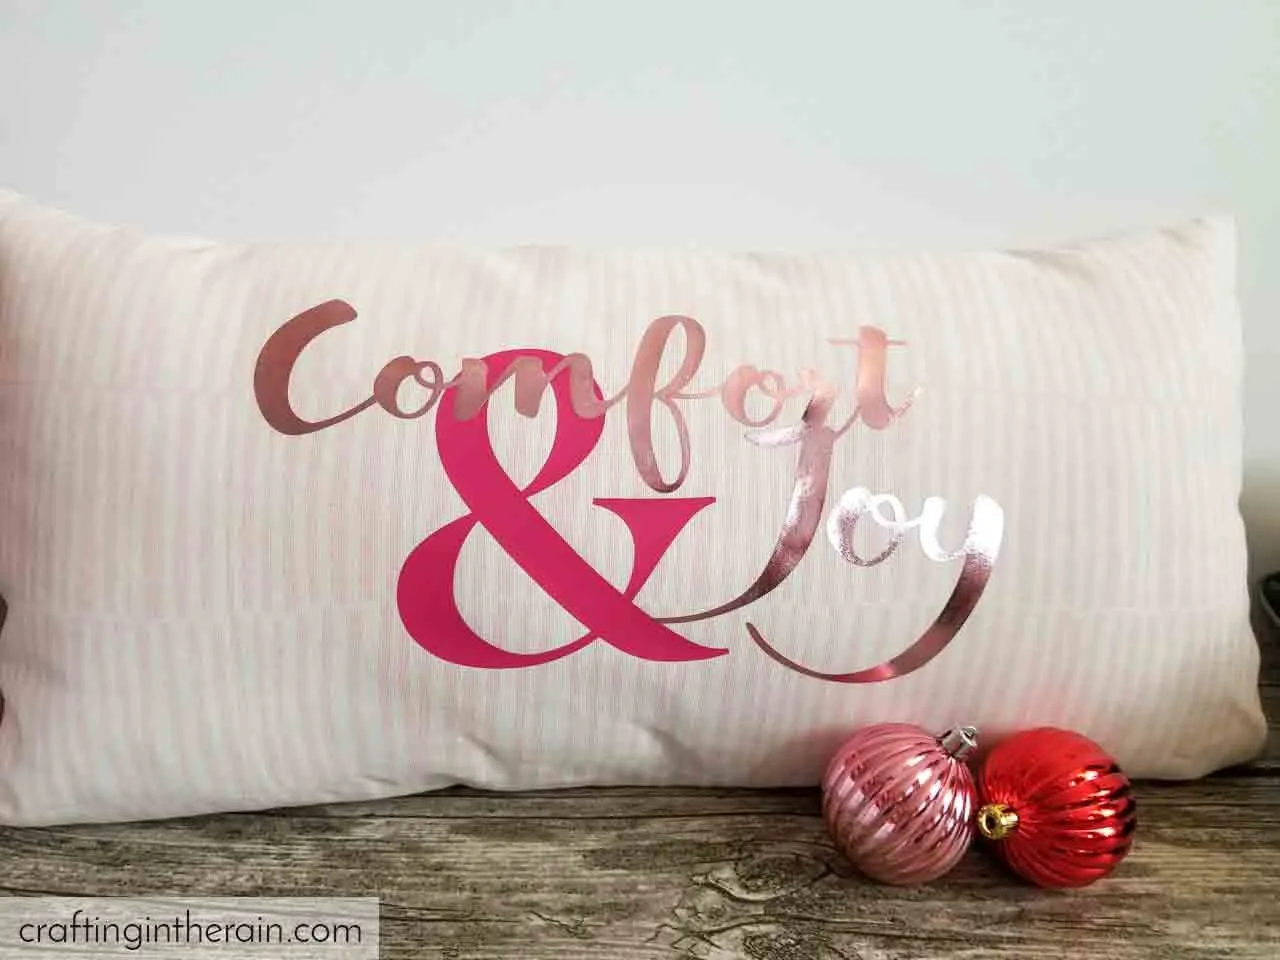
You’ve got to love 2 for the price of 1, right?
Here are a couple more good iron-on projects to start with.

Harry Potter quote sign
Kitchen towel gift set
This is a sponsored conversation written by me on behalf of Cricut. The opinions and text are all mine.

DIY Christmas Throw Pillows - Kids Art & Craft
Saturday 26th of November 2022
[…] Image Source/ Tutorial: Crafting In The Rain […]
Irene P Olsen
Saturday 26th of November 2022
I love the Merry Christmas and comfort and joy designs, are they available for purchase? such a great ideaI