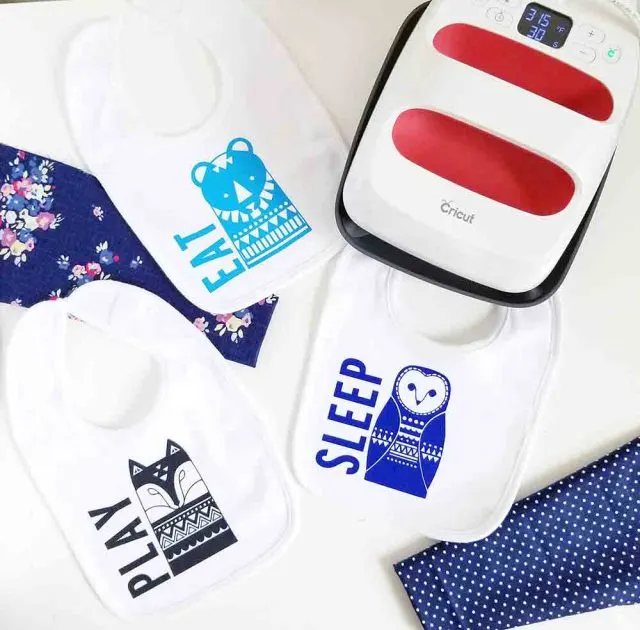
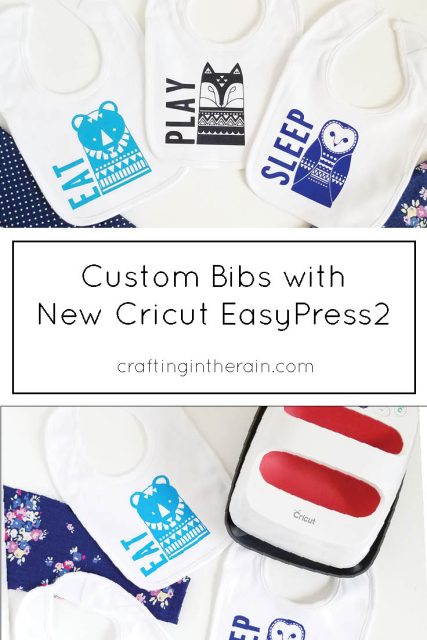
Are you ready to learn about the new Cricut EasyPress 2 machines? You’ve come to the right place! I’m going to tell you everything you need to know, plus how to make cute custom baby bibs in the process. (some links are affiliate)

The first main difference between the original EasyPress and the EasyPress 2 is the size options. There’s the 6×7, 9×9 (which is the same size as the original) and the 12×10. I’ll be using the smaller size today. I love that it’s nice and compact, easy to store, and super easy to maneuver. I have also used the large 12×10 size, and it’s great for things like large bags, larger t-shirts, and pillowcases, since you can cover more surface area at a time. And it’s not heavy like I thought it would be, so it’s totally useable for any crafter.

Then you’ll also see the new raspberry color, a new high temperature of 400°, faster heat up time, and a USB port for firmware updates. Each size comes with an insulated base to store the EasyPress and protect your work surface. Matching sizes of EasyPress mats are available separately.
Operate the EasyPress 2 the same way as the original EasyPress. Push the power button to turn on – and here’s another cool new feature: it will remember and automatically set to the last settings you used.

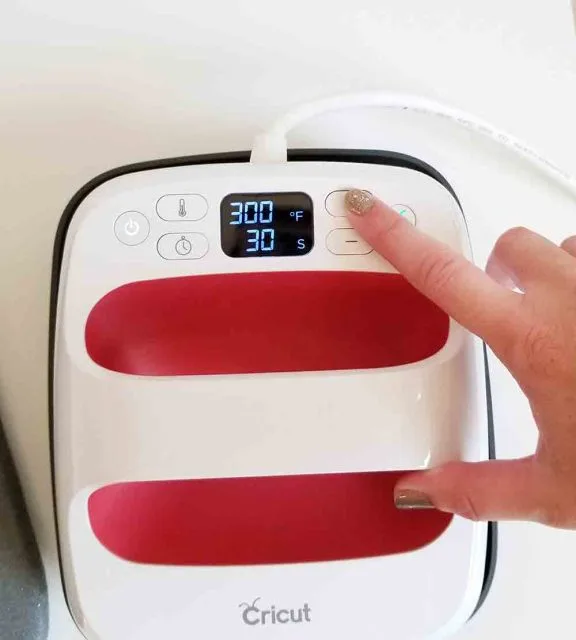
To change the temperature setting, first press the temp button, then the + or – button to reach the desired temperature, then hit the temp button again and it will move to the new temperature. Same goes for the timer setting. Press the timer button, + or – to reach the correct number, and then the timer button again to set.

When the Cricut button has turned green, it has reached temperature. Then when you push the Cricut button it begins to count down the timer. At the end of the timer, the machine will beep so you know the time is up. The EasyPress works still of course even if you don’t push the Cricut button, but it doesn’t keep track of the time for you then.
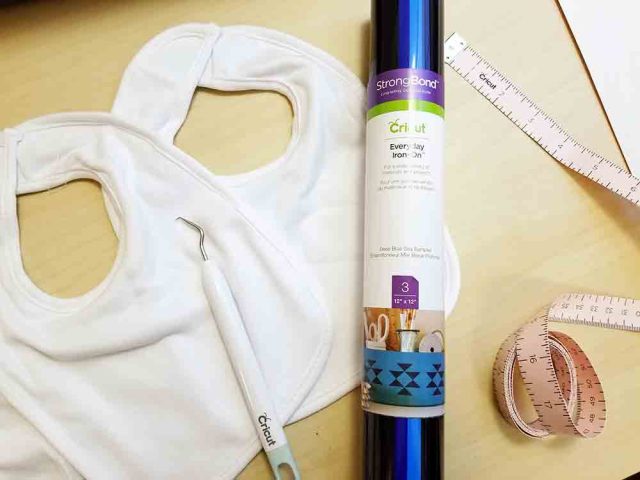
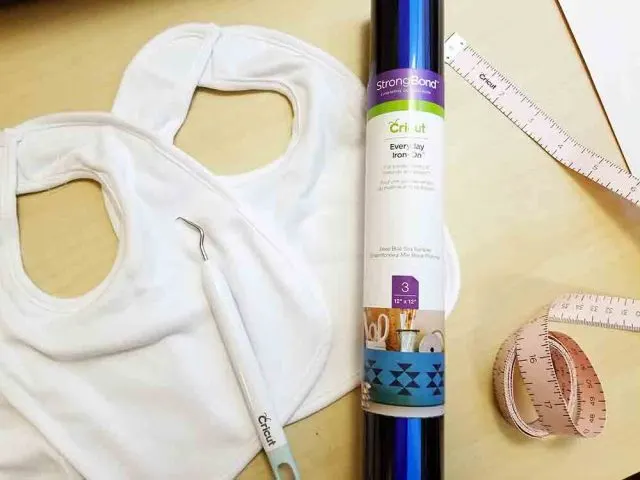
So now let’s actually put it to work on making some baby bibs. You can find blank bibs at the craft store or on Amazon. Measure the space you want to fill so you can correctly size the project.
Open the Design Space project
Resize if needed and choose your iron-on vinyl colors. I love the Everyday Iron-On samplers for a project like this, because you get (3) 12×12 coordinated colors that you know will match in your project. I used the Deep Blue Sea sampler.
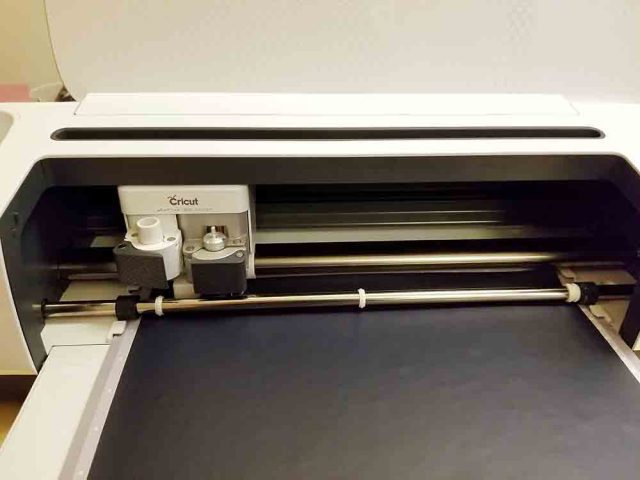

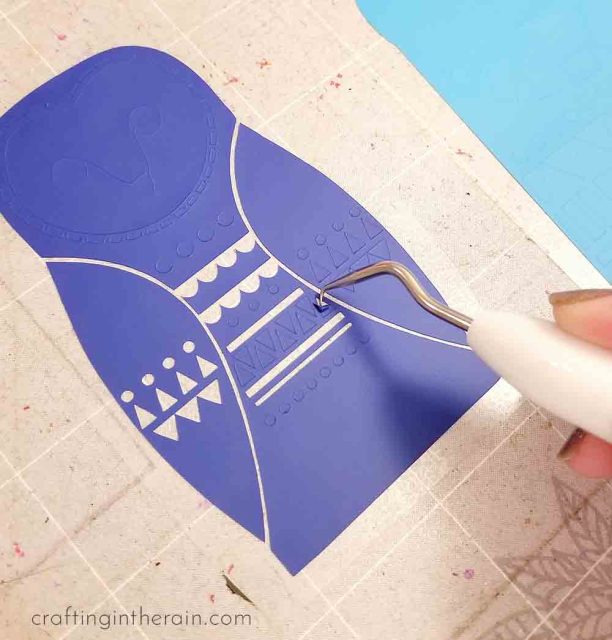
Cut iron-on with the shiny side down, and the design mirrored. Weed out the extra vinyl.

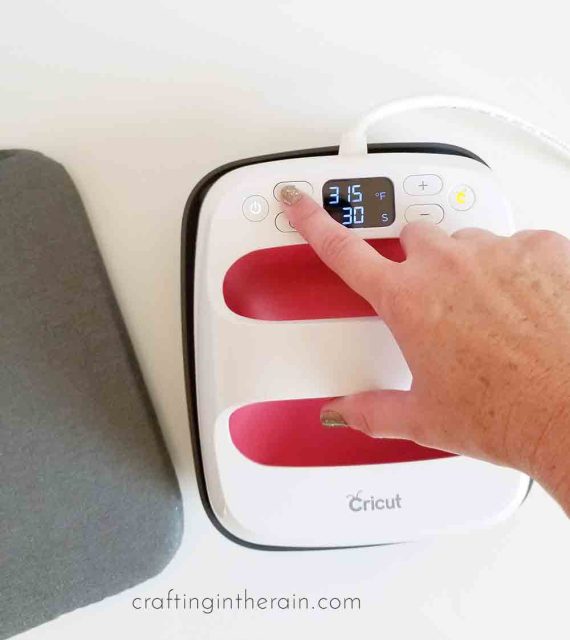
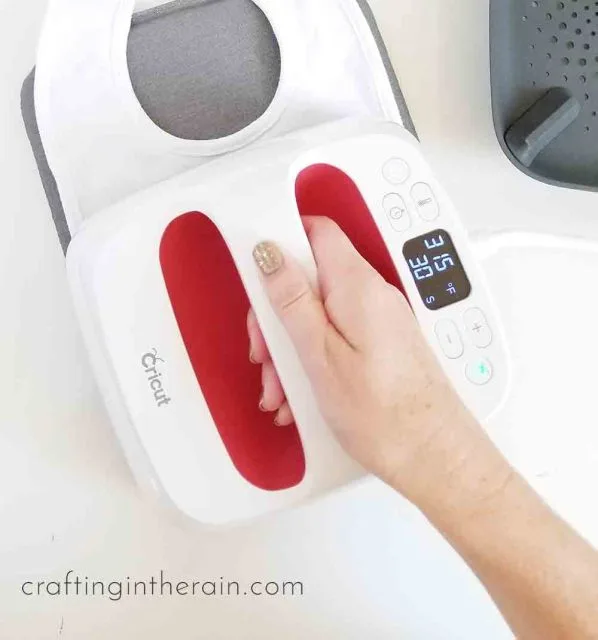
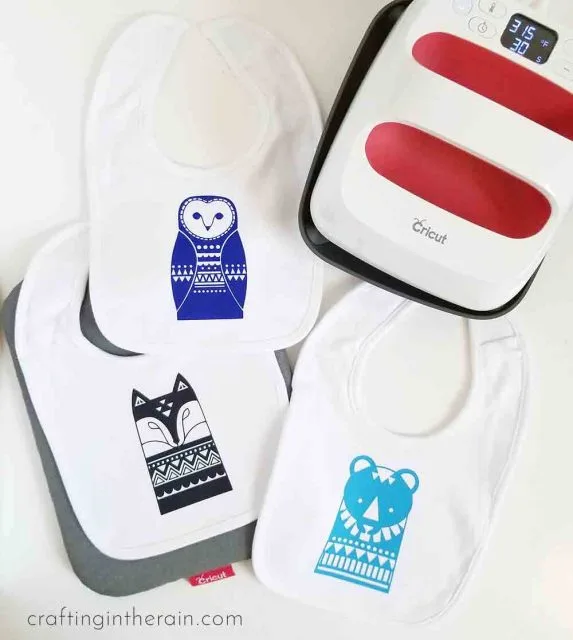
Set the EasyPress 2 to 315° and preheat the bib for 5 seconds.
Place the design on the bib and press for 30 seconds. Then flip over to the back side and do another 15 seconds.
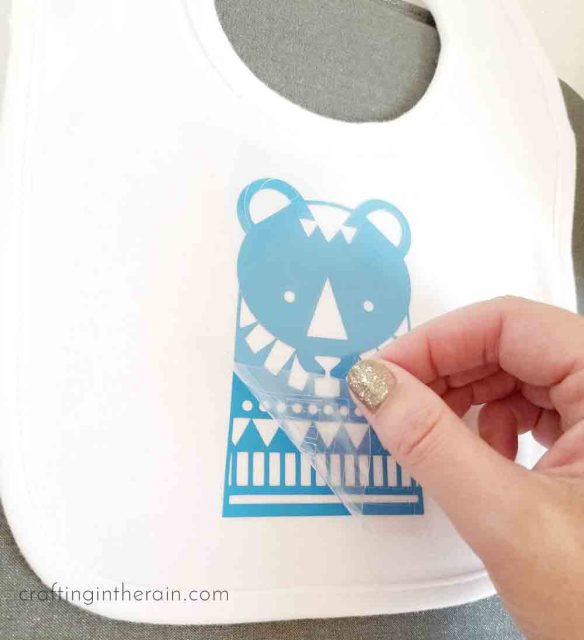
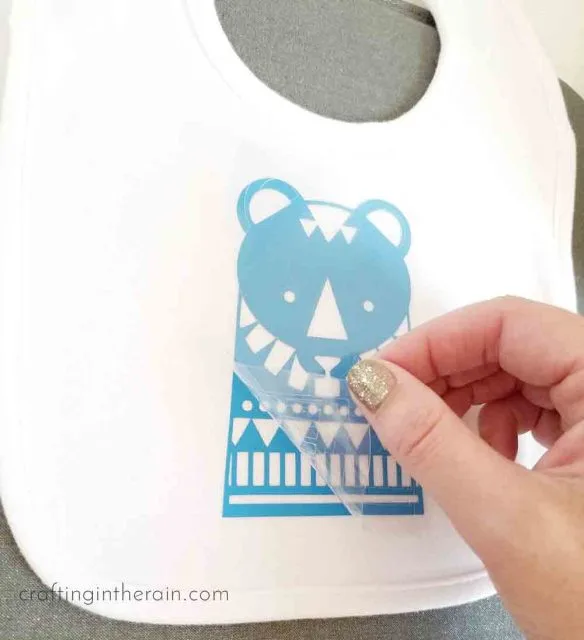
Peel the plastic carrier sheet while it’s still warm.
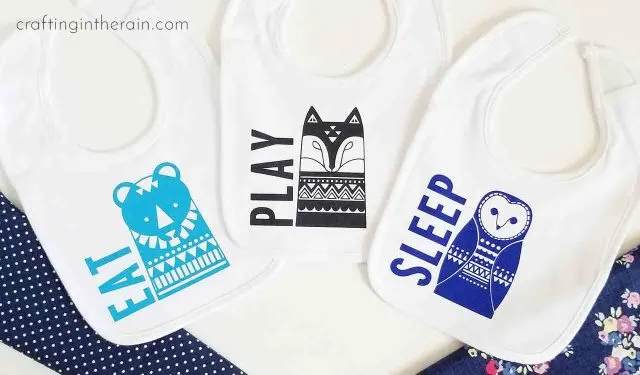
Once I had all the animals on the bibs, it seemed like they were still missing something.

So I went back to Design Space and added the words. If you want to use the words, attach the word to the animal next to it so they cut out positioned correctly. If you prefer the bibs without the words, just delete the words before cutting.
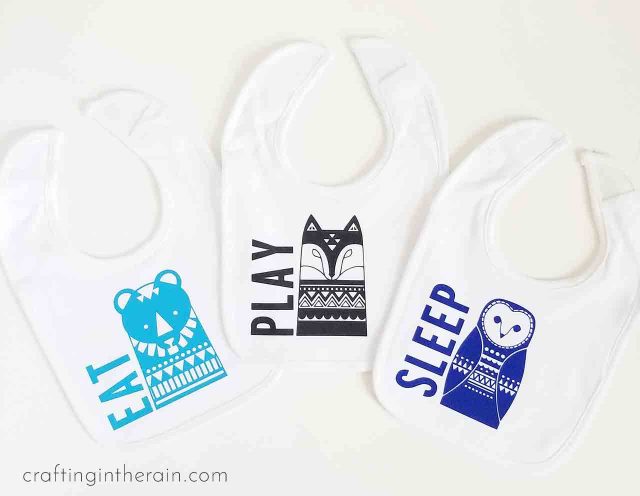

Here’s the final result. Super cute for a shower gift, right?

Keep an eye out for when the new Cricut EasyPress 2‘s will be available. If you go to the listing you can be added to the waitlist so you’re the first to know when they’re officially released in the fall.

This is a sponsored conversation written by me on behalf of Cricut. The opinions and text are all mine.
Brooke
Wednesday 15th of August 2018
These are so adorable! The smaller easy press is the perfect size for that, too!