Custom baby gifts with Cricut
Just a couple of months ago, my baby turned 8. I knew long ago that the “baby phase” was over for me. But luckily, I still have friends and family having babies – which means I still get cuddle time and baby crafting time! Making baby gifts with my Cricut is a breeze, and it’s just one of the kinds of DIY projects you can make with a Cricut.
For this tutorial I’m showing you how to use iron-on vinyl to make custom baby onesies. Plus, you don’t need to own a heat press to use heat transfer vinyl.

Supplies: (some links are affiliate)
- Design Space file with “Hello my name is” tag
- Plain baby bodysuit
- Iron-on Cricut vinyl
- Cricut hook
- Iron
Steps:
- Open the Design Space file and change out the name. Play with different fonts to see what you like, and don’t be afraid to make the name overlap the tag, like I did with “Cora.”

- Place iron-on vinyl, shiny side down, on the mat. Turn the dial to either iron-on (for regular iron on) or to custom and select the right listing in the drop down menu for glitter iron-on. Send to the machine to cut, and make sure each mat has been marked for “mirror” so that it cuts backwards (since it’s cutting through the back side of the vinyl)
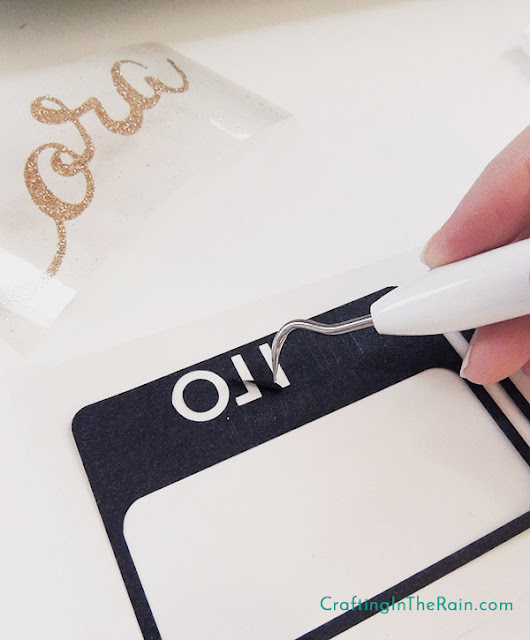
- Weed the vinyl using the hook tool. Some of the letters in the tag are pretty tiny – be careful and patient!
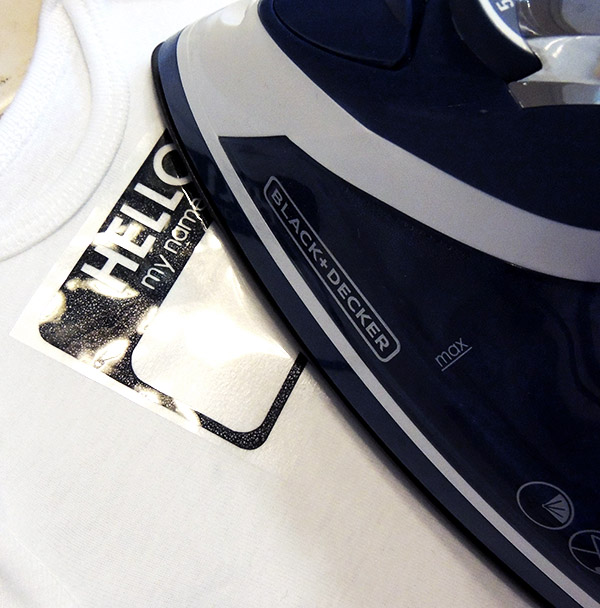
- Turn the iron on to medium heat. Position the tag and use the iron to press down about 20 seconds, then move to a different section for another 20. Don’t move the iron around while you’re pressing down – it could cause the vinyl to wrinkle. It’s also a good idea to have a thin cloth between the iron and your project, to make sure the vinyl doesn’t overheat (but I’m a rebel and I don’t always to that!)
- Peel back the plastic layer – but keep it! Position the name and then lay the plastic from the tag back over it so that all the vinyl of the tag is still protected from the iron. Press the iron down as before until the name is all stuck down.

- Iron a bit from the back side too to make sure it’s really set well.


I hope you love these custom vinyl baby onesies! And this is just scratching the surface of DIY projects you can make with a Cricut.
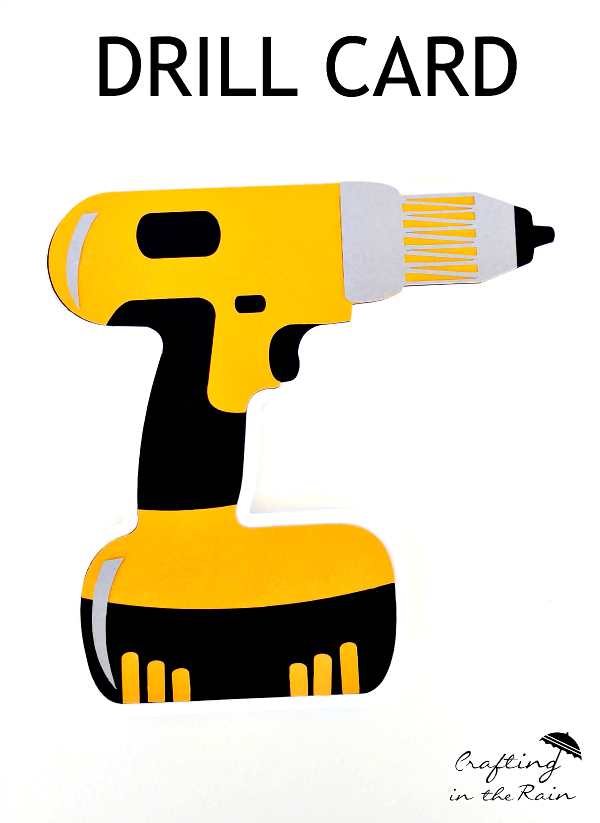
You can make . . . (click the title to go to the instructions!)


CURRENT CRICUT DEALS
Explore Air Clearance (til 1/31/2017)
Cardstock and Paper starting at $4.99 (til 2/10/2017)
FREE shipping with code LOVESHIP (til 1/31/2017)
This is a sponsored conversation written by me on behalf of Cricut. The opinions and text are all mine.

(affiliate links)
Amelia
Thursday 20th of September 2018
Curious what font you used for "Cara?" Or how you angle fonts like that in the design space?
Stephanie
Sunday 23rd of September 2018
Hi Amelia, First, the font I used is a Cricut font called "Everyday Fonts - Celebrate" Next, here's how I got the slanted look: 1-type the word like normal 2-select the word and click "advanced" then "isolate to letters" 3-each letter can now be moved individually. Position them where you like, in this case angled up a bit, making sure they each overlap a little 4-select all the letters and click "weld" to turn them into one cut piece. Hope that helps!