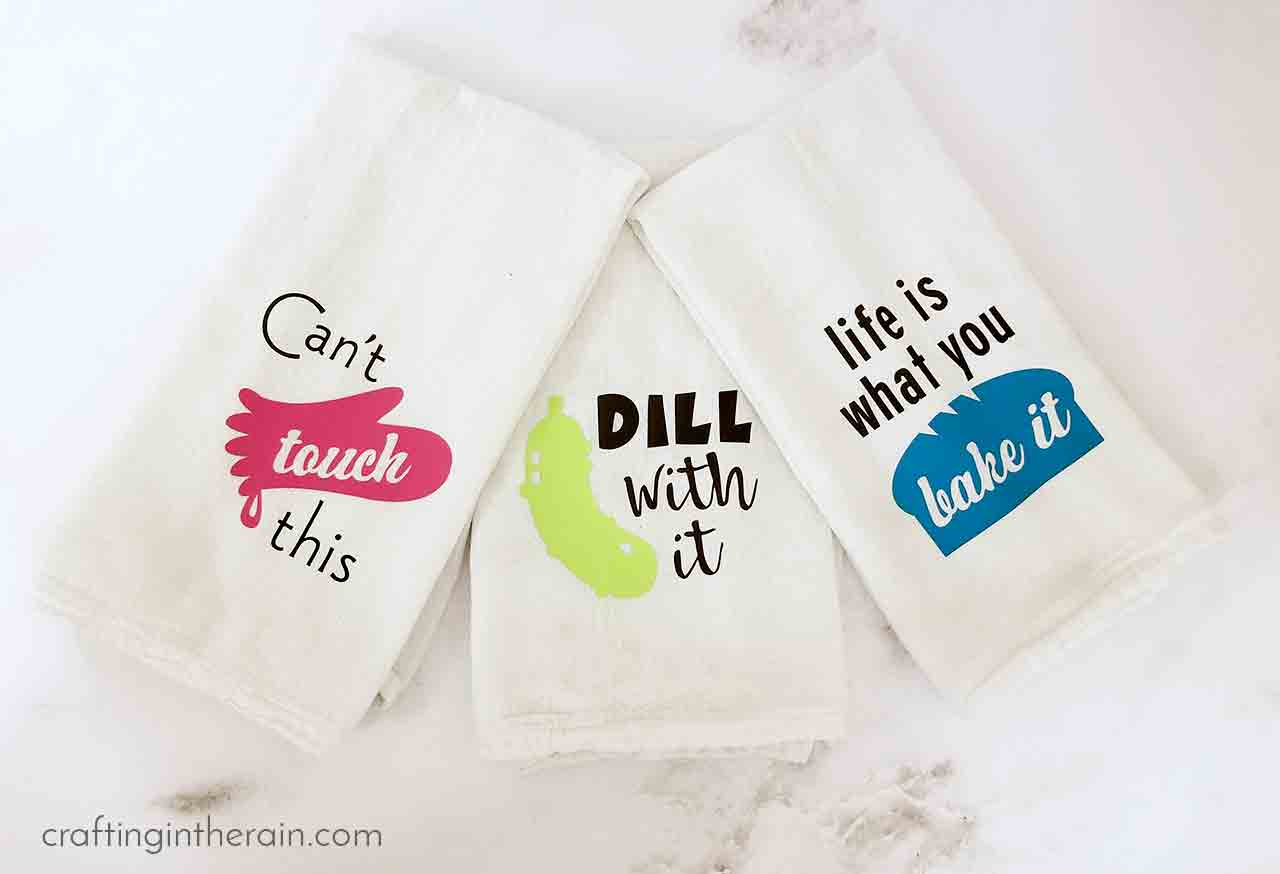
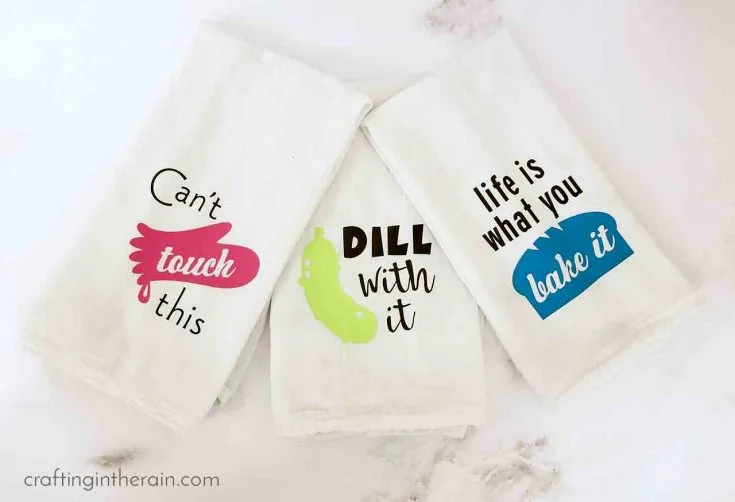
Everyone needs a few easy gift ideas up their sleeves for the holidays, or new neighbors, or good friends. These cute kitchen towels are great alone or as a set. Dress them up even more with some baking mixes or tools, and everyone is sure to love them.

First, let’s do a refresher on iron-on vinyl. It’s also called heat transfer vinyl or HTV. The adhesive is activated with heat, and it’s very durable. So it works great on fabrics and fuzzy materials. Iron-on vinyl has 2 layers – the actual vinyl, and a clear plastic carrier sheet.
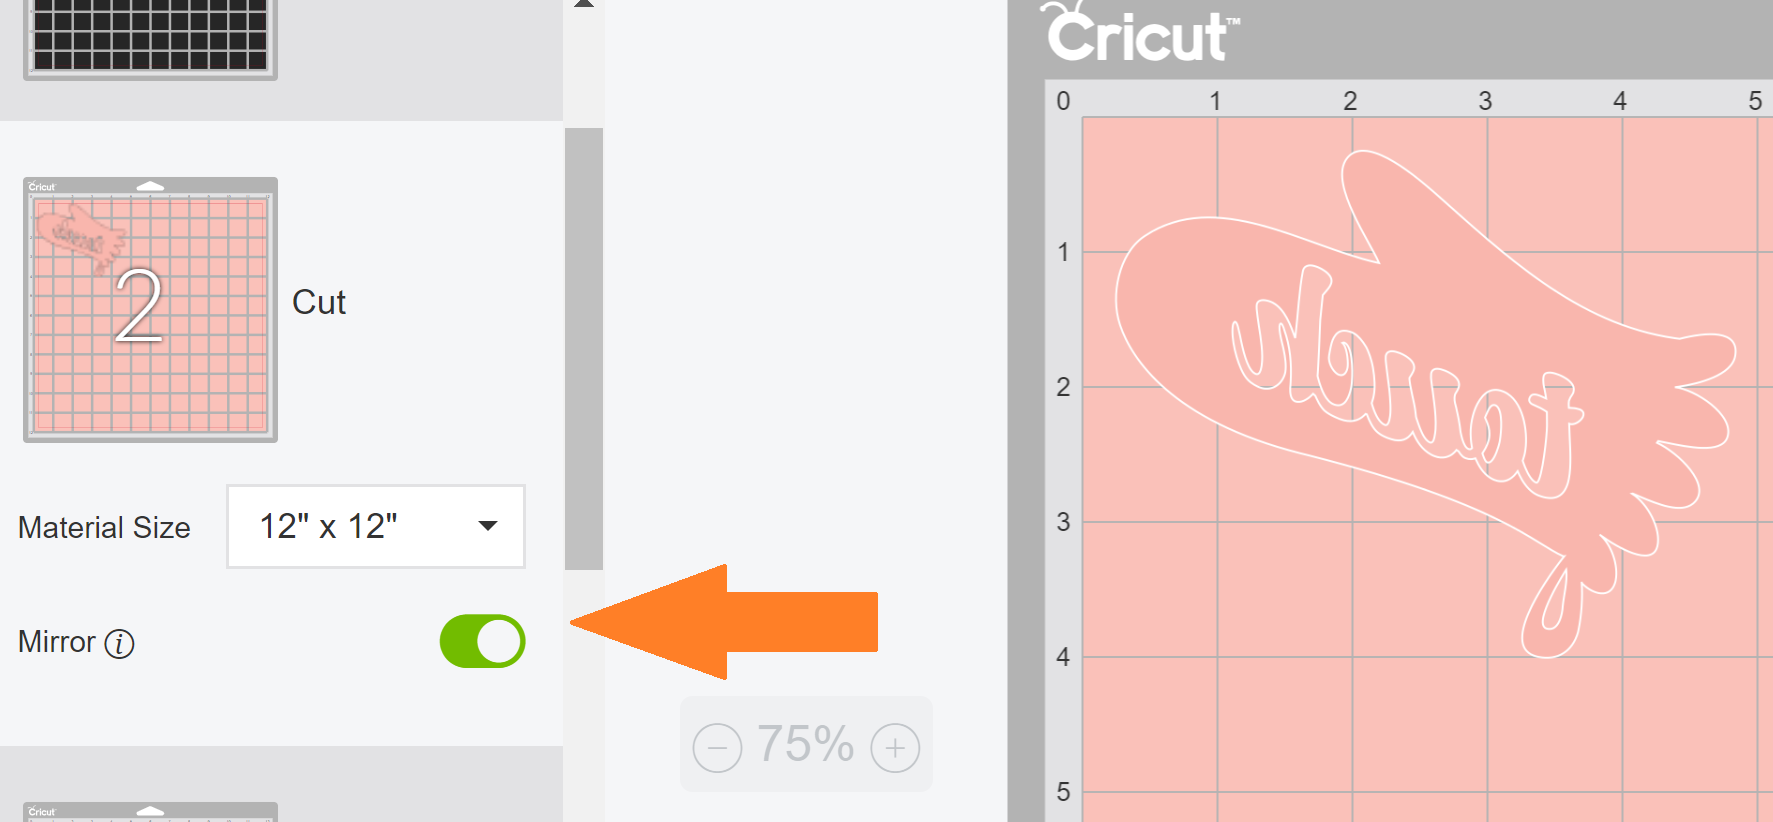
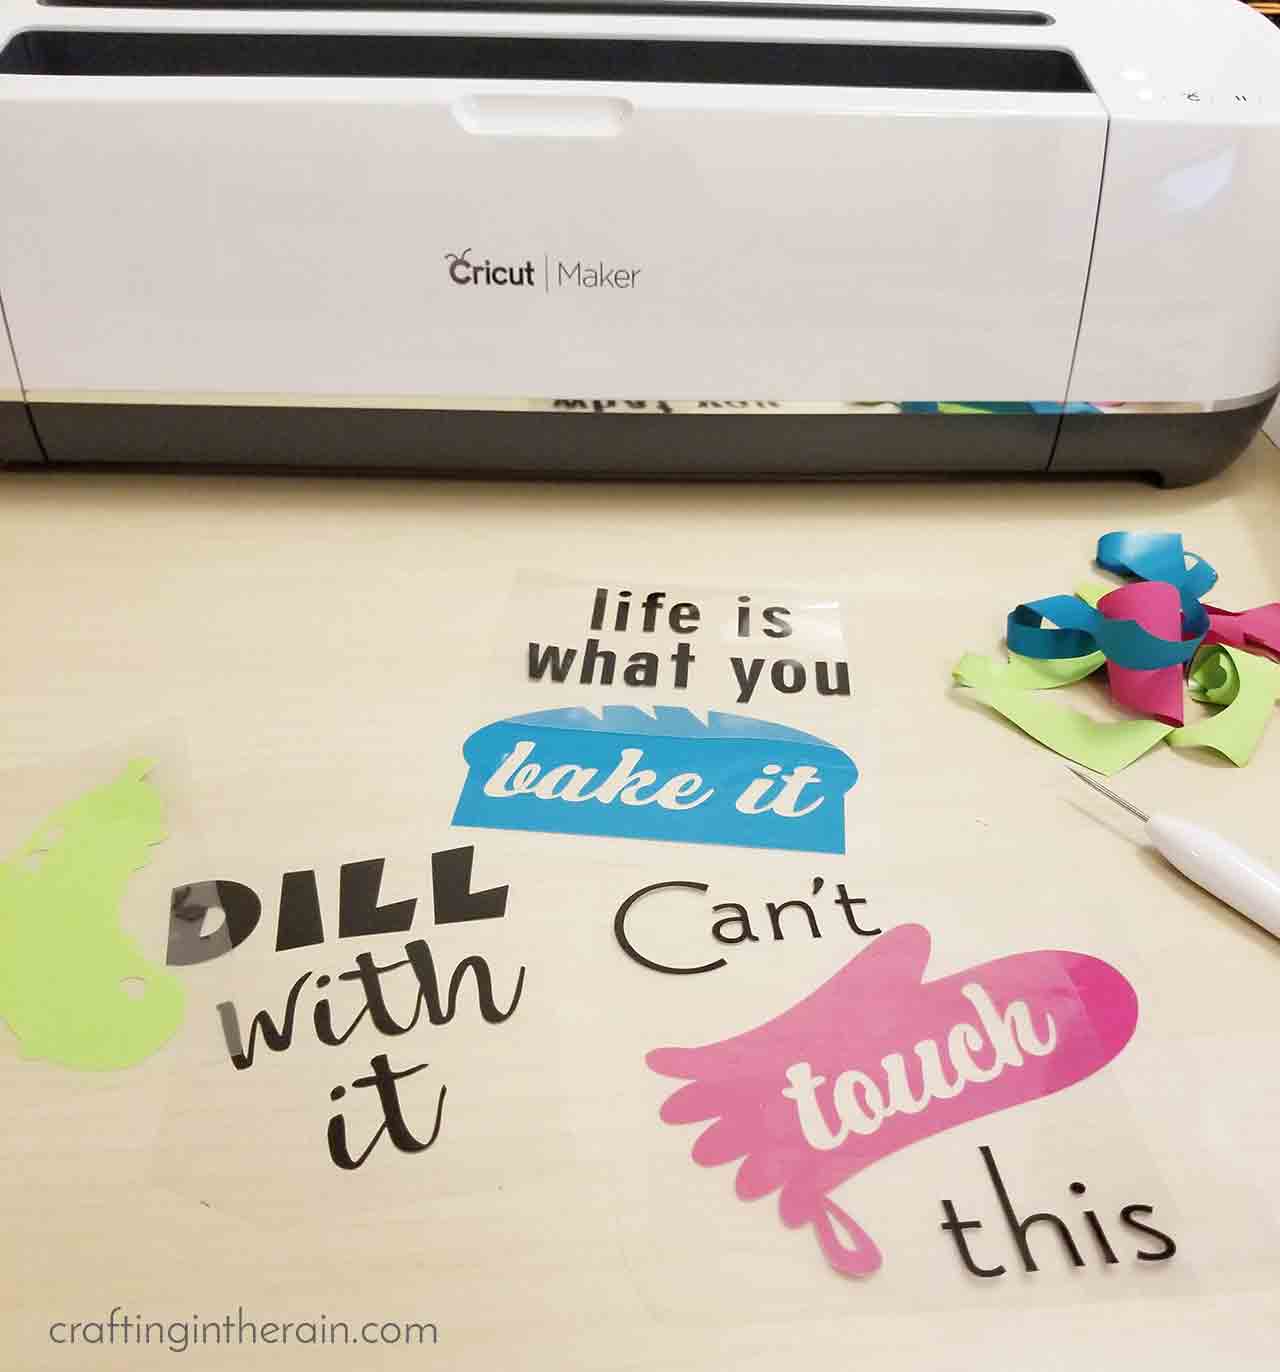
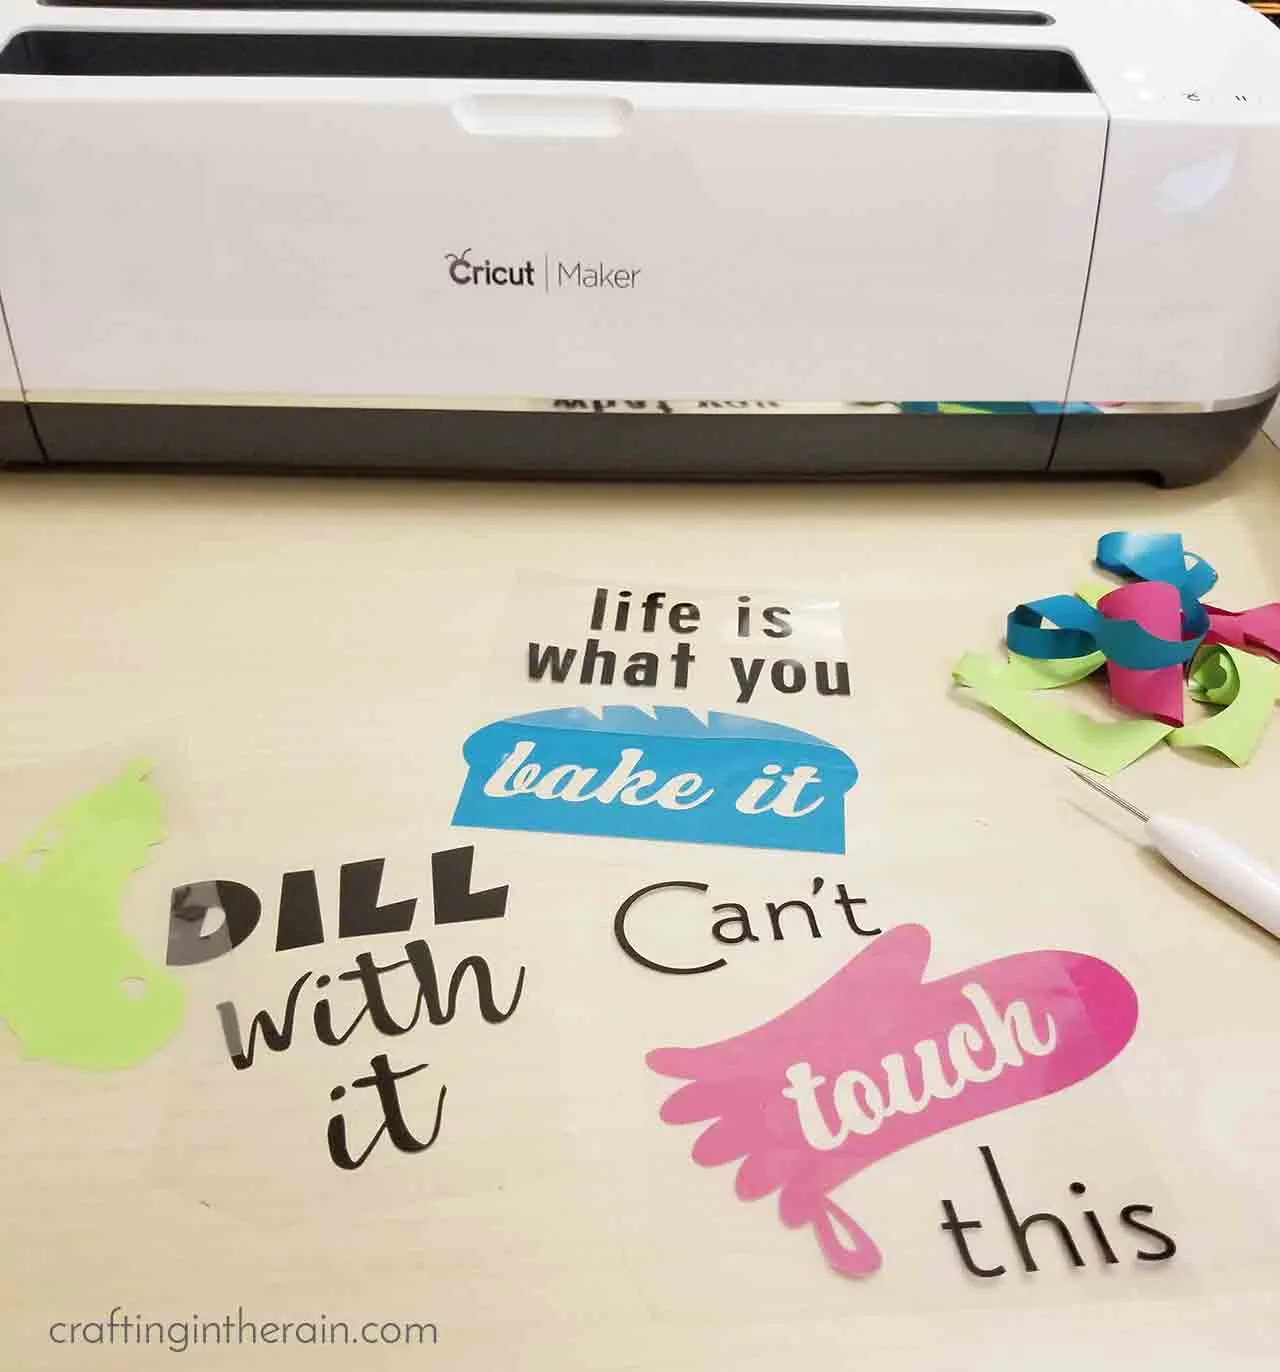
When cutting iron-on vinyl, the shiny plastic must go down on the mat, because you’ll be cutting just through the vinyl layer on the back side. This is why the design always has to be mirrored before cutting – when you flip it over after cutting, then it will be right!

When you weed iron-on vinyl, it’s the same concept as will regular adhesive vinyl. Use a weeding tool to pull the unneeded vinyl away from the plastic carrier sheet. What’s great is that the vinyl isn’t sticky, so it’s not going to accidentally stick down to another part of your design and ruin it.

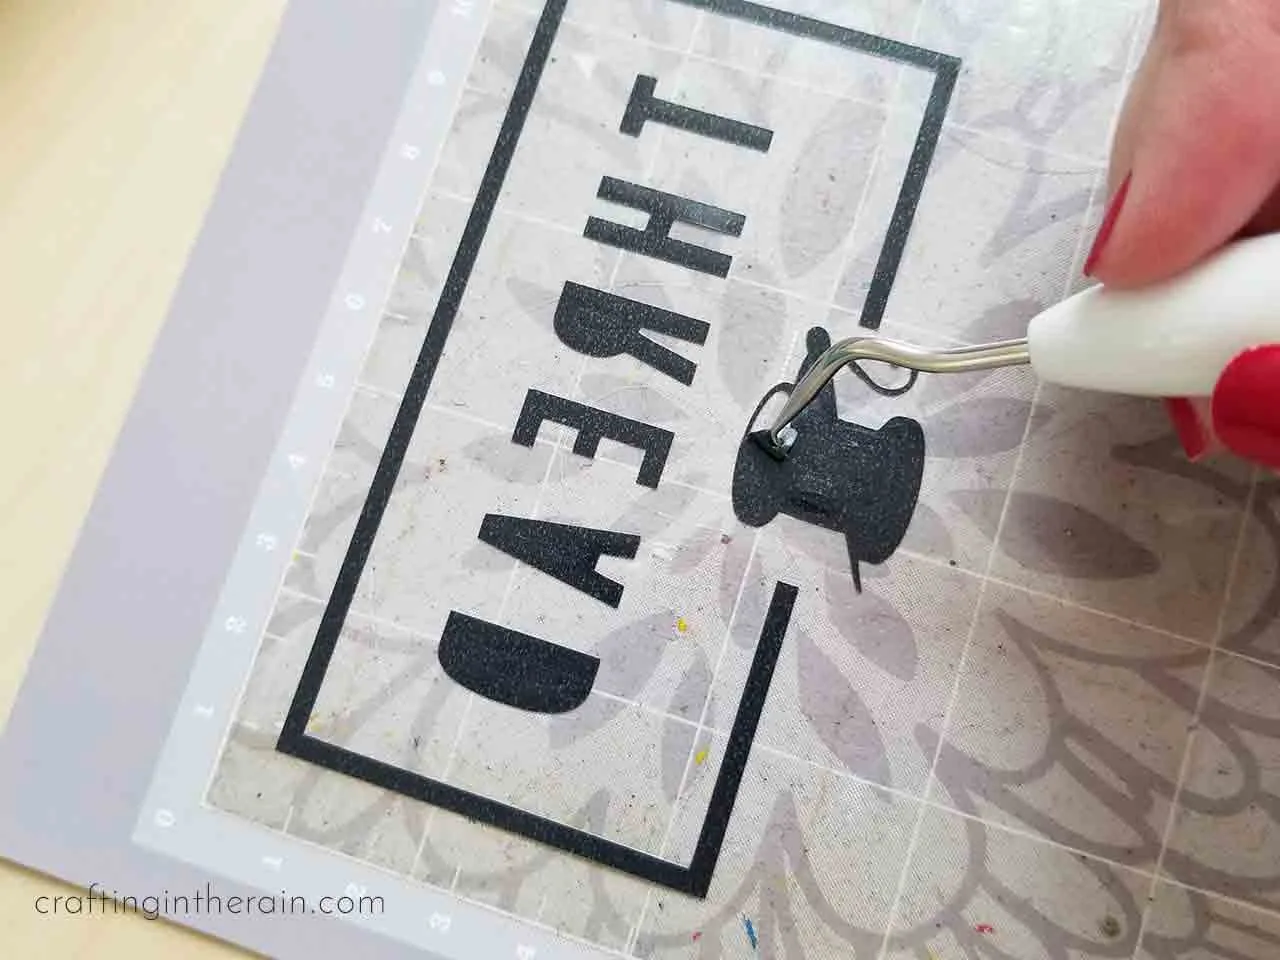
The plastic carrier sheet works as built-in transfer tape. It holds all the pieces of your design in exactly the right place. It also protects the vinyl while it’s being pressed.
Putting iron on vinyl on kitchen towels
With all that, let’s start on the towels.
Supplies you will need:
- Flour sack kitchen towels
- Iron-on vinyl in assorted colors (black, teal, pink, etc)
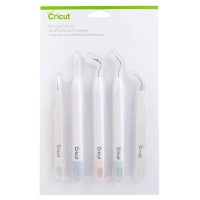
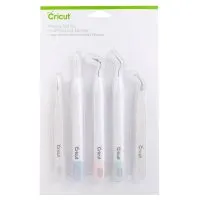
- Weeding tools
- EasyPress 2
- EasyPress 2 mat
- Open the Design Space file here and change out colors if you want.
As mentioned before, make sure that you click MIRROR for all mats, place the shiny, plastic side down onto the mat, and set the material to “iron-on” (or, if you’re using a different type like SportFlex, or Glitter, then search the material settings to select the right one.)

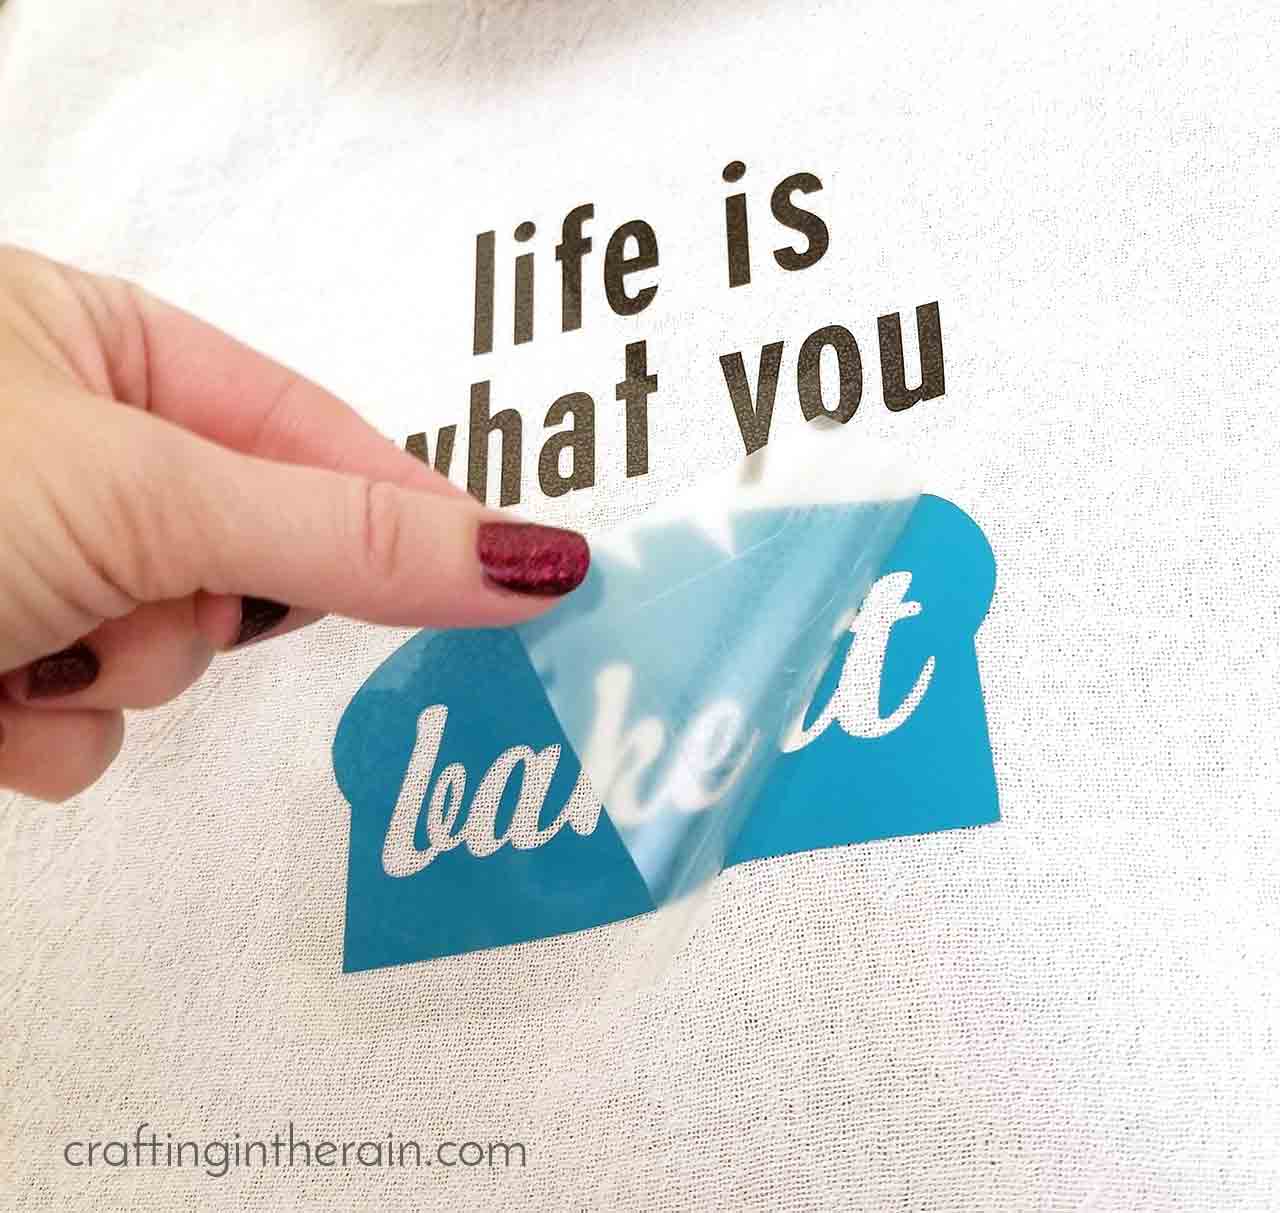
Weed out the extra vinyl. I always start with the outside section first. Then it’s easier for me to work my way in and see what should be left, and what should be removed. (For example, usually you remove the insides of letters, right? But see in the “bake it” towel, the insides of those letters stay, and the word gets taken out!)
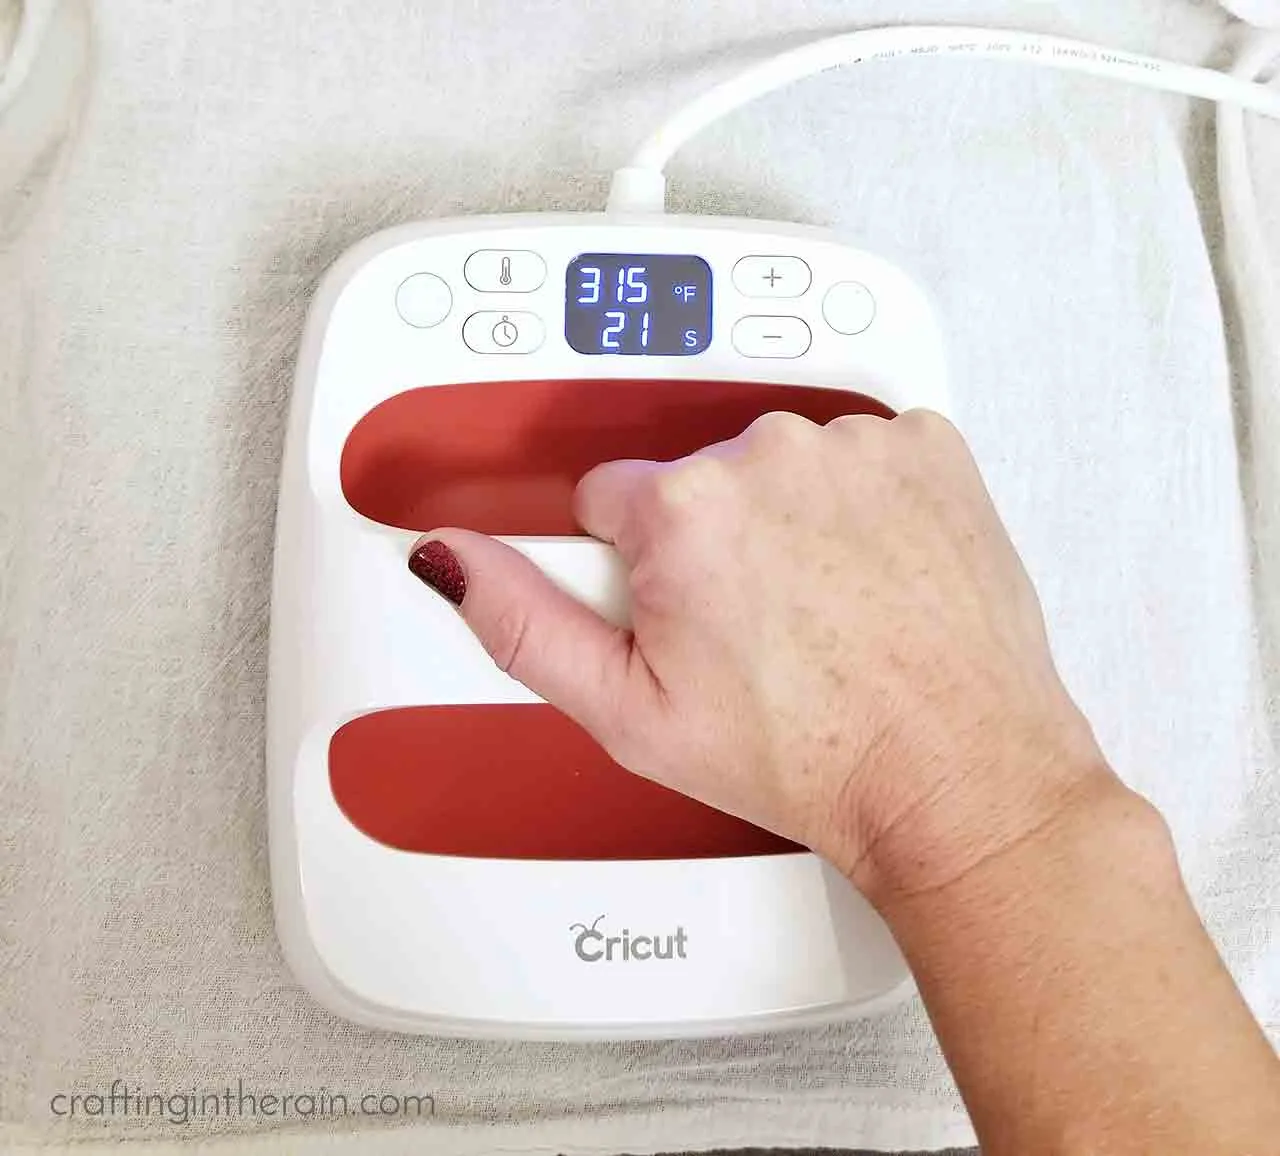
Heat the EasyPress 2 to 315 (or to the correct setting for your specialty iron-on – see this interactive EasyPress guide.) Heat up the towel for 5 seconds. This removes any excess moisture, resulting in better results, as well as smoothing out wrinkles. (Read this EasyPress review for more info.)
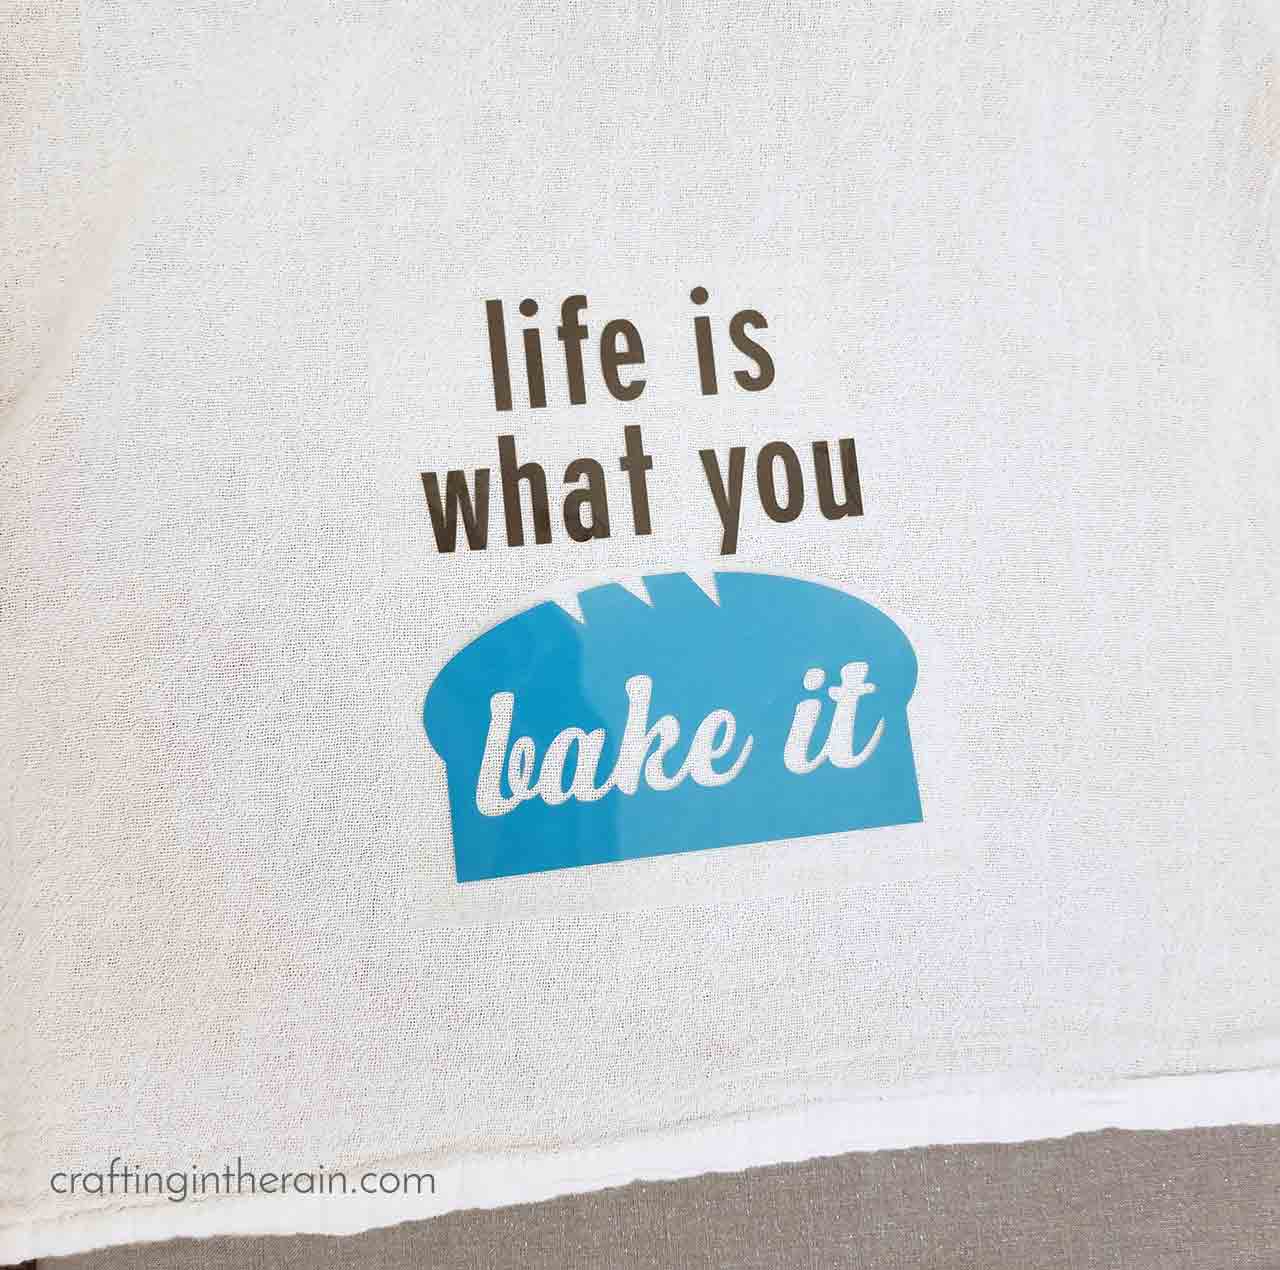

Place the iron-on vinyl design down on the towel. I centered the design and put it 2-3 inches above the bottom of the towel. If the different layers of plastic will interfere with the placement of multiple colors, press them one color at a time.

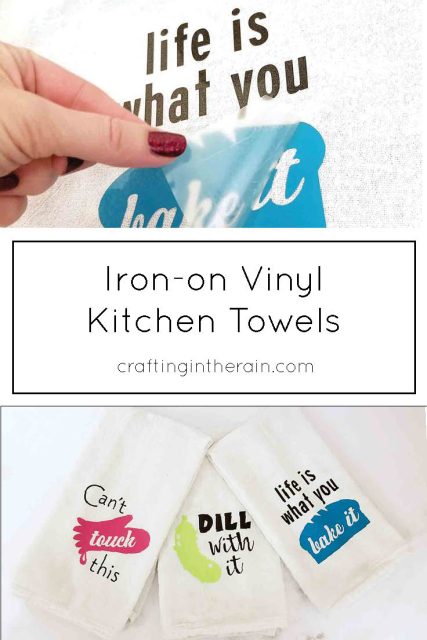
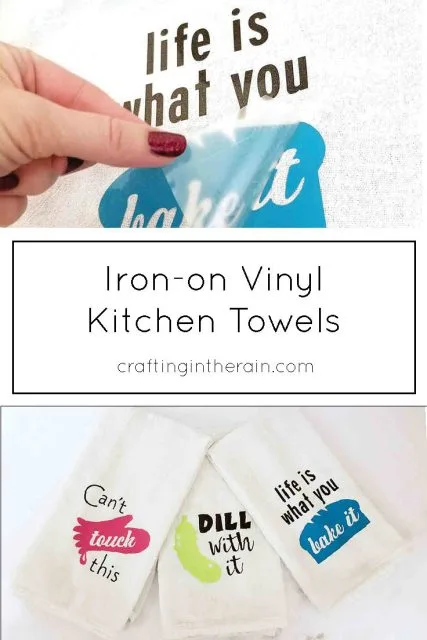
With medium pressure, heat the iron-on with the EasyPress for 30 seconds. Flip the towel over and press for 5 seconds. Then peel off the plastic carrier sheet.

Which cute kitchen towels are your favorite?
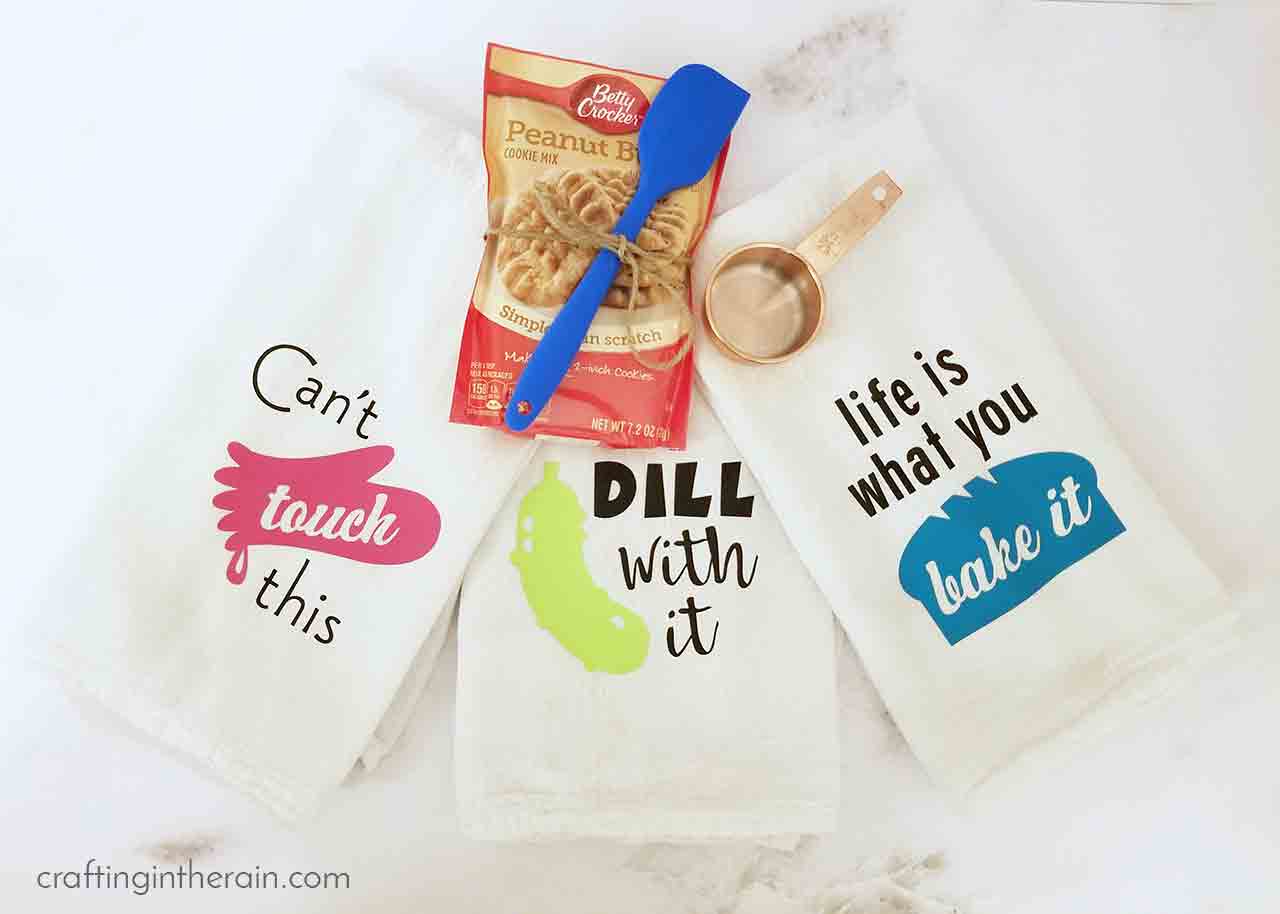
Use these towels as cute gifts, especially with a baking mix and spoon or spatula. As an Amazon Associate and member of other affiliate programs, I earn from qualifying purchases.Iron-on Vinyl on Kitchen Towels
Materials
Tools
Instructions
Recommended Products


For more holiday Cricut ideas, check out all these posts below!
Ruisita 4 Pieces Funny Kitchen Towels Dish Towels Baking Kitchen Tow – Microwave Recipes
Tuesday 16th of November 2021
[…] Cute Kitchen Towels Gift Set with Iron-on Vinyl – Crafting … […]
aundria gerhart
Friday 21st of February 2020
what would your care after instructions be? couldn't a wash and dry mess up vinyl?
Stephanie
Tuesday 25th of February 2020
Great question! I have been using mine as regular kitchen towels for over a year, and the vinyl is holding up great! They can get a little wrinkly out of the dryer - as you'd expect a kitchen towel to do - but I don't take any extra care with these. Just toss them in with any other kitchen towels I have. Hope that helps!
cathy deecher
Friday 7th of June 2019
love the tutorial, I have a new cricut machine , where did you get the cute sayings? [email protected]
Stephanie
Saturday 8th of June 2019
Thanks! I actually designed them in Design Space, and you can access the same project by clicking the link in the post that says "open the Design Space project here." Have fun making them!
Amy Pelzner
Monday 22nd of October 2018
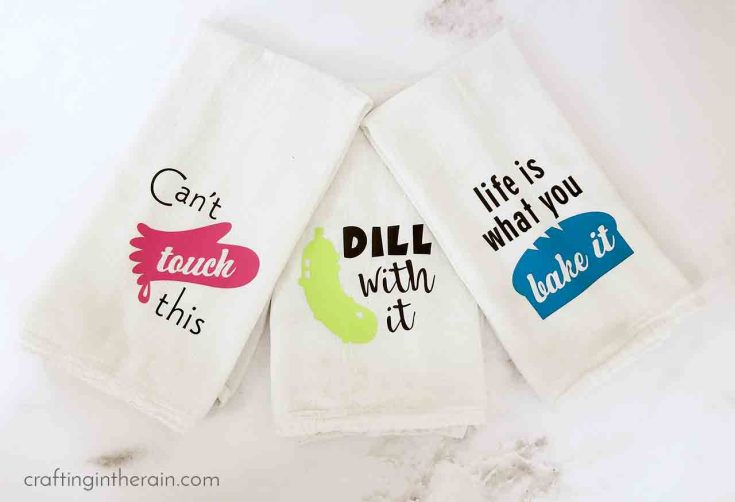
These are so colorful and fun! I love the Dill one the most!
Jessica
Monday 22nd of October 2018
What a great gift idea!