If you are looking for new Halloween SVGs you’ve come to the right place. Sarah from Simply Crafted Life has organized this Halloween SVG blog hop – so you get 11 new free SVGs to use in your Halloween crafting this year! I’m making a queens apple orchard wood sign, and will show you tricks for how to iron-on vinyl on stained wood.
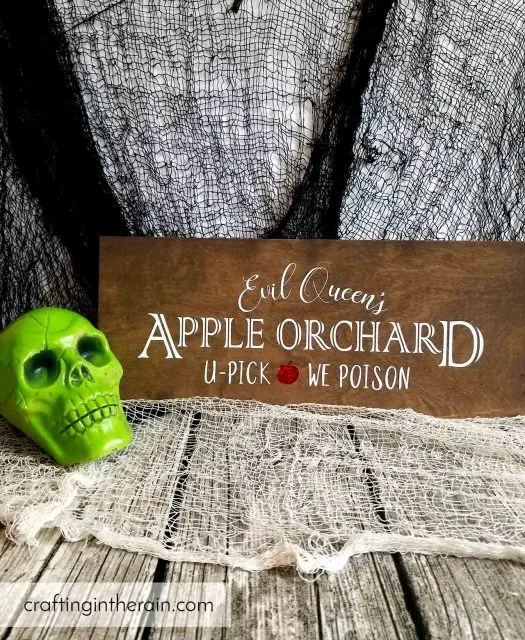
I designed a file to make an apple orchard sign perfect for your Halloween mantel or porch. And I’m so excited about how this turned out! I haven’t done much in the world of SVG creation yet – but working on this one makes me want to try it a lot more. (some links are affiliate)
Download the SVG at the bottom of the post.
How to upload the Queen’s Apple Orchard SVG to Cricut Design Space
Open Design Space and start a new project. Click the Upload button in the left sidebar of the canvas screen and find the SVG you just downloaded. Save it in Design Space then it will appear in the recent uploads. Click on it, and then click “Insert images.”
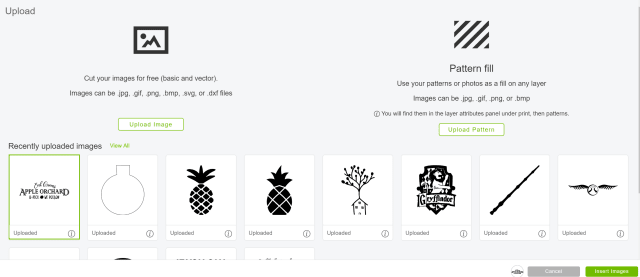
Resize the file for the size of your project. Since some of the font lines are so thin, I recommend cutting this to be at least 5 inches tall – feel free to go bigger! If you want to change the color of the apple, simply use the contour tool.
Not sure how to use the contour tool? Don’t worry, it’s easy! You will first want to duplicate the file so you have two on your canvas. Select one, then click the contour button on the bottom right of the screen. Scroll to the bottom of the pop-up and click “Hide all contours.” Then click on the apple so that line reappears.
Cut the words using white iron-on (remember to MIRROR) and place the vinyl shiny side down on the mat.
Cut the apple using your second color – I used red holographic iron-on. Again mirror, and use the Custom Materials search to choose holographic iron-on.
Weed out the extra vinyl.
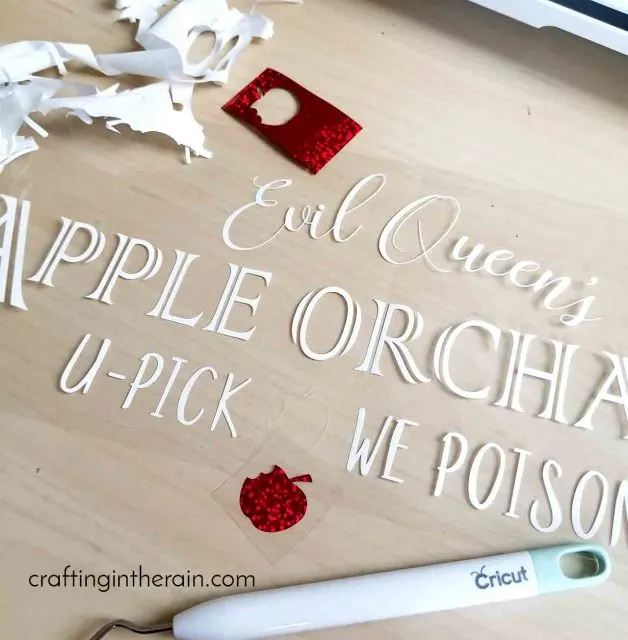
If you are using untreated wood, you may iron it on now. If your wood is stained or painted, these tips worked for me:
How to apply iron-on vinyl to stained wood
1 – Let the stain dry at least 24 hours, paint should dry 2-3 days.
2 – Remove any excess moisture from the base by placing a piece of plain copy paper over the wood, then pressing the EasyPress (at 300) for about 30 seconds.
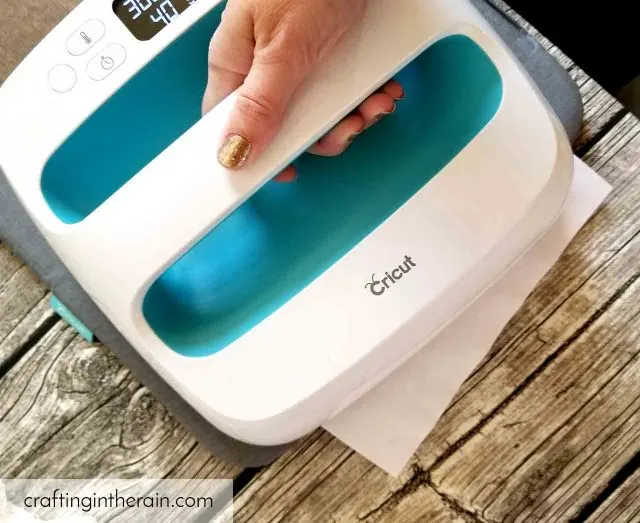
Then move the paper down the wood and repeat until the wood has all been heated. You can see on my paper, this was drawing out some of the stain.
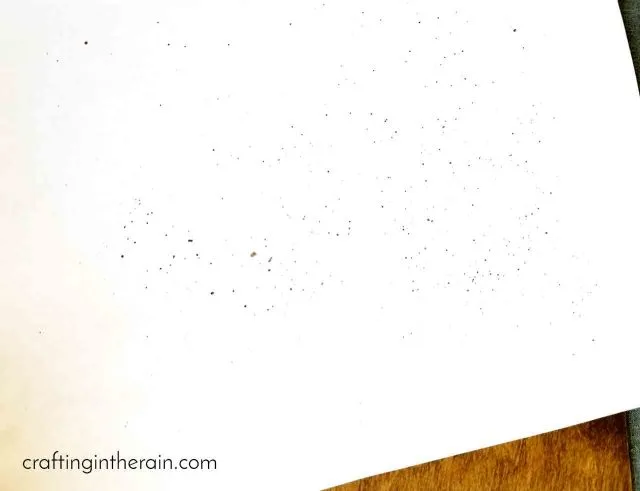
Great! I want it to transfer to the paper, and not mess up my iron-on. Let cool before moving to the next step.
3 – Cover the project with a teflon sheet or parchment paper to protect the wood. Set EasyPress to 300 degrees and 40 seconds. Press entire design.
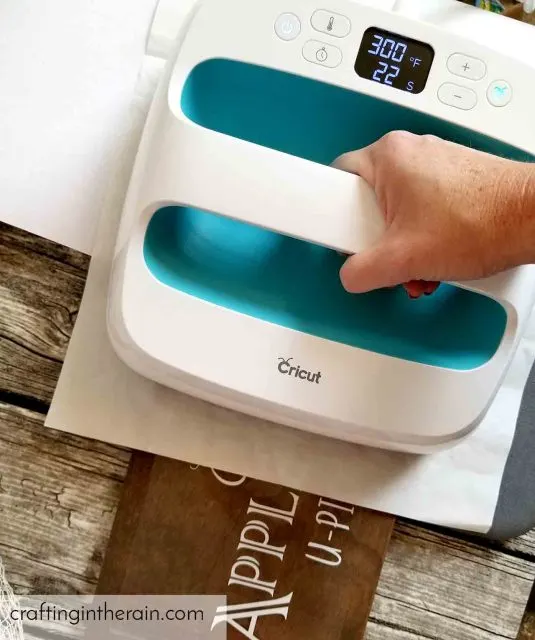
4 – After the iron-on has been pressed on the wood, don’t remove the carrier sheet right away. Use a scraper tool to lightly press over the entire design.
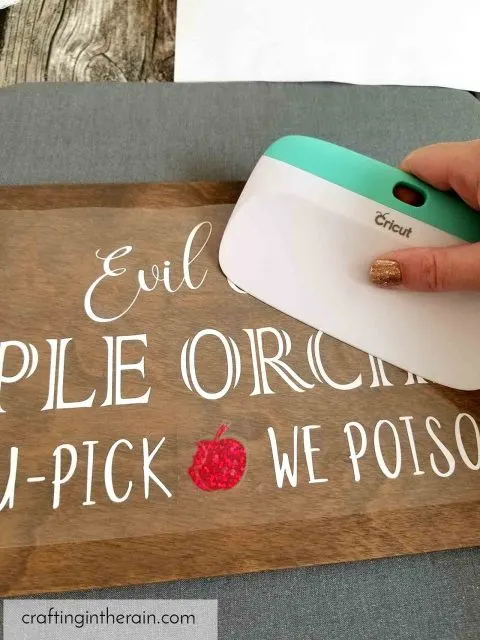
Then wait for the vinyl to cool before peeling the plastic away. Normally, this would type of iron-on would be a “Warm peel,” meaning you remove the plastic while everything is still warm – it’s just cooled enough for you to touch the corner and peel it up. I found though, that the iron-on was starting to come up with it, and when I waited for it to cool, it worked much better. Again, since this wood is stained.
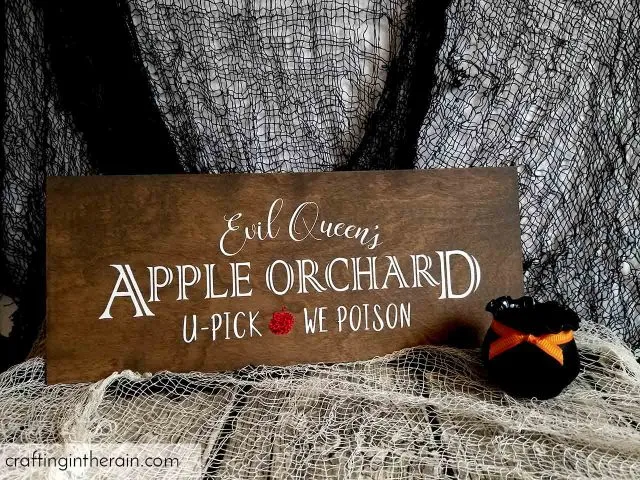
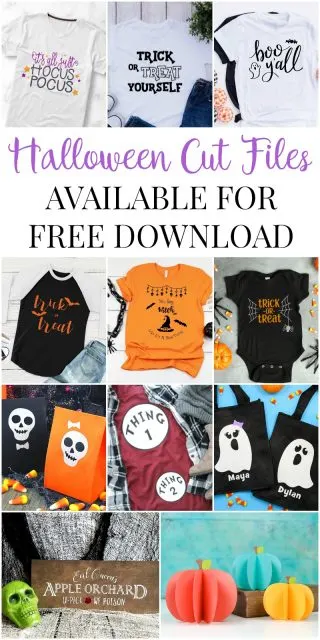
If you love the evil queen’s apple orchard sign, be sure to visit these other posts for more free Halloween SVG files. You might also like this Neon Halloween party created all with the Cricut Maker.
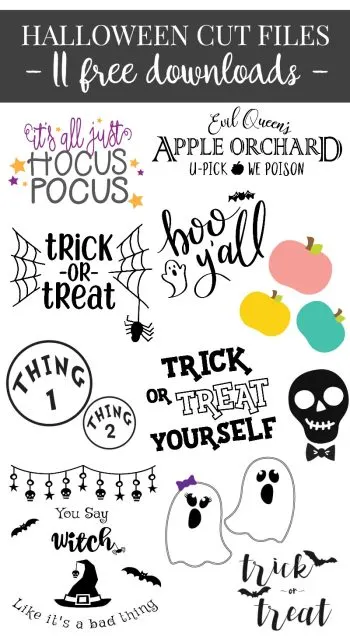
- It’s All Just Hocus Pocus – The Simply Crafted Life
- Treat or Treat Spiderweb – Happiness is Homemade
- Thing 1 & Thing 2 – The Country Chic Cottage
- Girl and Boy Ghosts – That’s What Che Said
- 3D Pumpkins – Hey Let’s Make Stuff
- Queen’s Orchard – Crafting in the Rain
- Boo Y’all – Pineapple Paper Co.
- You Say Witch Like it’s a Bad Thing – Hello Creative Family
- Skeleton Skull – 100 Directions
- Trick or Treat – Everyday Party
- Trick or Treat Yourself – Brooklyn Berry Designs
NOTE as of Aug 2019: This Apple Orchard SVG is for Personal Use only. To use this file to make items to sell, please purchase a limited commercial license for $3 to sell up to 500 items with this design.
Don’t miss these other Halloween SVGs:
Disney Villain SVGs
Happy Haunting
Halloween SVGs 2019
SUPPLIES FOR USING SVGS
- Cricut Explore or Cricut Maker or Cricut Joy or Silhouette machine (for cutting the vinyl)
- Weeding tools (for removing extra vinyl)
- Iron-on vinyl (for shirts and totes)
- Stencil vinyl (for painting)
- EasyPress (for using the iron-on vinyl)
- Adhesive vinyl (for signs)
- Printable sticker sheets (for making stickers)

Paula Stone
Sunday 12th of September 2021
Super excited for this design to add to my Halloween decorations around my home!
Carol
Thursday 9th of September 2021
Cute
Rachel
Thursday 2nd of September 2021
Hi. I am having a problem seeing where to download the evil queens SVG file also
Kaitlyn
Monday 14th of September 2020
Neverminddd.
Kaitlyn
Monday 14th of September 2020
Did I miss the download here button? I saw it was to be at the bottom?? I signed up on the newsletter but i didn't get a copy.