(Disclosure where I tell you that some of these links are affiliate links–thanks for helping out my blog when you make a purchase!–and, this post is sponsored by Expressions Vinyl)

At SNAP conference last month I won a whole pack of vinyl from Expressions Vinyl. One of every color! I split the sheets up with my roommates, making sure to grab some that I knew were my kids’ favorite colors.
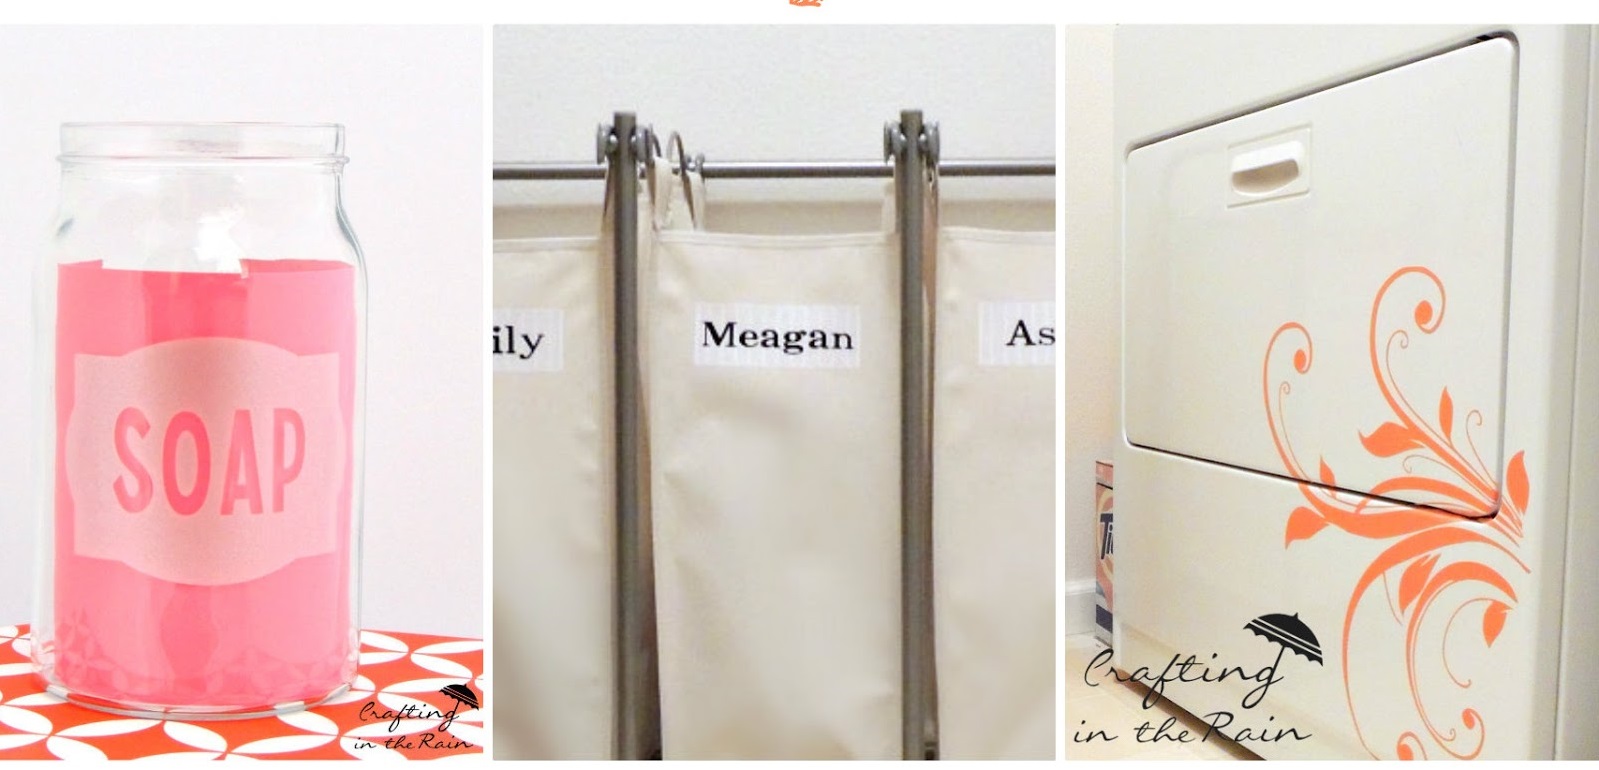
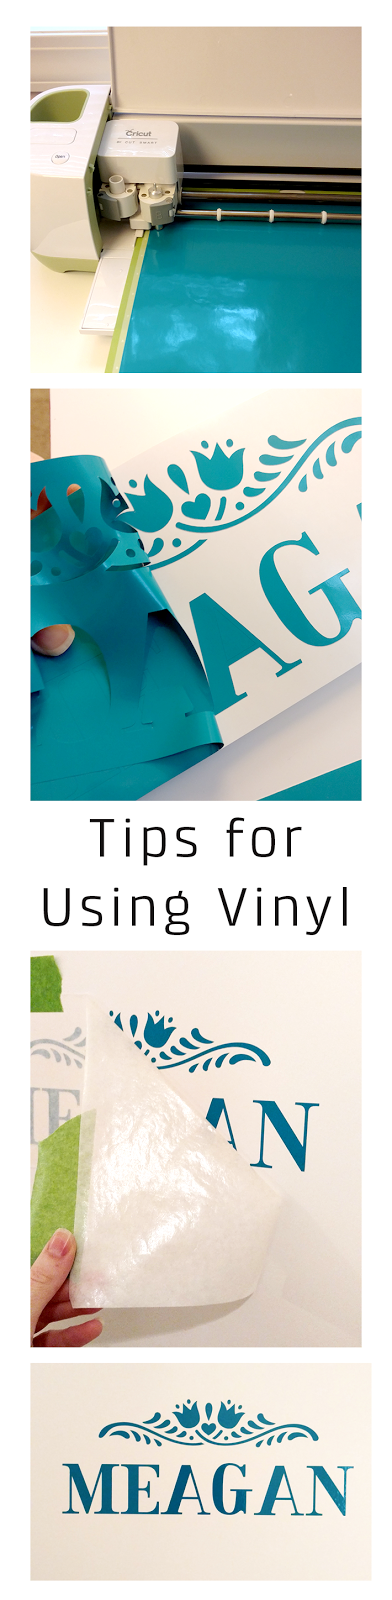
As suspected, Emily chose purple, Meagan wanted teal and Asher picked red. Then I had them help with the actual design too. I made all of these in Cricut Design Space.
Simple steps for applying vinyl.

1: Design and cut your image (on the Cricut Explore or Air or Maker, with the cut setting on vinyl).

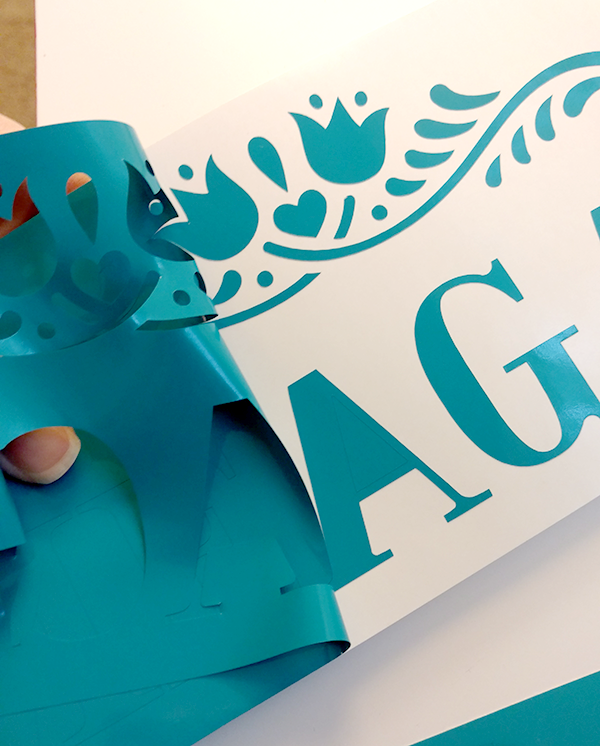
2: Weed out the extra vinyl.
TIP–if I’m pulling off a large piece I cut it periodically with scissors. If I end up working with a pieces that’s too big it can accidentally stick to part of the vinyl I want to keep, and pull it up.
3: Apply transfer tape.
![]()
![]()
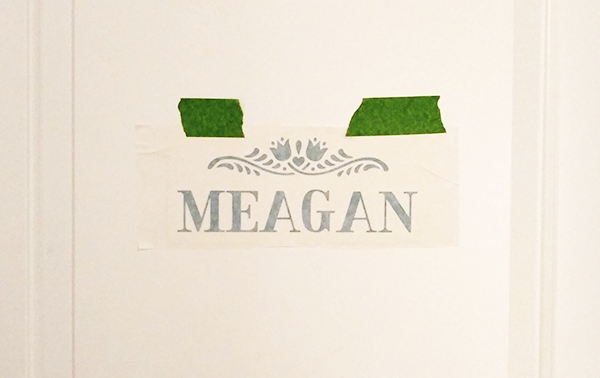
4: Position on the door with some painters tape. Check that it’s level, centered, etc.
5: Rub to stick transfer tape well to the vinyl.
6: Using the painter’s tape as a hinge, lift the vinyl up and peel away the backing.
7: Carefully swing the vinyl back down–the tape has kept it in the right place.
8: Press vinyl down to stick.
TIP–start pressing from the top middle and work your way down and out. This keeps wrinkles from forming.
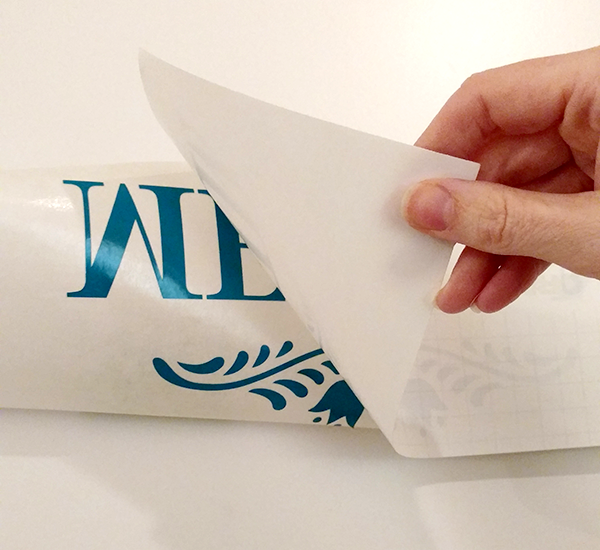
9: Pull off the transfer tape and a pretty sharp angle. If any of the vinyl comes up with it, rub it down again and pull the tape off.
![]()
![]()
And there you have it, totally customized door signs for each of my kids rooms. Maybe this will start to inspire me to get working on decorating their ACTUAL rooms, you know, before they move out for college or something (the oldest is 12 🙂

Have you done any decorating on your kids’ doors? Leave me a link in the comments or share a picture on my FB page. I’d love to see!
If you want the droid SVG files, visit this post where I made Star Wars Shirts, and you can get them there.
Now, go buy some vinyl and get making!
MORE POSTS ABOUT VINYL

elaine @cookinandcraftin.com
Tuesday 7th of June 2016
Very creative!! Thanks for sharing on my 2 favorite Things on Thursday - link Party! Hope to see you again! Pinned!!