Learn how to make a cookie jar gift with xTool F1 glass engraving. xTool sent me a machine to use and all opinions are my own.
I wanted to use the xTool F1 laser for several steps of making this cookie jar gift.

Supplies
xTool F1
Wood spoon (I used one from Ikea)
Kraft paper
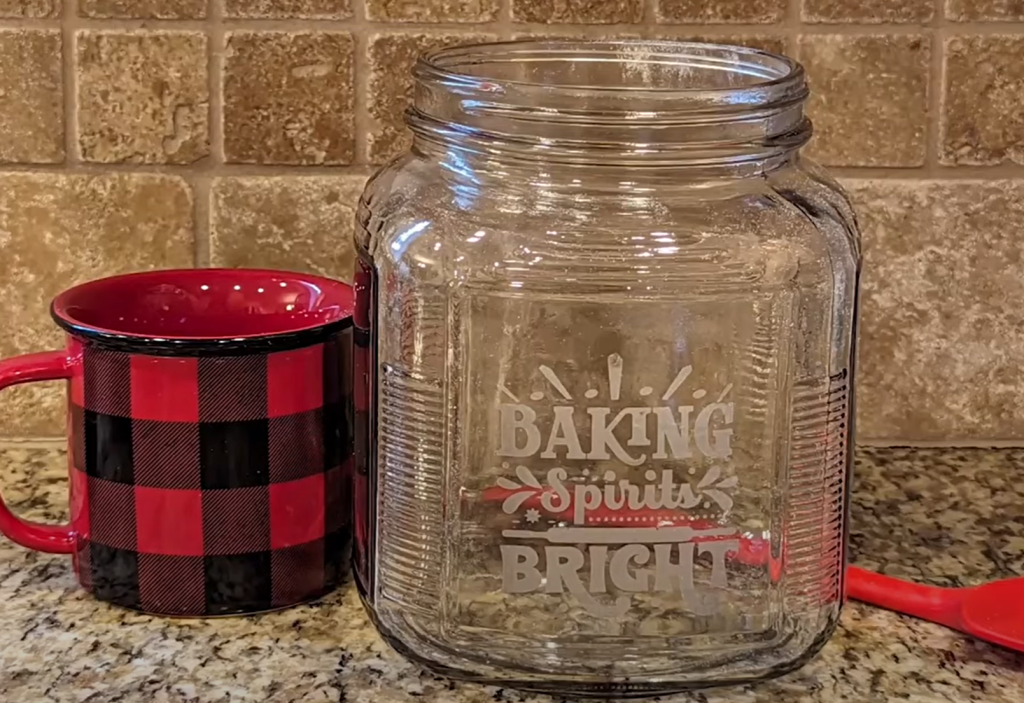
Glass jar
Black tempera paint or chalk paint
Foam brush
Ingredients for cookies in a jar (I used this one and doubled it to fill the large jar I bought)
Ribbon
Make gift tags with xTool F1
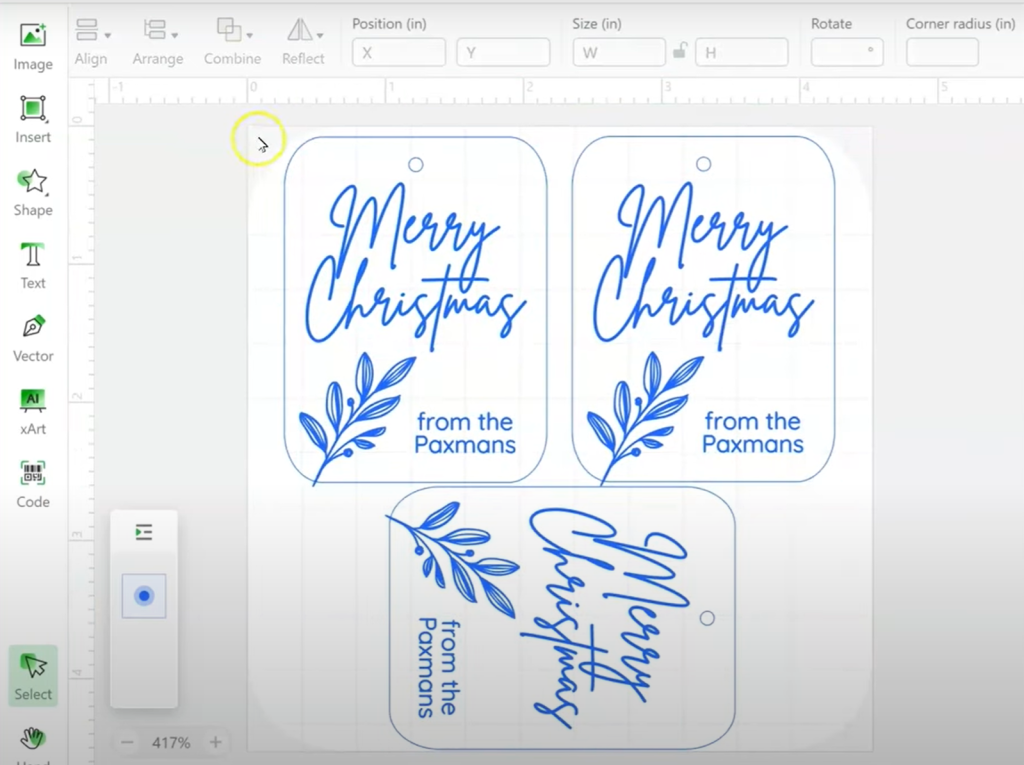
I used the xTool Creative Space program to design tags.
- Add a rounded rectangle shape and change the size to 1.8 inches by 2.5 inches.
- Add a circle 0.3 inches and center it towards the top of the tag.
- Under the Combine menu, click Exclude.
- Add greeting – I used Brittany as the font for Merry Christmas.
- Check the shapes options for a leaf shape or other decoration you like.
- Add signature – I used Quicksand
- Settings to cut Kraft paper with F1: Blue Light, Power 40%, Speed 15 mm/s
- Settings to engrave Kraft paper F1: Blue Light, Power 80%, Speed 225 mm/s

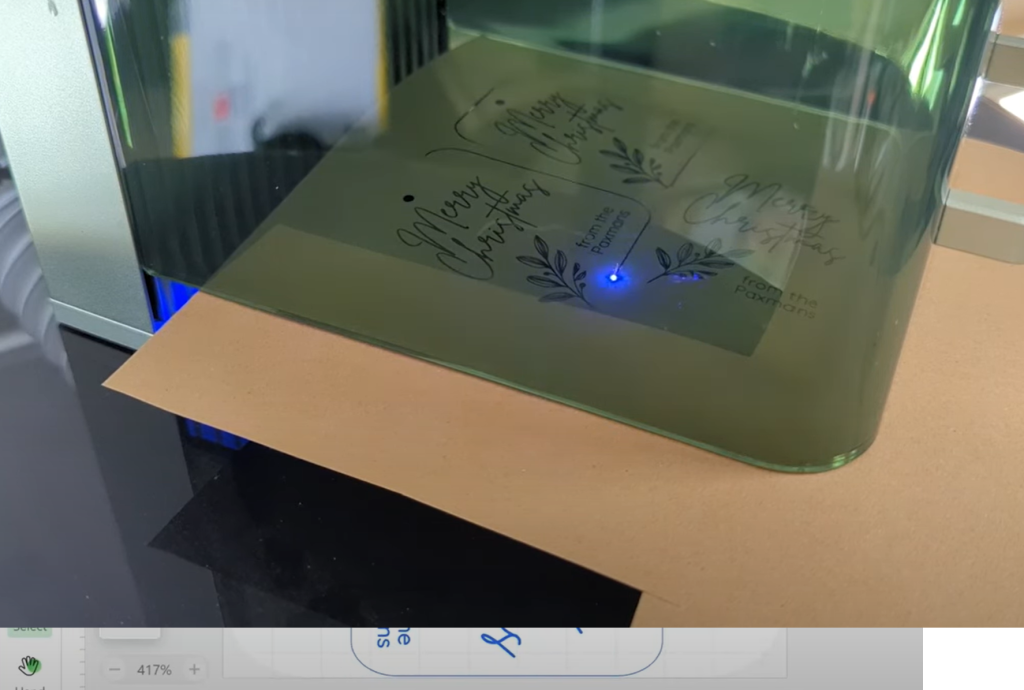
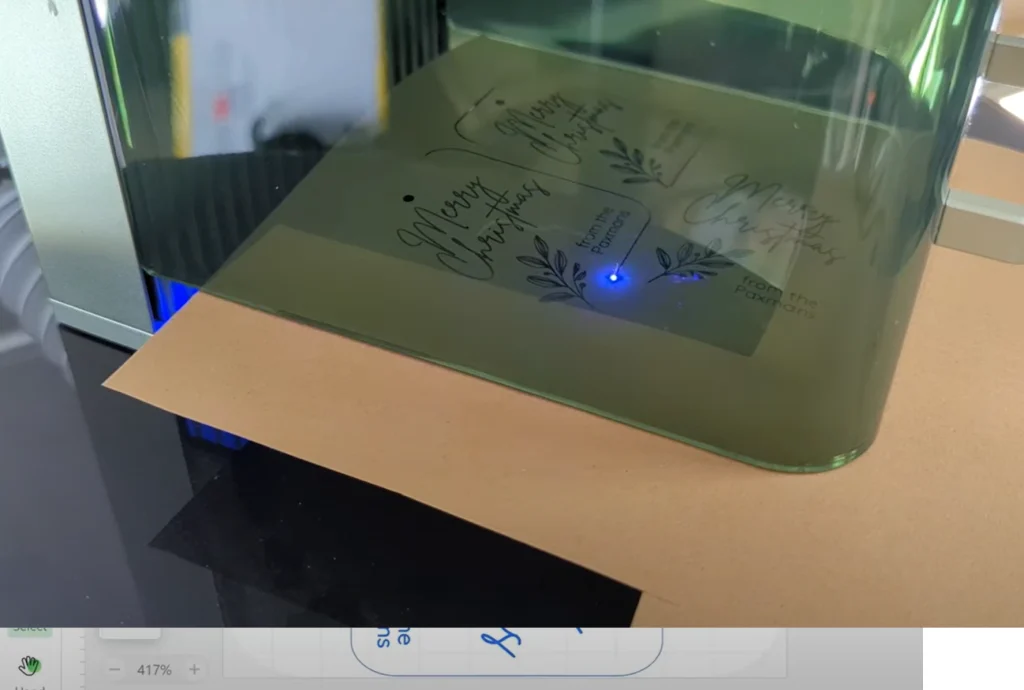
Cut kraft paper on the xTool F1
Set the Cutting Panel in the base of the laser machine. Place paper on the Cutting Panel and lower the green cover. Try to not touch the paper as it can bend the paper. Wear laser safety glasses as the cover won’t be completely closed.
Send the design to process and press the start button on the side of the machine. My guess is you’ll be super impressed with how fast the tags are engraved and cut.
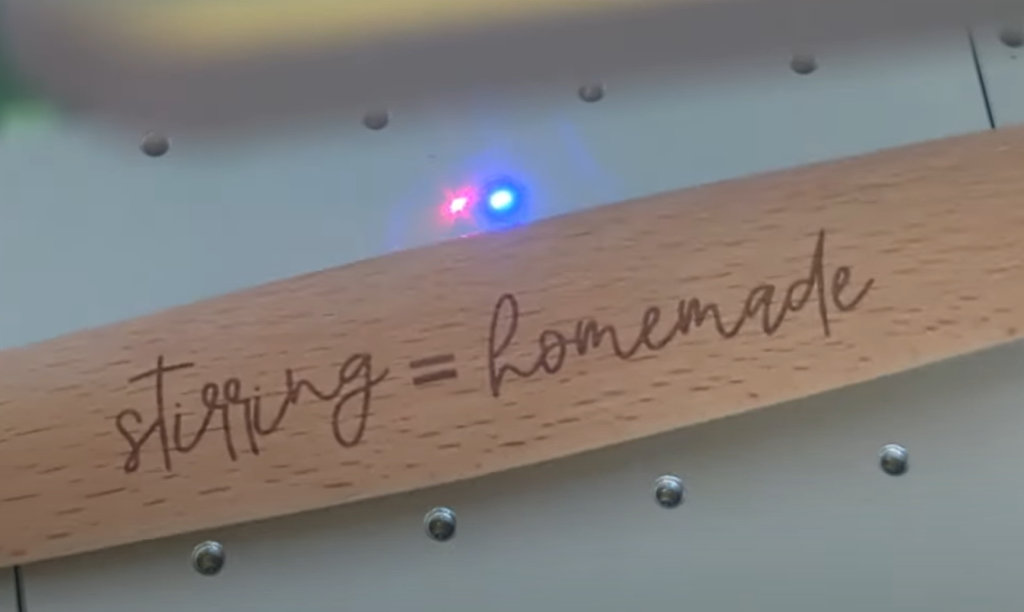
Engrave wood spoon with xTool F1
For the spoon, I picked one with a wide handle so it would be easier to engrave. Narrower handles work, but you have a smaller area, so text may be harder to read.
Measure the spoon area you plan to engrave and resize the file to fit.
Settings for F1 to engrave wood spoon: Blue Light, 100% Power, Speed 300 mm/s, 80 Lines per cm.
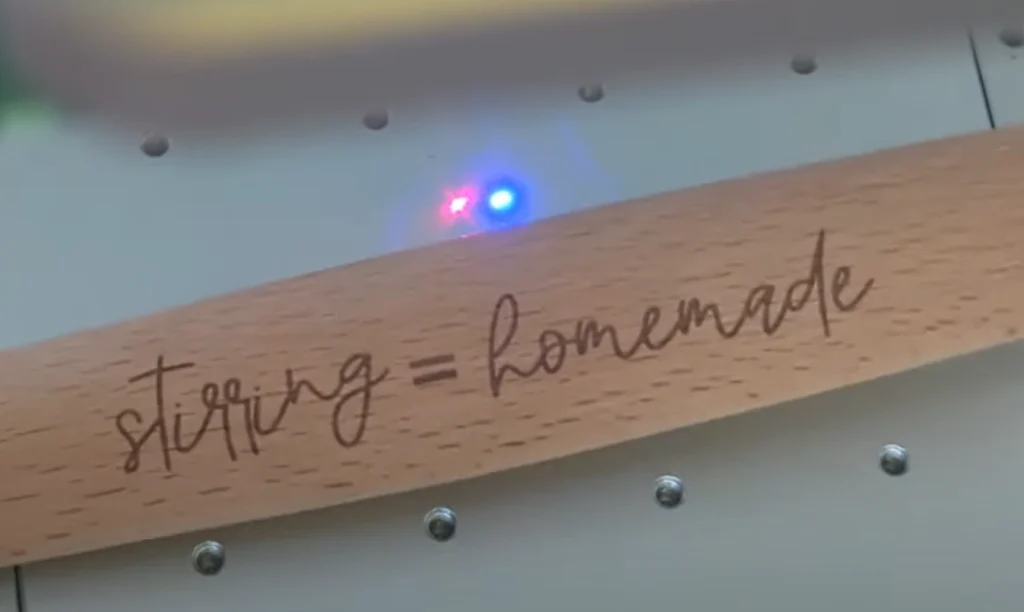
Place the spoon on the laser base, and be sure to test with the framing button to see the rectangle border of where the laser will engrave.
The blue light used for the framing process is safe to look at, so you can have the guard raised while checking the framing. Adjust the position of the spoon or design as needed.
Lower the guard down some, send the design to process, and press the button on the laser.
Engrave glass with xtool F1
Engraving glass takes just a little bit of preparation, but it’s easy to do.
Plain clear glass will let a laser pass right through, so you have to darken the surface for the engraving to work.
One option is to use black engraving paper from xTool. You can also use black tempera paint or black chalk paint. These paints are ideal because they will easily wash off after the engraving process.
I used chalk paint because I found it easily at Walmart. Brush on 3-4 thin coats using a foam brush. I also used a heat gun to help dry each layer.

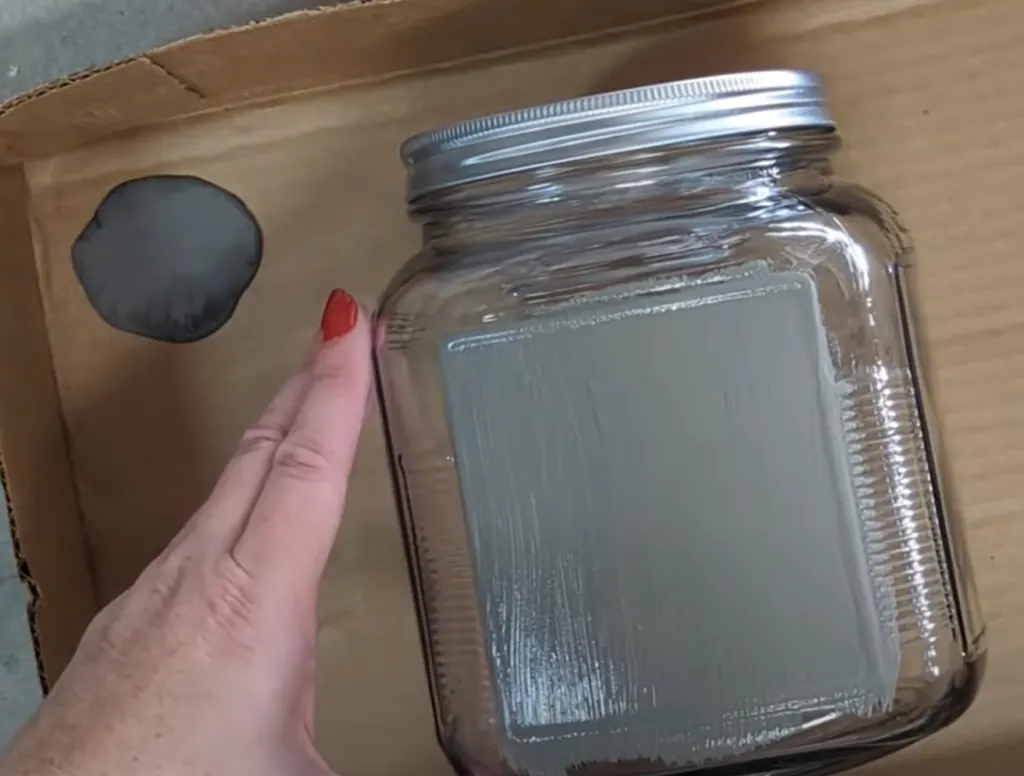
I tried to make the layers pretty even, and with no spots of glass still showing through when I was done.
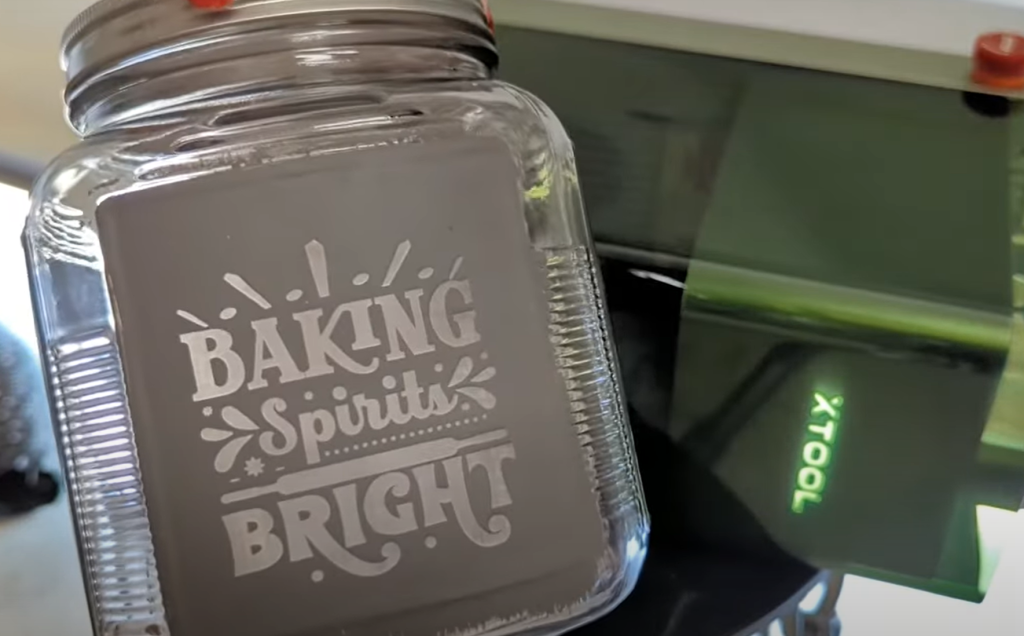
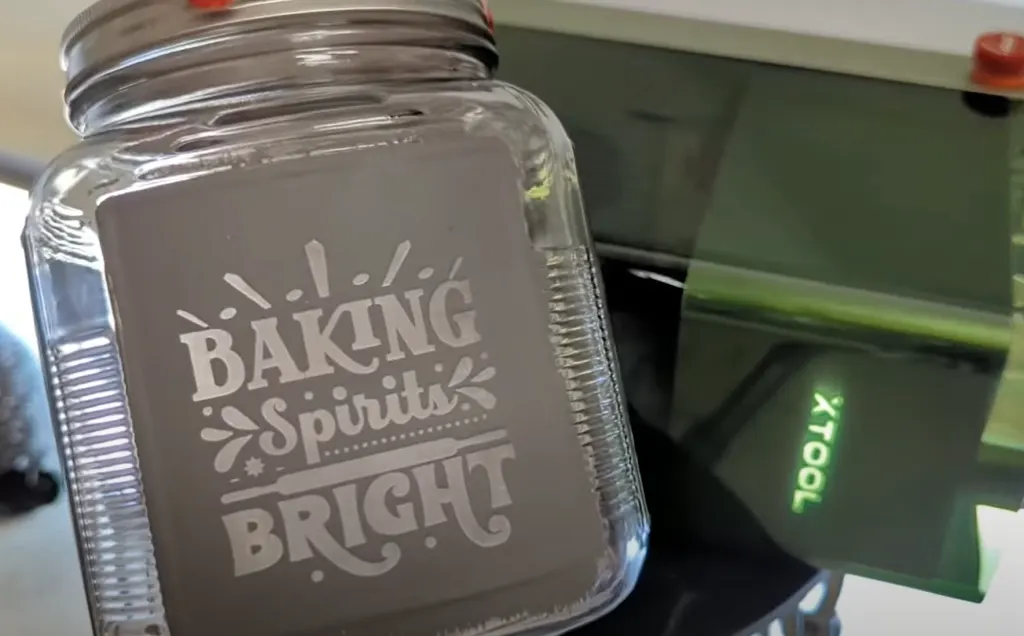
I found a “Baking Spirits Bright” SVG from Creative Fabrica and sized it to fit in Creative Space.
The glass jar was too large to fit under the laser. Even after twisting the knob to raise the laser as high as it would go, the red and blue points still didn’t overlap to focus.
So I took the base plate out and turned the laser on its side. A rig could also be built to raise up the machine and let the laser go through the base.

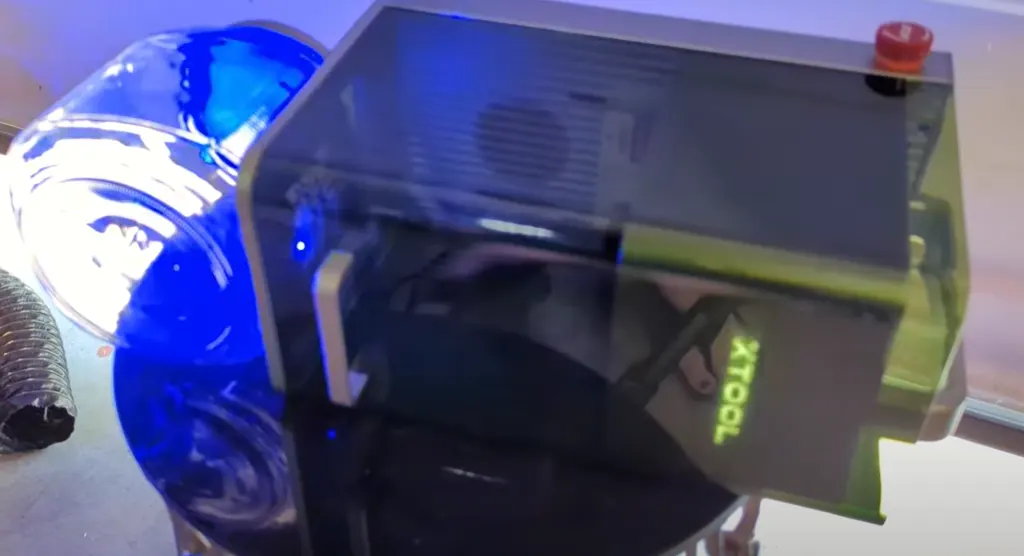
Again, wear laser eye protection here since the laser is just shooting out into your space.
Settings to engrave glass with xTool F1: Blue Light, 100% Power, 80 mm/s, 180 Lines per cm.
After the engraving has finished, run the glass under water to loosen the paint. Then it should come right off. Wipe with isopropyl alcohol if there are any stubborn areas.
Then it’s time to combine all these lasered pieces! Fill the jar with a cookie recipe made for “jar cookies.” Be sure to print out the instructions for the recipient (the other ingredients they’ll need to add, usually soft butter, egg and vanilla, plus baking info.)

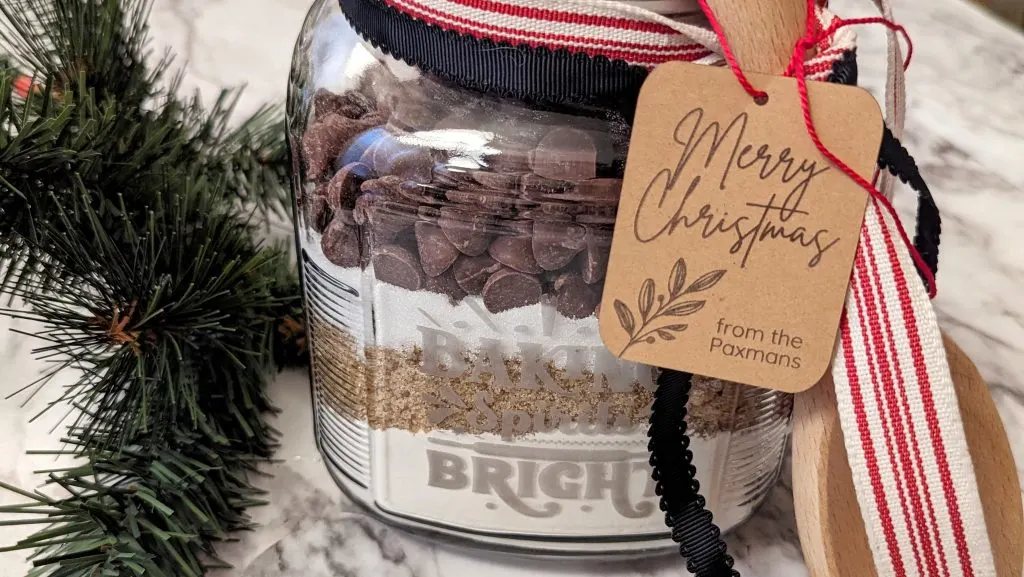
Secure the spoon to the lid with a large rubber band. Then tie around some decorative ribbon and add the gift tag.
Then it can continue to act as a cookie jar in the kitchen!
Let me know if you have any questions about the way I used my xTool F1 laser to engrave glass, or make any other part of this cookie jar gift.
Tami
Saturday 25th of November 2023
Can you engrave full liquor bottles with the x tool f1