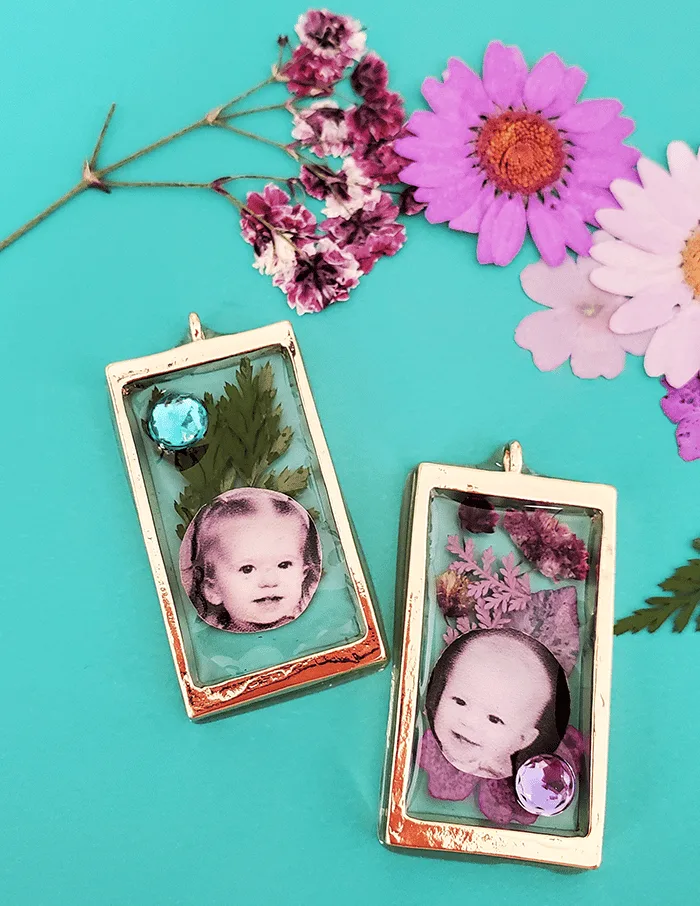
Combine a treasured photo, dried flowers, and resin, to make some beautiful and custom resin photo pendants.
This post originally appeared on Resin Crafts Blog

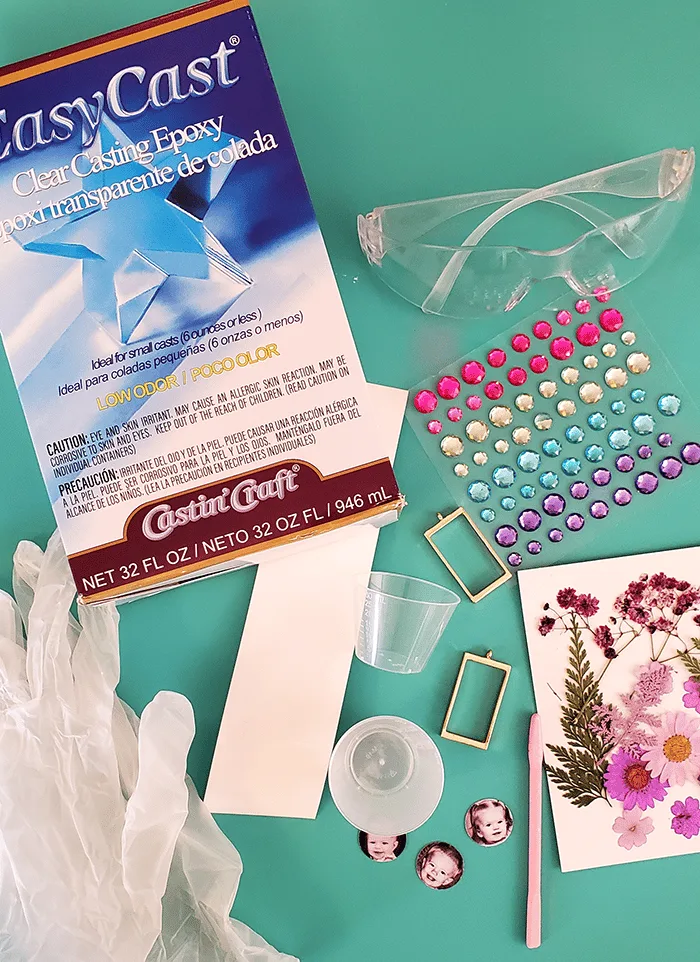
Supplies for Epoxy Photo Necklace:
- EasyCast Clear Casting Epoxy
- OR UV resin and a UV curing lamp
- Black and white photo
- Resin Spray Sealer
- Gem sticker in birthstone color(s)
- Pressed flowers
- Open back bezel
- Resin tape to seal the back of the bezel while curing
- Cups and stir sticks
- Gloves and glasses
- Tweezers

Make photo for resin
Start by prepping the photo you will use. I, of course, recommend not cutting up an original photo, but making a black and white copy, or easily printing a black and white version on your home printer.
You can also use a color photo – I just liked the simplicity of black and white here while adding other colored elements.
I used the Print then Cut feature on my Cricut, cutting them to just the right size. You can also hand cut, or cut with a paper punch. My circles are about 0.6 inches across.
Whatever method you use, you’ll need to seal the photo before adding it to the resin. Otherwise, the printer ink may bleed, or the resin could seep in the edges and cause discoloration.
See this post for how to prep paper for resin.
I used the resin spray sealer method. Since it’s the ETI brand, I know it’s been tested to work under cured resin.
What resin to use for pendants
While the photos dried, I poured the first thin layer of epoxy on the pendant.
I chose to use ETI EasyCast for these pendants because it is good for castings up to 3/8 inch deep. That was perfect for the pendants I had, and I knew I could layer the pours. The pours are high gloss and really pretty for jewelry. Envirotex Jewelry Resin will work as well.
I’m also adding a plug here for UV resin! It cuts down the project time considerably, because the resin will cure under the lamp in about 2 minutes, instead of waiting a whole day!
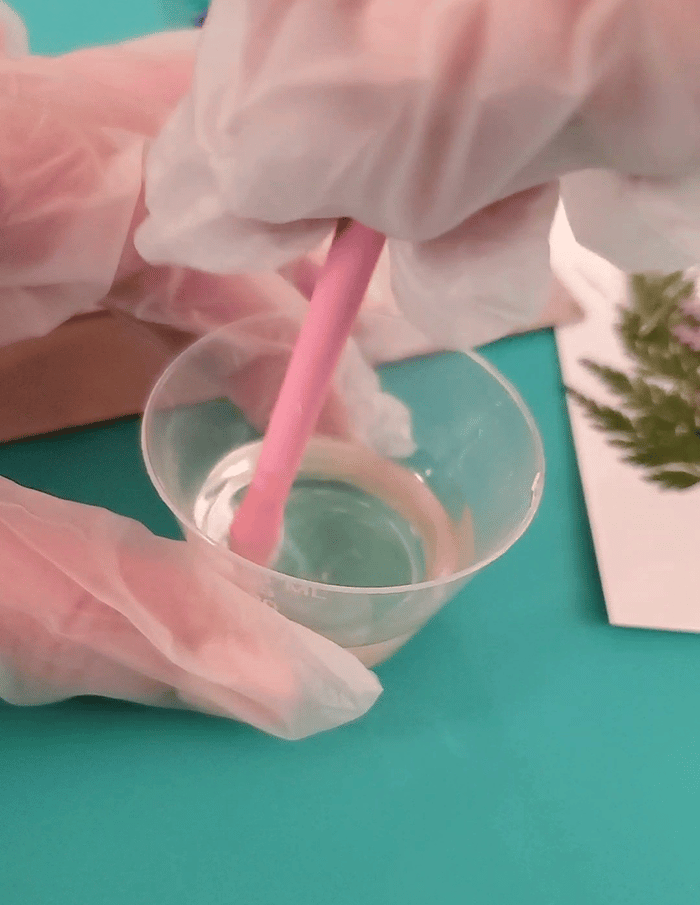
Mix 7.5 ml each of resin and hardener and mix according to package instructions. Wear gloves and glasses to protect eyes and skin. Stir for 2 minutes in one cup, then transfer to a clean cup to stir for another minute.
Press hollow bezel frames down on a piece of tape (sticky side up) to create a seal on the bottom.
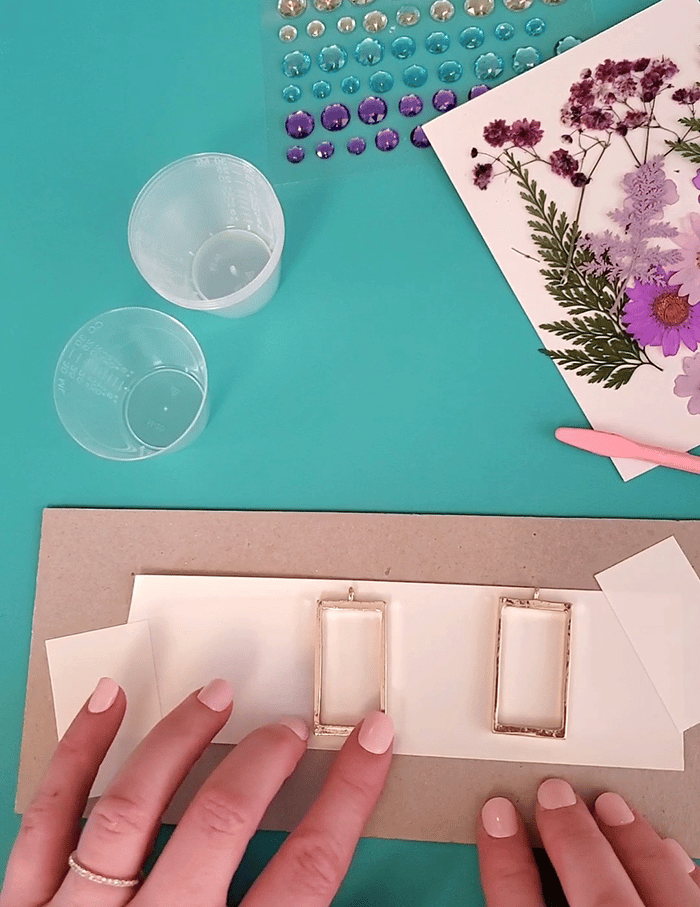
Pour just enough resin to fill in the bottom of the frame and touch all the edges and corners. Use a stir stick to drag resin to the edges.

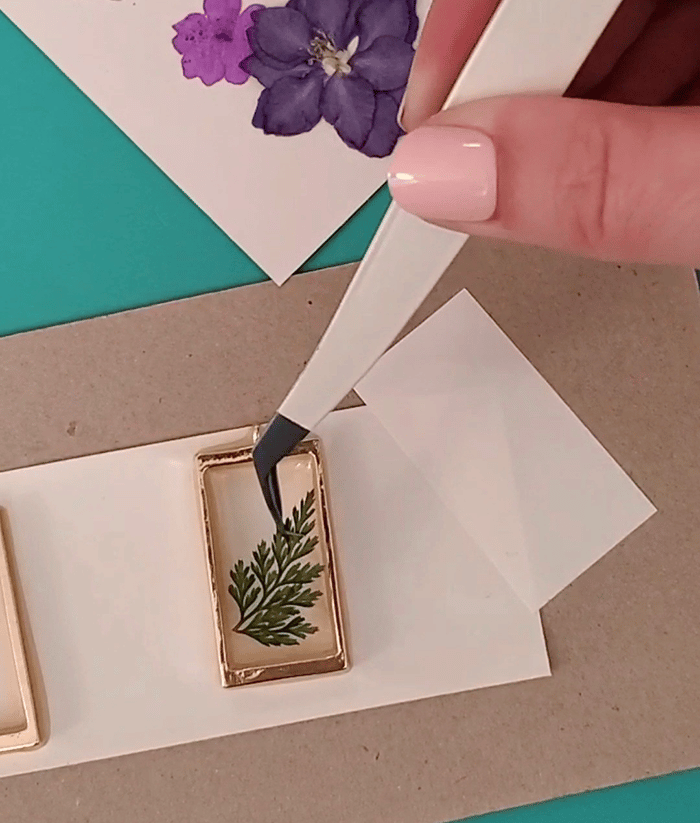
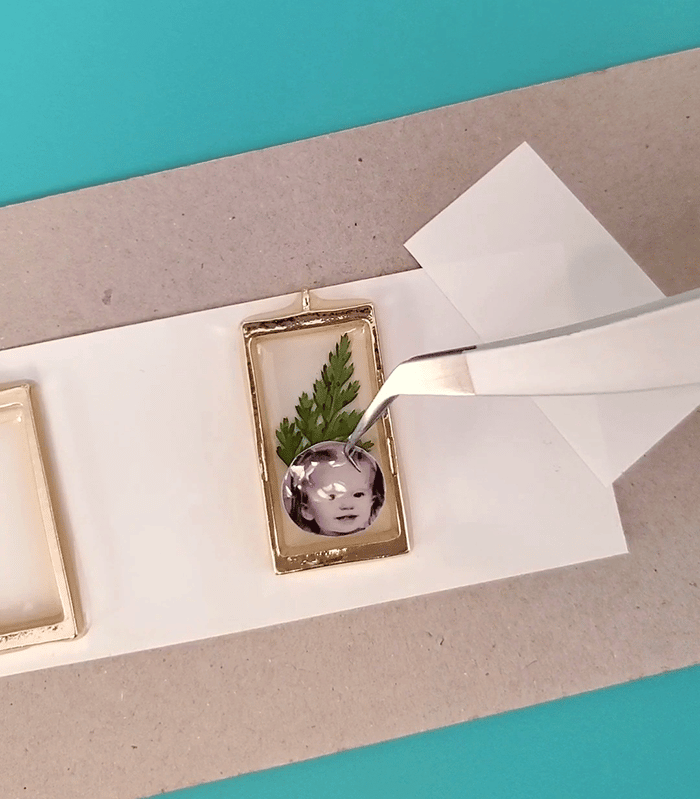
Let cure for at least 12 hours, then position the photo, and anything else (glitter, flowers, etc) into the bezel. Don’t add the gem yet.
Mix more resin – Pour a thin layer carefully over the pendant to cover the photo and inclusions. Remove any air bubbles by blowing or passing a heat gun over the surface. Check back often during the first 15 minutes as the glitter or flowers you added may incorporate small bubbles.
Cure 12 more hours and mix another small amount of resin. Add a very thin layer over the pendant and place the birthstone color sticky gem where desired.

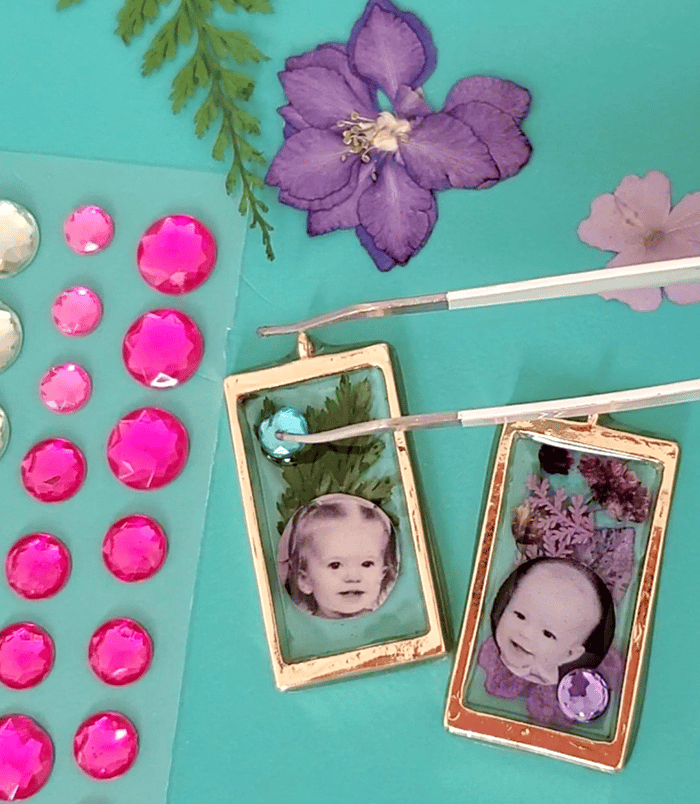
You don’t want the gem covered with resin but just sealed to the pendant with that thin layer of resin on top. This lets the gem sparkle better than being embedded.
Let cure 24 hours and then peel away from the tape. If any resin managed to seep out the edges, you can carefully scrape it away with a craft knife.
Here’s a benefit of the UV resin too – it’s a little thicker, and cures fast, so there’s not so much time for it to leak.
For a full cure, wait two more days. Because of the thin layers, the resin can take longer than a single deeper pour.
These pendants make great keepsakes for yourself, or you can give them as gifts. really perfect for Mother’s Day or Christmas!