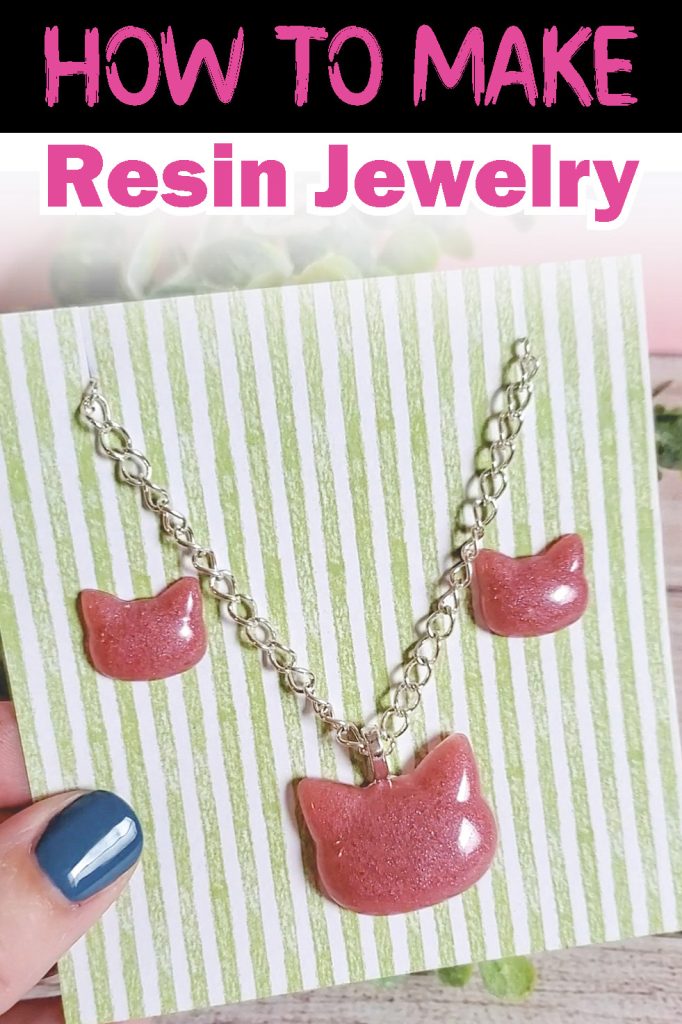
Getting started with resin
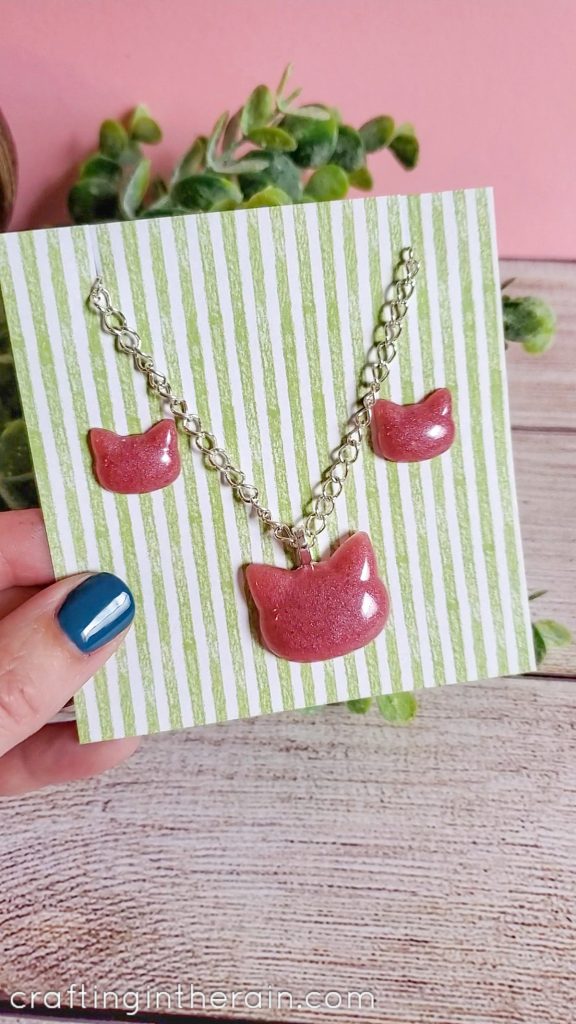
Today I’m talking about how to make s simple resin cat earrings and necklace set.
Jewelry is a great beginner resin project. You don’t need large amounts of resin, you can easily experiment with colors, and it’s easy to get rid of bubbles in small molds.

Supplies for resin jewelry
- casting resin
- silicone molds
- mica powder
- cups and stir sticks
- earring posts
- necklace bail and chain or ribbon with clasp
- Gem-tac glue
- gloves and glasses
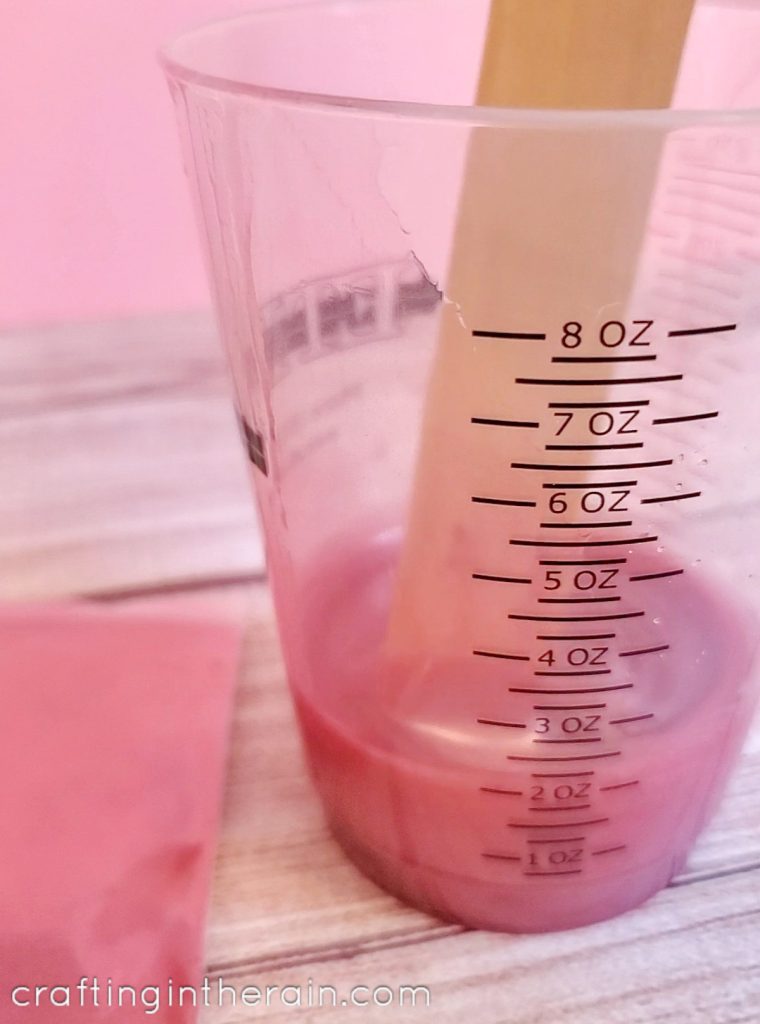
Mixing resin for jewelry
- Protect work surface with plastic or poster board. Wear glasses and gloves and work in a room with good ventilation.
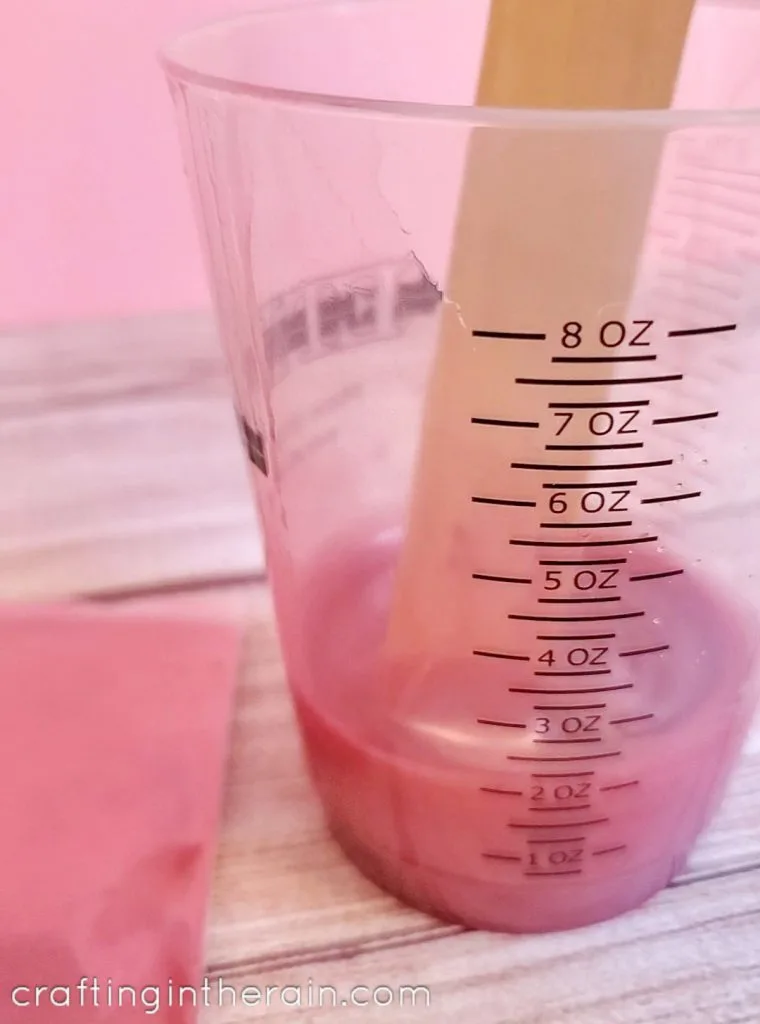
- Use measuring cups to pour equal amounts of resin and hardener. Stir for 2 minutes, being sure to scrape sides and bottom.
- Pour into a new mixing cup and stir for an additional 1 minute.
- Add a small amount of mica powder, or liquid resin dye.
Here’s a great post for learning how to color resin.
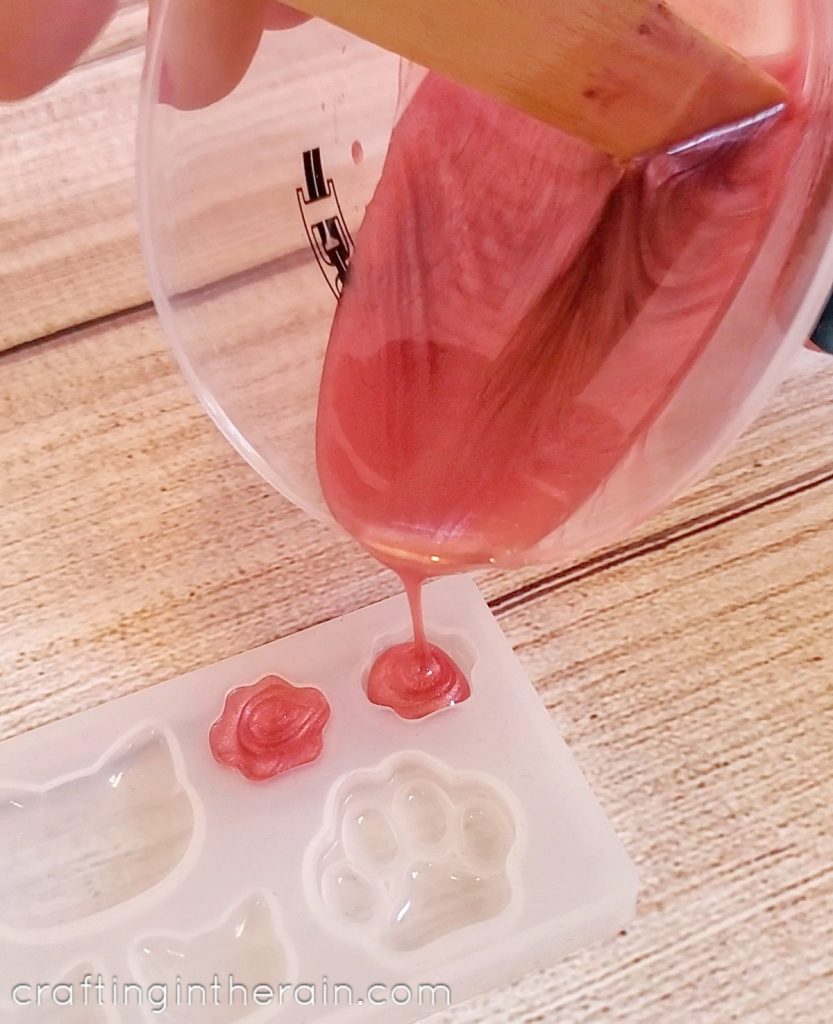
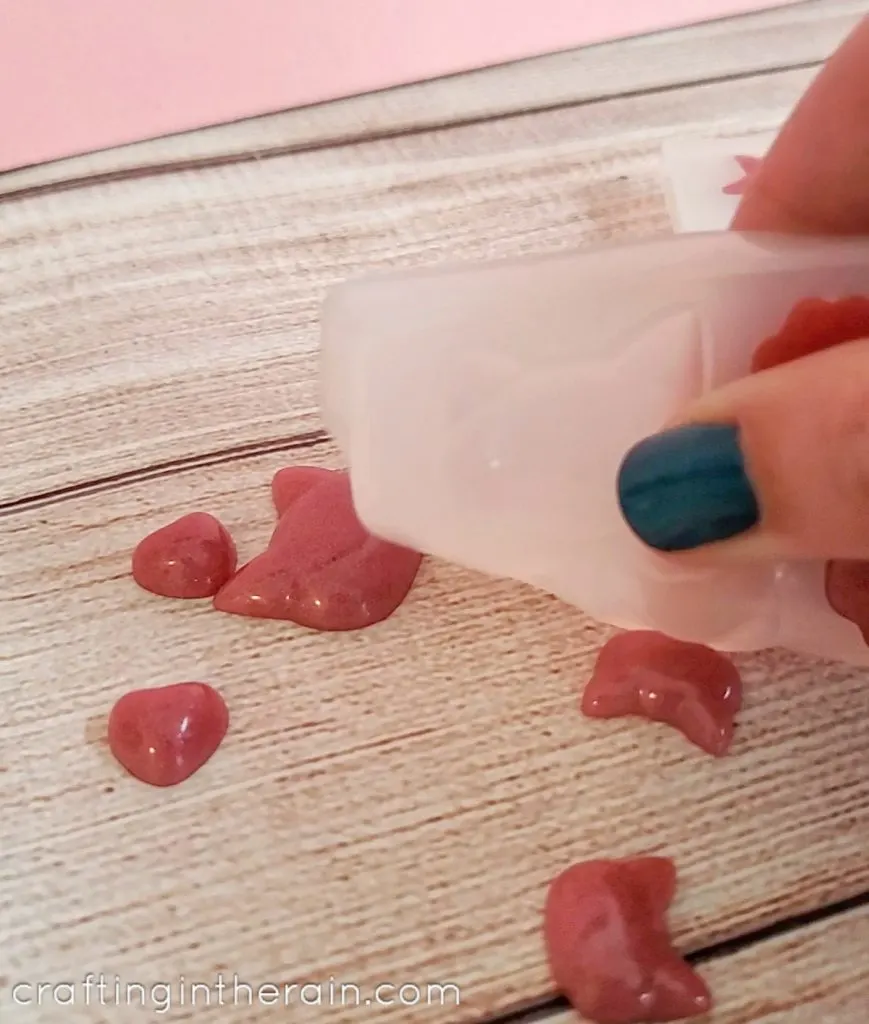
Pouring small resin molds
- A hard mold should be sprayed with mold release and allowed to dry. (Flexible silicone molds will be fine without it.)
- Pour resin slowly to not overfill the mold. Try to get it right up to the top though so you don’t have a sharp edge as the resin cures.
- After a couple of minutes, exhale across the top, or quickly pass a heat gun over the resin to pop bubbles.
- Let resin cure at least 24 hours.
- Pop out from the molds.


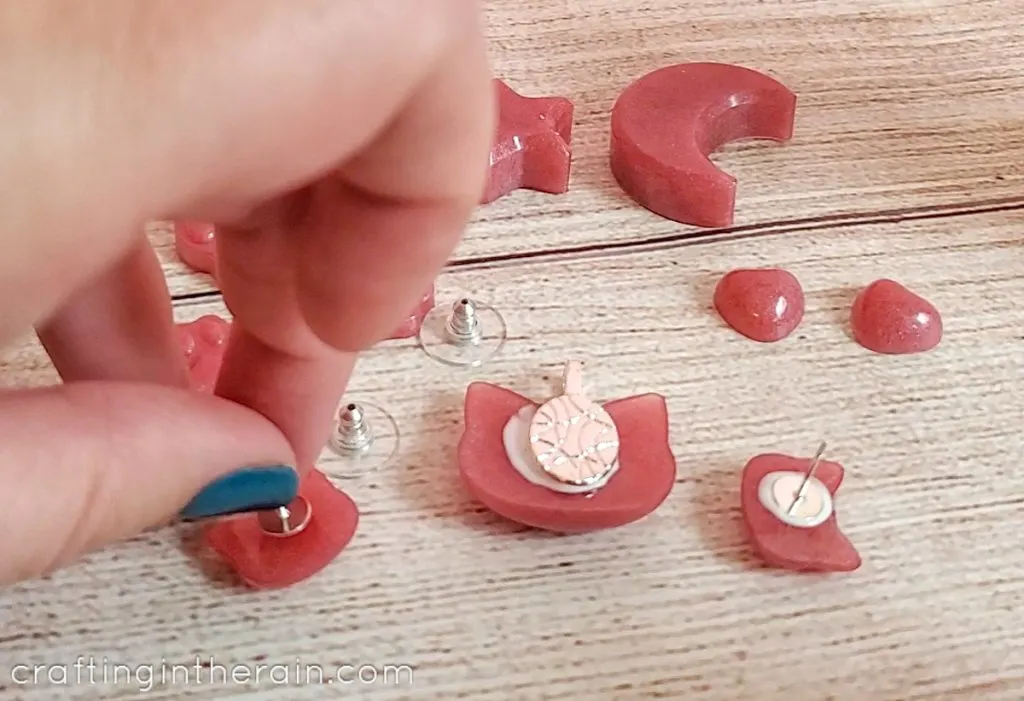
Making Jewelry with Resin Molds
- Use a small dot of Gem Tac on the flat part of the earring post.
- Place on the back side of the resin cat earrings.
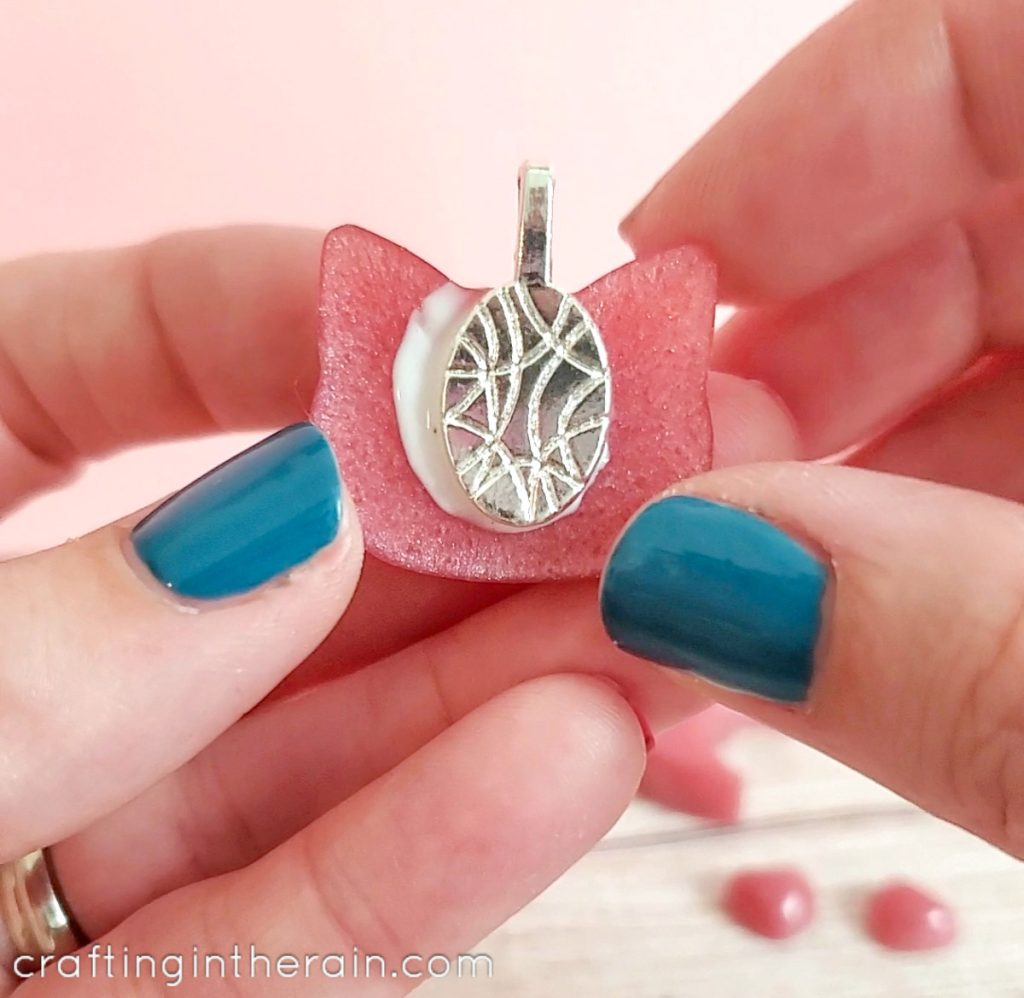
- Glue the necklace bail to the back of the necklace resin piece.
- Let glue dry overnight and then add the necklace chain.


Watch this video for another quick walkthrough of the project.

And here’s another fun project that doesn’t require much resin – resin heart in state shape.
How to Color Resin for Jewelry - Globe Echo
Friday 14th of January 2022
[…] ↑ https://craftingintherain.com/resin-cat-earrings-and-necklace/ […]