I’ve had the fun chance to make several onesies lately – here’s the newest! I made a layered vinyl onesie using an image from Design Space.
This collection is called “Flower Love.”

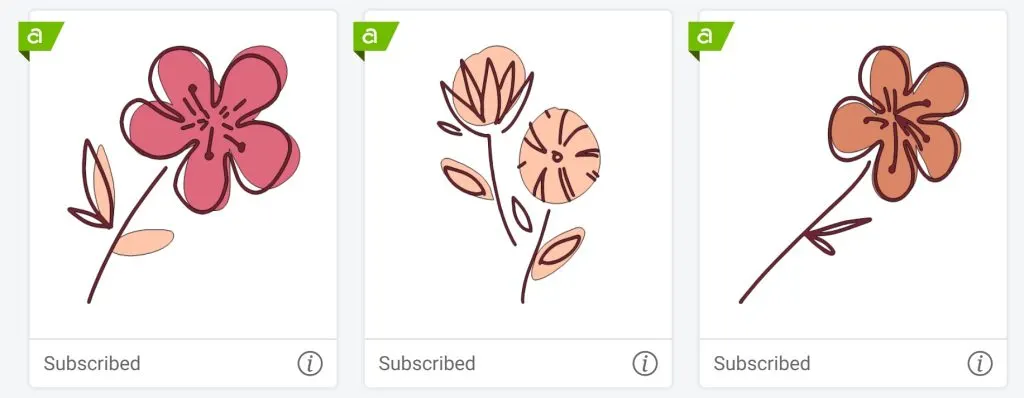
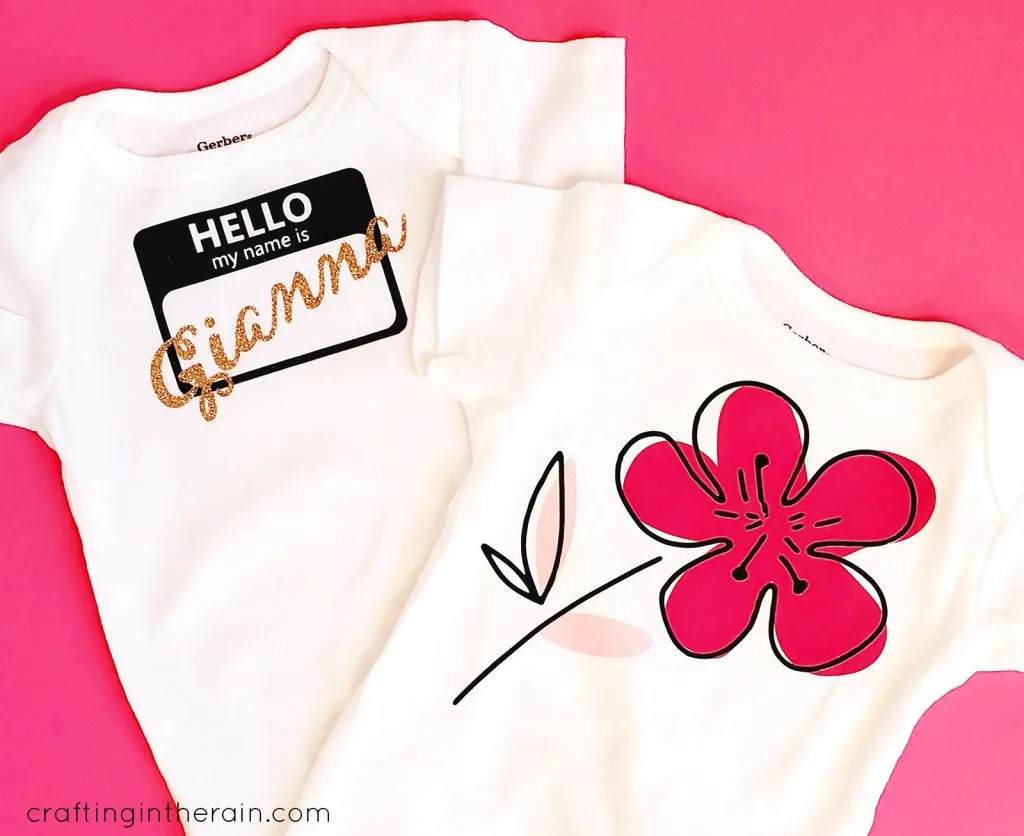
There are 10 images total, and if you have Cricut Access, you can cut them for free. You can see there is a colored background with a top detailed layer. I used the image on the left to make a cute baby gift.
Supplies needed- Baby bodysuit or t-shirt
- Cricut Explore or Maker
- Iron-on Vinyl – Black, light pink and dark pink
- EasyPress 2
- Easy Press Mat
- Weeding tools
Reference this post for lots of great tips for using iron-on vinyl
Choose your favorite layered flower in Design Space. Measure the shirt or onesie and resize the design as needed.
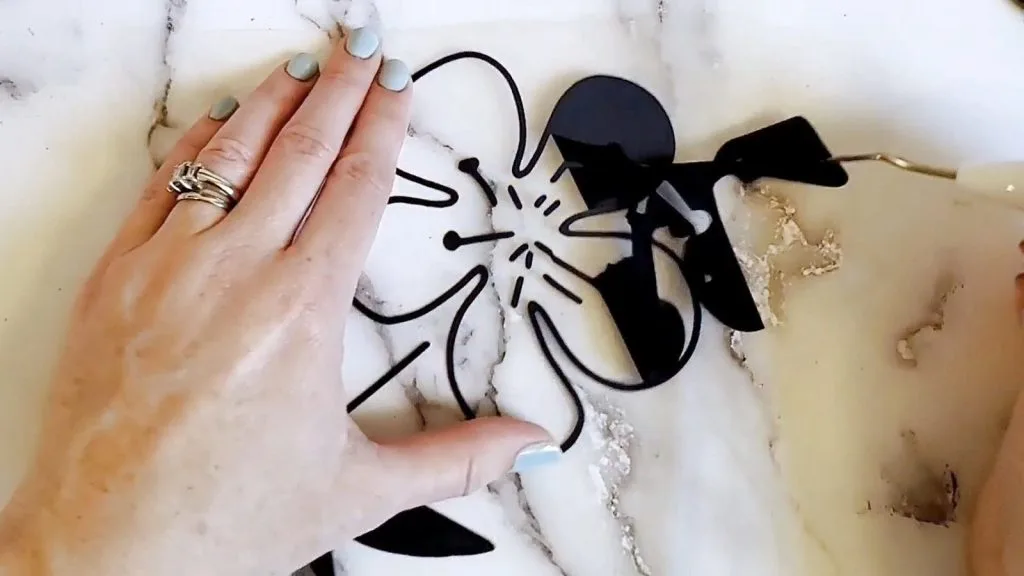
With the shiny side down, cut each shape from the right color of iron-on.


Weed away the extra vinyl.

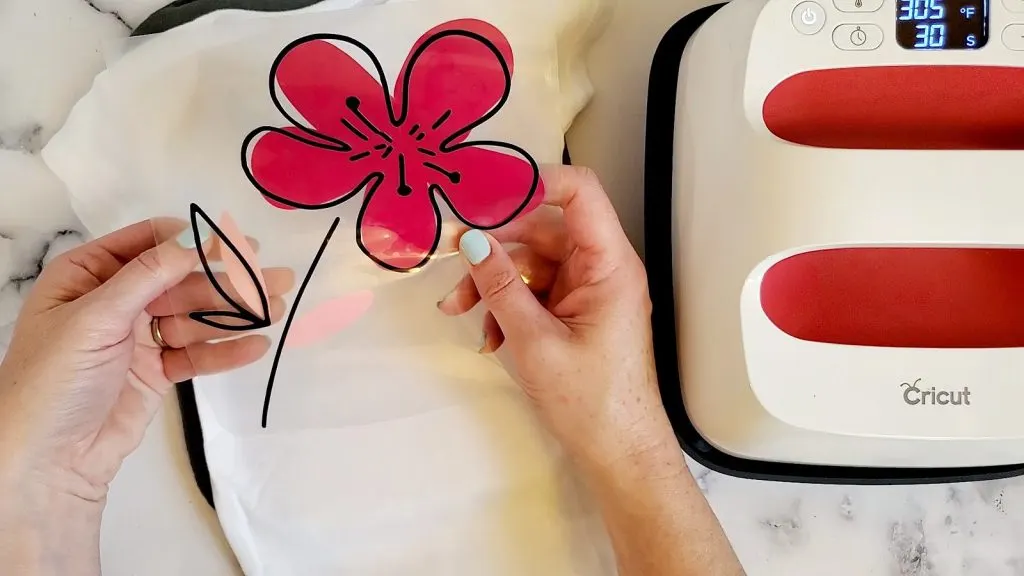
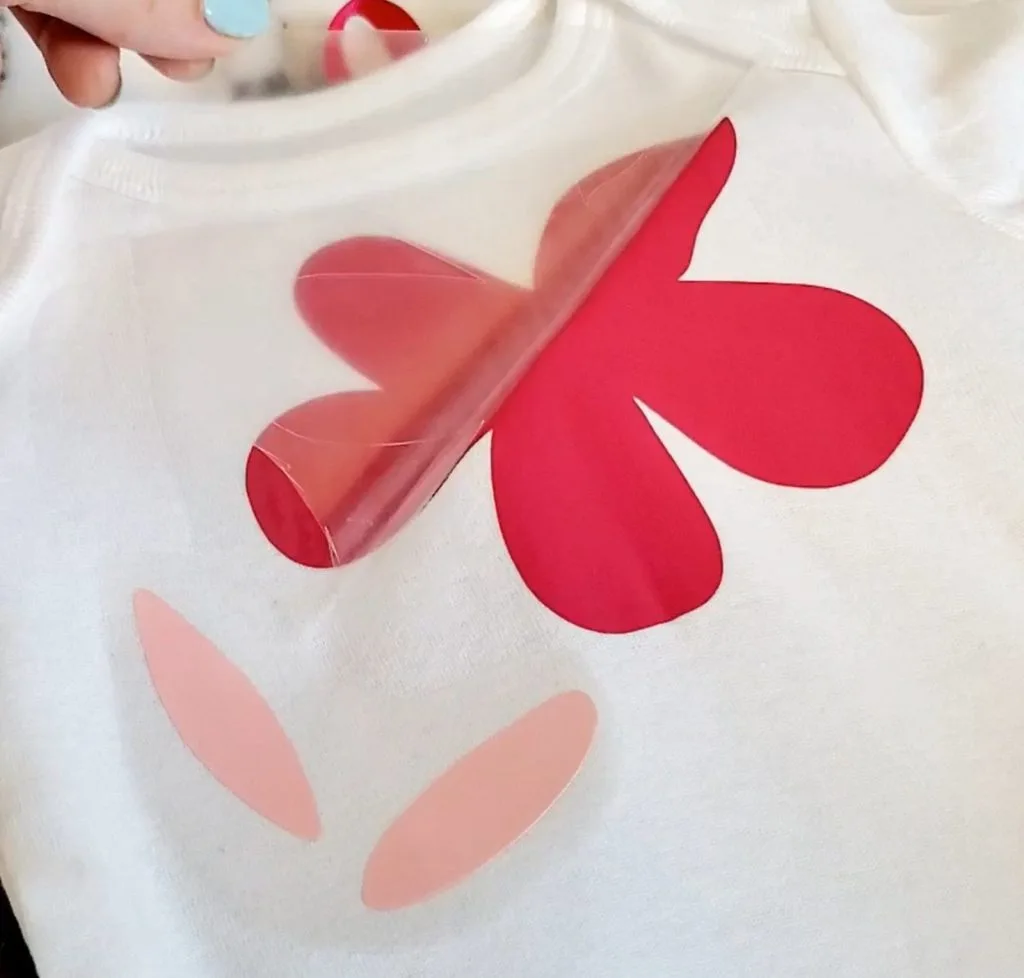
To get the placement right of the bottom shapes, line them up with the top black sketch of the flower while they’re all on the plastic liner still.

Position on the shirt and then peel away the black outline, leaving the colored shapes in the same location. Take care that the carrier sheets are trimmed enough that no iron-on vinyl will layer over it.

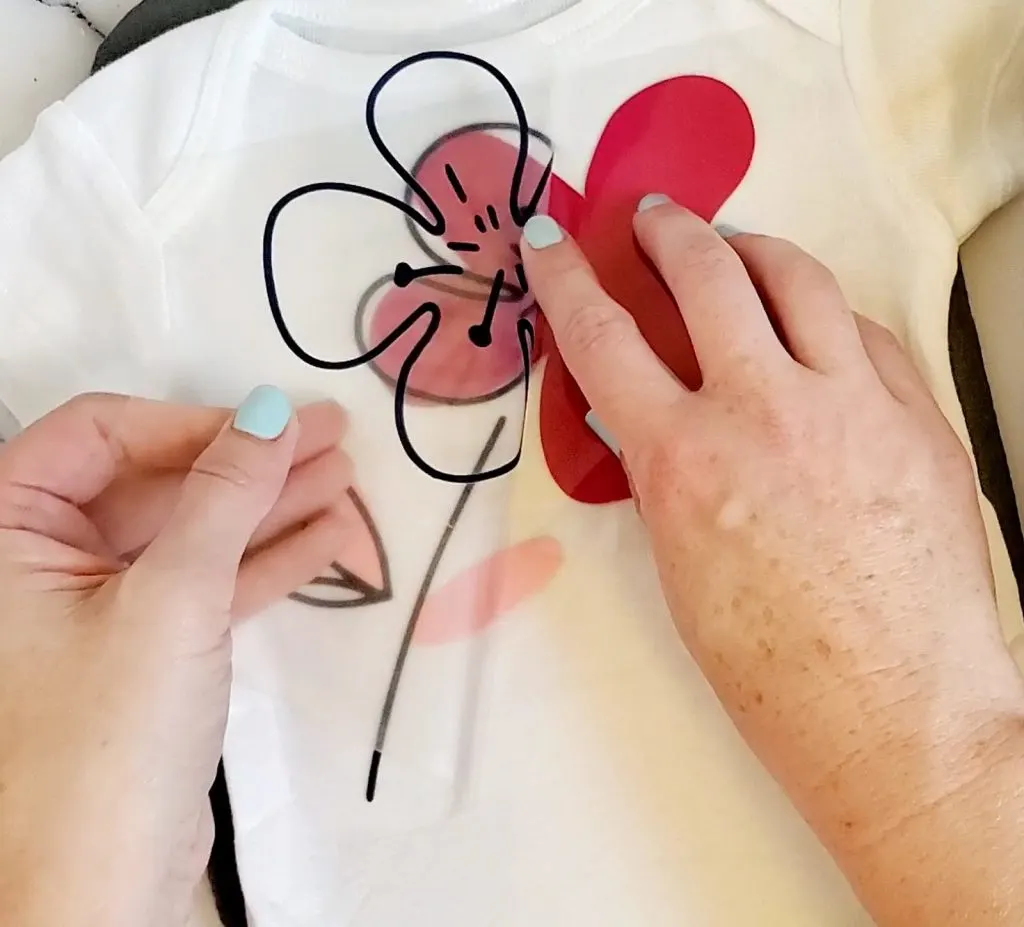
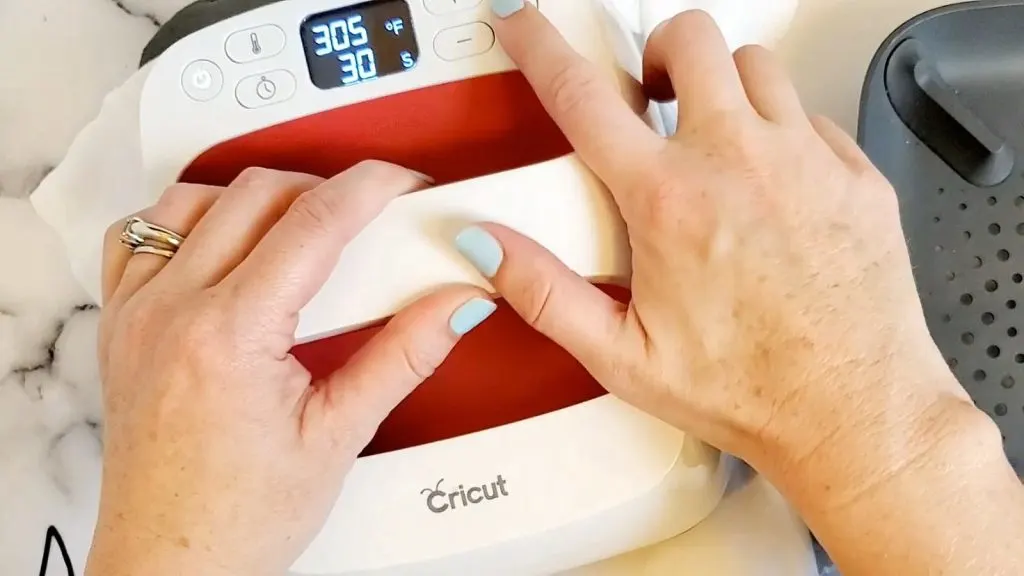
Press with the EasyPress for about 20 seconds and peel the carrier sheet. If it seems like the vinyl is pulling up, try letting it cool some.

Add the top black layer over the colored vinyl and press for 30 seconds then 5 seconds from the back.

Peel away the carrier sheet and the shirt or onesie is done! You could do a set of a few different flower designs and bundle them all up as an adorable gift set.

Read these posts for instructions on how to make an Infusible Ink onesie.