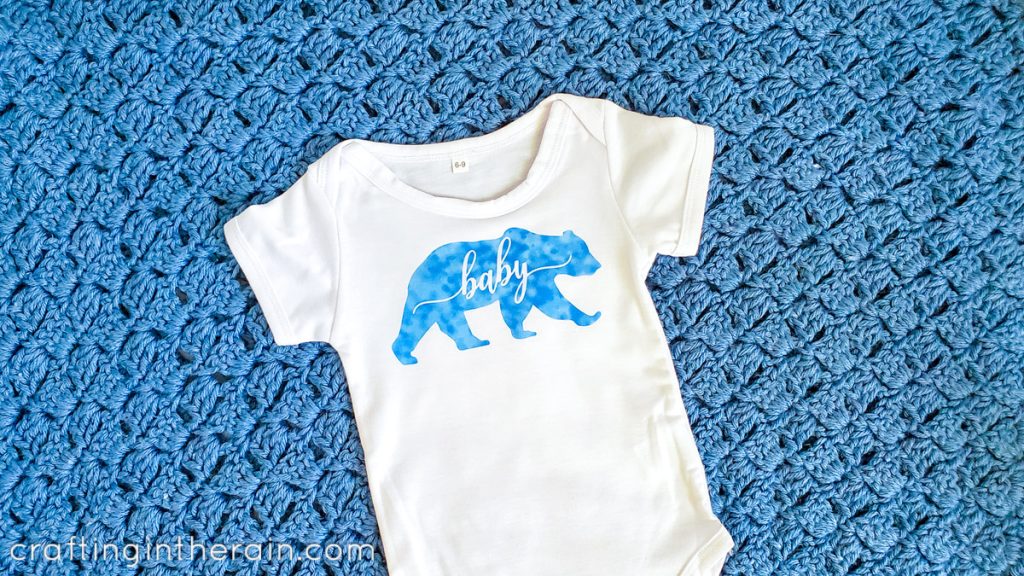
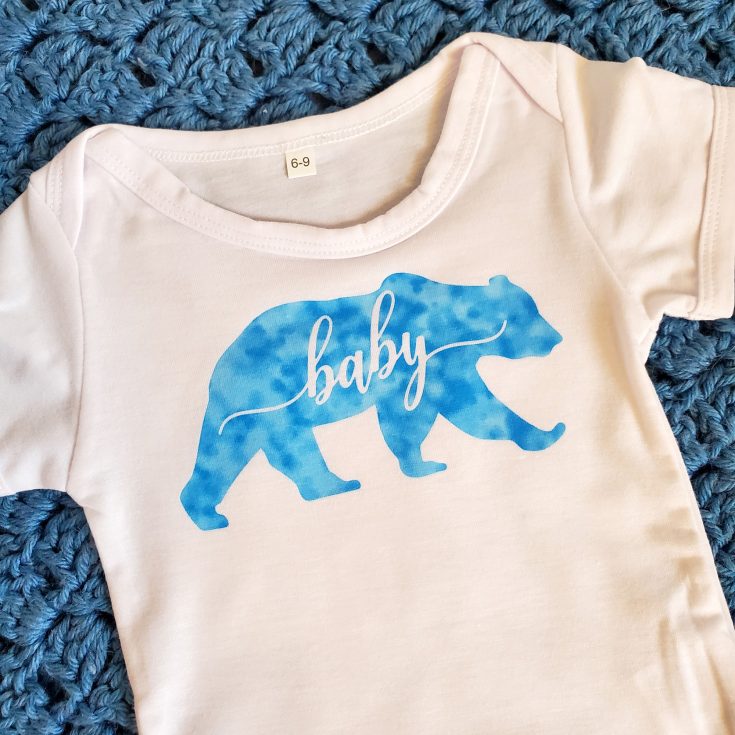
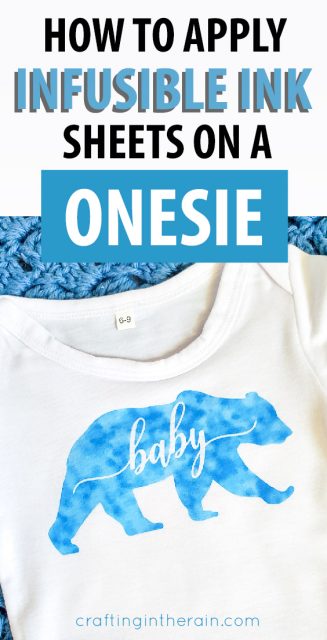
Learn how to make adorable gifts with an infusible ink sheet on a onesie.

Infusible Ink has been out for almost a year now – have you had a chance to use it yet? If you’re just getting started, I have a great post with beginner tips for Infusible Ink.
Yield: 1 onesie
Apply Infusible Ink to a Onesie

No Ratings
Use these instructions to decorate a shirt or onesie with Infusible Ink transfer sheets
Prep Time
5 minutes
Active Time
20 minutes
Total Time
25 minutes
Difficulty
Moderate
Materials
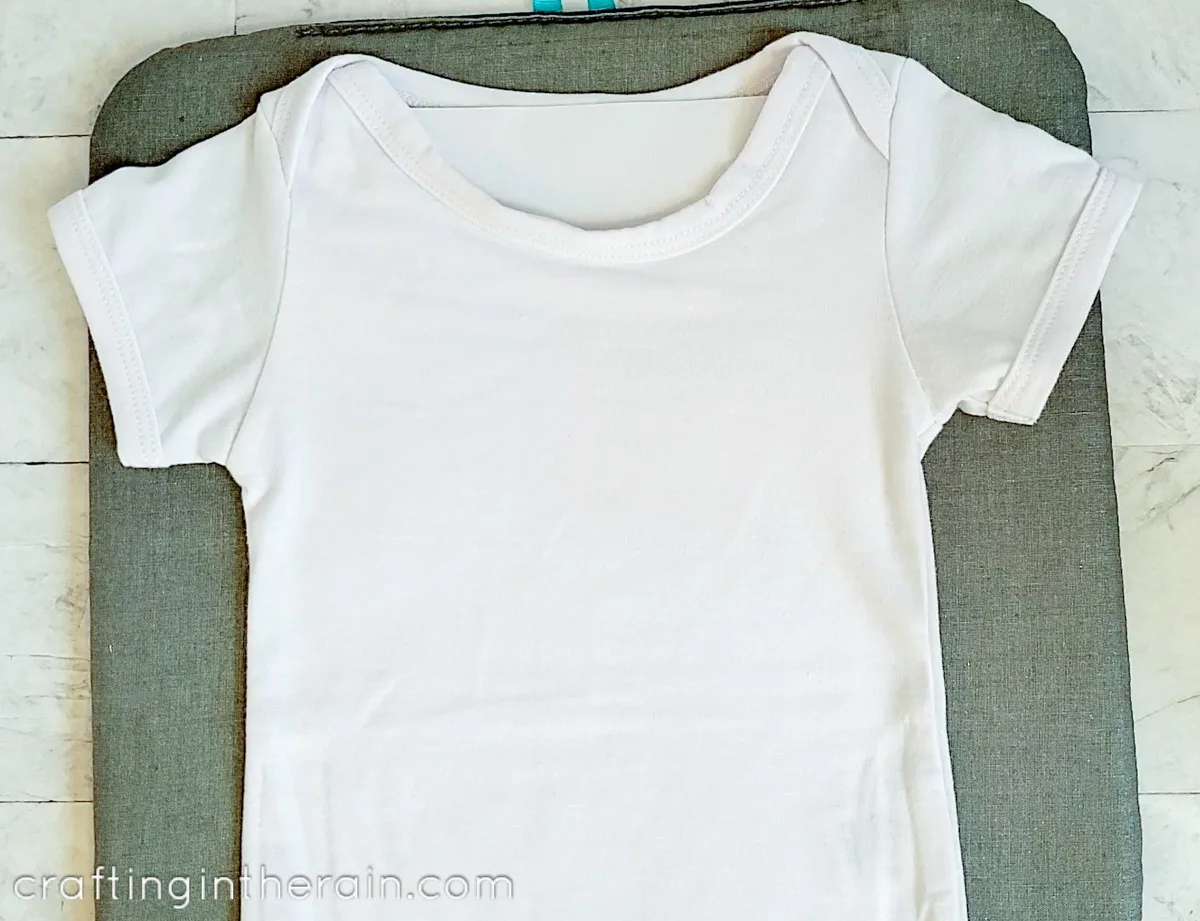
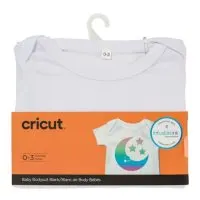
- Cricut baby bodysuit Blank
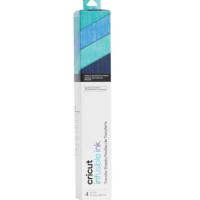
- Infusible Ink Transfer Sheet
- Butcher paper
- White cardstock (or 4 layers of butcher paper)
Tools
- Cricut Maker or Cricut Explore cutting machine
- StandardGrip Machine Mat
- Cricut EasyPress 2 or Cricut EasyPress
- Cricut EasyPress Mat
- Lint roller
- Scissors
- Tweezers
Instructions
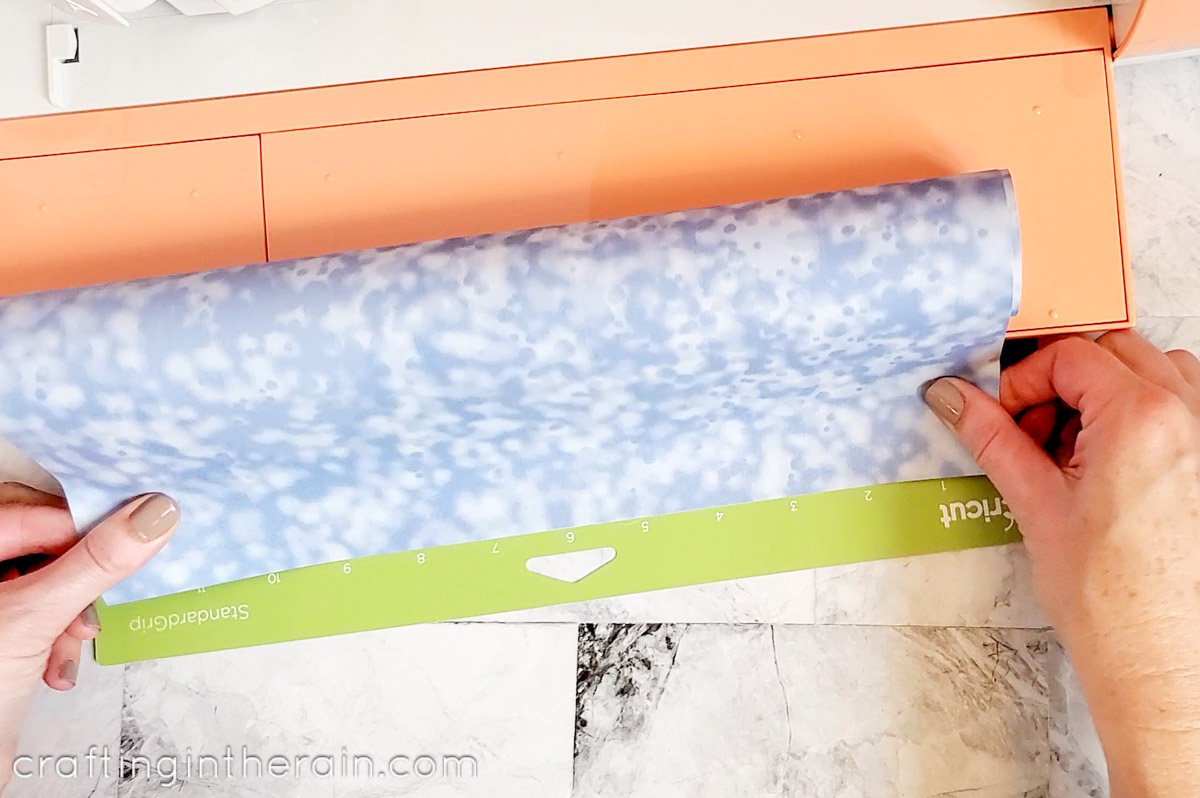
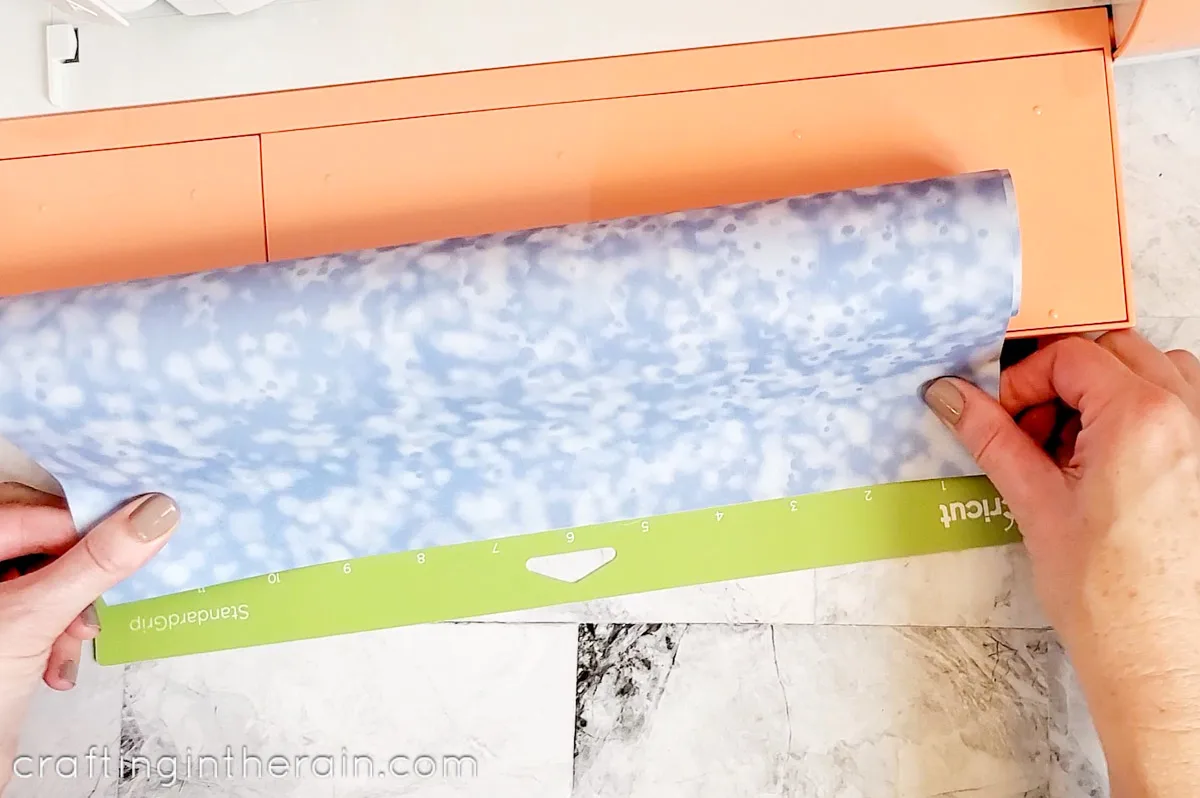
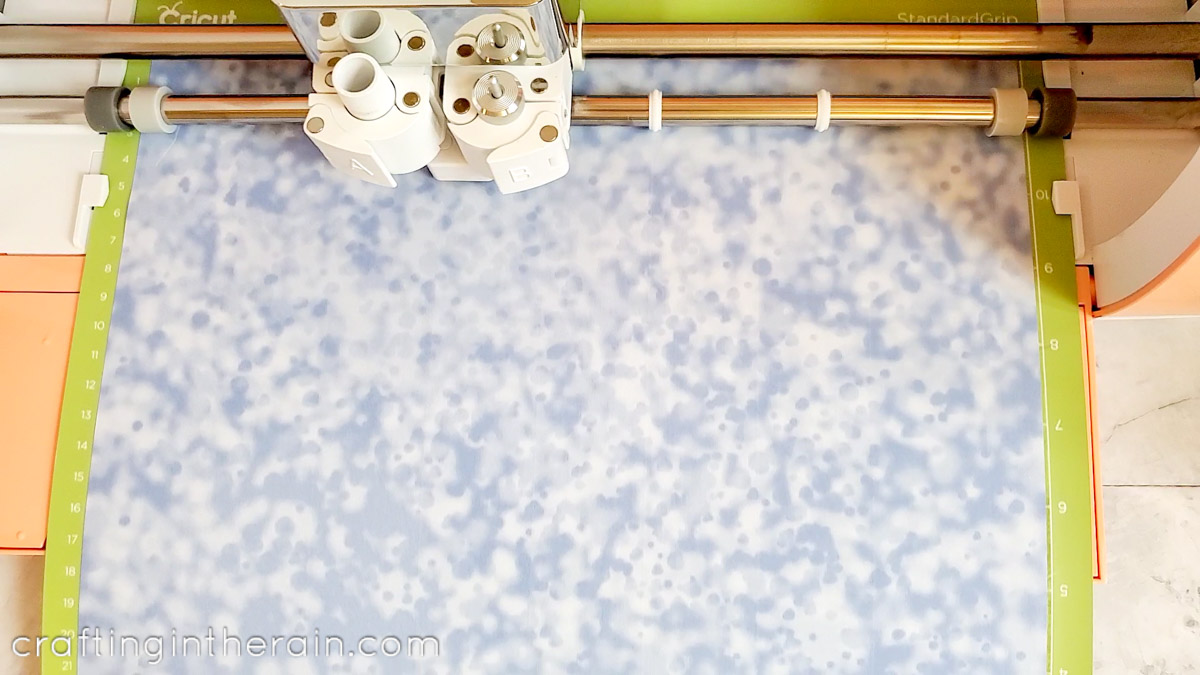
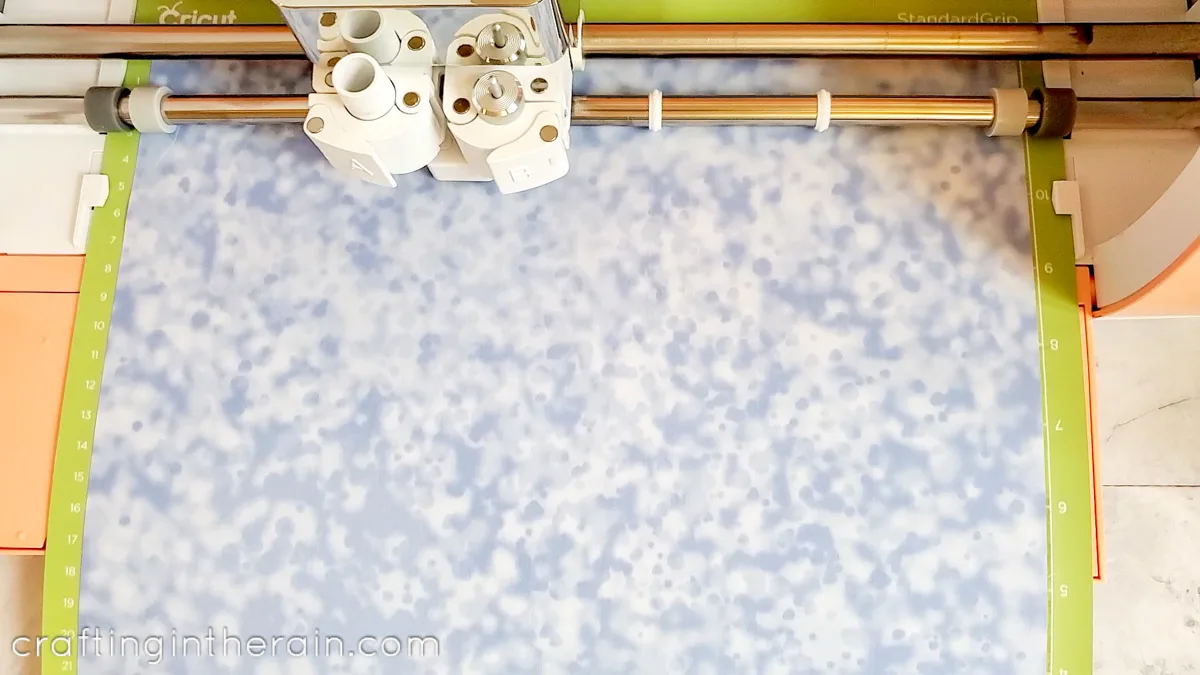
- Press Infusible Ink sheet onto green mat. Liner side down, colored side up
- Size image in Design Space to fit the shirt
- Send project to cut - be sure to mirror the design!
- Cut with a fine point blade and the infusible ink transfer sheet setting
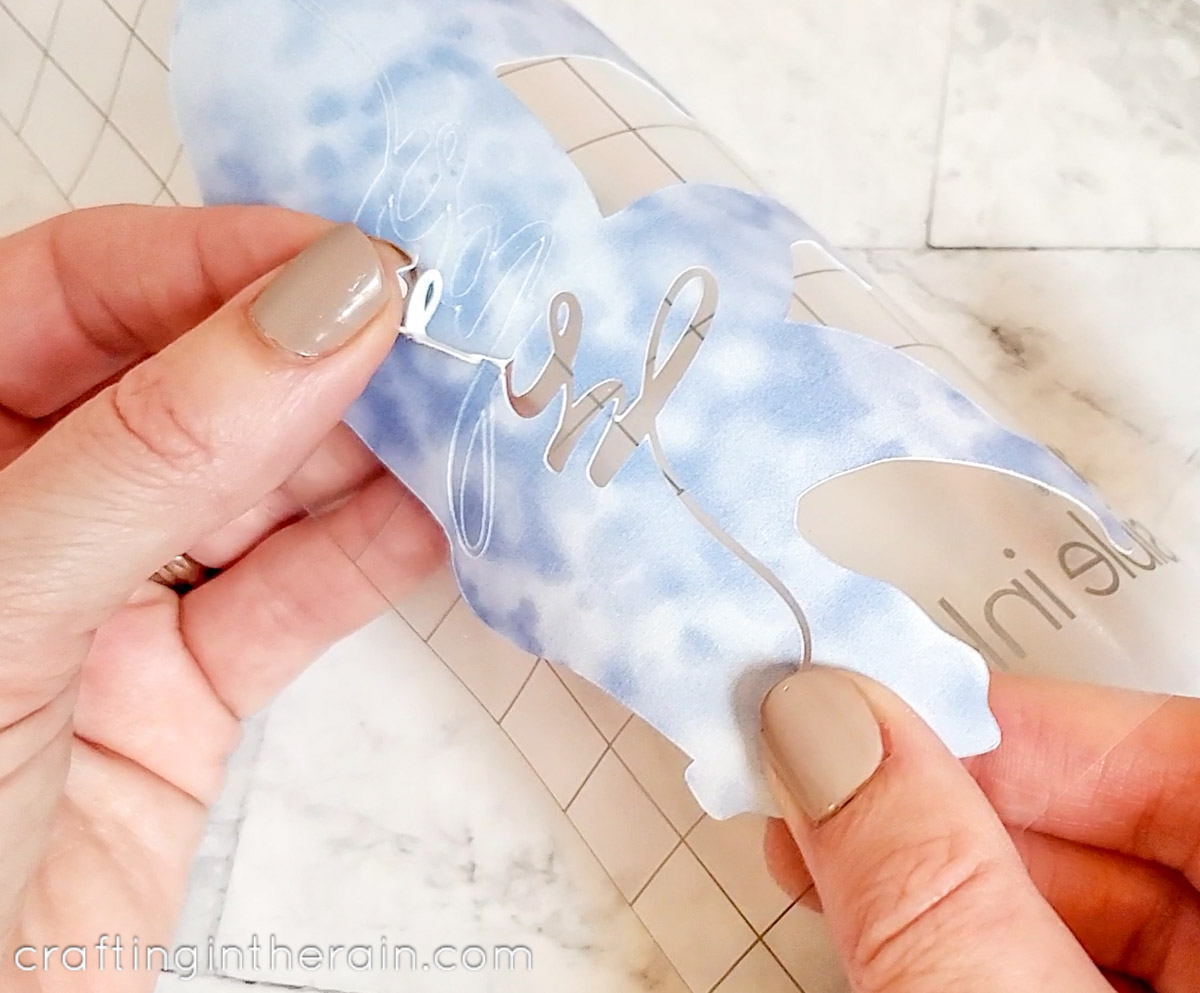
- Remove excess transfer sheet using fingers or tweezers

- Set EasyPress to 385 degrees and 15 seconds
- Layer a piece of white cardstock inside the shirt
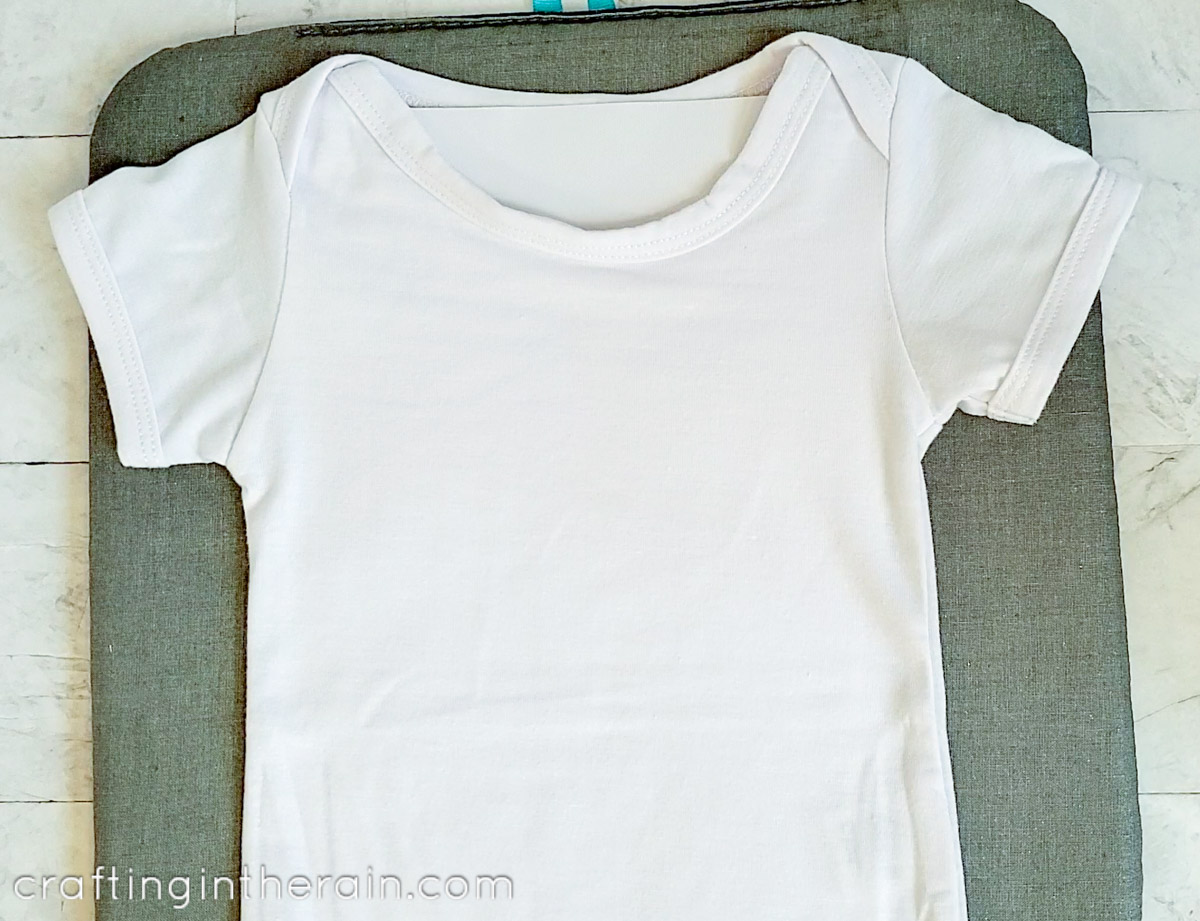
- Remove any dust with a lint roller
- Cover shirt with a piece of butcher paper and preheat shirt for 15 seconds


- When cool, position the transfer sheet design on the shirt. Cover with butcher paper
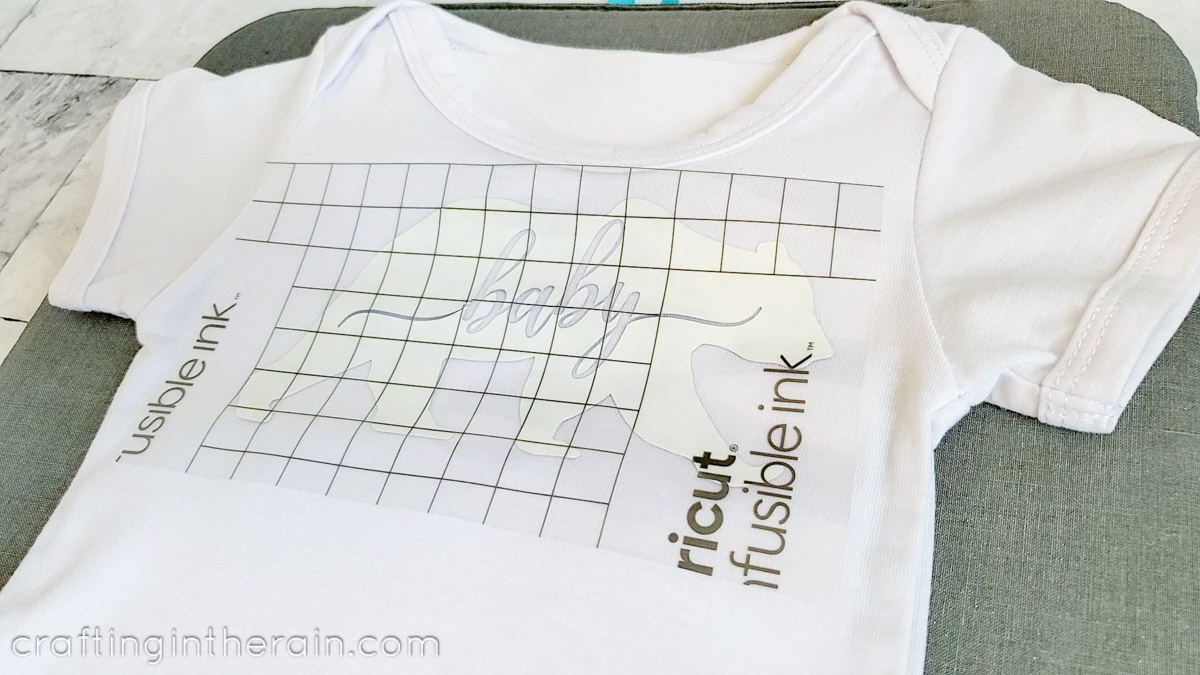
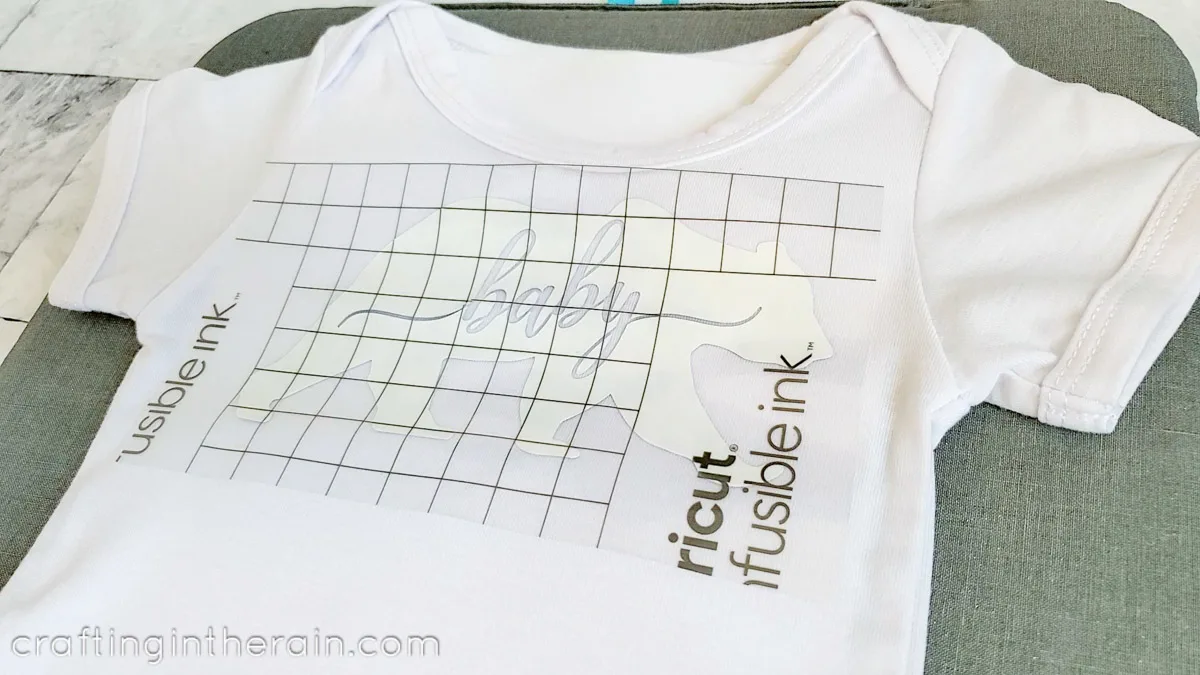
- Press for 40 seconds - use a decent amount of pressure, but keep hands still while pressing
- Remove EasyPress and let layers cool
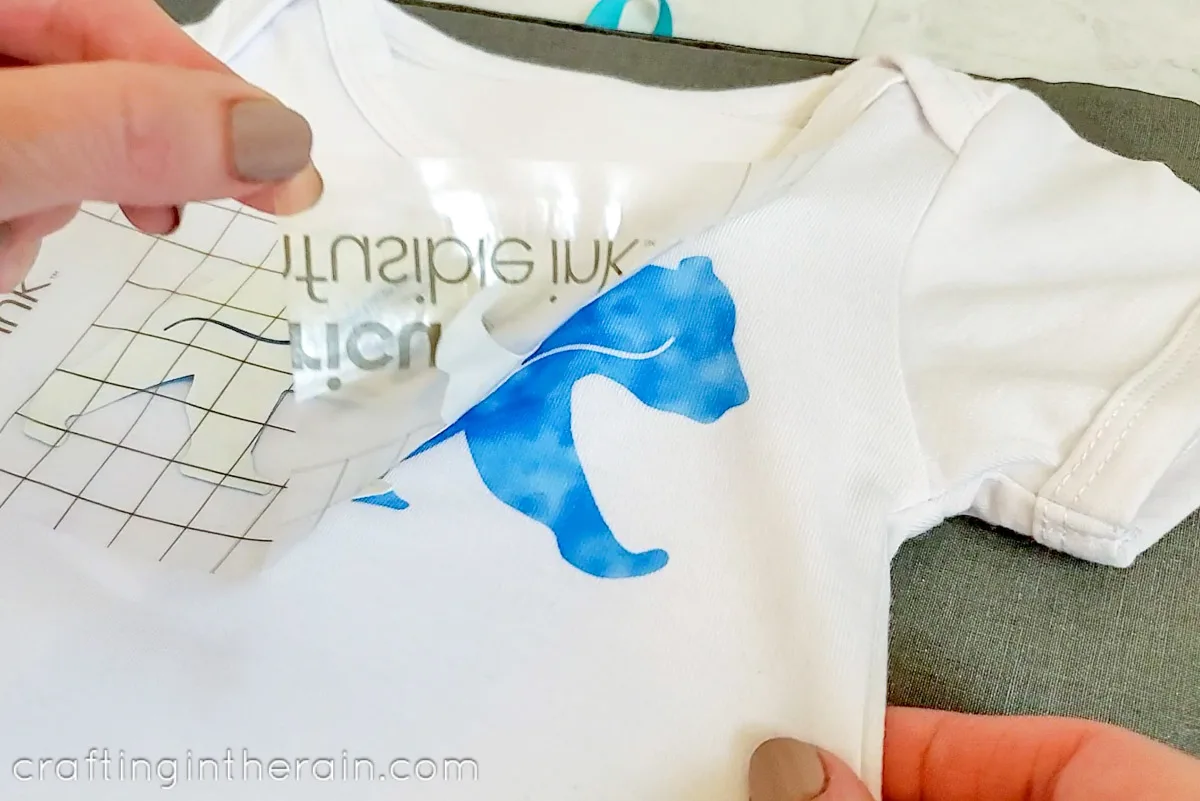
- Lift off the transfer sheet and reveal the beautiful ink below

Notes
For Infusible Ink to work correctly, the fabric must have a high percentage of polyester. The Cricut brand shirts have been tested to give vibrant color retention.
Recommended Products
As an Amazon Associate and member of other affiliate programs, I earn from qualifying purchases.


Have you tried the Cricut baby bodysuits yet? They’re super soft and as you can see, hold these colors beautifully. So try it today or pin it for later!

50 Easy Cricut Projects for Beginners - Lydi Out Loud
Thursday 31st of December 2020
[…] Stephanie’s simple tutorial to make an adorable onesie with Infusible Ink transfer sheets. Get the tutorial here Cricut Infusible Ink Tote Bag I love how Natalie used the negative space of the design in this […]
Norma Perez
Monday 1st of June 2020
I thought the tutorial was very informative but here where the SVG and Infusible Ink Cricut Grey Shirt are and here in the replies, the print is barely visible and very small. So if I have made a mistake in this message it is because I can barely see the print. They need to be darker and BOLD with maybe a little larger print.. the tutorial was very easy to understand. Also if you could make it to where you can definitely see where the patterns are for each svg more visible, that would be wonderful.