My craft room had needed a cleaning overhaul for a while now, but it’s been so overwhelming I just kept putting it off. If you find that you now have a bit of extra time to work on projects around the house maybe it’s a great time to add this to your list!
Download here –> Printable Guide
This craft room tour coordinated by The Country Chic Cottage should give you some great ideas on how to organize a craft room.
Supplies to organize a craft room
- Trash bag
- Pen
- Paper
- Post-it Notes
- Measuring tape
Step by Step Craft Room Organization
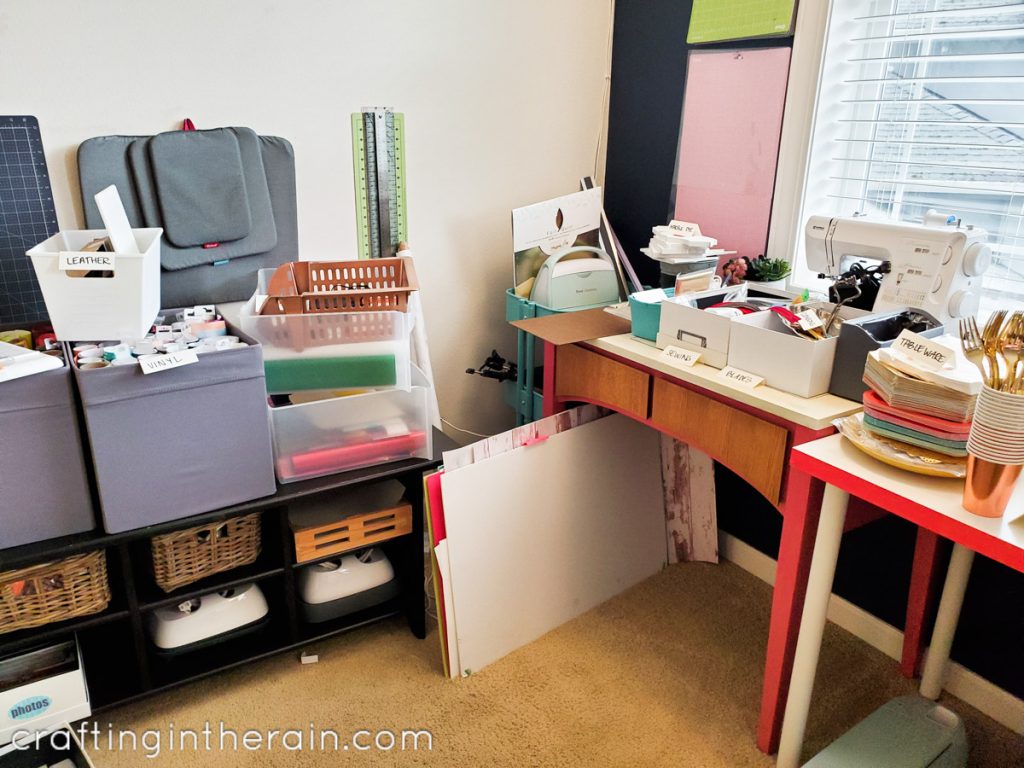
Clean the floor
Whether you have a whole room dedicated to crafting, or a desk in the corner of another space, the floor is the best place to start. The floor needs to be clean so that you have space to walk and move around. Here’s a glimpse of what I was dealing with!

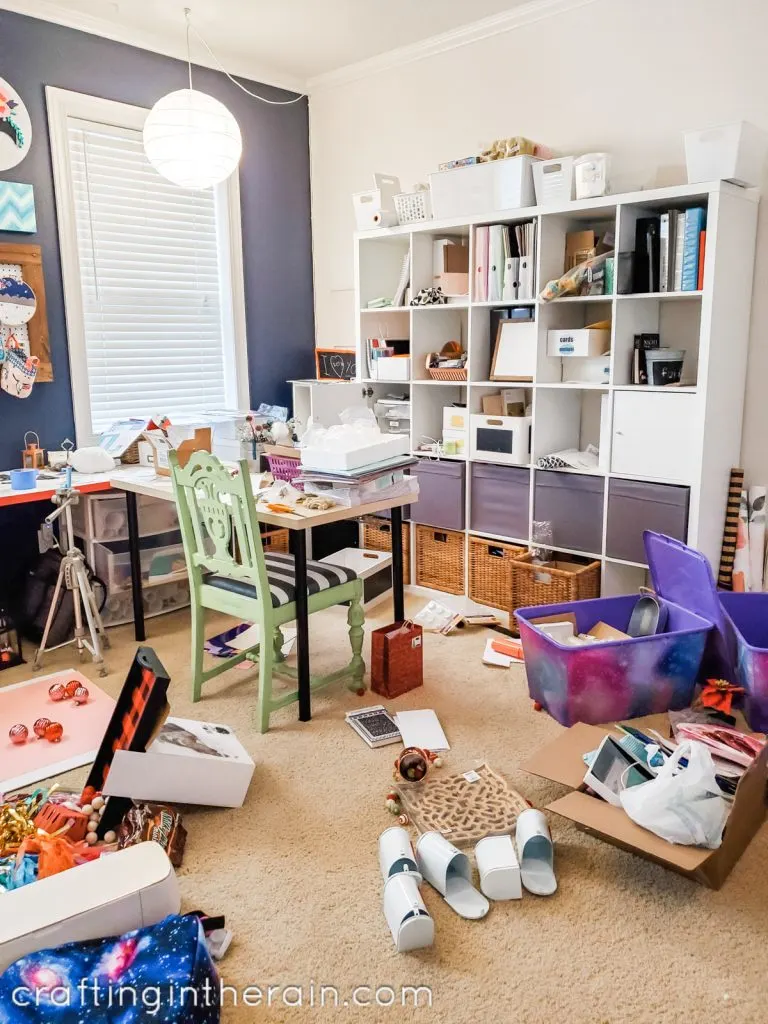
Pick up any trash and gather items into a box. Don’t feel like things need to be “put away.” They just need to be “out of the way.”
Finally, vacuum! This step alone will feel like a huge accomplishment and encourage you to keep going.

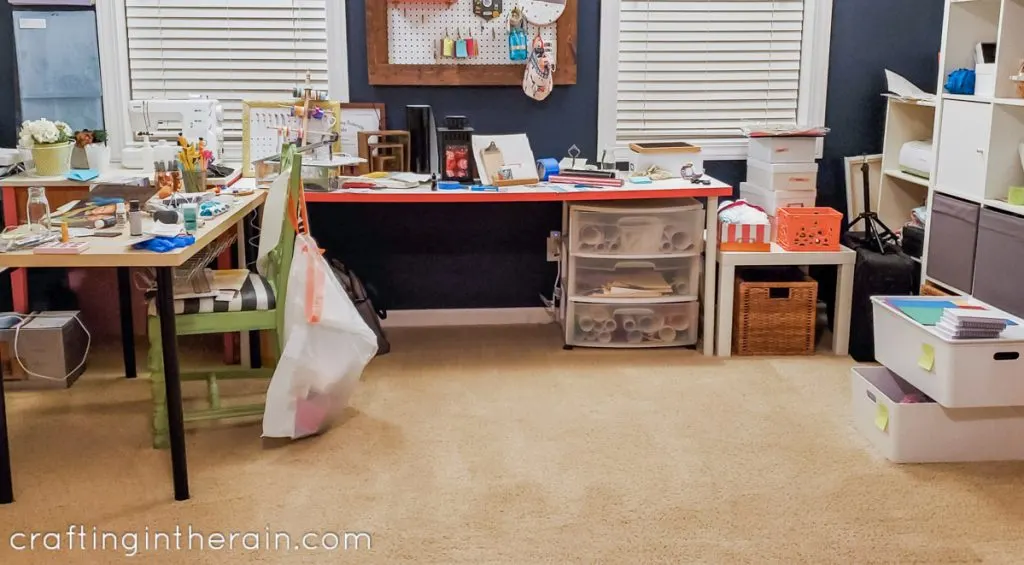
Clean the flat surfaces
This is going to include the desk or table and the chair seat. All of this needs to be clear and empty of all craft supplies and tools so there is workspace for the next step.
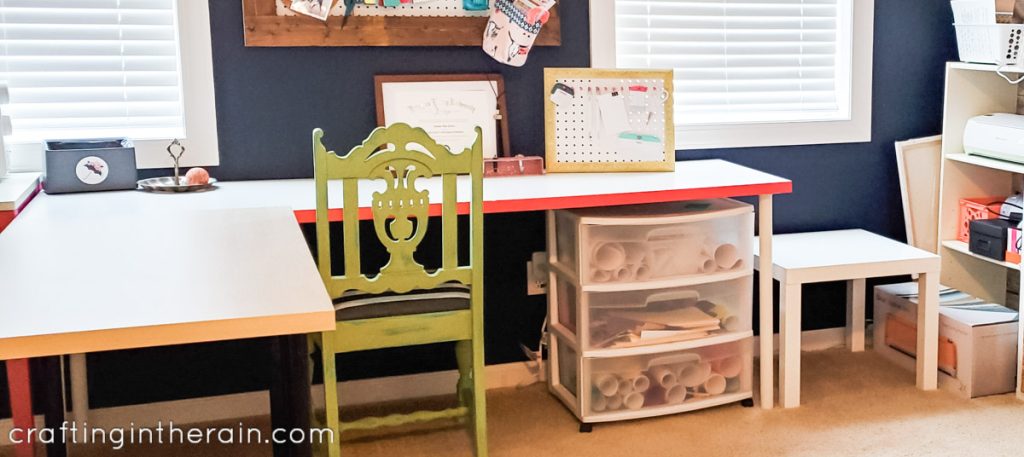

Now is a great time to give the desktop a quick wipe to remove dust.
Make a list
Take a few minutes to jot down the categories of items you have in your craft supplies. Don’t try to look at what you have, just go from memory. Everyone’s list will look different, but may include things like Paint, Paper, Fabric, Vinyl, Markers. And you can add to this list.
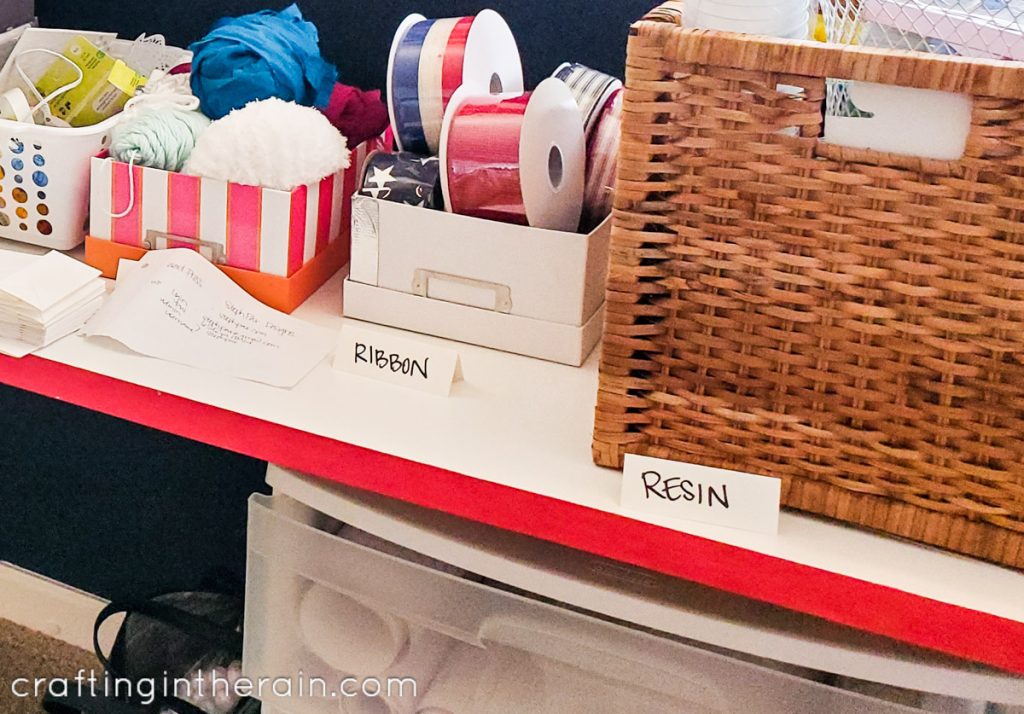
Identify categories
Fold up some paper tents and label them with the categories you listed in the previous step. Set them out on whatever desk or table space you have.

Sort items
This part starts to get a little ugly, but it’s also kind of fun. You get to see everything you have! But don’t get distracted and try to start crafting with any newly-discovered goodies just yet.
Pick one shelf, drawer or box, and start emptying it out on the table.

Group items according to the category labels you created. Make more if needed. If you come across something that is broken or that you know you really don’t want, go ahead and toss it. But don’t think too much in this step about what to keep or not. Just focus on grouping.
Evaluate each pile
One pile at a time, see what you want to keep. Have you been storing things that you really won’t use again? Did your taste in colors change? Are any of the paints dried out?
Do a little “Marie-Kondo-ing” if needed. Thank it for bringing you joy, even if just in the moment that you purchased it, and let it move on.
If the supplies are still good, consider if you know anyone with kids who might like them while being at home over the next few weeks. (You can even leave them on the doorstep so you don’t have to breathe on each other!)
Decide the space needed
Now that all your like items are grouped together and you’ve gotten rid of some of it, it’s easy to see how large each collection is.
Do you really need that giant box to store a few sheets of felt? Do you need to find an extra basket to hold all the markers and pens you own? Is there a better solution for all the cardstock?
Put things away
Match up your current boxes, baskets and shelf space with the items that will fill them. Use the measuring tape to determine the most efficient way to make things fit. I labeled all boxes with Post-it Notes at first so that I could visualize and remember where things were at first.

Shop your house for additional storage, or order a few things online if it’s in your budget. Again, don’t forget to measure!
Also, take advantage of spaces you maybe didn’t think about. Store fake flowers and greenery in a flat box under your bed. See if there’s any closet space where rarely-used supplies or props could go.
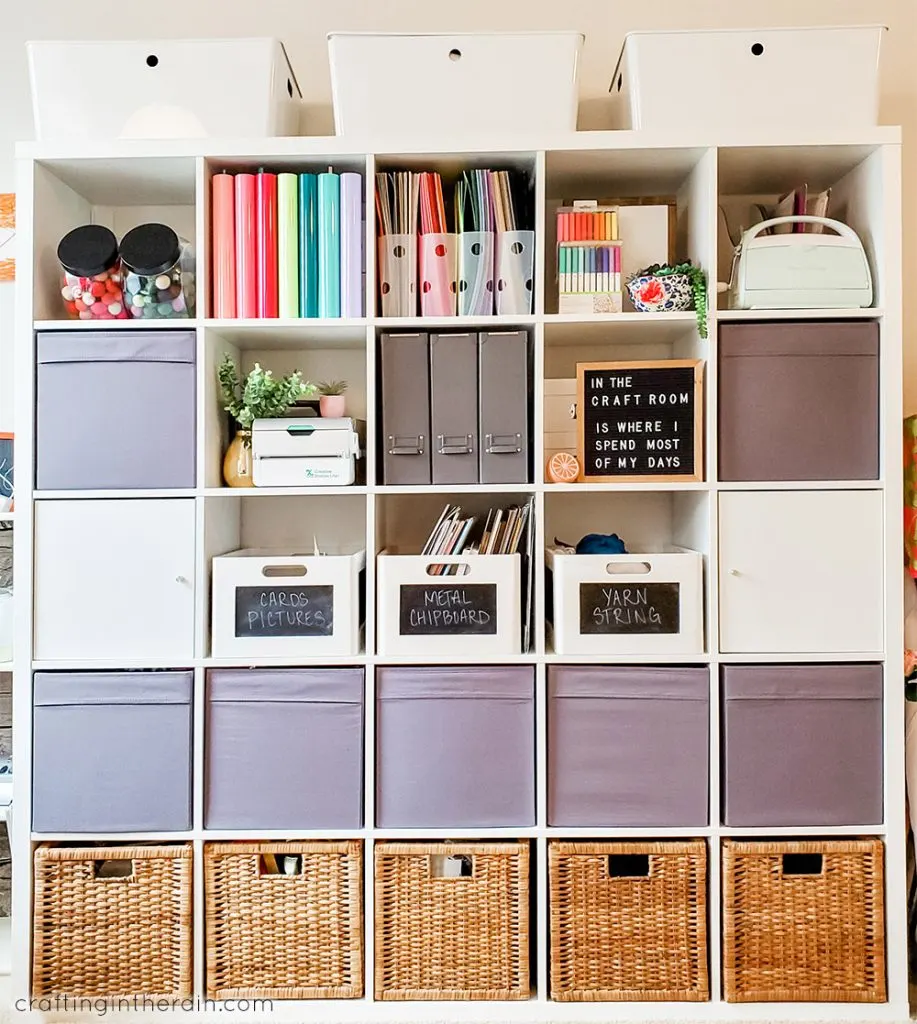
Labels
This step is kind of optional. Some people find it very helpful to have the contents of each box or basket clearly labeled on the front. Others like a much cleaner look. Options include adhesive vinyl, iron-on vinyl and hanging tags.
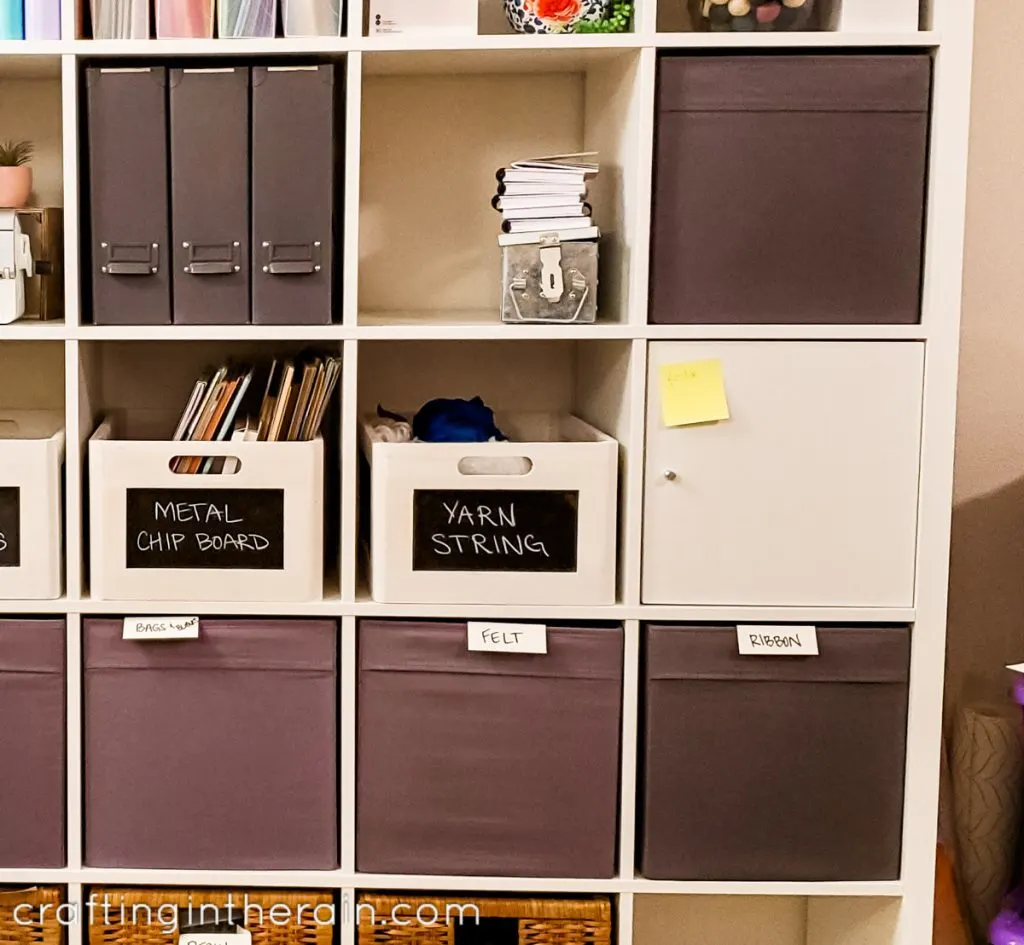
You can also create a sort of map, especially if you have a large gride shelf, like the Ikea Kallax. Draw out squares to represent each shelf. Write in the supplies stored in that area.
If you’re feeling particularly techy, you could even create a searchable spreadsheet or other type of for where to find all your supplies!
What to leave out?
There will be a few things that you want to leave out because you use them pretty much all the time. For each person this will likely be different, but for me it includes my Cricut, Cricut tool holder, small trash can, plus a few pens and adhesives. And I have my large pegboard on the wall.
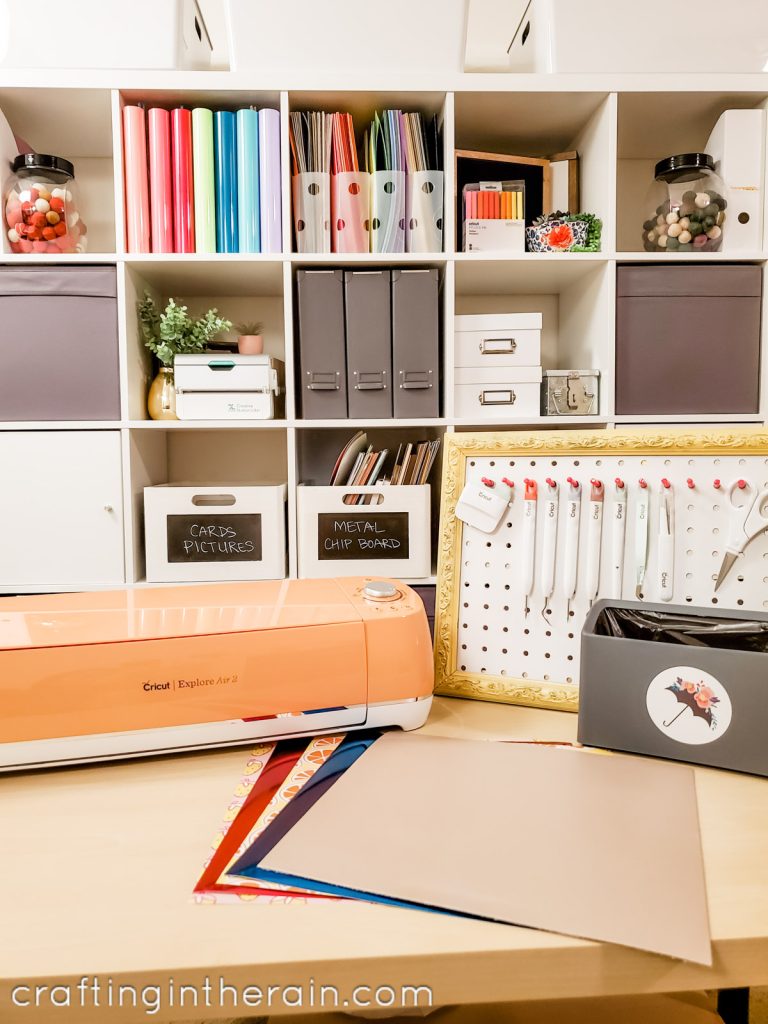

So clearly I think pegboards are a great option. There are also a lot of good containers or small desktop organizers that help corral what you want to keep accessible.
My next goal is to start establishing habits to clean up after I’m done with a project, and not just before I start a new one 🙂 I know many of you can relate!


If you have any suggestions to add to this list about organizing a craft room, please let me know!
Shopping – here are some of the things I’m using in my room:
Kallax shelf unit
Kallax bins
Magazine box
12×12 paper storage
Large box with lid
Drawer trio
Photo boxes
Chalkboard crate
Metal rolling cart (multiple color options)
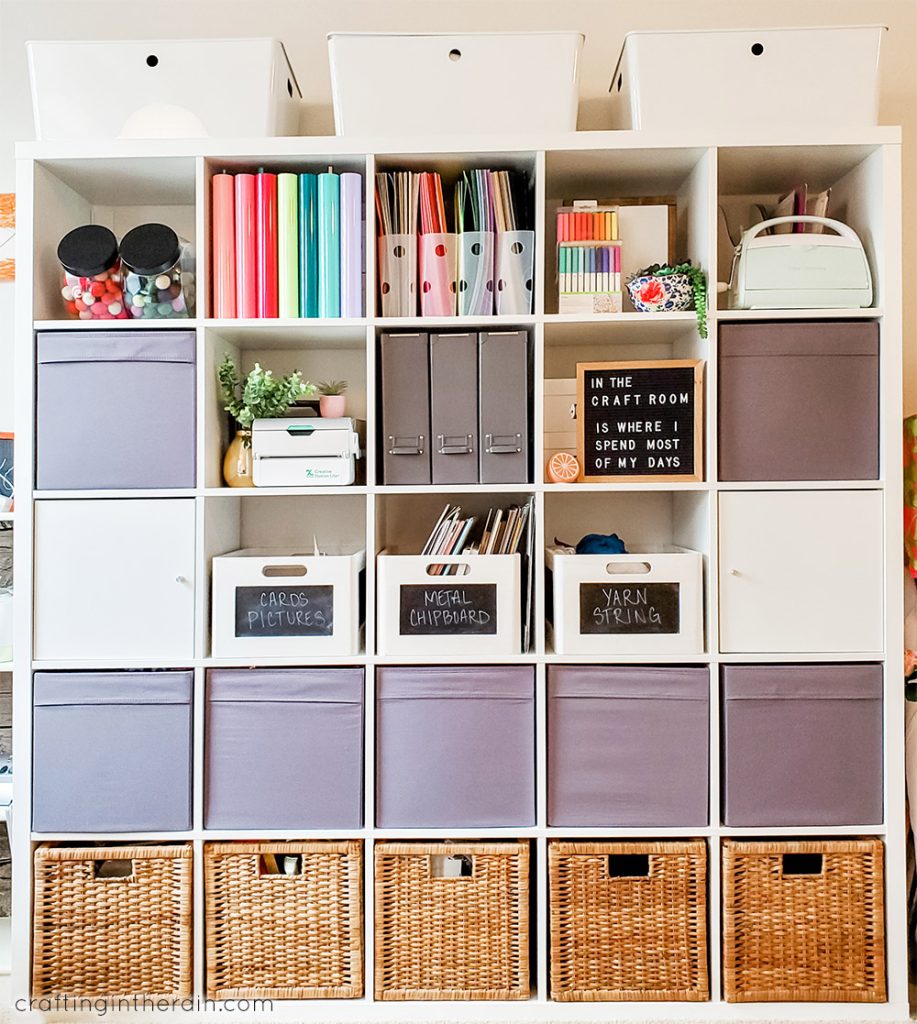
In case this helps you get started, I’ll let you know what I’m storing in some of these specific places.
- The Kallax bins hold things like fabric, felt, resin supplies, Duck tape, rolls of vinyl and iron-on, and ribbon.
- The magazine holders have sticker sheets and laminator pouches.
- Photo boxes hold leather tools, buttons and envelopes.
- Chalkboard crates store Cricut materials like chipboard and metal, plus card blanks and yarn.
- Metal rolling cart holds all my EasyPresses.
Now, you can head over to each of these blogs to see their craft rooms and get even more good ideas.
The Country Chic Cottage
The Kingston Home
100 Directions
Crafting in the Rain

Samantha
Saturday 28th of November 2020
Wow, this is the future. Thank you for showing me this.