I have partnered with Cricut for this post. All opinions are my own and I’ve included some of my affiliate links for easy shopping!

You remember my mermaid shirt from a couple of days ago. Another cool design coming up in the Trendy T-shirts collection from Cricut is this beautiful dream catcher. I knew I wanted to use it on a shirt too, so here’s what I came up with.
The dream catcher is cut from Cyan iron on. The word “Dreamer” is Easton font and cut from pink fluorescent glitter iron on. Since there are only two vinyl pieces and the word doesn’t have to be in one exact spot, lined up perfectly, the process couldn’t be simpler. Just be warned that it takes a while to weed out the dream catcher!

Lay the vinyl on the mat shiny-side down and mirror the image in Design Space. Set the dial to “iron-on” and cut.
Repeat with the glitter vinyl, but change the dial to “custom” and select iron-on glitter in the drop down menu and cut.
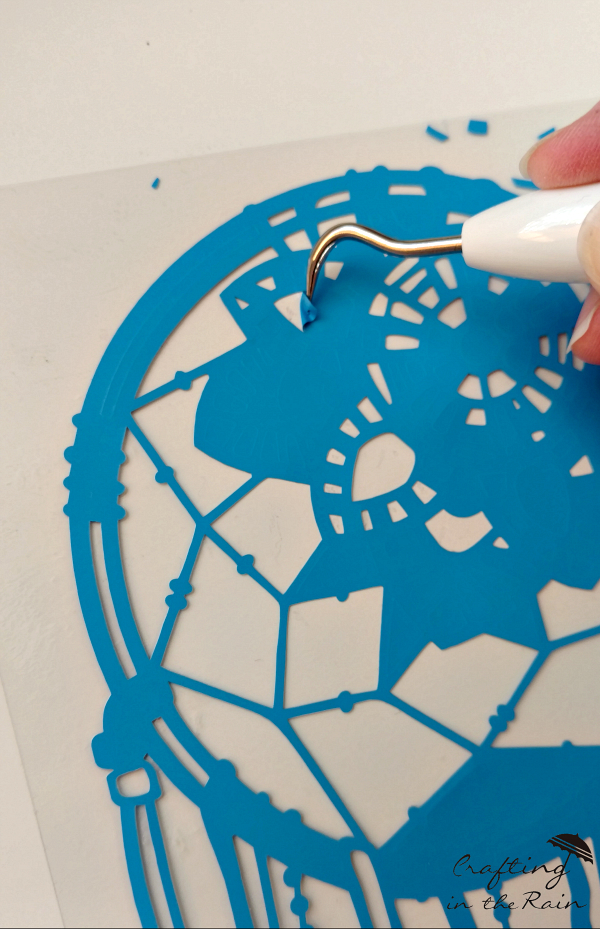
Weed out extra pieces. This weeding tool is a necessity!

Set iron to high and iron the shirt first to warm it up. Then place the dream catcher vinyl where you want it on the shirt. I like to cover it with a sheet of this multi-use paper – it protects the vinyl from getting too hot, and then protects the other vinyl as I’m layering.
Press the iron down on one spot of the vinyl for 15 seconds, then move to another spot. Don’t move the iron around while you’re pressing as it could wrinkle the vinyl.

Peel up the plastic backing and place the “Dreamer” vinyl down next. Cover entire design with the paper and iron down the glitter vinyl, again pressing about 15 seconds each time. Peel up the plastic backing while it’s still hot, and if any corners lift up, iron down again.
 |
And that’s it! Would you want this dream catcher design on a shirt, a bag, or on something else?
Supplies used:
Cricut Explore
Cricut iron on Cyan
Cricut iron on glitter Fluorescent Pink
10moll
Thursday 12th of April 2018
Cute! I love the blue and pink together! Isn't the dream catcher the perfect image?? <3
Katie's Cucina
Friday 1st of April 2016
Oh I so love this! I need to make one for me!
Kyla Ford
Friday 1st of April 2016
Cute! I love the blue and pink together! Isn't the dream catcher the perfect image?? <3